
To survive Enter the Gungeon, stop treating every room like a shooting gallery: control space, save blanks for bosses, learn enemy tells, and spend your keys on useful chests instead of opening everything immediately. These 10 practical tips will make your first successful run far more likely, whether you start as the Marine, Hunter, Pilot, or Convict.

1. Learn the Dodge Roll Before You Chase Damage
The dodge roll is your most important defensive tool, but it isn't a panic button. During the roll, your character becomes invulnerable for a short window, then vulnerable again during the recovery animation. The common beginner mistake is rolling away from danger without checking where the character will land. That often sends you directly into a second bullet.
Use the roll to cross a projectile, not to flee from the entire room. If a Bullet Kin fires a straight shot, walk until the bullet is close, roll through it, and continue moving. Against radial patterns, small sidesteps are usually safer than repeated rolls. Rolling too early gives enemies time to track your landing spot.
Practice this on the first floor with the Marine's reliable Marine Sidearm. Clear weaker enemies while focusing on movement rather than speed. The goal is to finish the floor with your armor and health intact, not to post a record time.
🎮 Enter the Gungeon
Looking to experience this game? Grab your digital key directly on our store for $3.74.
View on Steammoz Store →2. Prioritize Room Control Over the Nearest Enemy
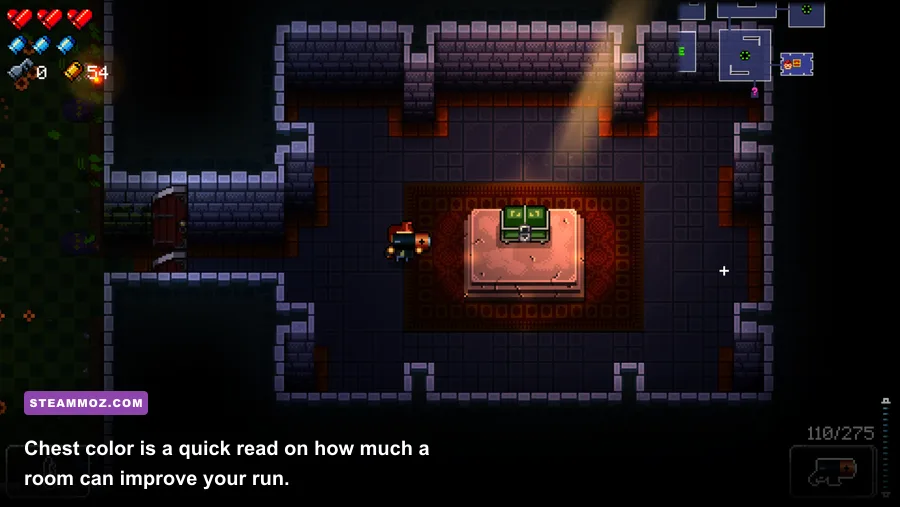
Gungeon rooms are designed to punish tunnel vision. A Shotgun Kin in front of you may look dangerous, but a Gun Nut or Bullet Shark behind you can close off your escape route. Before firing, identify the room's walls, pits, tables, explosive barrels, and enemy spawns. Then choose a loop around the safest open space.
Kill enemies that limit movement first. Blobs that leave damaging trails, Gunzocks that fire from awkward angles, and enemies that teleport into your path deserve attention before a slow Bullet Kin. If a room has several targets, soften multiple enemies and finish the one that is closest to becoming a problem. This reduces the number of active projectiles faster than focusing on the largest enemy.
Tables are useful early-game cover, but don't hide behind one forever. Flip a table to block shots, shoot around it, then relocate before enemies surround you. Blanks also destroy nearby bullets and can create breathing room, but every floor generally gives you only two blanks at the start. Treat them as emergency space-makers until the boss appears.
3. Pick the Right Starting Gungeoneer

Each starter character teaches a different part of the game. The Marine is the best learning pick because Military Training improves accuracy and reload speed, while his starting weapon is dependable. His Ammo Drop active item can also refill ammunition during a long floor.
The Hunter is excellent if you like flexible room clearing. The Rusty Sidearm is modest, but the Crossbow hits hard at range, and the Dog occasionally digs up useful items. The Pilot has a weaker starting gun, yet his lockpick and discount-focused kit can create a strong economy if you're comfortable accepting failed chest-opening attempts.
The Convict is aggressive and starts with the Budget Revolver, a short-range sawed-off shotgun, and Molotov. She can burn down early enemies quickly, but her limited range makes positioning more demanding. Avoid the Bullet if you aren't ready for fast, close-range fighting; it is unlocked later and changes the game with strong melee mobility.
| Character | Best Beginner Strength | Main Weakness | Recommended Lesson |
|---|---|---|---|
| Marine | Accuracy, reload speed, reliable pistol | Less economic flexibility | Learn movement and boss patterns |
| Hunter | Crossbow damage and Dog utility | Rusty Sidearm is slow to clear rooms | Prioritize safe ranged damage |
| Pilot | Lockpick, discounts, extra utility | Weak starter weapon | Manage keys and chest odds |
| Convict | High close-range burst and Molotov | Short range and risky positioning | Commit to aggressive room control |
4. Spend Keys and Chests Like a Miser
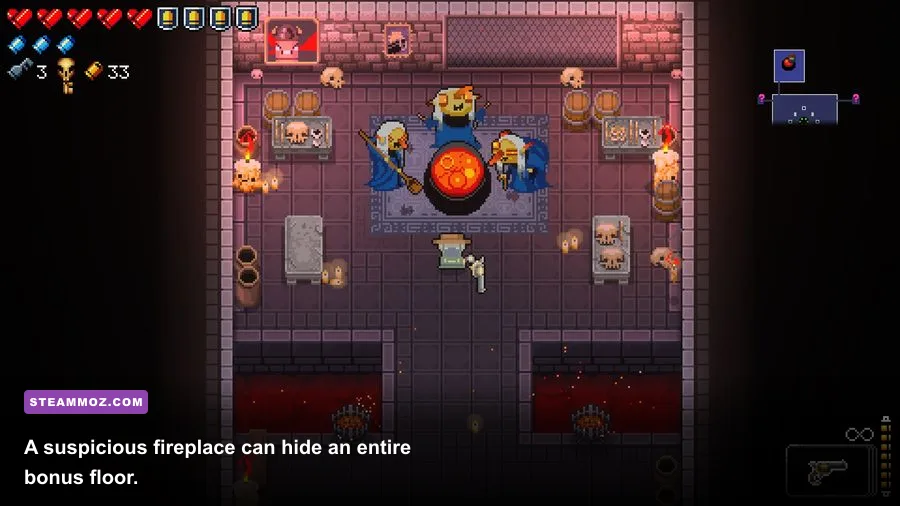
Don't open the first chest you see without checking the floor. Each floor can contain a gun chest and an item chest, plus additional chests created by special rooms or rewards. Chest colors indicate quality: brown is commonly poor, blue and green are useful, red is powerful, and black and rainbow chests are exceptionally valuable. That color system is only a guide, though; a synergy can make a lower-tier item better than a flashy gun.
Keys are also used for locked doors, secret rooms, NPC cells, and certain shortcuts. Open a blue or better chest when you can, but don't burn your only key on a brown chest before checking the shop. The Pilot's lockpick is a special case: use it on low-value chests first, because a failed attempt destroys the chance to open that chest normally.
Prioritize passive items when your current weapon already clears rooms comfortably. Damage, movement speed, armor, reload, curse, and blank effects can improve every gun you find later. A mediocre weapon with a powerful passive synergy often beats a great-looking gun that consumes ammunition too quickly.
5. Save Your Best Gun and Blanks for the Boss
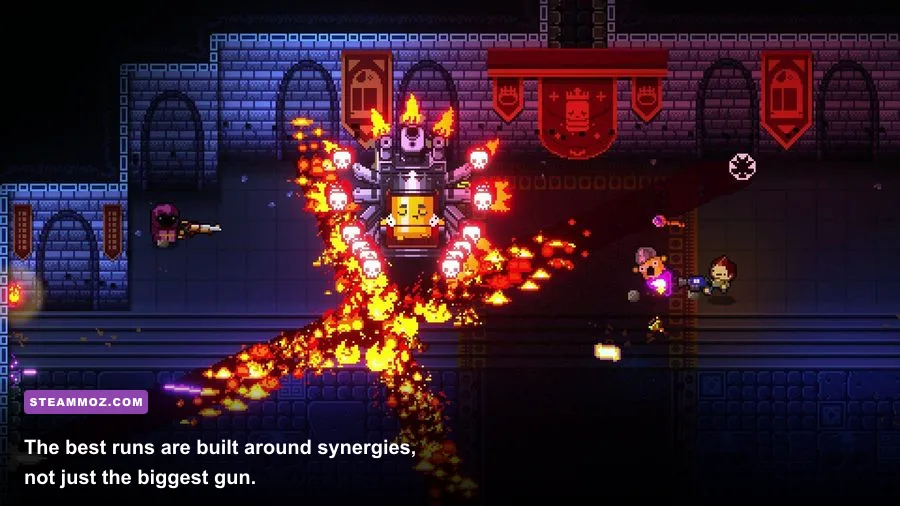
Ammo management separates promising runs from dead ones. Use your starter weapon on ordinary enemies whenever possible, then switch to a stronger gun for dangerous rooms, armored targets, or the floor boss. Don't hoard ammunition so aggressively that you lose health; taking damage costs far more than a few bullets.
Before entering a boss room, reload your chosen weapon and check whether you have enough ammo for a full fight. A boss room has no cover that can permanently solve the encounter, so your damage source must be dependable. If the gun has a long reload, reload during a safe attack pattern rather than after the magazine empties at point-blank range.
Use a blank when an attack fills too much of the arena, when you are trapped against a wall, or when a boss is about to enter a pattern you haven't learned. A blank also clears bullets and briefly creates room to reset your position. Saving all blanks for the final phase is a trap: a blank that prevents one hit is already doing its job.
6. Read Early Bosses as Pattern Tests
The first-floor bosses are the Bullet King, Gatling Gull, and the Trigger Twins. The Bullet King punishes standing still with wide spreads and bouncing projectiles; circle around the arena and cross his patterns only when necessary. Gatling Gull's large bullet streams make the arena feel cramped, so stay mobile and use the gaps between volleys rather than rolling constantly.
The Trigger Twins are less about raw damage and more about keeping both bosses visible. Their attacks can overlap when you let them separate around the room. Focus fire one twin while maintaining a wide orbit, then finish the other. Don't let the camera or room furniture hide a projectile from the surviving twin.
| Boss | Dangerous Tell | Counter | Blank Timing |
|---|---|---|---|
| Bullet King | Wide bullet spreads and bouncing shots | Circle at medium range and cross gaps | Use when patterns overlap near a wall |
| Gatling Gull | Long horizontal bullet streams | Move through open lanes, then punish reloads | Use when the arena is covered |
| Trigger Twins | Overlapping attacks after separation | Keep both visible and focus one target | Use when both firing patterns stack |
A flawless boss clear rewards an extra Master Round, which grants one armor container. That reward is worth learning: avoiding damage is not merely cosmetic progress, because one clean boss can fund the next floor's mistakes.
7. Hunt for Secret Rooms Without Ruining the Run
Secret rooms often connect to chest rooms, shops, elevators, or dead-end corridors. Look for suspicious blank walls, especially in rooms with clear empty space beside them. Fire a weak weapon at the wall; a crack indicates a possible secret entrance. Blanking the wall opens it, but using a blank costs one of your limited defensive resources.
The first-floor fireplace is the most valuable secret-room clue for new players. Find a water barrel, roll it into the fireplace, and extinguish the flames. Interact with the fireplace to reveal the path to the Oubliette, a tougher bonus floor with additional loot and a boss. The Oubliette is worthwhile once you can reliably clear the first floor, but skip it if your health is already collapsing.
Secret rooms are a bonus, not a requirement. Never spend your last blank searching random walls before a boss. A possible chest is not worth guaranteed damage during a fight.
8. Use Every Item, But Learn Active-Item Timing
Active items recharge through room clears, so leaving one unused for an entire floor wastes potential power. The Supply Drop, for example, can solve an ammunition problem before a boss. The Shotgun Full of Hate creates aggressive close-range damage, while items that provide blanks or defensive effects are best held for crowded rooms.
Don't activate a healing or utility item simply because it is available. Use it when its effect changes the situation: refill a high-damage weapon before a boss, trigger a defensive effect before entering a packed room, or spend a room-clear charge when you have no safe weapon left. Check the item description in the Ammonomicon whenever a new pickup seems unclear.
9. Build Around Synergy, Not Rarity Alone
Synergies can transform ordinary gear into a run-defining loadout. The game signals many active synergies with a visual effect and a short notification, but you don't need to memorize every combination. When you pick up a new item, look for changes to your guns: altered projectiles, extra shots, elemental effects, larger magazines, or unusual reload behavior.
Keep a weapon that solves a specific problem. A high-damage single-shot gun is ideal for bosses, while a fast automatic weapon handles rooms. Beam weapons can be safe against enemies that hide behind cover, and spread weapons excel when enemies crowd you. If a gun's ammo is almost empty, don't throw it away mentally; an ammo pickup or synergy can bring it back into rotation.
| Gear Role | Useful Traits | Best Use | What to Avoid |
|---|---|---|---|
| Room clearer | Fast fire, spread, elemental damage | Standard rooms and swarm waves | Wasting boss-only ammunition |
| Boss weapon | High damage, reliable range, strong reload | Floor bosses and high-health enemies | Using it on every weak Bullet Kin |
| Defensive item | Blank, invulnerability, stun, knockback | Dense patterns and emergency escapes | Activating it after taking damage |
| Economy item | Discounts, extra keys, drops, lockpicking | Improving future floors | Ignoring shops and resource rooms |
10. Unlock Progress, Then Practice Deliberately
Early deaths are useful if each run has a clear experiment. Take the elevator shortcuts when Tinker is repairing them, rescue NPCs from locked cells, and spend Hegemony Credits at the Breach to add new items to the loot pool. More unlocks increase variety, but they don't replace fundamentals. If you consistently lose on the second floor, practice entering rooms without rolling immediately and track which enemy fires first.
For a smooth learning curve, aim for this progression: clear the first floor without using a blank, defeat one first-floor boss without damage, reach the second-floor boss with at least two armor or heart containers, then attempt the Oubliette. This gives you measurable goals rather than the vague command to simply get better.
The official Steam page for Enter the Gungeon is useful for checking updates and controller support, while Dodge Roll's official site provides developer information. You can also browse Devolver Digital's game page for official publishing details.
If you enjoy methodical progression, Steamoz's Dins Curse beginner tips and Dungeon Siege retrospective are worth a look. For a different kind of tactical pressure, try our Desperados III review or Empires of the Undergrowth farming guide.
Most importantly, don't measure a run only by whether you reach the final floor. A successful Gungeon session teaches you one attack pattern, preserves one more Master Round, or turns one bad room into a clean escape. Keep your movement calm, spend resources with a plan, and the Gungeon gradually stops feeling random. It starts feeling readable.