
The best Dino Crisis 2 starting build for beginners is simple: buy the Shotgun first, add the Heavy Machine Gun next, keep the Knife and Pistol for cleanup, and delay expensive explosives until you can afford their ammunition. Dino Crisis 2 has no RPG skill tree, character stats, or permanent class system, so your “build” is really a weapon-purchase route built around Extinction Points, crowd control, and ammunition discipline.
That distinction matters. You’re not choosing a strength build or a critical-hit build. You’re deciding which weapons make the next stage safer without draining the points you need for healing items and later upgrades. The strongest beginner route gives Regina and Dylan reliable answers to close-range raptors, fast Compsognathus packs, armored dinosaurs, and large bosses without forcing you to grind every room.
If you’re coming from a modern action game, Steamoz’s beginner build guide for Alekhine’s Gun is a useful comparison, but Dino Crisis 2 is far less forgiving about wasting ammunition. Every purchase should solve a real problem.

The beginner build at a glance
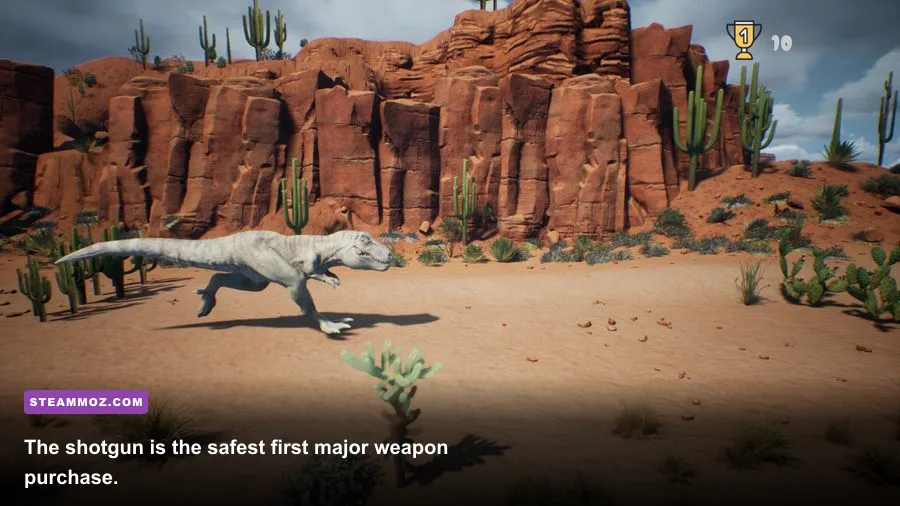
Your opening priority is the Shotgun. It gives you a dependable panic button when a raptor closes the distance, and its spread makes it much easier to hit moving targets than the starting Pistol. It isn’t the most efficient tool for every dinosaur, but it covers the situations that cause most early deaths: corner pressure, sudden ambushes, and enemies attacking from different angles.
Next, invest in the Heavy Machine Gun when the shop makes it available and you can still afford medical supplies. Its sustained fire is excellent against long corridors, mid-sized dinosaurs, and enemies that keep moving while you retreat. It also gives beginners more room for error than the Pistol because missed shots don’t immediately leave you helpless.
The Missile Pod belongs in the third phase of the route. It hits hard and is valuable against bosses or packed groups, but buying it too early can leave you with an impressive weapon and no practical ammunition budget. The Grenade Gun is a strong alternative if you prefer area damage, especially in rooms where enemies funnel through a doorway.
| Priority | Purchase or keep | Why it matters | Beginner use |
|---|---|---|---|
| 1 | Keep Pistol and Knife | They cost nothing and handle weak targets | Single stragglers and finishing attacks |
| 2 | Shotgun | Reliable stagger and close-range coverage | Raptors, ambushes, tight corridors |
| 3 | Heavy Machine Gun | Strong sustained damage at safer range | Long hallways and repeated waves |
| 4 | Grenade Gun or Missile Pod | Area damage or boss burst | Dense groups and major encounters |
| 5 | Weapon upgrades | Improves efficiency after your core kit exists | Midgame and late-game progression |
Don’t treat that order as a rigid shopping list. If a boss or scripted encounter is approaching and your stockpile is healthy, move the Missile Pod forward. If you’re taking frequent damage, buy a Med Pack before another weapon. A dead character gets zero value from a theoretical damage upgrade.

🎮 Dino Crisis 2
Looking to experience this game? Grab your digital key directly on our store for $4.99.
View on Steammoz Store →How Dino Crisis 2’s “build” system really works
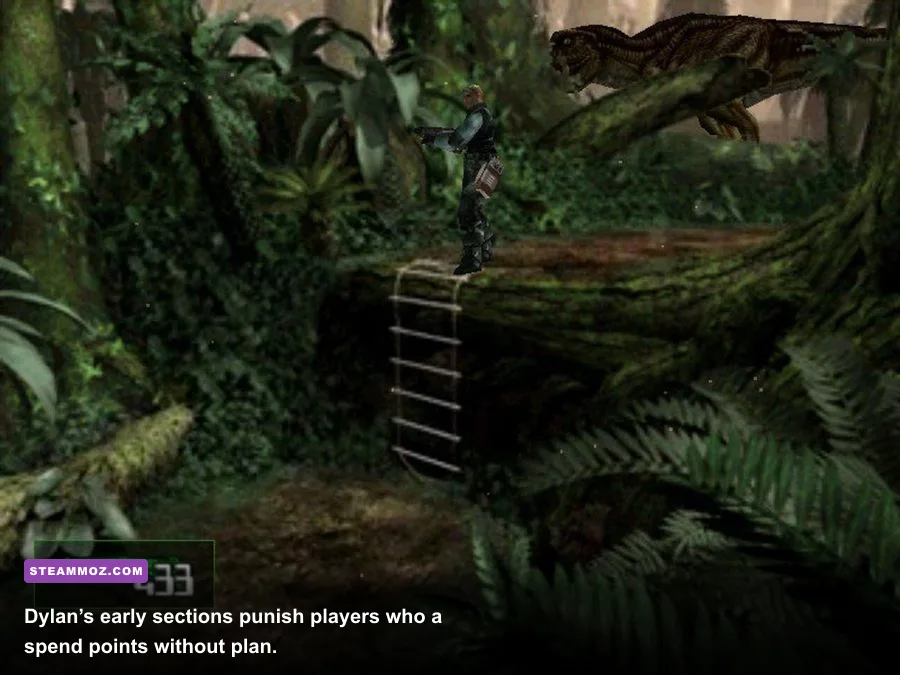
Dino Crisis 2 replaces conventional experience points with Extinction Points. You earn them by killing dinosaurs, preserving kill combos, and clearing encounters efficiently. Those points are spent at the shop between sections, where you can purchase weapons, ammunition, medical items, and upgrades. That makes combat performance part of your progression curve.
The combo system is the hidden engine behind a good starting build. Killing several dinosaurs in succession without taking damage increases your reward, while getting hit breaks the rhythm and makes your next purchase arrive later. You don’t need to clear every encounter as fast as possible, though. A clean fight with a modest combo is usually better than rushing into a pack, losing health, and burning medical supplies.
There are also two playable characters with different combat rhythms. Regina is quick, agile, and especially comfortable with weapons that let her keep moving while firing. Dylan feels heavier and is often placed in situations where positioning, retreat routes, and deliberate weapon swaps matter more. The game doesn’t give either character a traditional skill tree, so the best “skill allocation” is learning when to stop firing and reposition.
Your equipment decisions should follow three rules:
- Buy coverage before specialization. A Shotgun plus Heavy Machine Gun handles more situations than an early collection of expensive boss weapons.
- Protect your combo. If an enemy is behind you or outside your camera angle, move first and shoot second. Panic fire is expensive.
- Keep a healing reserve. Don’t spend every Extinction Point just because the shop is open. Later encounters can punish a completely empty inventory.
The game’s Capcom games portal is worth checking for current franchise news, but it won’t replace an in-game manual. Dino Crisis 2’s systems are old-school: weapon behavior, enemy placement, and route knowledge matter more than menu descriptions.
Weapon choices, upgrades, and combat roles
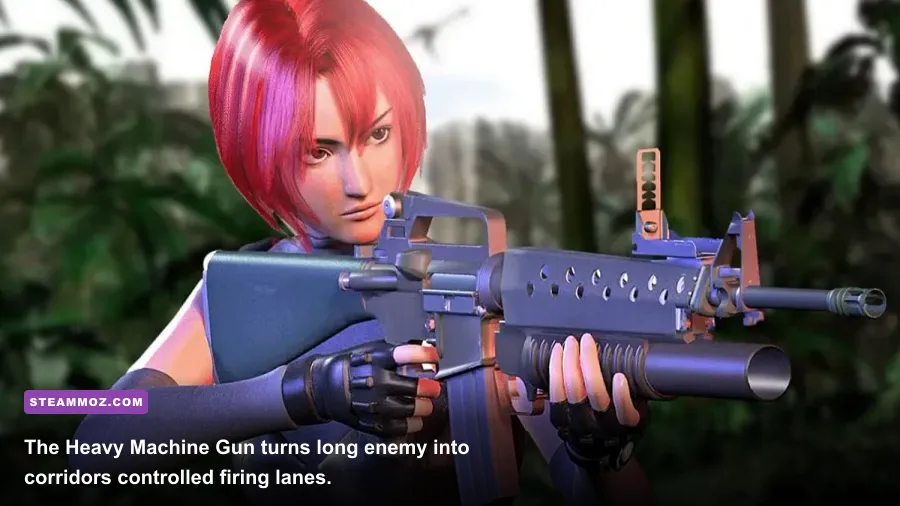
Shotgun first, but don’t waste every shell
The Shotgun is the best first major purchase because it solves the most dangerous beginner problem: an enemy already inside your personal space. Its spread forgives imperfect aim, and a close blast can interrupt a dinosaur before it completes an attack. Fire when the target is committed to a lunge, then immediately create distance instead of standing still for a second shot.
Its weakness is range and ammunition efficiency. Don’t use shells on a lone weak dinosaur that you can safely handle with the Pistol or Knife. The Shotgun should be your emergency tool, your corridor tool, and your answer to a fast target crossing the screen—not your default weapon for every encounter.
Heavy Machine Gun for safe, repeatable damage
The Heavy Machine Gun is the best second investment for most new players. Hold a retreat line, fire in controlled bursts, and keep moving around obstacles rather than unloading into empty space. Its value comes from consistency: you can damage enemies while backing away and maintain pressure when a room contains several targets.
That said, continuous fire can tempt you into tunnel vision. Dino Crisis 2 frequently places threats at the edge of the camera or behind your character. If the screen scrolls, stop firing for a moment and check your escape route. A weapon with excellent damage-per-second is worthless if you’re trapped against scenery.
Grenade Gun versus Missile Pod
The Grenade Gun is the more forgiving choice for groups. Explosive damage helps when dinosaurs cluster near a doorway, and the area effect reduces the need for perfect target tracking. It’s particularly useful when you’re still learning enemy movement and can’t reliably land repeated single-target shots.
The Missile Pod is the more aggressive option. It’s better saved for bosses, large targets, and encounters where burst damage shortens the danger window. Beginners should avoid firing it at one small dinosaur unless that enemy is about to cause unavoidable damage. Explosive ammunition is valuable because it lets you end a threatening phase quickly.
| Weapon | Role | Best targets | Main mistake |
|---|---|---|---|
| Pistol | Low-cost precision | Single weak dinosaurs | Trying to stop a full pack with it |
| Knife | Emergency close-range tool | Staggered or isolated targets | Standing still beside a live raptor |
| Shotgun | Close-range control | Raptors and ambushes | Spending shells on harmless stragglers |
| Heavy Machine Gun | Sustained ranged damage | Long corridors and mid-sized enemies | Holding fire while ignoring flanks |
| Grenade Gun | Area denial | Clusters and choke points | Firing at a lone target |
| Missile Pod | Burst damage | Bosses and dangerous large targets | Buying it before ammunition and healing |
Weapon upgrades should come after you own a functional core kit. An upgraded Pistol can remain useful for conserving ammunition, while improved heavy weapons make later encounters much less stressful. Don’t chase every upgrade immediately; prioritize the weapon you actually use to maintain combos.
Combat rotations that keep beginners alive
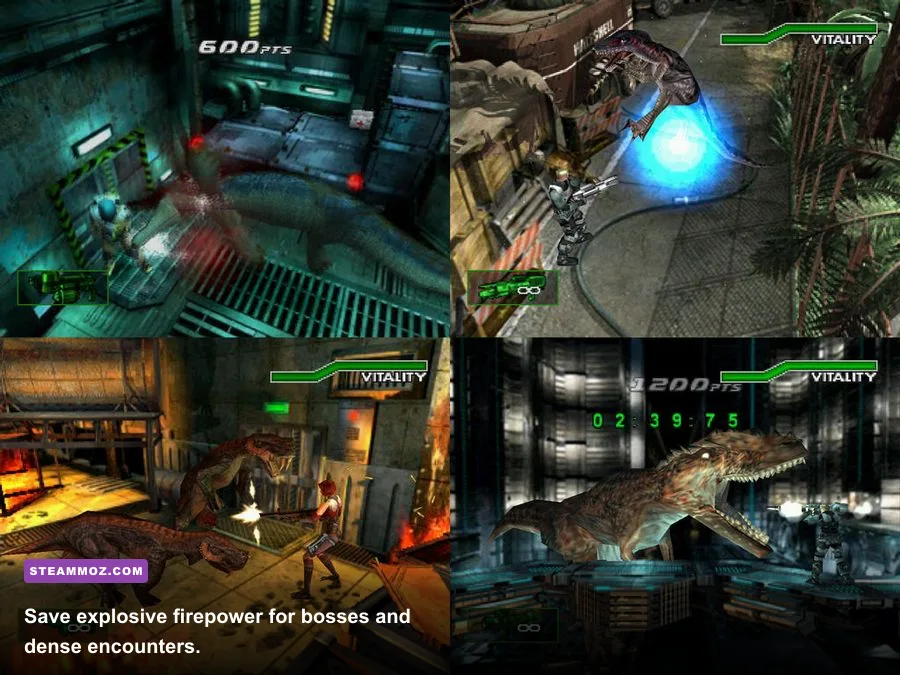
Think in rotations rather than button mashing. Against a lone dinosaur, start with the Pistol and watch the attack animation. If it begins a forward lunge, sidestep or retreat, then use the Shotgun once the target enters effective range. Against a group, move to the edge of the arena, let the enemies form a line, and use the Heavy Machine Gun while circling.
For raptors, never back directly into an unseen corner. Their speed makes a straight retreat dangerous, especially when the camera hides the next threat. Use short lateral movements and keep the Shotgun ready. Fire after the raptor commits to its leap, not while it is still repositioning. This timing gives you a wider window to interrupt the attack and protects your combo.
For smaller, faster dinosaurs, prioritize the nearest threat rather than the enemy with the lowest health. A wounded dinosaur is still dangerous if it is beside you. Clear the front of the group, then rotate the camera and handle the next target. The Pistol is fine for cleanup once the encounter has been separated.
Regina’s speed makes hit-and-run tactics especially effective. Fire, move through open space, and reload only after you’ve created distance. Dylan benefits more from pre-fight positioning: identify the doorway, railing, or open loop you can use before the first shot. Don’t wait until the room is full to decide where you’re going.
Use the Knife as a utility weapon, not as a heroic challenge. It can save ammunition against a helpless or isolated target, but it is a terrible plan against an active pack. Dino Crisis 2’s close-range animations can leave you exposed even when your attack connects.
Boss preparation and the mistakes that ruin runs
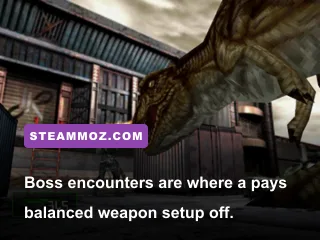
Bosses in Dino Crisis 2 test your inventory more than your shopping speed. Before a major fight, carry a healing buffer, keep explosive ammunition available, and avoid entering with every weapon magazine nearly empty. If you’ve reached the boss with no reserve, don’t panic-fire. Learn the attack cycle first and use the arena’s open space.
Large dinosaurs telegraph danger through movement and positioning. A sudden turn toward you usually means it’s time to stop attacking and relocate. When the boss is committed to a charge or bite, dodge across its path rather than retreating in a straight line. After the attack misses, use the Heavy Machine Gun for sustained damage or the Missile Pod for a short burst, then move again.
The biggest beginner mistake is buying power without buying flexibility. A Missile Pod may look like the obvious first investment, but it won’t help much when a raptor reaches you from the side. The second is ignoring combo protection. Extinction Points snowball when you fight cleanly, and a single careless hit can delay the weapon that would have made the next area easier.
| Encounter problem | Warning sign | Best response | Preferred weapon |
|---|---|---|---|
| Fast raptor closes distance | It pauses before a lunge | Strafe, wait for commitment, blast | Shotgun |
| Several dinosaurs stack together | Targets converge at a doorway | Hold the choke point and retreat | Grenade Gun |
| Long corridor pressure | Enemies approach from one direction | Backpedal while checking the camera | Heavy Machine Gun |
| Large boss begins a charge | Body turns and attack line narrows | Cross its path, then punish recovery | Missile Pod |
| Low health after a combo | Healing item is available but points are low | Break off and preserve survival | Pistol while repositioning |
Save regularly where the game allows it, especially before experimenting with a new route or weapon strategy. If you’re playing through a modern platform or emulator, use only legitimate copies and check the official PlayStation Blog for current classic-game availability rather than assuming every retro title is sold digitally.
The final beginner route
For a clean first playthrough, keep the Pistol and Knife available, buy the Shotgun as your first serious weapon, then purchase the Heavy Machine Gun once your medical reserve is comfortable. Add the Grenade Gun if crowd control is your weakness; choose the Missile Pod instead if you’re confident against normal encounters and want stronger boss burst. Upgrade the weapons you consistently use, not the ones that look impressive in the shop.
Most importantly, spend the opening hours learning the camera and enemy telegraphs. Dino Crisis 2 becomes much easier when you stop treating every dinosaur as a target that must die immediately. Create space, protect your combo, and use each weapon for its intended job. That balanced route gives beginners the damage, safety, and ammunition control needed to survive the jungle without turning every shop visit into a crisis.
For more progression-focused reading, Steamoz’s guides to progressing without wasting resources, efficient resource planning, and weapon prioritization follow the same principle: build a reliable foundation first, then spend aggressively when the game finally gives you a reason.