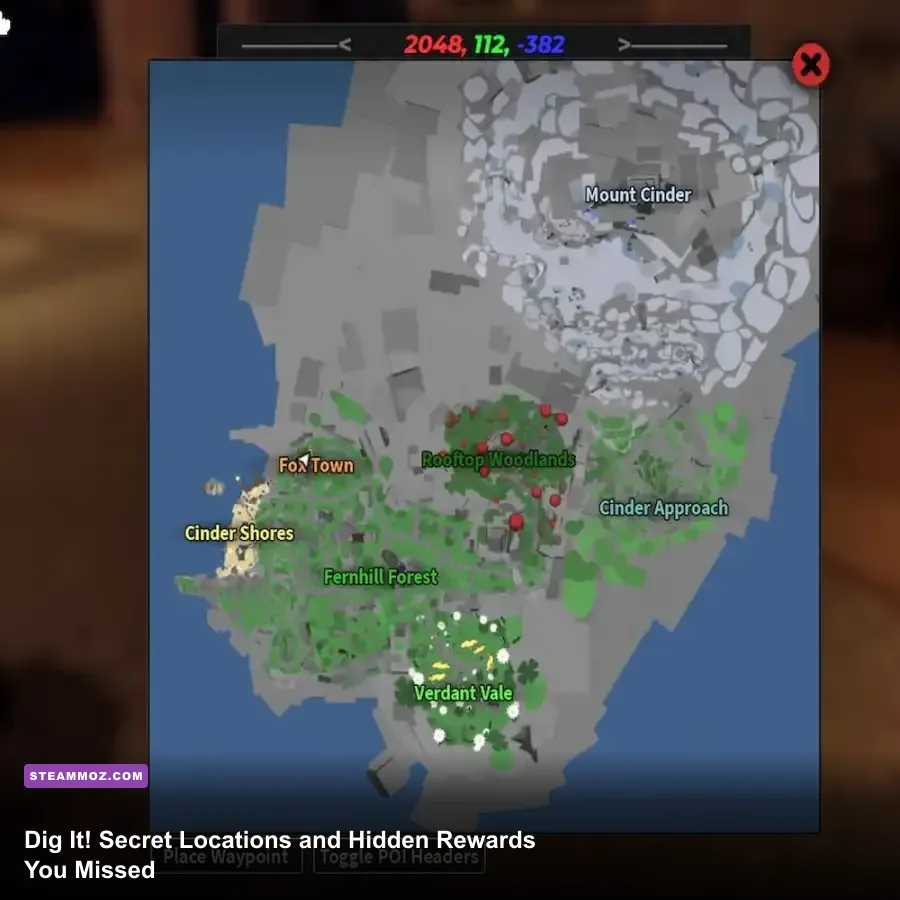
If you're hunting every secret in Dig It! - A Digger Simulator, start with the map's overlooked edges: Nookville's outer cliffs, the caves behind Piratesburg, the frozen ledges of Permafrost, and Cinder Island's volcanic shoreline. These areas hide special dig spots, collectible surprises, upgrade money, and access routes that are easy to miss if you only follow the obvious treasure patches. Bring a shovel with strong Control and Luck, keep a full stamina bar, and never leave an island until you've checked its back wall, underside, and waterline.
This guide maps the most useful hidden locations, explains how the digging minigame affects your reward odds, and gives you a clean route from a new character to the late-game islands. Dig It changes object tables and secret spawns through updates, so a reward may rotate between servers. The location itself is the important part: if a dig spot looks empty, rejoin rather than assuming you've taken it permanently.
For players who want the official game listing and current update information, check the official Roblox game page and the developer's Roblox community page. You can also compare the route with our guides to Eternal Destiny secret rewards and Everspace 2 hidden locations if secret-hunting is your preferred kind of grind.
How Dig It secrets actually work
Dig It does not treat every unusual-looking patch of ground as a secret. Most treasure comes from ordinary dig zones, while hidden rewards are tied to unusual terrain, isolated islands, small caves, NPC-adjacent objects, and areas that require you to approach from an awkward angle. Some are simply rare items in a high-level loot table; others are genuinely hidden because the entrance is behind a wall, below a ledge, or underwater.
The digging bar is still the deciding factor. Keep the marker inside the highlighted zone instead of repeatedly clicking as quickly as possible. A clean sequence gives you better control over the dig and reduces wasted stamina. Luck improves the quality of possible finds, but it doesn't turn a weak shovel into a late-game tool. Strength helps you reach deeper targets, while Stamina determines how long you can work before returning to town.
| Stat | What it changes | Why secret hunters need it |
|---|---|---|
| Luck | Improves the chance of higher-value finds | Best for rare objects and rotating treasure tables |
| Strength | Lets the shovel handle deeper dig targets | Stops valuable spots from becoming stamina sinks |
| Stamina | Controls how many digs you can complete | Useful when checking several remote locations |
| Control | Makes the timing minigame more forgiving | Safest stat for consistent high-quality digs |
| Movement Speed | Reduces travel time between spots | Excellent after your digging stats are comfortable |
There is no benefit to carrying the fanciest shovel you can barely use. A balanced tool with dependable Control will outperform a stronger shovel if every attempt ends in failed timing windows. Upgrade in this order: enough Strength to dig the current island, Control for reliable results, Luck for profit, then Movement Speed for route efficiency.

🎮 DIG IT! - A Digger Simulator
Looking to experience this game? Grab your digital key directly on our store for $2.39.
View on Steammoz Store →Nookville secrets and the beginner reward route
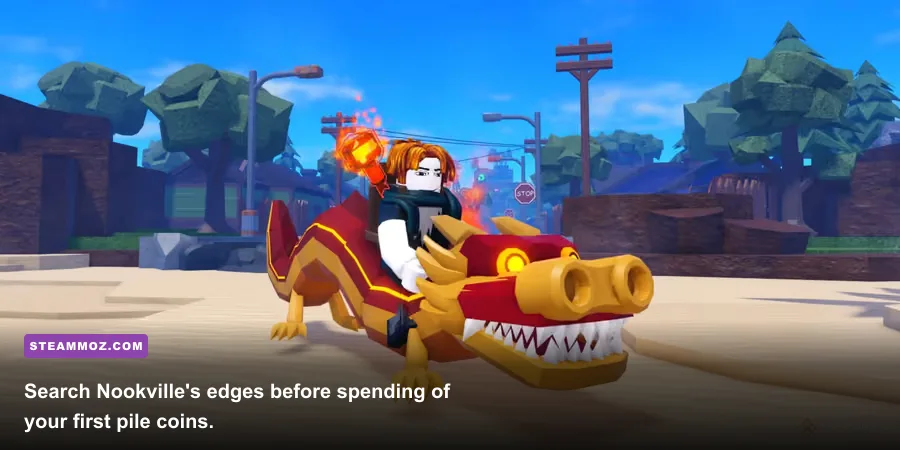
Nookville is the place most players leave too quickly. Before buying your first serious upgrade, walk around the entire settlement and inspect the coastline. The first hidden route begins near the outer cliff beyond the normal town dig area. Follow the sand away from the central buildings, turn toward the rock wall, and look for a narrow gap where the camera clips against the stone. The entrance is easy to miss because it sits below the normal eye line. Dig the isolated patch inside rather than the broad beach area outside it.
The second check is behind the town-side structures. Walk behind the NPC stalls and face the rear wall; the useful spot is separated from the main dig field by a small change in elevation. This is a good early target because it can produce sellable treasure without requiring a premium shovel. If your backpack is nearly full, sell first. Secret spots are not worth abandoning ordinary high-value items just to make room for one extra attempt.
Finally, inspect the waterline around Nookville. The camera angle makes shallow submerged patches look like decoration, but the shoreline can contain a separate object table. Stand on the sand and aim toward the darker ground beneath the water. You don't need to swim far; if the dig prompt does not appear, move along the bank in short steps rather than jumping repeatedly.
Best Nookville order
- Empty your backpack and refill stamina near the town facilities.
- Check the outer cliff gap, then the rear wall behind the NPC stalls.
- Walk the entire shoreline and test darker submerged patches.
- Sell ordinary finds, but keep unusual collectibles until you've checked their value.
- Buy a Control-focused shovel before rushing to the next region.
Nookville's main hidden reward is less about one guaranteed legendary object and more about early access to better-value finds. Treat it as a tutorial for reading the map. Every later island repeats this design: obvious dig fields are efficient, but the perimeter is where the developer hides the interesting stuff.
Piratesburg's caves, wreckage, and pirate loot
Piratesburg is where secret hunting becomes much more profitable. Start at the dock and circle the island instead of heading directly to the central pirate area. Check the underside of the raised shoreline, especially where the wooden supports meet the rock. Several spots look decorative until you angle the camera downward and walk beneath the dock structure.
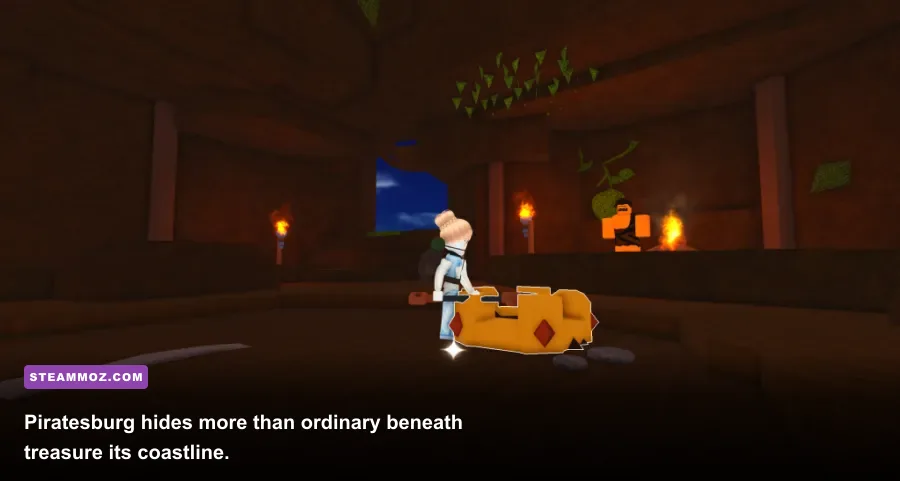
The most reliable landmark is the shipwreck area beyond the main beach. Look for broken timber, dark sand, and a rock face that forms a shallow pocket. Search the pocket first, then test the water immediately around the wreck. Pirate-themed props are not always loot containers, but their surrounding ground frequently signals a separate dig zone. Don't waste stamina digging every plank; use the interaction prompt and only commit when the shovel marker appears.
There is also a cave route behind the higher rock formation inland. From the pirate settlement, move toward the wall opposite the open sea and follow it until the path narrows. The cave entrance is partially hidden by the camera when approached from the front, so approaching along the wall is faster. Inside, inspect both the entrance floor and the deepest corner. One spot may be ordinary treasure while the second can roll a more valuable pirate-themed reward.
| Piratesburg area | Visual clue | Recommended approach | Likely payoff |
|---|---|---|---|
| Dock underside | Wooden supports and shadowed sand | Crouch-level camera, walk beneath the dock | Fast money and occasional themed items |
| Shipwreck pocket | Broken boards beside dark sand | Check the pocket, then the waterline | Higher-value pirate loot |
| Rear rock cave | Narrow wall path and concealed opening | Approach from the side, inspect both corners | Rare rotating treasure |
| Outer beach | Small isolated sand patches | Walk the coastline in one direction | Extra dig attempts between respawns |
Piratesburg also teaches an important server trick. If you have checked the shipwreck and cave but the expected prompt isn't there, leave and rejoin a different server. Secret dig spots can be occupied, on a respawn timer, or affected by another player's interaction. Rejoining is usually quicker than waiting beside an empty patch.
Badlands and Permafrost hidden paths
Badlands rewards patience more than raw gear. Its open terrain makes the secret spots look obvious, but the best clues sit at elevation changes. Walk the rim of every canyon and inspect the narrow shelves below you. If you can see a flat ledge that the normal path doesn't reach, drop down and check it. These ledges commonly contain isolated dig prompts and are safer to search before you spend stamina in the deepest sand.
Use the camera aggressively in Badlands. Rotate upward when standing near a canyon wall, then downward after dropping to a ledge. The interaction prompt can be hidden by the terrain even when you're close enough. A shovel with better Control matters here because failed attempts on remote shelves force a long trip back to town.
Permafrost has a more readable secret pattern. Search the ice caves, cliff backs, and frozen water edges. The cave entrance is usually easier to identify from the side than from the main path because snow and ice blend together when viewed head-on. Once inside, check the floor near the entrance, the rear wall, and any separated ice shelf. Don't assume one cave equals one spot.
Permafrost's cold visual palette also hides dark cracks. Look for shadows that don't match the direction of the surrounding rocks. Those cracks may mark a recessed ledge or a tucked-away dig patch. If you are still using an early shovel, focus on finding the entrance and return later; deep snow spots can consume more stamina than their first reward is worth.
Cinder Island and the late-game secret sweep

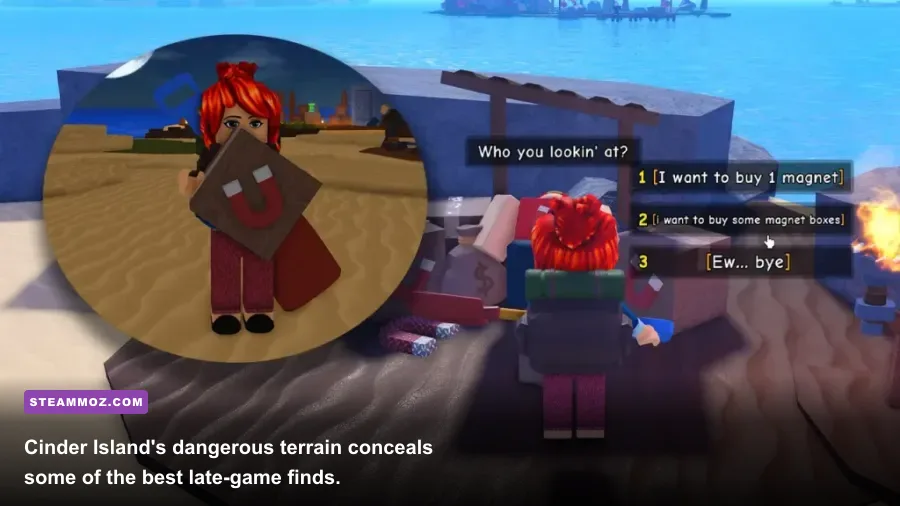
Cinder Island is the point where preparation matters. Its volcanic slopes, narrow paths, and separated landmasses make it easy to burn through stamina before you reach the actual reward. Bring a nearly empty backpack, use your strongest shovel, and avoid jumping across hot-rock gaps unless the route clearly requires it. Falling or taking a bad route costs more time than the secret itself.
Begin at the shoreline and circle the island clockwise. The first targets are black-sand pockets around cooled lava. They look like ordinary terrain, but isolated patches near the water often have better tables than the broad central field. Next, climb toward the volcanic rock and inspect the back side of each large formation. The secret is rarely on the face visible from the spawn route; it is usually around the side or below the lip.
Inside the volcanic cave network, check every branch before committing to the deepest tunnel. The route can appear linear while hiding a side shelf behind a pillar. Use short camera sweeps: left wall, floor, right wall, then turn around and check the entrance. This sounds slow, but it prevents the classic mistake of finding the main treasure and missing the tucked-away second prompt.
Cinder Island's hidden rewards are strongest when your Luck is already respectable. If you are farming money rather than collecting, compare the time per trip. A fast Piratesburg loop with a balanced shovel can beat a failed Cinder run. Secret hunting is about expected value, not bragging rights: only stay on Cinder when you can complete most digs cleanly.
Which shovel and stats should you use?
The right shovel depends on whether you are collecting secrets or simply turning dirt into coins. New players should prioritize a forgiving Control profile, while late-game hunters can trade some comfort for Luck and Strength. Movement Speed becomes valuable once you know the route, but it should not come before the stats that help you finish the dig.
| Progression stage | Priority | Best use | Common mistake |
|---|---|---|---|
| Starting Nookville | Control, then Stamina | Learning timing and checking perimeter spots | Saving every coin instead of buying reliability |
| Early Piratesburg | Strength and Control | Shipwreck and cave digging | Attempting deep spots with an underpowered tool |
| Badlands route | Control, Luck | Remote ledges and canyon shelves | Failing digs far from the return route |
| Permafrost | Strength, Stamina | Ice caves and separated shelves | Running empty before checking the second cave corner |
| Cinder Island | Luck, Strength, Movement Speed | Volcanic caves and high-value rotations | Farming there without a reliable escape route |
Don't judge a shovel by its price alone. A tool that adds Luck but makes the timing bar uncomfortable can lower your real profit per minute. Test it on ordinary dirt first. If you can complete five digs without burning through stamina or missing the marker, it is ready for secret routes. If not, keep the older tool for exploration and upgrade after another selling loop.
A complete secret-hunting route that saves time
Start every session in Nookville with an empty backpack. Check the cliff gap, rear-wall spot, and shoreline. Sell common treasure and keep only unusual collectibles or items you still need to identify. Move to Piratesburg next, circle the dock, inspect the shipwreck pocket, then take the rear-wall cave. This route gives you multiple chances without committing to a long trip.
After Piratesburg, go to Badlands only if your shovel can handle its deeper targets. Walk the canyon rim before entering the central field, and check every reachable lower shelf. Continue to Permafrost when you have enough stamina for a cave-to-cave sweep. Search the entrance, back wall, ice shelf, and frozen waterline before leaving.
Finish at Cinder Island when your backpack has room and your strongest shovel is equipped. Circle the shoreline, inspect cooled lava pockets, then sweep the volcanic cave from branch to branch. If a location has no prompt, switch servers rather than repeatedly digging the same empty patch. Secret rewards are usually worth more when you combine exploration with normal farming instead of treating every trip as an all-or-nothing legendary hunt.
For performance problems during long Roblox sessions, our PC crash and FPS fixes offer useful general troubleshooting, while the low-FPS guide for EscapeVR covers the same practical basics: lower unnecessary effects, close background apps, and keep your frame rate stable. A steady camera makes hidden prompts much easier to spot.
What to do when a secret reward won't appear
First, confirm that you are standing on the correct side of the landmark. Many Dig It secrets are angle-sensitive. Move in a slow semicircle, rotate the camera toward the ground, and watch for the shovel prompt. Next, check whether another player has just used the spot. Wait briefly, then rejoin a fresh server if it remains empty.
Do not assume every secret gives a permanent exclusive item. Some rewards rotate, some are ordinary objects from a better regional table, and some discoveries are valuable mainly because they shorten your farming route. Check your inventory after each unusual dig and compare the sell value before discarding anything. A strange collectible can be worth keeping if you are completing a collection or testing a future update's reward pool.
Most importantly, save the map knowledge. Nookville's cliff gap, Piratesburg's shipwreck pocket, Permafrost's side cave, and Cinder Island's cooled-lava shoreline are repeatable landmarks even when the object inside changes. Once those routes become muscle memory, you can check the full map quickly after every patch and catch new secrets before the crowd does.