Death Howl’s secret rewards are concentrated around off-route shrines, breakable environmental markers, and dead-end paths in each major region. The most valuable discoveries are not random card drops: they’re fixed encounters that grant Memory upgrades, rare cards, permanent resources, or access to safer routes. Check every map edge before entering a boss node, and don’t spend your first reward immediately—several secrets are much stronger when paired with a deck that already has reliable defense.
This guide focuses on the practical route: where to look, what visual tells reveal a secret, which rewards are worth taking, and when it’s smarter to skip an optional encounter. Death Howl’s map layouts can shift between runs, so the directions below use landmarks and node relationships rather than pretending every tile appears in the same order. That distinction matters. A chest may move within a sub-area, but the entrance clue and surrounding landmark remain consistent.
How Death Howl’s secrets actually work
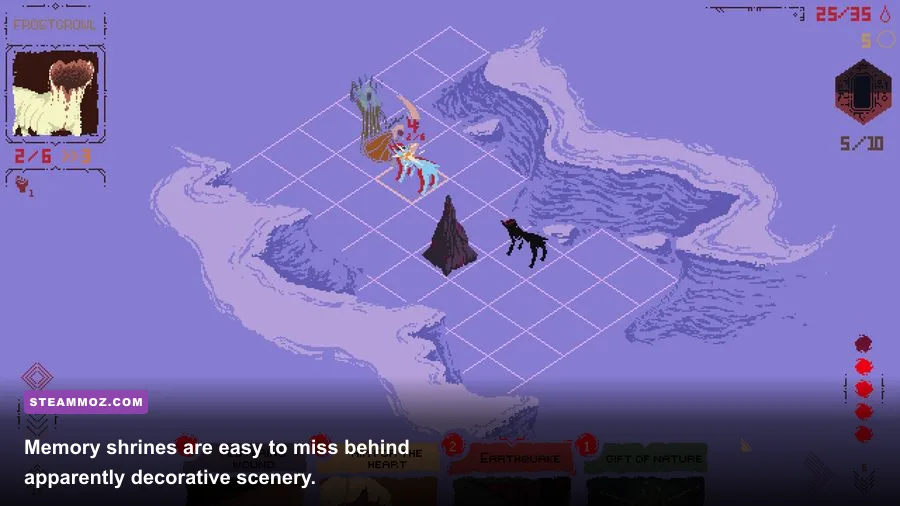
Most hidden locations are revealed by one of three tells. First, watch for a narrow walkable gap beside a solid wall. The camera can make these passages look like scenery, especially around roots, rocks, and black water. Second, look for props that break the region’s visual rhythm: a solitary stone, a pale branch, a circle of candles, or a damaged memorial. Third, listen for the soft chime that plays near a Memory interaction. It’s quieter than the sound used for normal loot, so playing with music and effects balanced at zero makes secret hunting harder.
Secrets also follow a useful risk pattern. Early caches usually offer a modest card choice or a small permanent resource, while late-region shrines ask you to fight an elite, accept a drawback, or spend a limited healing opportunity. Don’t treat every glowing object as an automatic upgrade. Death Howl rewards focused decks. A rare attack that doesn’t support your current damage engine can be worse than a common defensive card that keeps your draw cycle stable.
| Secret type | How to identify it | Typical reward | Best response |
|---|---|---|---|
| Memory shrine | Unusual landmark and faint chime | Memory upgrade or passive bonus | Activate before the next boss route |
| Hidden cache | Dead-end path or breakable obstruction | Cards, currency, or healing | Check it before committing to an elite |
| Optional spirit encounter | Isolated figure away from the main route | Rare card or trade | Enter only with a stable defense plan |
| Burial marker | Distinctive stone or candle grouping | Permanent progression resource | Interact after clearing nearby enemies |
The best preparation is simple: leave one movement option available, keep enough health for an unexpected fight, and avoid taking a route that ends directly at a boss if the map still has unexplored branches. The same patient-map habit helps in other exploration-heavy games, including this Everspace 2 secret-location guide.

🎮 Death Howl
Looking to experience this game? Grab your digital key directly on our store for $13.99.
View on Steammoz Store →The Shore secrets and early hidden rewards
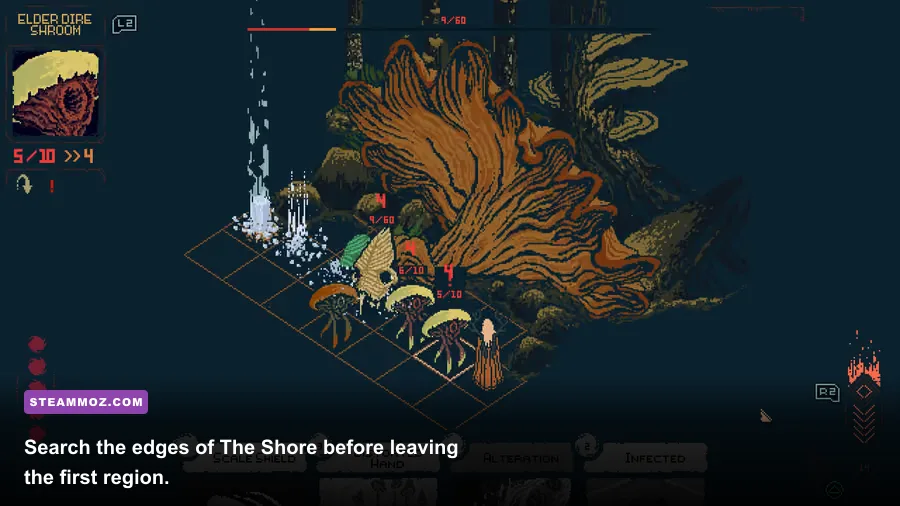
The Shore is where Death Howl teaches you to distrust the obvious route. From the first main path, follow the coastline until the terrain pinches into a narrow strip. Before taking the visible turn inland, inspect the outer edge for a side passage behind the driftwood. This is the earliest reliable hidden cache. It usually contains a low-risk reward, making it worth collecting even on a weak opening run. If the reward offers a defensive card, prioritize it over a flashy attack; early fights punish hands that cannot block consistently.
A second secret sits near the first cluster of memorial markers. Don’t interact with the central marker immediately. Walk around the back of the group and check for a gap between the rock face and the nearest post. The hidden interaction is deliberately placed outside the player’s normal line of approach. This encounter is more valuable than the first cache because it can provide an early Memory-related improvement, but it may also trigger combat. Enter with enough energy-generating cards to avoid ending the first turn with an empty hand.
The Shore’s final important secret is on the branch leading toward the region exit. If you see a standard reward node and an unmarked strip of terrain running parallel to it, take the unmarked strip first. The path bends back toward the main route after revealing a small reward point. This is the place to take currency or a card-removal benefit if offered. Removing a weak starter card has more impact than adding a fourth attack to an unfocused deck, because thinner draws make your strongest defensive and damage cards appear earlier.
Forest hidden paths, shrines, and memory rewards
The Forest contains the game’s most easily overlooked secrets. The key landmark is the split-root formation: two large roots create a V-shaped opening, but only one side is walkable. Approach from different angles rather than assuming the opening is decorative. Behind it you’ll find a shrine or a short detour with a reward interaction. The Forest’s darkness makes the entrance difficult to see, so turn the camera slowly whenever the main path runs beside a thick wall of roots.
Near the Forest’s larger enemy groups, look for a single pale plant surrounded by darker vegetation. This marks an optional spirit encounter. It isn’t always the strongest choice for a first run. The reward can be excellent, but the fight tends to punish decks that rely on one large attack instead of repeatable, low-cost damage. Bring a plan for sustained turns: cheap attacks, damage-over-time effects, or cards that convert defensive turns into offense are safer than a slow burst build.
The Forest shrine is worth prioritizing when its route doesn’t force an elite immediately afterward. Memory upgrades compound over a run, and an early passive improvement has more time to pay for itself. However, don’t cross the entire region with dangerously low health just to reach it. Death Howl’s combat system makes attrition especially costly because a bad draw can turn one minor encounter into a forced healing stop. If the shrine sits behind an elite node, mark it mentally and return only if the route remains favorable.
For broader route-planning ideas, compare the way this guide treats optional detours with Steamoz’s Dragonkin hidden-reward route. The principle is the same: explore when the detour improves future consistency, not simply because the room is technically available.
Swamp secrets and the reward traps to avoid
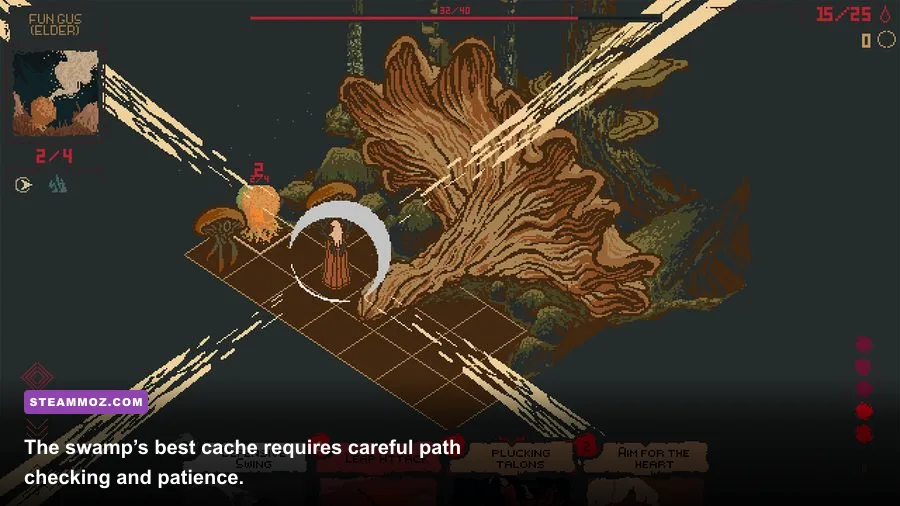
The Swamp hides rewards behind misleadingly open terrain. When the main route crosses shallow water, check both sides before stepping onto the next obvious node. One side often contains a narrow dry shelf leading to a concealed chest. The shelf may look inaccessible because of the dark water shader, but the walkable edge is usually marked by a line of reeds or small stones. Move slowly; rushing past it is the most common reason players miss this cache.
Another secret appears beside a collapsed wooden structure. Walk behind the structure rather than approaching its front interaction point. The rear path leads to a burial marker, and interacting with it can grant a permanent progression reward or open an optional combat. Clear nearby enemies first if possible. Starting the interaction while an enemy route remains active can leave you entering the fight with less health and fewer resources than necessary.
The Swamp also contains the guide’s biggest reward trap: an optional spirit that asks you to trade health or a useful resource for a rare card. Take the deal only when the card directly supports your deck’s engine. A rare card that costs too much energy, requires a status effect you don’t apply, or competes with your existing payoff can damage the run. If the alternative is healing, healing is often the correct choice. Surviving the next two encounters beats owning a card you cannot draw or play at the right time.
| Swamp discovery | Risk | Recommended reward | Skip when |
|---|---|---|---|
| Water-shelf cache | Low | Currency or card removal | Never, unless the route is collapsing |
| Collapsed-structure marker | Medium | Permanent progression reward | Health is already in critical range |
| Spirit trade | High | Rare card matching your engine | The card needs an unsupported status or combo |
Mountain altar and late-game secret routes
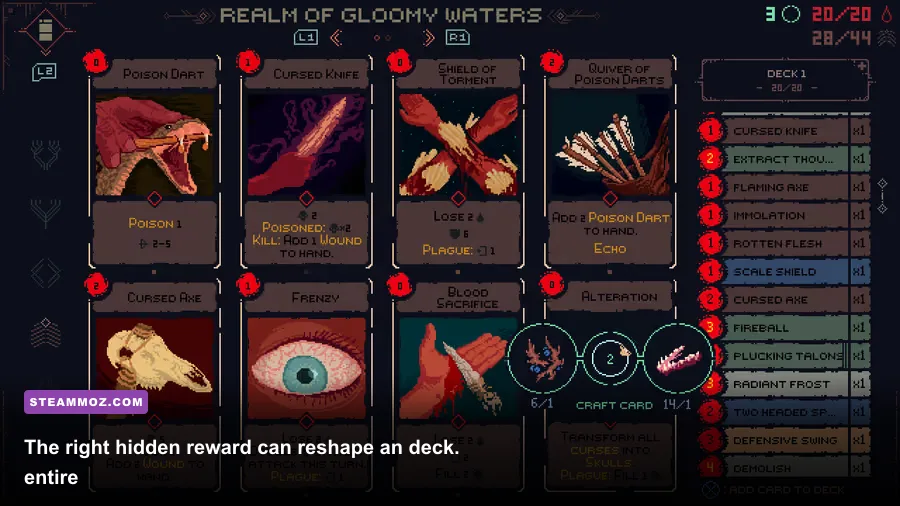
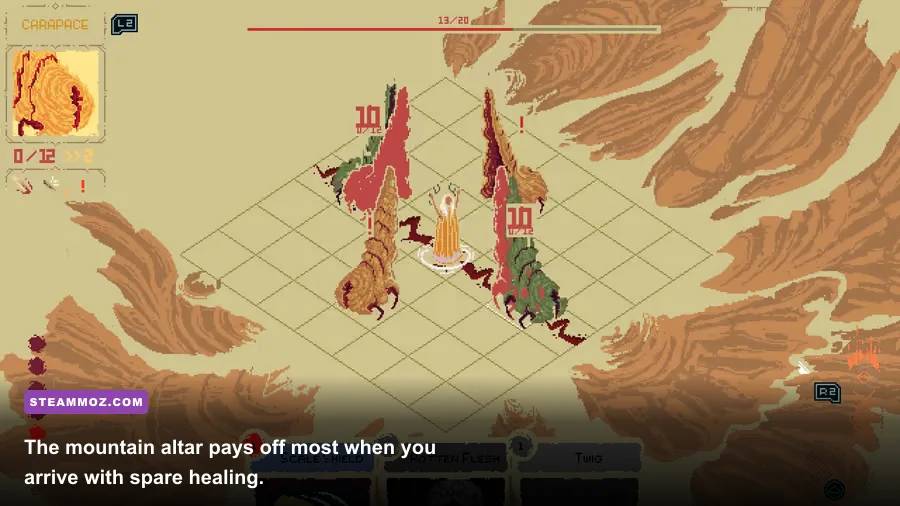
The Mountain’s hidden locations are less about visual camouflage and more about timing. Before climbing toward the final combat route, inspect any ledge that runs behind a large stone outcrop. The path usually loops back, but the loop contains an altar or high-value cache. Don’t enter the altar encounter immediately after a difficult fight if your deck has not recovered. Late-game optional battles tend to expose weaknesses that normal encounters let you hide.
The Mountain altar is strongest for decks that already have a clear identity. Defensive builds should favor a reward that improves block, energy, or card cycling. Aggressive decks should look for repeatable damage or effects that reward consecutive attacks. Avoid taking a generic high-cost card simply because it has a better rarity color. Death Howl’s late-game fights are decided by consistency, and an overstuffed deck can make your best turn arrive one round too late.
There is also a final detour near the approach to the region’s boss. If the main path narrows between two cliff faces, check the lower side before advancing. A short route leads to a last preparation reward. This is the ideal place to remove a starter card, heal, or take a modest upgrade. You’re not looking for maximum rarity here; you’re looking for the reward that patches the exact weakness the boss will exploit.
| Late-game deck problem | Best hidden reward | Why it matters | Common mistake |
|---|---|---|---|
| Hands are too slow | Energy or draw improvement | Lets key cards arrive on turn one or two | Adding another expensive attack |
| Damage is inconsistent | Reliable low-cost attack | Improves cleanup and reduces attrition | Chasing a narrow combo card |
| Defense collapses late | Block or mitigation upgrade | Creates room to survive bad draws | Ignoring defense for burst damage |
Best order for collecting every secret
For a clean completion run, collect The Shore’s side cache first, then inspect the memorial formation before leaving the region. In The Forest, prioritize the split-root passage and only take the spirit encounter if your deck can win a prolonged fight. In The Swamp, sweep both sides of every water crossing, then investigate the collapsed structure. Finally, search the Mountain ledges before committing to the boss route.
Use this checklist between encounters:
- Walk the outer wall of every new area before selecting the next node.
- Check behind isolated props, especially roots, memorials, wreckage, and stone outcrops.
- Listen for the quieter Memory interaction cue.
- Keep enough health and defensive cards for an optional fight.
- Choose rewards that improve your deck’s existing plan rather than its rarity alone.
- Revisit unexplored branches before entering a boss or irreversible exit.
Death Howl’s secrets are designed to reward attention, not brute-force completion. The strongest players aren’t necessarily finding every chest on every run; they’re recognizing when a detour improves the run and when it’s bait. If you enjoy that kind of deliberate route optimization, Steamoz’s Dungeons 4 hidden-reward guide and Everspace 2 performance guide offer the same blend of exploration and practical decision-making.
For patch notes, purchase details, and the latest version information, check the official Steam listing, the The Outer Zone website, and the developer’s official community channels. Map presentation and reward balance can change between updates, but the habits that reveal Death Howl’s hidden locations—checking edges, reading landmarks, and protecting your deck’s consistency—remain the most dependable way to find every secret.