EA Motive didn't just rebuild the USG Ishimura from scratch for the PlayStation 5; they packed its blood-splattered corridors with hidden lore, secret terminal input codes, concealed side rooms, and an entirely new canonical alternate ending. If you blasted through the campaign treating it like a standard linear shooter, you bypassed the mysterious Bridge Break Room ritual circle, missed out on max-tier Master Override weapon schematics, and skipped the 12 Marker Fragments that bridge the narrative directly into Dead Space 2. Whether you are tracking down elusive crew rigs or hunting the relocated Peng treasure, uncovering the ship's deepest mysteries transforms Isaac Clarke's survival ordeal into a masterclass of environmental storytelling.
The Break Room Ritual: Cracking the Marker's Melee Code
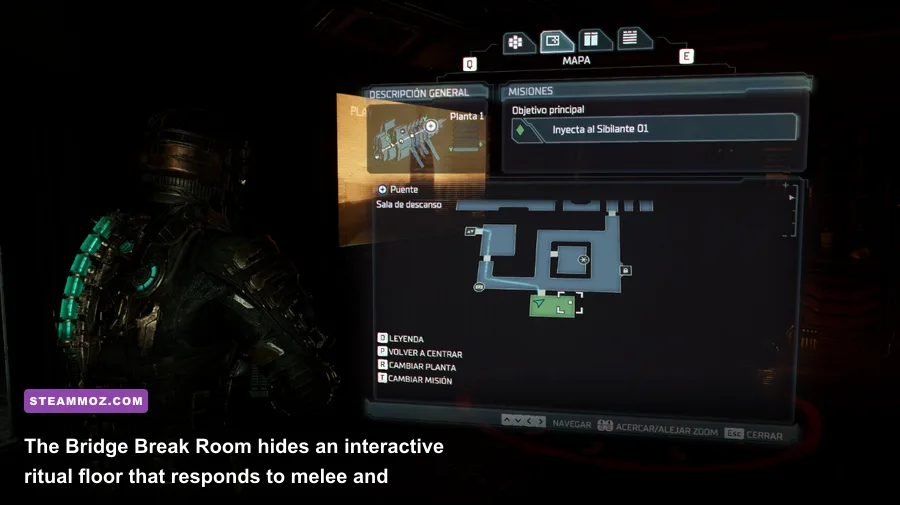
Tucked away on Floor 3 of the Bridge Deck is an unassuming space labeled the Break Room. In the 2008 original, this room was little more than a spot to grab a handful of plasma energy and catch your breath. In the PS5 remake, EA Motive turned it into an interactive puzzle chamber that houses the game's weirdest Easter eggs. When you step inside, you'll immediately notice a bloody ritual circle drawn on the deck plating, surrounded by lit candles, occult Marker glyphs, and a pair of painted shoe prints paired with hand silhouettes.
Standing inside the red outline isn't just cosmetic. If you execute specific combinations of Isaac's melee attacks (R1 or R2 on the default PS5 controller scheme) and stomps (R2 or L1 depending on your layout), the room reacts with eerie audio stingers and dispenses tangible rewards. These codes are hinted at through cryptic Marker poems scrawled across whiteboards and crew lockers throughout the ship, but you can enter them the moment you unlock the Bridge in Chapter 4.
The first sequence grants you two bonus Power Nodes instantly—an immense early-game spike for your RIG's hit points and Stasis capacity. To trigger the Power Node reward, stand firmly in the center of the circle and enter this exact cadence:
- Melee, Stomp, Stomp, Stomp, Melee, Stomp, Melee, Stomp, Stomp, Stomp, Melee, Stomp
Inputting the rhythm correctly produces an unsettling chime, and two Power Nodes materialize directly at Isaac's feet. But Motive went further. Entering an alternate combination rewards you with an exclusive, highly bizarre collectible: an Ishimura sea shanty audio log. Sung by the mining crew as their sanity unraveled, the shanty details their descent into dementia with jaunty nautical melodies layered over Necromorph groans. To trigger the secret audio log, enter:
- Melee, Stomp, Melee, Melee, Stomp, Melee, Stomp, Melee, Melee, Melee, Melee, Stomp
Just like discovering hidden rewards in classical dungeon romps, executing these sequences rewards observant players who pay attention to environmental geometry rather than simply sprinting from waypoint to waypoint.
🎮 1bitHeart
Looking to experience this game? Grab your digital key directly on our store for $2.99.
View on Steammoz Store →Hunting the 12 Marker Fragments for the Canon Alternate Ending
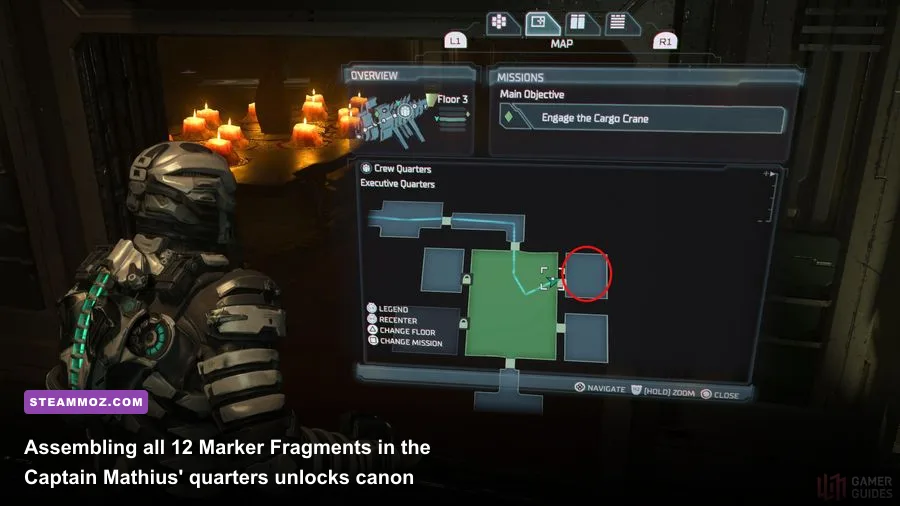
If you only beat the game on standard difficulty, you haven't seen the true ending of Isaac's journey aboard the Ishimura. The remake introduces an exclusive alternate ending that connects Isaac Clarke directly to the psychological nightmare he faces at the start of the sequel. To unlock it, you must start a New Game Plus run (labeled "Story +") and locate 12 hidden Marker Fragments scattered across the entire ship before loading the Marker onto the shuttle in Chapter 11.
These fragments don't populate your inventory as regular items; instead, they sit inside key rooms, often masked by darkness, behind breakable vent covers, or tucked into book alcoves. Grabbing them triggers a metallic, resonant pulse in your DualSense controller's haptic feedback, accompanied by whispering hallucinations from Nicole Brennan. Tracking every single piece down demands thorough backtracking, much like planning an optimal exploration route in an open-ended spacer like Everspace 2's hidden reward hunt.
| Chapter | Ship Deck | Exact Room / Location | Retrieval Method |
|---|---|---|---|
| Chapter 1 | Flight Deck | Maintenance Bay Office | Melee the glowing purple cabinet behind the data terminal. |
| Chapter 2 | Medical | Dr. T. Kyne's Office (Chief CXO) | Use Kinesis to move the medical shelving unit near the desk. |
| Chapter 3 | Engineering | Engine Room | Tucked behind the primary Power Sub-Station 03 console in the shadows. |
| Chapter 4 | Bridge | Break Room (Floor 3) | Sitting on the table next to the occult floor ritual circle. |
| Chapter 5 | Medical | Dr. C. Mercer's Office | Resting directly on Mercer's desk under the dissecting lamp. |
| Chapter 5 | Medical | Cryogenics Lab | Sitting on top of the central cryogenic freezer chamber (grab via Kinesis). |
| Chapter 6 | Hydroponics | East Grow Chamber | Hidden inside the top-tier zero-g corrupted biological mass in the ceiling corner. |
| Chapter 7 | Mining | Mineral Samples Storage | Requires Security Clearance Level 3; resting on the metal storage shelf. |
| Chapter 8 | Communications | Comm Array Hub Room | Float into the massive spherical zero-g chamber; trapped in corrupted flesh. |
| Chapter 10 | Crew Deck | Deluxe Shift Bunks | Flip the circuit breaker to unlock doors, then search the corner desk. |
| Chapter 10 | Crew Deck | Executive Inquiry Room | Lying on the ceremonial table next to Dr. Terrence Kyne's desk recorder. |
| Chapter 11 | Cargo Bay | Cargo Control Office | Sitting on the crane terminal desk prior to engaging the Marker transfer. |
Once you collect all 12 fragments, you are not quite finished. Before boarding the shuttle to Aegis VII in Chapter 11, take the Crew Deck tram and proceed to the Executive Quarters. Enter Captain B. Mathius' private office. In the center of the room, you will discover a macabre ritual shrine featuring 12 pedestal plates surrounding a miniature Marker carving. Interact with the table to place all 12 fragments into the circle.
Doing so activates eerie Marker hums, Isaac delivers a chilling monologue about "understanding what Nicole wanted," and the game flags your profile for the alternate climax. When you finish the final boss on the colony surface, the ending cutscene completely diverges from the original jumpscare: Isaac sits serenely inside the shuttle cockpit, utterly consumed by Marker-induced insanity, lovingly talking to a hallucination of Nicole while covering the flight console in Marker script. According to lore archives on the Dead Space Wiki, this matches EA Motive's vision of Isaac's mental breakdown prior to his containment on the Sprawl.
Master Override Secret Rooms: Weapon Upgrades You Locked Away
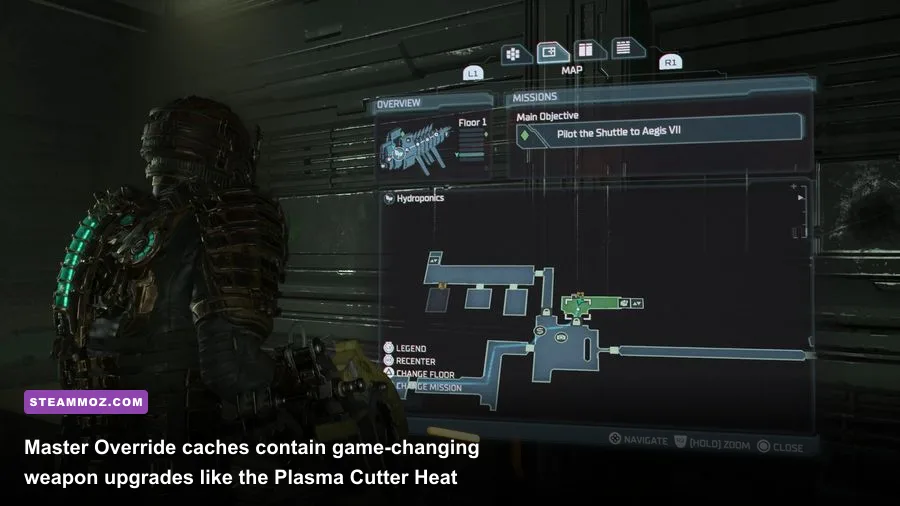
Throughout your initial sweep of the Ishimura, you will run across high-tech digital security doors and supply crates stamped with a stark yellow crest reading: Master Override Required. Unlike standard Security Clearance Levels 1 through 3—which unlock naturally as Isaac earns security clearance badges—the Master Override is an optional endgame authorization key tied to the side quest You Are Not Authorized.
To craft the Master Override, you must locate the RIGs of seven high-ranking senior crew members lost across the ship, including Flight Supervisor Voelker, First Officer White, Lieutenant Commander Holt, Mining Supervisor Dallas, Chief Engineer Rousseau, Comms Director Bailey, and Tram Engineer Benson. Returning these seven personalized RIGs to the security terminal inside the Bridge's Captain's Nest yields the Master Override keycard.
Unlocking this authorization opens seven hyper-classified security doors and high-value crates containing weapon upgrades that dramatically shift your offensive output. If you love ranking armament performance like we do in our definitive weapon tier evaluations, these Master Override attachments push basic tools into elite killing machines.
| Deck Location | Specific Compartment | Loot / Upgrade Module | Combat Impact & Synergy |
|---|---|---|---|
| Flight Deck | Cargo Bay (Hangar Area) | Heat Accumulator (Plasma Cutter) | Adds lingering thermal damage over time to every severed limb shot. |
| Hydroponics | Water Purification Hall | High-Yield Grenades (Pulse Rifle) | Expands blast radius of proximity mines from 3m to 6.5m, clearing swarmers instantly. |
| Mining Deck | Tool Storage (Near Tram) | Diffraction Module (Line Gun) | Triples the laser trap beam width, turning narrow hallways into meat grinders. |
| Engineering | Machine Shop Sub-Level | Endless Magazine (Contact Beam) | Cuts primary beam energy consumption by 25%, drastically boosting uptime. |
| Bridge Deck | Main Atrium Hallway Crate | Subsonic Oscillator (Force Gun) | Gravity well projectile releases a sustained kinetic shockwave that crushes armor. |
| Crew Deck | Deluxe Quarters Storage | High-Capacity Node Vault | Contains 3 Power Nodes and 25,000 Credits for fast suit and health tiering. |
The Heat Accumulator alone elevates the humble Plasma Cutter into the single most efficient weapon in the game. When paired with full damage branch upgrades on Isaac's suit bench, the burning ticks can melt the outer necro-flesh of Enhanced Slashers without spending secondary ammo.
The Peng Treasure and the Z-Ball Locker Secret
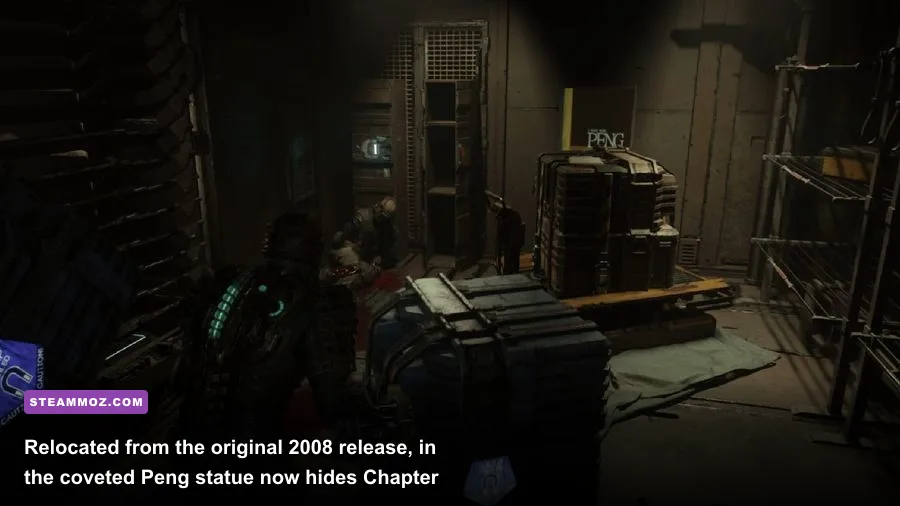
Every hardcore fan of visceral sci-fi horror remembers the legendary "There's Always Peng!" trophy from the 2008 release. In the original game, you could spot the tiny gold statue sitting between the launch walkways in Chapter 1, tantalizingly out of reach until you acquired Kinesis in Chapter 2. In the remake, Motive intentionally pulled a fast one on returning players: the statue is completely gone from the Hangar Bay's exterior trench.
Instead, Motive relocated Peng deep into Chapter 11 inside the massive Cargo Bay. To snag the statue:
- Clear the initial horde of Lurkers and Guardians in the lower bay area before manipulating the Marker crane.
- Look to the left of the main freight elevator landing. You will spot a series of massive cargo containers painted with yellow maintenance stripes.
- Use Kinesis to lift and displace two stacked alloy crates blocking a narrow crawlway between the wall lockers.
- Squeeze into the hidden alcove. Inside, you will find a poster of the iconic Peng mascot girl alongside the solid gold statue.
Grabbing the statue triggers the bronze "There's Always Peng!" PlayStation trophy and places the relic in your inventory. You can sell it at any store kiosk for a staggering 30,000 Credits—enough to purchase a massive stack of Large Med Packs or fund crucial weapon upgrades. Much like setting up an efficient combat loadout in a specialized tactical shooter build, cashing in Peng early in Chapter 11 gives you the financial firepower to max out the Contact Beam right before the Hive Mind gauntlet.
Just one deck away on the Crew Deck lies another easily missed secret: the Z-Ball Locker Room. When you enter the Zero-G Gym in Chapter 10, the game invites you to participate in an interactive zero-gravity basketball game by launching basketballs into lit hoops using Kinesis. Most players beat the first level to acquire a story-related battery and move on. However, if you complete all Level 6 rounds of the Z-Ball tournament, the gym's public announcement system congratulates you and unlocks the sealed locker room on the lower concourse.
Inside the championship locker room, you'll discover the "Z-Baller" trophy, a Ruby Semi-Conductor (worth 10,000 Credits), two Power Nodes, and a large cache of Line Racks. Considering ammo scarcity spikes dramatically in the final three chapters, completing this mini-game pays enormous dividends.
Subtle Lore Easter Eggs Connecting Isaac to Dead Space 2
Motive didn't just re-record Isaac's voice with original actor Gunner Wright; they wove dozens of subtle auditory and visual cues connecting this remake to future events. You can explore official developer deep dives on EA Motive's official Dead Space portal to see how they expanded the continuity, or pick up the title directly via the PlayStation Store Dead Space listing.
Pay close attention to these easily overlooked environmental details during your exploration:
- The Whispering 3D Audio: If you wear a Pulse 3D Wireless Headset on PS5, turn down the music and stand near the fleshy biological growth covering the Mining Tram Station. You will hear an eerie, distorted nursery rhyme singing "Twinkle, Twinkle, Little Star" in reverse—a haunting callback to the legendary launch trailer for the original 2008 title and the opening sequence of Dead Space 2.
- Director Tiedemann's EarthGov Communiques: In the Communications Hub on Chapter 8, inspect the auxiliary terminals around the outer ring. Several encrypted text logs bear the digital signature of Hans Tiedemann—the EarthGov director who oversees the Sprawl facility in the second game—revealing he was monitoring the Ishimura's mining operation months before the Aegis VII disaster took place.
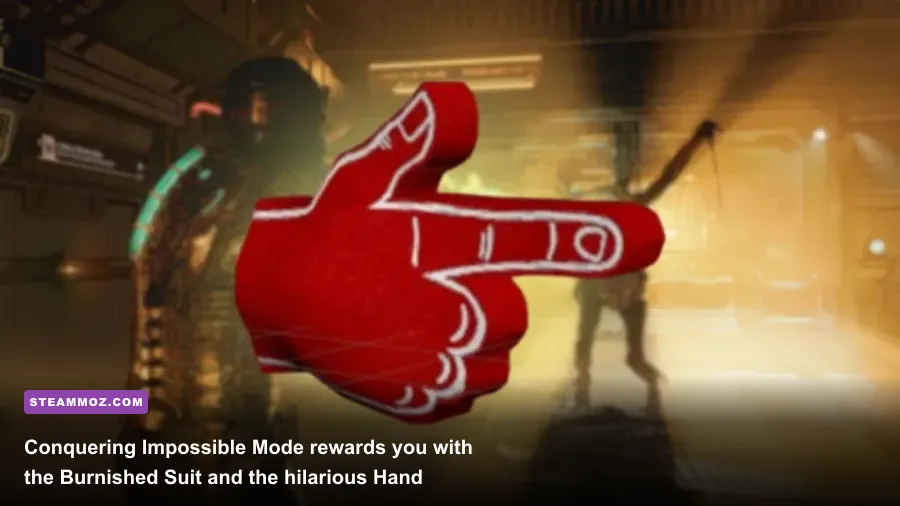
- The Hand Cannon & Burnished Suit: Conquering the campaign on Impossible Mode (which permits only a single save slot and enforces permadeath) unlocks the legendary Hand Cannon alongside the sleek Burnished Suit. Isaac ditches grim survival tools for a bright red foam finger. Whenever you fire primary shots, Isaac verbally shouts "BANG!", and alt-fire triggers a deafening "PEW!". The foam finger deals infinite, instant-kill kinetic damage to every Necromorph type in the game, turning terrifying Brutes into comedic piles of shredded flesh.
Mastering the USG Ishimura requires more than quick reflexes and steady aim; it demands that you listen to the ship's groaning metal, hunt down every encrypted terminal, and pick apart every corner of its haunting deck layout. Track down these secrets on your next run to experience Isaac Clarke's nightmare in its most complete, terrifying form.