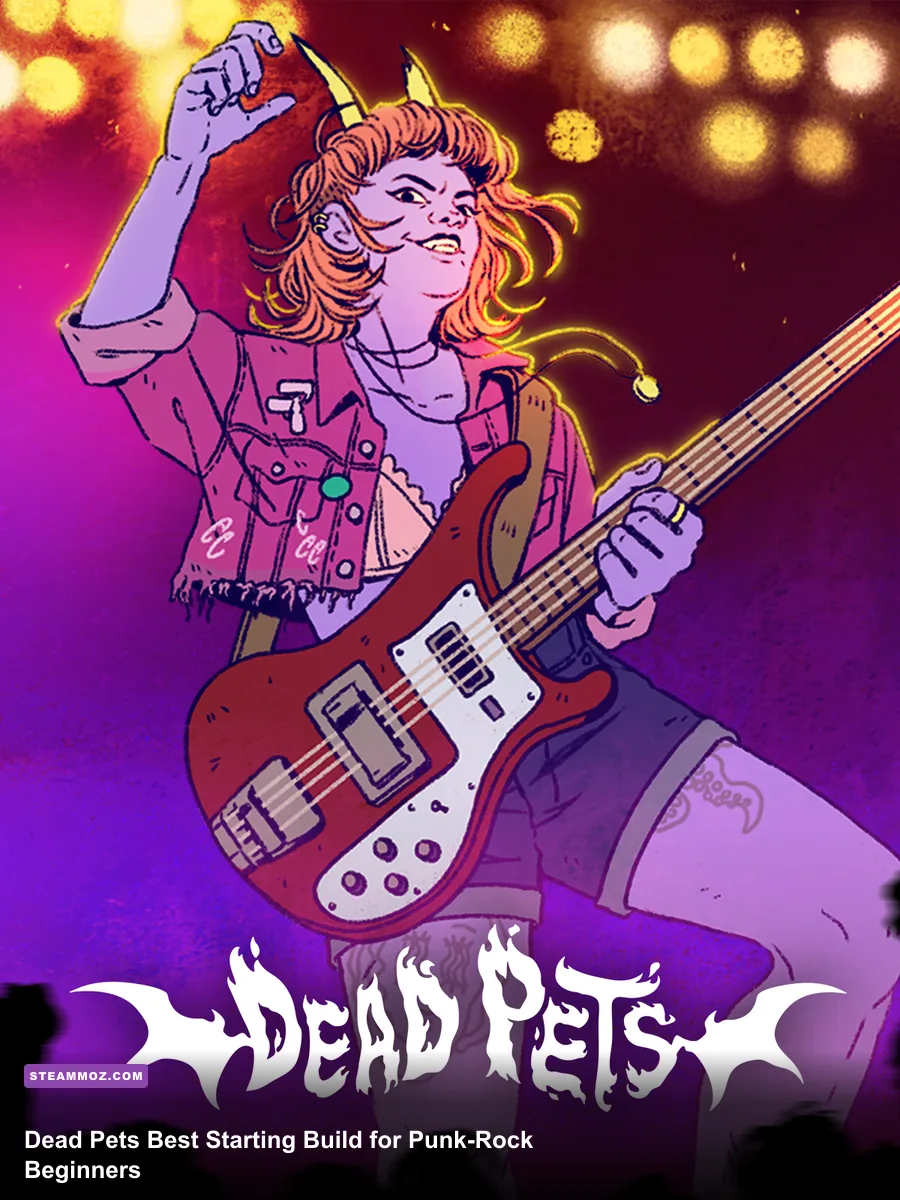
The best Dead Pets starting build for beginners is a balanced, relationship-first route: invest your earliest time in the core daily routine, protect your resources, prioritize band or creative activities when they unlock, and avoid committing to every dramatic dialogue option at once. Dead Pets is not a traditional RPG with weapons, armor, damage scaling, or a stat-heavy skill tree. Its “build” is the pattern of choices you repeat across the opening days, and the strongest beginner setup keeps money, energy, and relationships healthy while you learn which scenes advance the story.
That distinction matters. Searching for a weapon tier list or a conventional damage rotation will send you in the wrong direction. This is a punk-rock slice-of-life sim built around routine, identity, social tension, and the consequences of showing up—or failing to show up—when people need you. You are building a lifestyle and a social position, not a combat character. The guide below breaks down the safest opening route, the mistakes that quietly ruin a first run, and the best way to experiment once you understand Dead Pets’ rhythm.
The Best Beginner Build in Dead Pets

For a first playthrough, use what I call the Reliable Creative build. It has three priorities: maintain your daily needs, choose creative or band-related opportunities whenever they offer meaningful progression, and answer relationship scenes with consistency rather than trying to please everyone. This route is less flashy than an all-in rebellious run, but it gives you room to see more content without constantly recovering from an exhausted character or an empty wallet.
The Reliable Creative build works because Dead Pets’ early game is a scouting phase. You are learning which characters matter, which activities consume the most time, and which decisions are permanent or merely flavor. A balanced opening leaves enough flexibility to test different social responses. An impulsive opening can lock you into a mood, relationship, or schedule before you understand the cost.
| Priority | Beginner Choice | Why It Works | Common Mistake |
|---|---|---|---|
| Daily routine | Protect energy and basic needs first | Keeps later events from becoming recovery days | Spending every available time slot on optional scenes |
| Creative progress | Take the first repeatable music or art activity seriously | Creates a dependable progression anchor | Chasing unrelated activities before learning the schedule |
| Relationships | Be honest and consistent | Builds trust without forcing every character into approval | Changing personality every conversation |
| Money | Save a small emergency reserve | Protects the run from surprise costs | Buying cosmetic or convenience items immediately |
| Exploration | Test one new location per day | Reveals events without destroying your routine | Visiting every unlocked location in one cycle |
Think of the first several in-game days as a tutorial that does not announce itself. Record what each activity costs and what it appears to advance. If a rehearsal, conversation, or outing repeatedly opens new scenes, it deserves a permanent place in your schedule. If an activity only changes flavor dialogue, keep it for a later roleplay run.
🎮 Dead Pets: A Punk Rock Slice of Life Sim
Looking to experience this game? Grab your digital key directly on our store for $11.99.
View on Steammoz Store →How Dead Pets’ “Build” System Really Works
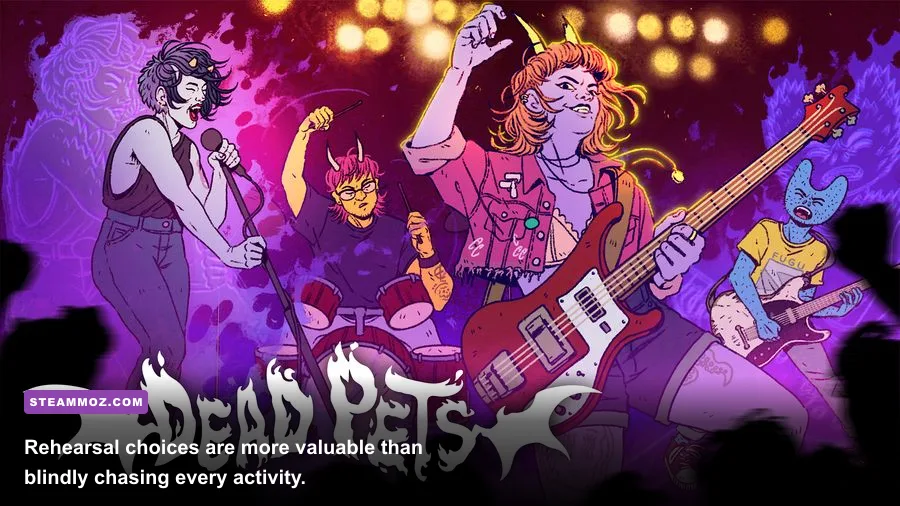
Dead Pets does not present a classic character sheet where you distribute points into strength, dexterity, intelligence, or charisma. The practical build system is made from four connected resources: time, energy, money, and social trust. The game may present these through its own interface and scene logic rather than as a traditional numerical stat panel, but they are the variables that determine whether your choices feel productive.
Time is the hardest resource to replace. A day spent on a low-value outing is also a day you cannot use for a rehearsal, a key conversation, or a personal need. Beginners should avoid treating every available activity as mandatory. Pick one main objective each day, then use any remaining opportunity for maintenance or a low-risk social scene.
Energy determines how aggressively you can stack activities. The trap is obvious once you see it: a packed day looks efficient, but the following day may become a forced recovery period. That trade is rarely worthwhile during the opening. Aim to finish most days with enough energy to respond when an unexpected event appears.
Money is your safety net. Do not assume that every purchase is progression. In life sims, the most attractive early purchases are often cosmetic, social, or convenience-focused. Save first, spend second. A reserve lets you accept a sudden opportunity instead of abandoning it because you spent everything on an item that did not unlock anything.
Social trust is not the same as universal popularity. Trying to maximize every relationship at the same time creates a shallow route and can make your dialogue choices feel incoherent. Choose one primary relationship or social circle, keep a secondary connection alive, and let the rest develop naturally. That gives you meaningful scenes without turning the protagonist into a completely different person from one conversation to the next.
| Build Element | Opening Target | How to Improve It | What Hurts It |
|---|---|---|---|
| Time | One main objective per day | Plan around recurring activities | Unplanned travel and low-value errands |
| Energy | Finish days with a reserve | Alternate demanding and light activities | Stacking every available event |
| Money | Keep an emergency buffer | Delay optional purchases | Buying items before their purpose is clear |
| Social trust | One primary, one secondary connection | Use consistent dialogue choices | Contradicting your chosen personality |
This is also why the Reliable Creative route feels better than a pure chaos build. It respects all four resources instead of maximizing one and ignoring the consequences.
Your Opening Days, Step by Step
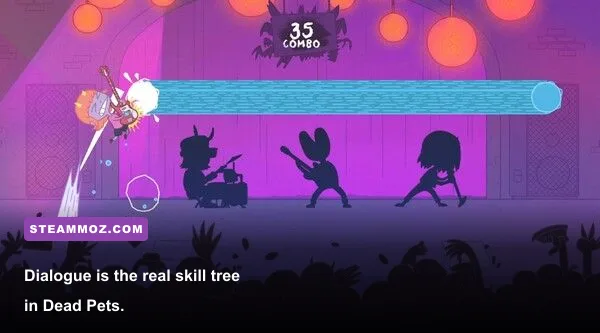
Day one: learn the loop before chasing drama
Use the opening day to identify the basic schedule. Complete the required introduction, inspect the available activities, and pay attention to what consumes a full time block versus a smaller portion of the day. Do not reload instantly after every unexpected conversation. The first run is valuable because it shows you which choices are ordinary flavor and which ones create a new thread.
If the game presents a choice between resting, practicing, or meeting someone, choose the option that establishes your preferred long-term routine. For the beginner build, that usually means maintaining yourself first, then taking the creative option if your needs are stable. You are not trying to reach a dramatic conclusion on day one.
Days two and three: establish a repeatable schedule
By the second day, select one activity that you can repeat without destabilizing the rest of your week. This is your anchor. In a music-focused route, that means treating rehearsals, practice, or band-related scenes as the backbone of progression. In a more social opening, make the most reliable recurring conversation your anchor and fit creative activities around it.
Do not spend every day with the same character simply because the scene is available. Repetition is useful when it advances a relationship or unlocks context; it is wasteful when it only repeats dialogue. If you are uncertain, alternate one creative activity with one social activity and compare the results.
Days four and five: commit to a first identity
Once the game has shown you several competing opportunities, choose an identity for the rest of the opening chapter. The strongest beginner identities are reliable bandmate, socially curious newcomer, or independent creative. The exact labels may differ by route and version, but the principle remains the same: select choices that support one attitude instead of picking the most extreme response in every scene.
At this point, start keeping a simple note of your choices. Write down who you met, what activity led to a new event, and whether an option consumed money, time, or energy. It sounds excessive for a slice-of-life game, but it makes the second run dramatically more satisfying. You will spot cause and effect instead of treating every outcome as random.
Dialogue Choices That Strengthen Your Route

Dead Pets rewards a coherent voice more than constant agreeableness. A beginner-friendly dialogue policy is straightforward: choose honesty in important conversations, curiosity when you lack context, and restraint when a response is clearly designed to escalate conflict. That does not mean playing a bland protagonist. It means making rebellion feel intentional instead of exhausting every relationship for a single dramatic line.
Use three questions before selecting a major response:
- Does this answer match the personality I have already established?
- Am I protecting a relationship I actually want to explore?
- Is the immediate emotional payoff worth losing time or trust?
The third question is the one new players skip. A confrontational response can be funny, cathartic, and completely valid for a punk-rock roleplay run. It is not automatically the strongest mechanical choice. If you are learning the game, save the most destructive options for a later replay after you understand which characters and activities you want to preserve.
Do not confuse kindness with agreement. Some scenes are better served by a clear boundary than by a comforting answer. The Reliable Creative build is strongest when the protagonist is dependable, not submissive. Say no when a request threatens your schedule or well-being, then follow through on the commitments you do accept.
Creative Activities, Social Routes, and Replay Builds
After your first stable run, Dead Pets becomes much more interesting because you can specialize. The best alternate builds are not stronger in a traditional sense; they produce different story textures and expose different consequences.
The All-In Performer
This route places every available creative opportunity ahead of social maintenance. It is ideal if you want to see how ambition changes friendships and daily life. The benefit is faster exposure to performance or band-related content. The cost is that neglected relationships may cool off, and your character may lack the energy for spontaneous scenes. Use this route only after you know which activities are genuinely productive.
The Social Connector
The Social Connector prioritizes conversations, invitations, and relationship scenes. It is the best route for players who care more about character writing than optimizing a creative schedule. Keep one maintenance block in your day so that social progress does not turn into a chain of exhausted evenings. The key mistake is trying to maintain every relationship equally; choose a central circle and let secondary connections remain secondary.
The Defiant Chaos Run
This is the punk fantasy build: challenge authority, pick the sharpest response, spend resources on immediate experiences, and accept messy consequences. It is entertaining, but it is a poor first build because you cannot tell whether a setback came from a deliberate choice or from misunderstanding the game’s systems. Once you have completed a balanced run, chaos becomes a powerful replay tool rather than a frustrating blind gamble.
| Build | Tier | Primary Focus | Best For | Main Risk |
|---|---|---|---|---|
| Reliable Creative | S-Tier | Routine, creative progress, stable relationships | First playthroughs and broad story discovery | Less dramatic early scenes |
| Social Connector | A-Tier | Dialogue and relationship development | Players focused on character arcs | Weak scheduling if every invitation is accepted |
| All-In Performer | A-Tier | Band or creative opportunities | Replay runs built around ambition | Burnout and neglected relationships |
| Defiant Chaos | B-Tier | Confrontation and high-risk decisions | Experienced players seeking unusual outcomes | Early locks and missed context |
Players coming from stat-driven games may find the lack of conventional builds strange. Guides for games such as Deltazeal’s starting build or Don Duality’s beginner route can talk about equipment and direct power spikes. Dead Pets asks a different question: which version of yourself can sustain a life without collapsing under its own contradictions?
Beginner Mistakes That Waste a First Run
First, do not treat every activity as mandatory. Optional content is often tempting because it is presented with personality and urgency. Urgency in the dialogue does not always equal mechanical importance. If accepting an invitation would exhaust you before a recurring creative activity, decline it or postpone it.
Second, do not spend your entire reserve early. Even if the game does not punish you with a traditional game-over state, limited money can remove choices. Keep enough for an unexpected opportunity and avoid purchasing anything whose function you cannot explain.
Third, stop resetting every imperfect conversation. Dead Pets is built around consequence and personality. Reloading until every character approves of you creates a route with no texture. Make notes, learn from the result, and reserve save-scumming for testing clearly irreversible decisions.
Fourth, do not confuse maximum activity with maximum progression. A three-event day is not necessarily better than a one-event day. If the extra activity causes a recovery period, the net gain may be negative. Measure progress over a few days rather than judging one crowded schedule.
Finally, do not copy a dramatic build before understanding its trigger. Community routes often assume you already know the opening schedule and the consequences of an earlier choice. Start with the Reliable Creative build, then branch after you have identified your preferred character and activity loop. That is the same reason a first-time player benefits from reading early survival tips for Din’s Curse before attempting a riskier town build.
Performance Settings for a Smooth First Run
Dead Pets is not the sort of game where a few extra frames change a combat window, but a stable presentation still matters. Dialogue-heavy scenes are easier to follow when animation and transitions do not stutter. Begin with the game’s default preset, then adjust only if your system has problems. Avoid lowering every setting automatically; slice-of-life games often rely on lighting, color, and background detail to sell their mood.
| Setting | Recommended Starting Value | Performance Impact | Visual Trade-Off |
|---|---|---|---|
| Display mode | Fullscreen or borderless fullscreen | Low | Borderless is more convenient for notes and guides |
| Resolution | Native monitor resolution | Medium | Lower only if frame pacing is unstable |
| Texture quality | High if available VRAM allows it | Low to medium | Preserves environmental detail |
| Shadow quality | Medium | Medium | Usually the safest setting to reduce first |
| Effects quality | Medium or High | Low to medium | Controls glow, particles, and venue atmosphere |
| Frame-rate cap | Monitor refresh rate or 60 FPS | Can improve consistency | None if your display supports the cap |
If you are troubleshooting a laptop, lower shadows before textures and keep the frame-rate cap stable. For more technical PC optimization advice, Steamoz’s Dragonkin settings guide explains the same sensible tuning order, while the Drawful 2 PC requirements breakdown shows why real-world performance can differ from a store-page minimum.
How to Plan Your Second Playthrough
Once you finish or reach a natural stopping point, do not simply repeat the same choices with different dialogue. Change one pillar of the build. Keep the same daily routine but prioritize a different relationship, or keep the same social target and abandon the reliable schedule for a more ambitious creative route. Isolating one change makes the consequences easier to understand.
Use your first run as a map. Mark the scenes that appeared after repeated activities, the conversations that became tense, and the opportunities you missed because of time or money. Then choose a route that deliberately targets those gaps. The strongest replay is not necessarily the happiest one. It is the one that reveals why a character reacted differently and how your routine shaped that outcome.
For a broader progression mindset, Deponia’s no-leveling progression guide is a useful comparison: some games hide advancement in exploration and problem-solving rather than visible numbers. Dead Pets goes even further by making consistency, boundaries, and social attention the practical tools of progression.
Final Verdict on the Best Starting Build
The Reliable Creative build is the clear beginner recommendation because it teaches Dead Pets’ actual game instead of forcing you into a fragile roleplay experiment. Protect your energy, keep emergency money, choose one repeatable creative or social anchor, and maintain a consistent personality in important conversations. Do that for your opening run and you will see more of the game, understand its pacing, and have a much better foundation for specialized routes.
Most importantly, remember that “best” does not mean most powerful. Dead Pets has no dominant weapon, optimal armor set, or damage rotation waiting to be discovered. The best starting build is the one that gives you enough stability to make meaningful choices. Start balanced, learn the consequences, and then let the punk-rock chaos take over on your second run.
Before launching, check the game’s official Steam listing for the current version, platform support, and updates. You can also monitor the Steam Community search and Steam news results for patches that may alter scenes, scheduling, or availability. Small changes matter in a choice-driven sim, so treat those sources as the final word when your installed build differs from an older guide.