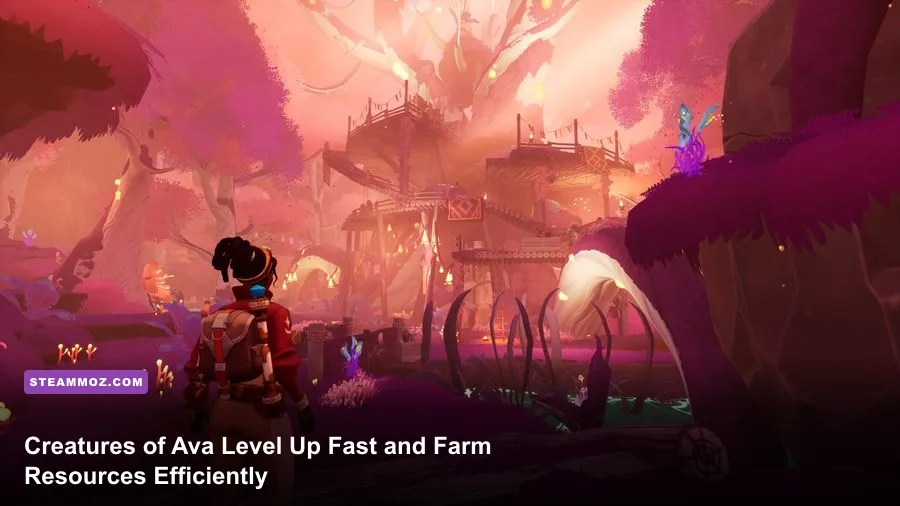
Creatures of Ava does not use a traditional gold currency or character-level grind. The fastest progression comes from stacking creature rescues, story objectives, shrines, research discoveries, and material pickups in the same route. If you're trying to level quickly, stop hunting for imaginary coin drops: clear corruption, scan every new species, unlock fast travel, and farm high-value crafting materials only after opening the next region. That approach gives you skill progression, better tools, and enough resources to keep crafting without wasting half an hour on empty loops.
This distinction matters because plenty of conventional RPG advice simply doesn't apply here. Ava isn't built around killing enemies for experience and selling junk to a merchant. Creatures are the heart of the progression system, while gathering and crafting support your exploration. You can find more general route-planning ideas in our fast leveling and gold farming guide for Empires of the Undergrowth, but Creatures of Ava rewards curiosity rather than combat repetition.
The Real Progression Currency in Creatures of Ava
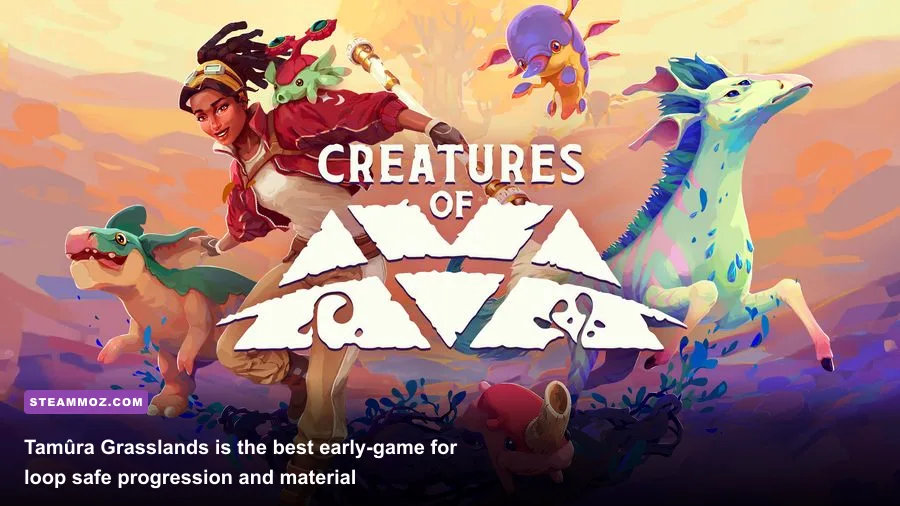
There are three progression lanes to manage: story advancement, creature research, and tool or skill upgrades. Story quests open new parts of Ava and grant access to abilities that make previously blocked routes worthwhile. Creature research expands what you can do with rescued species, while exploration rewards you with the materials required for crafting and upgrades. None of these systems asks you to bank thousands of coins.
Creature encounters are therefore your closest equivalent to experience farming. When a corrupted creature appears, use the flute to calm and rescue it rather than treating it as a disposable combat encounter. A rescue is more valuable than a defeated nuisance because it contributes to the game's research and sanctuary progression. Scan unfamiliar animals before leaving an area, too. The first discovery is much more valuable than repeatedly examining a species you've already logged.
| Activity | What It Advances | Priority | Why It Pays Off |
|---|---|---|---|
| Rescue a corrupted creature | Creature research and story progress | S-Tier | Unlocks progression while removing threats from routes |
| Complete regional objectives | Story access and abilities | S-Tier | Opens new zones, shortcuts, and better farming targets |
| Find shrines and points of interest | Skill progression and map completion | A-Tier | Rewards exploration without requiring combat grinding |
| Gather plants and crafting materials | Consumables and upgrades | A-Tier | Keeps your tools supplied for the next objective |
| Repeat already-cleared enemies | Minimal direct benefit | B-Tier | Usually slower than rescuing, scanning, or exploring |
The practical rule is simple: every trip should complete at least two objectives. If you're rescuing a creature, collect nearby plants. If you're following a quest, scan the local wildlife and open every chest on the route. Returning to the same region for one missed item is inefficient, especially before fast travel is unlocked.

🎮 Crea
Looking to experience this game? Grab your digital key directly on our store for $14.99.
View on Steammoz Store →Fastest Early-Game Route Through Tamûra Grasslands
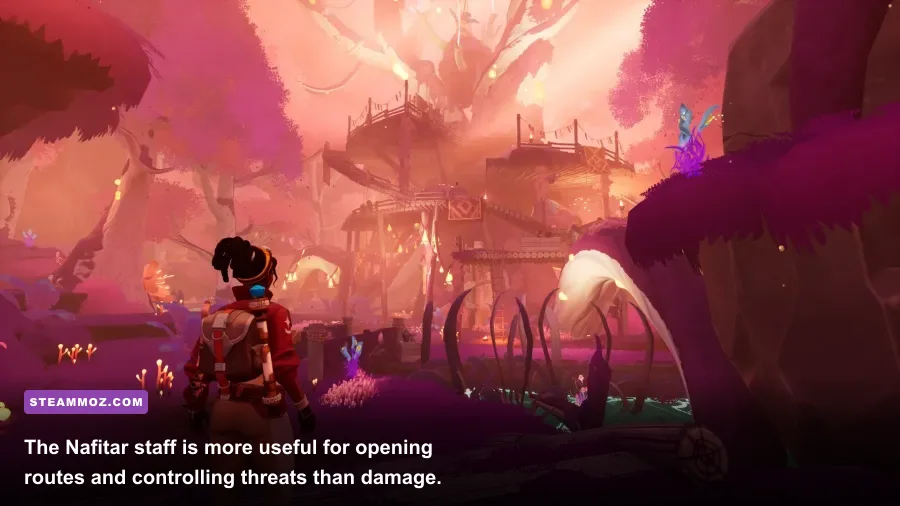
Tamûra Grasslands is your best early-game training ground because its paths are readable, creatures are easy to spot, and the region teaches nearly every important system without demanding a high combat investment. Don't sprint straight through the main quest. Make a wide loop around each objective, then return to the story marker only after you've cleared the nearby corruption and recorded new creatures.
Step 1: Unlock mobility before farming
Follow the opening objectives until the game gives you the basic tools for interacting with creatures and environmental obstacles. The first few minutes are not a farming opportunity; they're a tutorial gate. Once you can move through the region confidently, activate every fast-travel point you pass. A fast-travel network is effectively a permanent income multiplier because it turns future material runs into short, targeted trips.
Step 2: Sweep corruption clusters, not the whole map
Corruption clusters are better targets than random wandering. Clear one cluster, rescue the affected creature, collect the visible resources, and check the edges for a chest or research point. Keep moving after the area is clean. Respawning or circling ordinary wildlife doesn't create the same progression value as discovering a new species or completing a regional objective.
Step 3: Use the flute before the staff
The Nafitar staff is useful for interacting with corruption and handling hazards, but it shouldn't be your default answer to every creature encounter. The flute is the progression tool. Watch the creature's behavior, create enough space to avoid an attack, and use the rescue interaction when the game presents it. Healing items are better spent when a route contains several objectives, not after every minor hit.
Step 4: Finish the loop at the nearest camp or crafting station
Craft only what supports the next route. Stocking every possible consumable is a classic resource trap: you turn valuable materials into items you may never use. Prioritize healing, traversal necessities, and anything required by a current upgrade. Once Tamûra's main route is familiar, a productive loop should take roughly 10 to 15 minutes and include several creature interactions, a corruption cluster, one chest sweep, and a return to fast travel.
For players who like carefully optimized early builds, our beginner build breakdown for Dungeons 2 has a similar principle: unlock the tools that improve every future action before chasing specialized bonuses.
How to Farm Gold, Materials, and Crafting Supplies

Let's clear up the gold question directly. Creatures of Ava isn't designed around a gold-farming economy with merchants, enemy coin drops, or a profitable sell-and-rebuy loop. When players describe “gold farming,” they usually mean collecting the materials and rewards that prevent crafting bottlenecks. Treat those supplies like functional currency, but don't waste time searching for a traditional gold route that the game doesn't provide.
The strongest farm is a three-pass system. On the first pass, follow the objective and rescue every creature in the immediate area. On the second, collect visible plants, ore-like deposits, and interaction nodes along the path. On the third, use the map to clean up nearby chests, shrines, and points of interest. This is faster than harvesting every plant in sight because the route remains tied to meaningful progression.
| Resource Target | Best Farming Method | Spend It On | Common Mistake |
|---|---|---|---|
| Healing materials | Collect plants on every quest route | Healing consumables | Using them after harmless environmental damage |
| Traversal materials | Harvest near newly opened paths | Required exploration tools | Crafting extras before a story unlock |
| Creature-related items | Rescue and research unfamiliar species | Sanctuary and research progression | Ignoring animals after the first encounter |
| Chest rewards | Clear corruption, then search the perimeter | General upgrades and supplies | Leaving chests behind during a story sprint |
| Rare regional materials | Return after unlocking the region's traversal option | Later upgrades | Farming them before you can reach dense spawn routes |
Don't hoard everything forever. A full inventory can make a farming trip feel productive while actually blocking the materials you need next. After each major quest, visit the relevant crafting or research interface and spend enough to unlock practical capacity, healing, or traversal improvements. The best inventory is not the fullest one; it's the one that lets you finish the next objective without backtracking.
Regional farming becomes better after the story opens a new zone. Later areas contain denser material clusters and more valuable discoveries, so early-game grinding has sharply diminishing returns. If a recipe is not currently blocking progress, push the story forward instead. This is the same reason our Dragonkin hidden-rewards guide recommends delaying some collection routes until movement options make them efficient.
Skill Priorities and the Best Upgrade Order
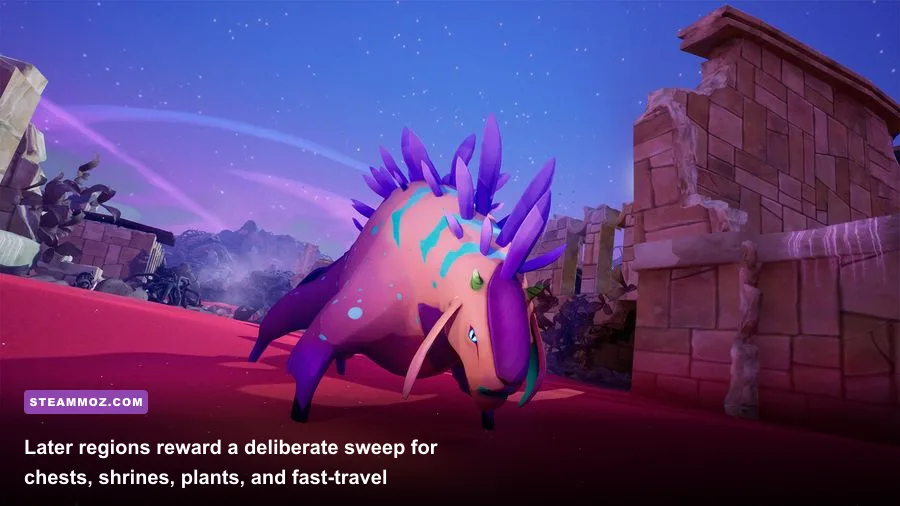
There isn't a single damage build that solves Ava. Your upgrade order should reflect how often a skill improves an action you'll perform dozens of times. Exploration, creature handling, stamina management, and survivability generally beat narrow bonuses because they benefit every region and every rescue attempt.
S-tier priorities
Take upgrades that improve movement, stamina, creature interaction, or access to blocked areas whenever they're available. A traversal upgrade can convert an unreachable chest into a short detour, while a stamina improvement lets you evade, climb, and reposition without stopping. Creature-focused upgrades are especially valuable because they make the main progression loop safer and quicker.
A-tier priorities
Invest in health and healing efficiency once your route reaches areas with more aggressive corruption. These upgrades don't speed up a perfect run, but they save failed attempts and reduce the need to retreat. Inventory capacity also rises in value once you begin combining story objectives with dedicated material sweeps.
B-tier priorities
Purely situational combat improvements are fine when you already have the core exploration tools, but they shouldn't be your first destination. Ava's combat encounters are obstacles around the rescue loop, not the main source of progression. If an upgrade helps you defeat one enemy slightly faster but doesn't improve movement, rescues, or route uptime, it belongs later.
| Upgrade Focus | Rating | Best Timing | Reason |
|---|---|---|---|
| Traversal and stamina | S-Tier | Immediately when available | Improves every route and exposes shortcuts and collectibles |
| Creature interaction and rescue support | S-Tier | Early and mid-game | Directly accelerates the game's main progression loop |
| Health and healing efficiency | A-Tier | Before a difficult new region | Protects long exploration runs and reduces retreats |
| Inventory capacity | A-Tier | When gathering becomes a bottleneck | Lets one route supply several objectives |
| Narrow combat bonuses | B-Tier | After core tools are covered | Helpful, but less valuable than universal utility |
A good combat rhythm is staff first, movement second, rescue third. Use the Nafitar staff to create an opening or deal with the immediate corruption hazard, reposition before the enemy's attack reaches you, then return to the creature interaction. Standing still and trading hits is slower than controlling distance. If your health is dropping during a rescue, the problem is usually route positioning rather than a missing damage upgrade.
Mid- and Late-Game Farming Without Burning Out
Once you reach regions such as Nari Jungle, Maruba Swamp, and Antaris Desert, stop thinking in terms of one perfect farm. Each zone has a different risk profile and a different reason to revisit it. Jungle routes tend to punish poor visibility and navigation, swamp paths make positioning more important, and desert exploration encourages deliberate preparation before committing to a long sweep.
Before entering a new region, complete the following checklist:
- Activate every fast-travel point on the approach.
- Carry enough healing for a full objective loop, not just the next encounter.
- Leave inventory space for regional materials and chest rewards.
- Mark blocked paths mentally or on the map instead of repeatedly testing them.
- Rescue new creatures before revisiting already-cleared encounters.
After the region's main traversal or story ability is unlocked, return for the efficient sweep. This second visit is where your resource haul improves dramatically because you can chain shortcuts, reach previously blocked caches, and combine multiple map objectives. Trying to force a 100 percent clear on the first visit is usually the slowest option and can make the game feel grindier than it really is.
Keep an eye on performance during large creature gatherings and dense vegetation. If frame pacing becomes uneven, lowering shadows and foliage quality usually helps more than reducing texture quality. Stable movement matters because missed rescue prompts and delayed dodges cost more time than a slightly softer image. For broader PC optimization habits, see our guide to settings that make every frame count.
The 15-Minute Efficient Farming Loop
Use this loop whenever you need supplies without derailing the story. Start at the nearest fast-travel point, move toward a quest or known corruption cluster, and rescue every unfamiliar creature on the way. Pick only the materials visible along that route. Clear the cluster, search its perimeter for a chest or research point, then return to the station or fast-travel point. If the loop produces no new creature, chest, shrine, or story progress, abandon it and move to the next region.
- Prepare: empty a few inventory slots, equip the tools needed for the current region, and carry healing.
- Travel: choose a route that combines a quest marker with creature and material density.
- Rescue: prioritize corrupted or undiscovered creatures over ordinary combat.
- Harvest: collect route materials, but don't stop for isolated low-value nodes.
- Clear: remove the nearby corruption and inspect the edges for hidden rewards.
- Cash out the value: craft only current necessities and invest progression rewards immediately.
That is the entire secret behind fast leveling and “gold farming” in Creatures of Ava: reduce empty travel, make every encounter do two jobs, and postpone deep collection until the map gives you better movement tools. The official Creatures of Ava Steam page is useful for platform and feature information, while the developer's official site is the place to check for broader game updates. For a second opinion on route discipline, our Everspace 2 secret-locations guide covers the same principle from a much more combat-heavy game.
Don't grind enemies for nonexistent experience, don't treat gold as a standard RPG currency, and don't clear every region before the story grants its traversal tools. Rescue, research, explore, upgrade, and then return with better mobility. Ava's progression is built to reward that rhythm, and once you follow it, the campaign moves quickly without ever feeling like a spreadsheet exercise.