The best beginner build in Cook, Serve, Delicious! 3?! is a low-complexity menu built around burgers, hot dogs, fries, and one forgiving specialty item, supported by upgrades that reduce mistakes rather than chase maximum score. This setup gives you familiar cooking patterns, short preparation chains, and enough variety to complete early route objectives without turning every service into a frantic memory test. Start simple, learn the ticket flow, then add demanding recipes only after your accuracy becomes consistent.
This guide focuses on Cook, Serve, Delicious! 3?!, the food-truck sequel from Vertigo Gaming. The advice also applies to the earlier games, but the campaign structure, travel routes, truck loadouts, and recipe handling in the third game make a deliberate starter build especially valuable. If you are coming from another management game, our beginner strategy tips for Dungeons 3 cover a similar principle: reliable fundamentals beat ambitious early optimization.
The starter build that makes early services manageable
Your first goal is not to create the most profitable menu. It is to build a menu that lets you understand how Cook, Serve, Delicious! processes orders. Every recipe asks you to recognize an order, perform a sequence of inputs, watch timing, and hand over the finished dish before customer patience collapses. A menu overloaded with long sequences makes it harder to identify which part of the process caused a mistake.
Use burgers as your core recipe. They teach assembly, ingredient selection, and order accuracy without demanding the same timing pressure as some of the more involved dishes. Add hot dogs for a second recipe that feels familiar but uses a different preparation rhythm. Fries are a strong third choice because they teach batch timing and finishing actions while remaining easy to recognize at a glance.
For the fourth slot, choose a recipe you genuinely enjoy rather than blindly selecting the highest-value option. A basic taco, pizza, or sandwich-style dish can work, provided its instructions are short enough that you can complete them without repeatedly checking the ticket. Avoid stacking several recipes that all require precise cooking windows. When multiple dishes beep, flash, or demand attention at the same time, beginners lose more revenue through errors than they gain from theoretical menu value.
| Build Element | Recommended Choice | Why It Works | Beginner Warning |
|---|---|---|---|
| Core recipe | Burgers | Clear assembly pattern and easy order recognition | Read toppings carefully before serving |
| Second recipe | Hot dogs | Simple alternate rhythm and quick ticket reading | Do not rush the final topping step |
| Third recipe | Fries | Teaches batch timing and multitasking | Start batches only when you can track them |
| Fourth recipe | Simple sandwich, taco, or pizza | Adds variety without overwhelming the menu | Remove it if its steps cause repeated misses |
| Upgrade focus | Capacity, forgiveness, and workflow | Improves consistency across every route | Do not spend everything on score-chasing upgrades |
The key is menu contrast. Burgers and hot dogs should not be joined by three more recipes with nearly identical topping lists. You want to recognize each order instantly. A clean mental distinction between “assemble burger,” “finish hot dog,” and “monitor fries” is more valuable than squeezing in one extra complicated dish.
🎮 Cook Serve Delicious!
Looking to experience this game? Grab your digital key directly on our store for $3.24.
View on Steammoz Store →Recipe priorities and the early progression curve
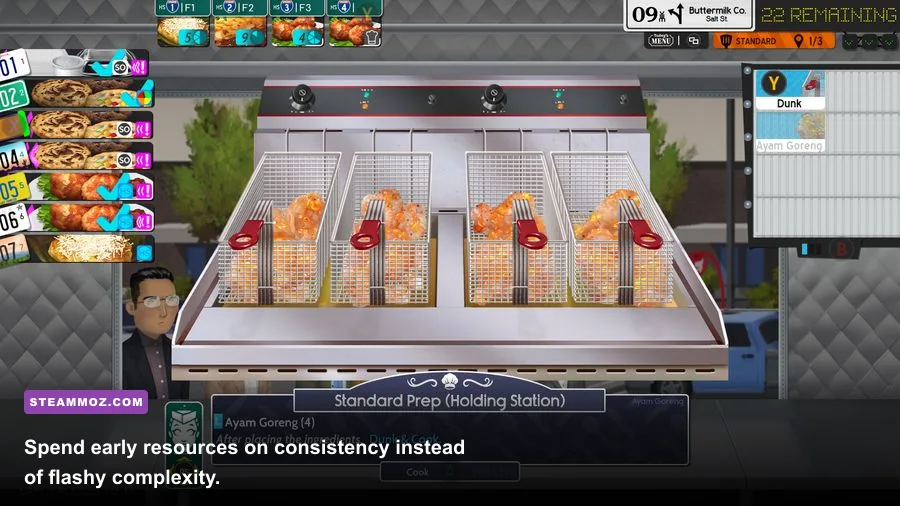
Cook, Serve, Delicious! 3?! includes more than 200 foods, but unlocking a large selection does not mean you should equip everything immediately. Think of recipes as workload modifiers. A recipe with a long input chain, multiple timers, or several possible finishing states consumes attention even when it pays well. Early on, attention is your real limiting resource.
Prioritize dishes using four questions. How many actions does the order require? Does it use a timer that can expire while you handle another customer? Can you identify the correct version instantly? And does it overlap with the timing of your other equipped foods? A dish that looks profitable on paper may be a terrible starter choice if it creates collisions with fries or another timed recipe.
S-tier beginner recipes
Simple burgers, hot dogs, and fries belong in the S-tier for learning. They expose the central loop without burying you in exceptions. You can practice queue awareness, ingredient confirmation, and handoff timing while still recovering from a mistake. These dishes also make it easier to understand why a customer became unhappy: you can usually trace the error to an incorrect ingredient, a missed timer, or a bad handoff.
A-tier recipes
Basic pizzas, sandwiches, tacos, and similarly readable dishes are excellent once you can complete your first three recipes cleanly. They add variety and can improve route flexibility, but only if their preparation steps remain comfortable. Test one new A-tier food at a time. If your score drops sharply, that is useful information: the recipe is not necessarily bad, but it may be arriving before your muscle memory is ready.
B-tier recipes for later
More elaborate foods, especially those with several cooking stages, unusual input sequences, or narrow timing windows, should wait. They are not weak recipes. They are attention-hungry recipes. Experienced players can build around them, but beginners often equip too many at once and then blame the route for failures that came from menu overload.
| Tier | Recipe Type | Best Use | When to Add It |
|---|---|---|---|
| S-Tier | Burgers, hot dogs, fries | Learning inputs, tickets, and timing | Immediately |
| A-Tier | Simple pizza, taco, or sandwich | Adding variety and route flexibility | After clean early services |
| B-Tier | Multi-stage or timer-heavy foods | Score optimization and advanced routing | After consistent high ratings |
| Avoid early | Recipes with overlapping timers and long chains | Specialized expert menus | Only when you know their failure points |
Do not judge a recipe after one bad service. Play several runs and watch what actually fails. If you miss ingredient inputs, the problem is recognition. If food burns or expires, the problem is scheduling. If customers leave before you reach them, the problem is queue management. Each failure points to a different adjustment, and changing the entire menu every time prevents you from learning the cause.
Best upgrades for a first food truck
The strongest early upgrades are the ones that make your existing menu more forgiving. In practical terms, prioritize equipment or truck improvements that give you more room to react, increase usable capacity, or reduce the punishment for a single missed action. A beginner does not need a perfect high-score engine; they need enough breathing space to finish orders while learning the controls.
Capacity upgrades are particularly valuable when a route begins producing overlapping orders. They let you prepare the next item without abandoning the customer currently in front of you. After that, look for upgrades that improve cooking control or extend your recovery window. An upgrade that saves one disastrous order every few services can outperform a small income bonus because failed orders damage both cash flow and confidence.
Be cautious with upgrades that add complexity. More stations, additional prep options, and specialist equipment can be powerful, but they also create more decisions per second. If an upgrade requires you to memorize a new sequence while you are still missing burger toppings, postpone it. You can always return to an earlier route and test new equipment once your base menu is stable.
| Upgrade Priority | What to Seek | Gameplay Benefit | Why It Beats a Flashy Upgrade |
|---|---|---|---|
| 1 | Capacity or additional usable prep room | Handles overlapping orders | Prevents queue collapse during busy waves |
| 2 | Timing forgiveness or easier cooking control | Creates recovery time after mistakes | Improves completion rate, not just theoretical income |
| 3 | Workflow improvements | Reduces unnecessary movement and input friction | Makes every recipe more consistent |
| 4 | Income or score bonuses | Raises rewards when your service is already clean | Weak value if customers are still leaving unhappy |
| 5 | Complex specialist equipment | Enables advanced menus | Best saved for deliberate expert builds |
There is no shame in replaying a route before buying the next major upgrade. The campaign is built around learning the road, not sprinting through every unlock. If you are used to action games where new gear always equals more power, this is a different kind of progression. Your hands and eyes are part of the build. The best equipment is useless if your menu demands more attention than you can comfortably provide.
How to run the build during a busy service
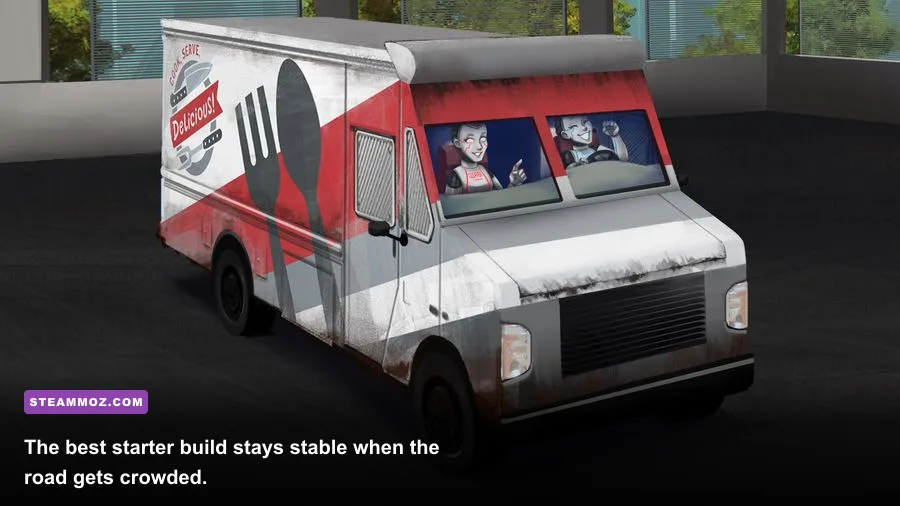
The starter rotation is straightforward: scan the order queue, begin the item with the longest timer, complete any nearly finished dish, then return to the front customer before the line becomes dangerous. Do not automatically serve the oldest ticket if another item is seconds away from expiring. A burned or spoiled dish creates a bigger setback than briefly delaying a customer who still has patience.
Step one: read before pressing
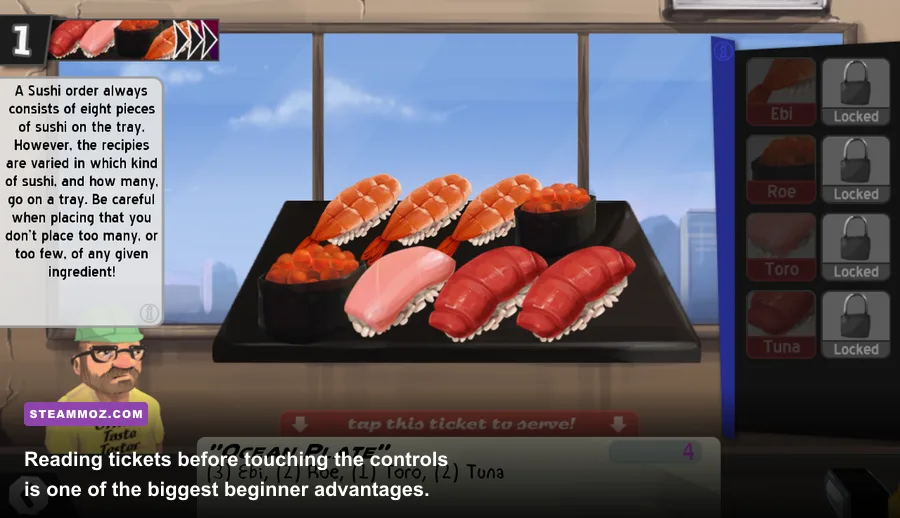
When a ticket appears, spend a short moment identifying the recipe and its required ingredients. This is faster than correcting an incorrect order after several inputs. For burgers and hot dogs, pay special attention to toppings and sauces. The recipe name tells you the broad action, but the ticket determines the exact finish.
Step two: protect timed food
Fries and other timed dishes should be started only when you have a plan for their finish. Beginning every batch immediately feels productive, but it creates a wall of simultaneous deadlines. Start the longest timer first, then use the downtime to assemble a burger or prepare a hot dog. You are effectively creating a queue inside the kitchen, and that queue needs the same discipline as the customer line.
Step three: use safe recovery
When two orders arrive together, choose the one with the tighter deadline or the more fragile preparation. Finish it, serve it, and then clear the simpler order. Do not panic-switch between multiple recipes every second. Constant switching causes accidental inputs, and accidental inputs are especially costly when the game is asking you to remember a multi-step sequence.
Use the pause function whenever you need to study a ticket or reset your plan. Pausing is not cheating; it is a legitimate tool for learning a recipe. Once the sequence becomes automatic, you will naturally pause less. That transition is the point of practice. Even veteran players benefit from slowing down briefly when a route introduces a new recipe or an unusual order pattern.
| Service Problem | Likely Cause | Immediate Fix | Long-Term Build Change |
|---|---|---|---|
| Wrong toppings | Serving from memory instead of reading the ticket | Pause and verify every ingredient | Remove visually similar recipes temporarily |
| Burned food | Starting too many timed items together | Prioritize the nearest expiration | Use fewer timer-heavy recipes |
| Long customer queues | Ignoring simple orders while cooking complex ones | Finish and serve the fastest safe ticket | Add capacity or simplify the menu |
| Missed inputs | Rapidly switching between stations | Complete one sequence before changing tasks | Choose recipes with distinct action patterns |
This rhythm resembles the deliberate routing used in our fast leveling and gold route guide for Dungeons 2: identify the bottleneck, solve it first, and stop wasting actions on tasks that do not improve the immediate situation.
When to expand beyond the beginner menu
Expand when your current build feels boring, not when it feels barely survivable. A good benchmark is completing several services with few or no incorrect orders while still having enough attention to watch the queue. If you are winning only by frantic last-second saves, adding another complicated recipe will probably make the next route worse.
Add new foods one at a time. Play a route with the new item, note its input sequence, and decide whether it clashes with burgers, hot dogs, or fries. If the new recipe has a timer that ends at the same moment as your existing timed food, either replace the old item or accept that you are moving into an advanced scheduling build. Do not keep both simply because they are individually profitable.
Once you are comfortable, create specialized menus for different goals. A speed menu can favor short recipes and fast handoffs. A high-score menu can include demanding foods that reward perfect execution. A learning menu can deliberately mix one new recipe with three familiar ones. That last option is usually the smartest way to explore the game’s huge food list without turning every attempt into a reset.
Remember that Cook, Serve, Delicious! 3?! is designed around repetition and mastery, not a single permanent character build. You can experiment with food trucks, routes, and equipment without ruining your campaign. The beginner build is simply a training platform: burgers, hot dogs, fries, one controlled experiment, and upgrades that buy breathing room.
For more route-based strategy reading, check out our fast leveling guide for Empires of the Undergrowth and the beginner build guide for Dungeons 2. The genre changes, but the lesson holds: build around what you can execute repeatedly, then optimize after the fundamentals stop breaking.
If you want to verify the game’s current features, recipe count, and platform details, visit the official Steam page for Cook, Serve, Delicious! 3?!, browse Vertigo Gaming’s official website, and compare the broader series information on the developer’s Steam developer page.
Bottom line: equip burgers, hot dogs, fries, and one simple experimental recipe; buy capacity and forgiveness upgrades first; start timed foods with a clear plan; and add complexity only after your order accuracy is dependable. That is the best starting build for beginners because it teaches every important system without forcing you to fight your menu at the same time as your customers.