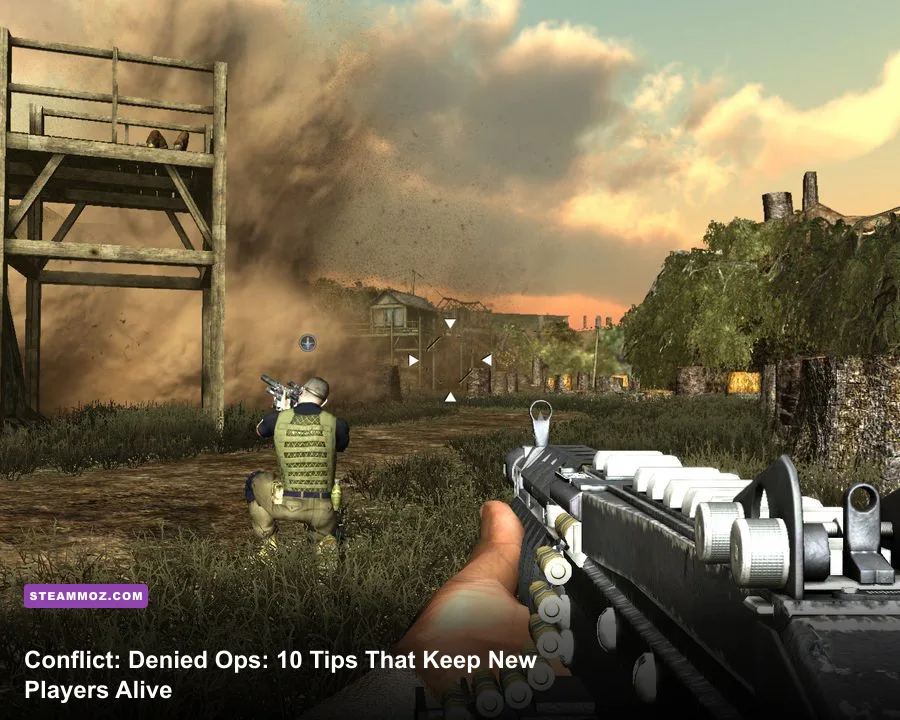
Conflict: Denied Ops becomes far less punishing once you stop treating it like a standard run-and-gun shooter. The winning formula is simple: use Lang for precision and reconnaissance, put Graves on heavy-fire duty, move between cover before it collapses, and save explosives for armor, emplacements, and clustered enemies. These 10 tips explain the systems the game barely teaches, from agent switching and destructible cover to ammunition discipline and co-op positioning.
Released in 2008 by Pivotal Games, Conflict: Denied Ops is an old-school tactical FPS built around a two-man CIA team. It isn't an RPG, so there are no skill trees or permanent stat upgrades to rescue sloppy decisions. Your advantage comes from choosing the right operative, reading enemy positions, and controlling the pace of each encounter. If you're coming from a newer shooter, that deliberate rhythm is the first adjustment to make.
1. Learn What Lang and Graves Actually Do
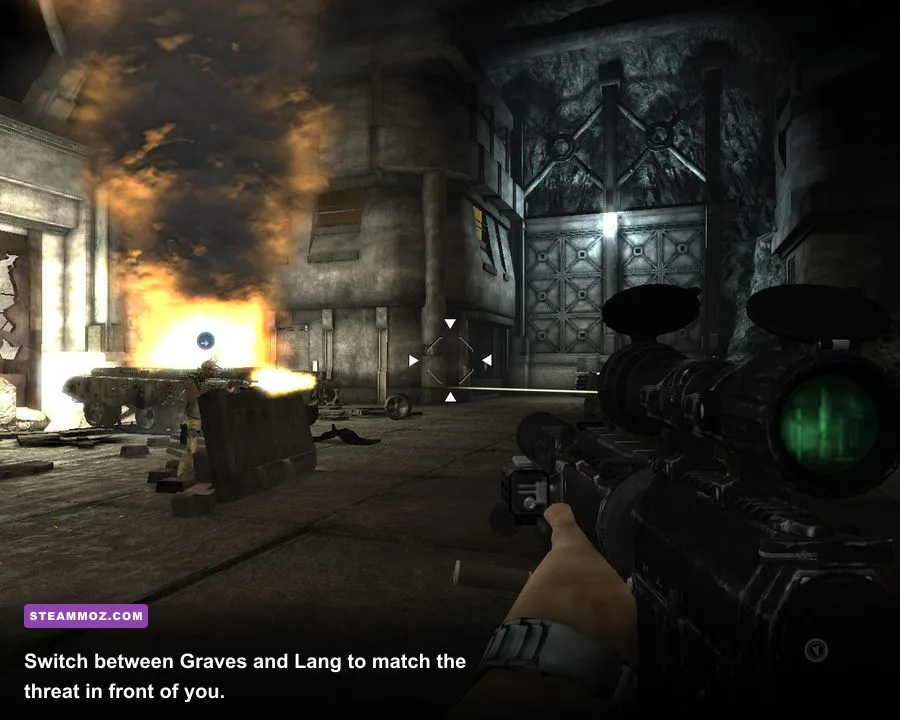
The most important mechanic in Conflict: Denied Ops is the ability to switch between Lincoln Graves and Reggie Lang at any time. They aren't cosmetic alternatives. Their weapon roles encourage completely different approaches.
Lang is the precision specialist. His sniper-oriented loadout makes him ideal for watching lanes, picking off exposed soldiers, and disabling the enemy who is preventing your advance. Graves is the assault specialist, built around automatic fire, heavier weapons, and pushing through resistance. If a position is packed with riflemen or protected by a machine-gun nest, Graves should usually lead the attack.
That doesn't mean Lang must stay behind for an entire mission. Use him to thin a room, switch to Graves for the breach, then return to Lang when the next wave appears. The best players constantly ask which agent has the safer and more useful job right now.
| Agent | Best Role | Strongest Situation | Common Mistake |
|---|---|---|---|
| Reggie Lang | Precision fire and overwatch | Long sightlines, exposed officers, distant shooters | Taking close-range fights against several enemies |
| Lincoln Graves | Assault and suppression | Breaches, clustered infantry, fortified positions | Wasting heavy ammunition on isolated targets |

🎮 Conflict: Denied Ops
Looking to experience this game? Grab your digital key directly on our store for $0.89.
View on Steammoz Store →2. Switch Agents Before You Need To
New players often wait until their current character is nearly dead before switching. That is already too late. The swap is most powerful as a pre-emptive decision: send Lang to a window before the team crosses an open yard, or put Graves in front before you trigger a close-quarters ambush.
Use the inactive agent as a second gun, not as a forgotten escort. If Lang is behind cover with a clean angle, keep him there while Graves advances. When you take control of Graves, the AI-controlled Lang can still contribute, but it won't always select the best target or move intelligently around collapsing cover. Switching gives you direct control over the fight's most important angle.
There is also a practical survival benefit. If your active agent is pinned, swapping lets you attack from a different position without exposing the wounded character. This is particularly useful when an enemy machine gun has locked down a doorway. Don't repeatedly peek the same lane. Change the angle through the second agent, eliminate the threat, and only then resume the push.
3. Treat Destructible Cover as a Countdown
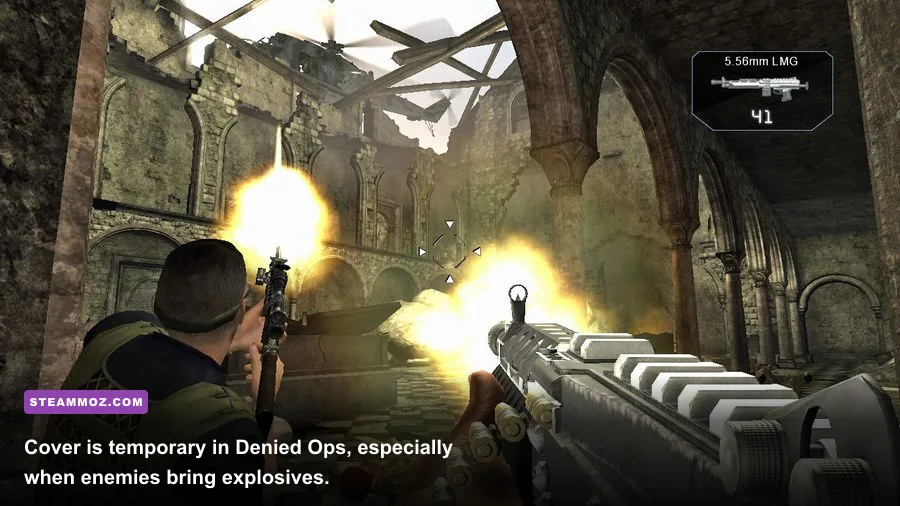
Denied Ops uses destructible environments more aggressively than its dated visuals might suggest. Walls, barricades, wooden structures, and other pieces of cover can be damaged or destroyed. A position that feels safe at the start of a firefight may become a death trap after sustained automatic fire or an explosive impact.
Watch for dust, splintering, holes, and chunks breaking away. Those aren't merely visual effects; they're warnings that your protection is degrading. When cover begins to fail, rotate to the next piece instead of waiting for the final bullet to expose you. The game is much easier when you move during the enemy's reload or repositioning animation rather than after your shelter disappears.
Destruction also works in your favor. If an enemy is hiding behind a thin wall, don't waste half a magazine trying to thread shots through a tiny gap. Use explosives or heavy fire to remove the barrier, then let Lang handle the exposed target. A defensive position can become an offensive opportunity if you break it on your terms.
4. Prioritize Threats, Not Targets
Every enemy on screen deserves attention, but they don't deserve equal attention. The soldier closest to you is not always the most dangerous. A distant machine gunner, rocket soldier, or enemy positioned above the battlefield can cause more damage than several ordinary riflemen.
Lang should usually remove the enemy who controls your movement. Graves can then suppress the remaining infantry while you cross. If you hear a weapon change, see a projectile trail, or notice a heavy gunner setting up, stop shooting the nearest grunt and address the specialist immediately.
A useful priority order is heavy weapon users first, enemies with a clear flank second, ordinary riflemen third, and isolated stragglers last. This isn't an absolute rule: a close shotgun threat can jump to the front of the queue. The point is to identify what can kill you or prevent movement within the next few seconds.
| Threat | Why It Matters | Best Counter | Preferred Agent |
|---|---|---|---|
| Machine-gun position | Locks down lanes and punishes movement | Flank, snipe the operator, or use explosives | Lang first, Graves for the push |
| Rocket or explosive enemy | Destroys cover and damages clustered agents | Kill immediately from range | Lang |
| Rifle infantry | Dangerous in groups but predictable | Suppress, then clear methodically | Graves |
| Close-range ambusher | Can overwhelm a reload or corner | Backpedal and use automatic fire | Graves |
5. Stop Reloading in the Open
Reload timing matters because firefights in Conflict: Denied Ops often happen across exposed lanes. Emptying a magazine is fine; beginning a reload while standing in the center of a courtyard is not. Fire short bursts when fighting at distance, then reload behind cover before moving to the next position.
With automatic weapons, keep enough ammunition for the final part of a push. The worst moment to discover an empty magazine is when you reach a doorway and an enemy appears at close range. If you have to reload during an advance, switch agents and let the other character cover the lane. That simple rhythm—shoot, swap, reload, advance—keeps both characters contributing.
Heavy weapons deserve even more discipline. Graves' stronger tools are valuable against groups, fortified positions, and vehicles or large threats, but they aren't a replacement for ordinary gunfire. Use the big weapon when it changes the encounter. If a regular rifle can solve the problem, save the explosive or high-impact ammunition for the next defensive line.
6. Use Grenades to Create Movement
Grenades are most useful when they force enemies out of a good position, not when they merely add damage to a target you can already shoot. Throw one behind a barricade, around a corner, or into a room before Graves enters. The resulting panic creates a window for a controlled assault.
Explosives are especially effective against groups that refuse to expose themselves. One grenade can make several enemies move at once, turning a static crossfire into a series of manageable targets. Follow the blast with a deliberate push, though. Charging too early can put you in the explosion or directly in front of enemies who have recovered.
Use Lang to line up the first kill while Graves prepares the breach. Then switch to Graves as the grenade detonates and exploit the confusion with sustained fire. This pairing is more reliable than throwing explosives randomly whenever the icon is available.
7. Read the Level for the Safe Route
Denied Ops missions are built around combat spaces with multiple lines of approach, but the safest route is rarely the most obvious one. Before crossing an open area, look for side paths, low walls, windows, elevated platforms, and gaps in enemy coverage. The game rewards patience because a few seconds of observation can reveal a much better angle.
Don't sprint from objective marker to objective marker. Objectives tell you where to go, not how to survive the route. Stop before every major arena, switch to Lang, and scan for muzzle flashes and movement. Identify the farthest shooter first, then decide where Graves can establish pressure without being surrounded.
Check corners twice after a fight. Enemy reinforcements can arrive from routes that were empty during the first exchange, and a wounded agent is especially vulnerable to a surprise flank. Reload, recover your formation, and only then interact with the next objective or door.
8. Keep the AI Partner Out of Trouble
The computer-controlled partner is useful, but it isn't a tactical genius. It can expose itself, fail to use the ideal angle, or follow you into a dangerous lane. Give the AI a job that is simple and safe: hold a rear angle, cover a doorway, or provide supporting fire while you handle the most delicate maneuver.
When you switch agents, take a moment to see where the other character has wandered. If Lang is standing in the open, move him behind cover before continuing. If Graves has drifted too far forward, pull back and reset the formation. A poorly positioned partner can turn a successful attack into a sudden rescue mission.
This becomes even more important in two-player co-op. Agree on roles before entering a room: one player watches long sightlines while the other clears close threats. Avoid standing shoulder-to-shoulder, because a single grenade or burst can damage both operators. Separate angles, communicate heavy weapon locations, and alternate movement so someone is always covering.
9. Tune PC Settings for Consistent Aim
The original PC release is lightweight by modern standards, but stable frame pacing still matters. A sudden hitch during a close-range breach is more damaging than a small reduction in visual quality. Start with the game's native resolution, disable unnecessary background overlays, and favor a consistent refresh rate over maximum effects.
Because this is a 2008 shooter, modern systems can run it easily in raw performance terms, but compatibility issues may matter more than hardware. Check the official Steam listing for the current PC version and community notes. If you're troubleshooting an older game, our guide to PC crash fixes and FPS recovery covers the same broad problems, even though it targets a different title.
| Setting Area | Recommended Starting Point | Performance Impact | Why It Helps |
|---|---|---|---|
| Resolution | Native monitor resolution | High if increased | Keeps targets readable without unnecessary scaling |
| Shadows | Medium or High | Moderate | Preserves useful enemy silhouettes while controlling load |
| Anti-aliasing | Low or Medium | Moderate | Reduces shimmer without sacrificing responsiveness |
| Texture quality | High if available | Low on modern GPUs | Improves environment readability for minimal cost |
| Background overlays | Disable while testing | Variable | Removes a common source of stutter and input delay |
10. Practice the Combat Loop, Not Just the Controls
The most useful habit to build is a repeatable combat loop: scout with Lang, remove the priority threat, switch to Graves, suppress the exposed group, move between cover, then reset the formation. Repeat it until each arena feels like a sequence of decisions rather than a reflex test.
Before restarting a failed checkpoint, ask what actually killed you. Was it an unmarked machine gun? A reload in the open? A partner caught behind destructible cover? The answer tells you which agent should lead the next attempt. Simply moving faster rarely fixes the real problem.
For a broader look at how older PC action games hold up, Steamoz's Dungeon Siege classic RPG review and Drawful 2 PC requirements guide offer useful context on legacy releases. You can also compare its deliberate pacing with our Don't Be Afraid 2 review if you're exploring more unconventional PC campaigns.
Finally, don't ignore the game's officially documented series context, or the MobyGames release record when checking version details. Conflict: Denied Ops is rough around the edges, but its two-agent design still has a sharp tactical core. Master the swap, respect the cover system, and choose targets by threat rather than convenience. Once those habits click, the campaign stops feeling unfair and starts feeling like the compact, aggressive co-op shooter it was meant to be.