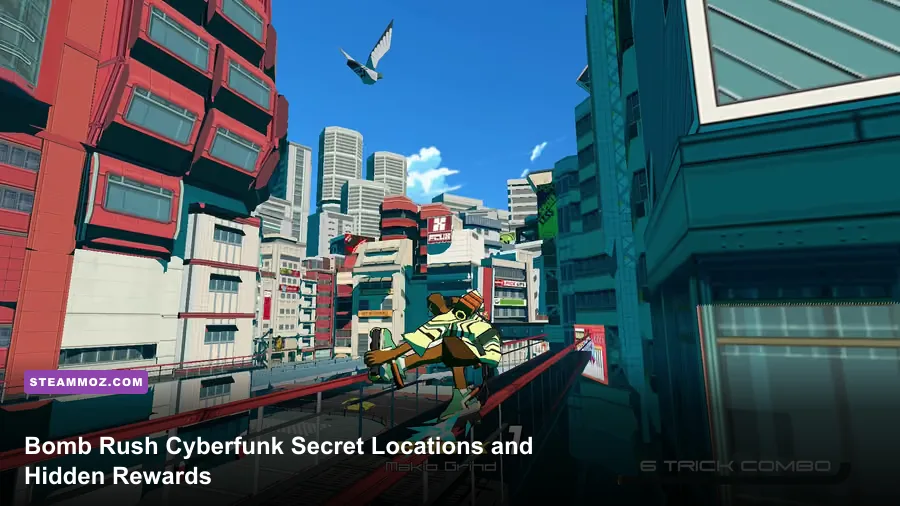
The fastest way to find Bomb Rush Cyberfunk’s secret locations is to replay every district after unlocking all three movement styles. Search rooftops, train platforms, fenced side alleys, and billboard scaffolding rather than staying at street level. The rewards include hidden graffiti spots, REP, character unlocks, outfits, and the post-game crew members that only appear after specific challenges. This guide maps the important secrets in Versum Hill, Millennium Square, Brink Terminal, Pyramid Island, and Mataan, while explaining the movement upgrades that make a clean sweep possible.
Before hunting anything, finish enough of the story to unlock skating, BMX riding, and inline skating. Each style reaches different rails and gaps, and several collectibles are effectively invisible until you can approach them with the correct momentum. You can check the game’s current version on the official Steam page and find developer updates through Team Reptile’s website.

What counts as a secret reward in Bomb Rush Cyberfunk?
Bomb Rush Cyberfunk doesn’t label every hidden reward with a giant treasure icon. Some secrets are simply graffiti spots tucked behind geometry, while others are progression triggers that appear only when you meet a character’s challenge. That distinction matters: clearing a district’s visible graffiti does not necessarily mean you have found every hidden route.
The most reliable rule is to treat every unusual piece of architecture as a launch point. A half-pipe beside a wall usually leads to a roof. A rail that seems to end in empty space often points toward a billboard, elevated platform, or narrow maintenance ledge. If a route looks deliberately impractical, it probably exists to reward a wallride, boost trick, or style switch.
| Secret type | Typical reward | How to identify it | Best movement tool |
|---|---|---|---|
| Hidden graffiti spot | New tag progress and REP | Blank wall behind a gap or elevated rail | Inline skates or BMX |
| Character challenge | New crew member | NPC waiting near a district landmark | Fast travel route and boost tricks |
| Outfit or wardrobe pickup | Cosmetic clothing | Small side platform, roof, or dead-end alley | Wallride and corner launch |
| Post-game secret | Additional playable characters | Appears after story completion or a full challenge clear | All movement styles |
Turn off distractions and listen for the sound cue when you enter a graffiti area. The game’s visual language is deliberately loud, but a hidden wall can still blend into the neon clutter. When sweeping a district, begin at the lowest street, then repeat the same route at roof height. That two-pass method catches far more than randomly bouncing between landmarks.
🎮 Bomb Rush Cyberfunk
Looking to experience this game? Grab your digital key directly on our store for $19.99.
View on Steammoz Store →Versum Hill secret locations and early rewards
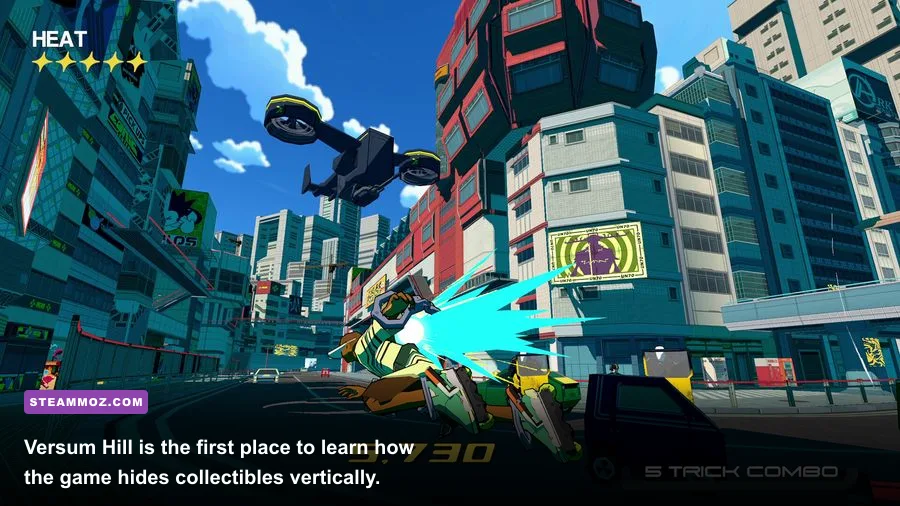
Versum Hill is the best training ground for secret hunting because its secrets teach the basic pattern used throughout the game. Start near the hideout and circle the district’s outer walls before heading toward the central open space. Look behind the large ramps and along the back side of the buildings rather than following the obvious graffiti route through the middle.
The rooftop and billboard route
Build speed on the broad quarter-pipe, then use a wallride to reach the upper ledge. From there, follow the rail toward the billboard supports. The important detail is that the billboard face is not the destination; the narrow platform behind it is. Jump around the support, land on the maintenance strip, and check the wall before dropping back down. This is one of the earliest examples of a hidden graffiti spot being positioned outside the player’s natural camera angle.
Next, inspect the area around the basketball-court-style open space. A low wall and nearby ramp create a short transfer that looks decorative during the story but reaches an elevated tag angle. Use inline skates if you need a longer wallride, or BMX if you prefer a sharper launch. Don’t mash jump repeatedly: hold your line, let the wallride carry you, and jump only when the ledge is level with your character.
How to unlock Rave
Rave is the major early character challenge associated with Brink Terminal, but Versum Hill is where many players first learn the chase structure that later unlocks crew members. When an NPC challenges you, follow the route instead of trying to cut every corner immediately. The game rewards clean momentum more than reckless shortcuts. Preserve your boost for the final straight and use a manual or trick chain to refill speed before a long rail.
Versum Hill also contains useful REP pickups along the upper perimeter. They are not flashy hidden rewards, but they accelerate your graffiti progression and make later crew challenges easier to access. If a pickup appears above a ramp, approach from the opposite side so your jump has enough horizontal speed. A vertical jump from directly below usually falls short.
Millennium Square secrets, roofs, and character challenges
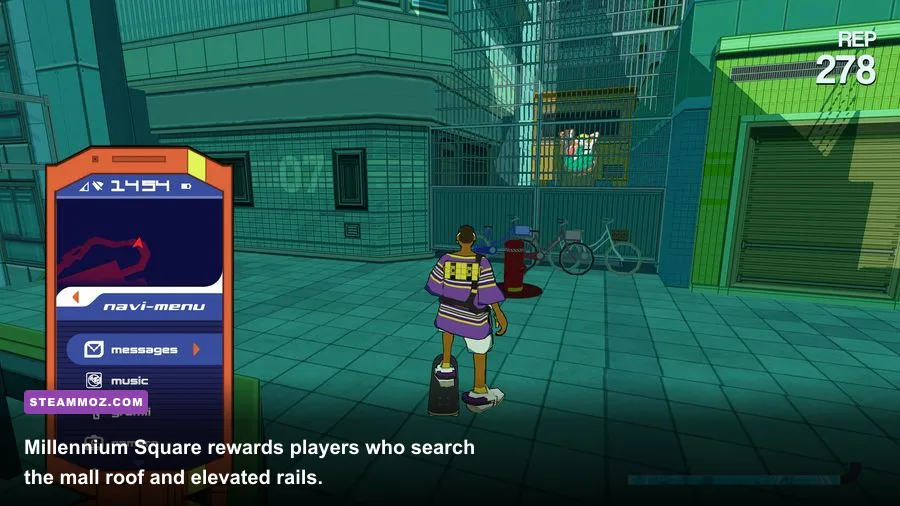
Millennium Square is built around vertical layers: street level, mall entrances, elevated walkways, and rooflines. The obvious route pushes you through the square, but the hidden rewards sit around its edges. Start by climbing the mall exterior and tracing every rail that runs parallel to the building. Several routes let you land on top of signage instead of returning to the pavement.
Search the mall roof before the plaza
Use the sloped approach near the mall frontage to reach the roof. Once you are up there, check both sides of the rooftop machinery and the small platforms surrounding the signs. The camera often frames the plaza below, so rotate manually and look for walls that are hidden behind the sign structure. A graffiti spot can be visible only after you land and turn around.
The elevated rail on the far side of the square is another common blind spot. Ride it to the end, then jump toward the adjoining roof instead of dismounting when the rail appears to stop. If you miss the landing, use the nearby ramp to rebuild speed and try again. BMX handles this transfer cleanly because its jump arc is compact; skating works too, but you need a longer approach.
Finding Shine’s hide-and-seek challenge
Shine’s challenge is easy to miss because it doesn’t look like a standard collectible. Search the busy central district for the crew member and begin the hide-and-seek sequence. The winning strategy is to learn the district’s vertical shortcuts first. Shine’s hiding places use rooftops, signs, and side platforms, so staying on the ground wastes time.
When the challenge begins, don’t chase directly behind her. Cut across the next ramp or rail and aim to intersect the route. A boost saved for the final approach is more valuable than one used at the opening. After the challenge is complete, revisit the square and inspect the same elevated areas; character events and graffiti targets frequently teach you where the next secret route is located.
| Millennium Square area | What to check | Common mistake | Recommended approach |
|---|---|---|---|
| Mall exterior | Roof machinery and rear walls | Dropping down after the first landing | Turn the camera and scan behind signage |
| Outer elevated rail | Rail endpoint and adjoining roof | Assuming the rail is decorative | Jump at the final support |
| Central plaza | Ramps, sign backs, side ledges | Searching only visible walls | Run a second pass from roof height |
| Shine encounter route | NPC start point and hide locations | Following directly behind Shine | Intercept with shortcuts and saved boost |
Brink Terminal hidden graffiti and Rave’s unlock
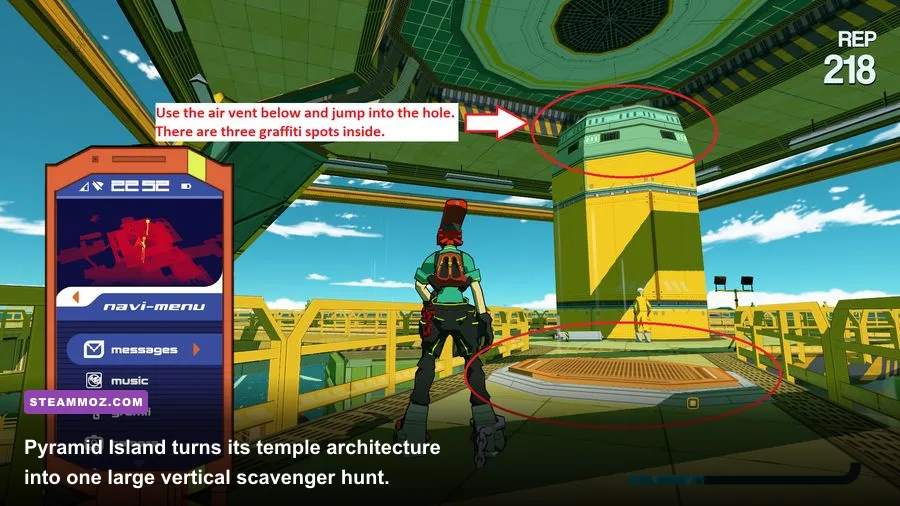
Brink Terminal’s train infrastructure creates the game’s clearest “look up” test. Platforms, rails, overhead signs, and service roofs form a maze above the main concourse. If you only search around the ticket area, you’ll miss the district’s best hidden routes.
Platform edges and maintenance roofs
Begin at the main platform and ride the long rail toward the station’s outer edge. At the final section, jump toward the service roof rather than following the rail down. Check the wall behind the rooftop fixtures, then continue along the roofline toward the station signage. The gap is easier with BMX, but inline skates can cross it if you start with a full combo and avoid braking.
Under the elevated tracks, inspect the narrow alleys between support pillars. These spaces are easy to dismiss because they look like collision boundaries, yet they often hold a wall or a short launch ramp. Approach from the open plaza, wallride across the pillar-side surface, and jump toward the next support. If you hit an invisible wall, you’re probably approaching from the wrong direction; circle around and look for the intended ramp.
Rave’s race challenge
Rave’s challenge is one of the most useful unlocks for a completionist run. Before starting, memorize the terminal’s long lines and reserve boost for transitions between platform levels. The route is less about perfect trick scoring than maintaining speed through rails and corners. A short manual after landing can preserve your momentum, but don’t force a long manual if it risks a crash.
After beating Rave, repeat the station route at least once. The new crew member is the obvious reward, but the rematch also gives you a cleaner view of rails and ramps that may have been obscured by the challenge marker. This is a good place to test each movement style and mark any unreachable wall for a later return.
Pyramid Island secret spots and the Coil route
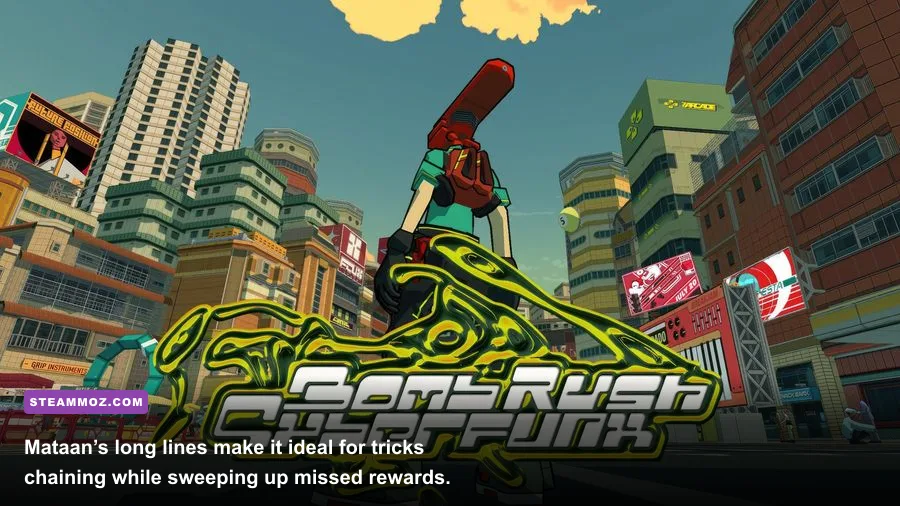
Pyramid Island is where secret hunting becomes a real vertical puzzle. The temple, cliffs, and industrial structures create separated layers, and the intended route often requires you to leave the main road entirely. Start near the lower approach and climb in stages rather than attempting one huge jump.
Temple rooftops and cliffside ledges
Search the temple’s outer walls first. The front-facing surfaces are usually obvious, while the rear and side walls hide the more interesting targets. Use the sloped stonework as a wallride, then transfer to the roof edge. Once above the entrance, check the corners around decorative structures; the best hiding places are usually just beyond the line of sight from the central courtyard.
Move next to the cliffside route and follow every rail until it ends. A rail terminating near a gap normally points toward a ledge on the opposite wall. The correct jump is about commitment: start the transfer with speed, jump late, and hold the direction toward the landing. If you jump too early, you lose the wallride angle and fall short.
Unlocking Coil and cleaning up the district
Coil’s challenge is tied to the broader exploration loop rather than a single obvious pickup. Look for the crew member around the island’s industrial and elevated sections, then complete the challenge using the same momentum principles as Rave’s race. Coil’s route tests direction changes, so avoid spending boost before a sharp turn.
Once the challenge is done, revisit the island with BMX equipped. BMX reaches compact ledges that are awkward with skates, especially around the temple’s corners. Then switch to inline skates for long wall sections. This style-by-style sweep is faster than repeatedly attempting an impossible transfer with the wrong vehicle.
Mataan secrets, Rise’s challenge, and the late-game sweep
Mataan is sprawling, so use landmarks instead of trying to memorize every street. Divide it into the main road, the elevated rail network, the canal-side edges, and the industrial rooftops. The hidden rewards are spread across all four layers, with many pickups sitting just outside the route used during story missions.
Canal edges and elevated rails
Follow the canal or lower boundary until you find ramps leading toward the upper streets. Check behind bridge supports and beneath overhanging platforms. A low camera angle helps here because collectibles and graffiti walls can disappear behind railings when viewed from above.
For the elevated network, ride each rail to its final support. Mataan loves to place a second route behind the landing: a wallride, narrow roof, or side platform that sends you toward another tag. Don’t fast travel between searches. The best sweep is continuous because your speed lets you chain multiple gaps and reach platforms that seem too far away from a standing start.
Rise’s photo challenge
Rise’s challenge uses specific viewpoints and is easy to mistake for ordinary exploration. When you find Rise, follow the prompt carefully and use the camera framing as the clue. The intended locations are generally elevated and landmark-focused, so scan rooftops, bridge approaches, and long sightlines rather than searching alley floors.
After finishing the challenge, return to each viewpoint and inspect the surrounding geometry. A photo location often doubles as a navigation lesson: the nearby billboard, rail, or rooftop usually leads to another hidden spot. Rise’s route is particularly useful for identifying Mataan’s outer boundary, where several players stop searching too early.
| District | Primary secret layer | Best style to start with | Cleanup advice |
|---|---|---|---|
| Versum Hill | Ramps, rooftops, billboard backs | Inline skates | Run a street pass, then a roof pass |
| Millennium Square | Mall roof and elevated signage | BMX | Check every rail endpoint |
| Brink Terminal | Platforms and service roofs | BMX | Search behind station supports |
| Pyramid Island | Temple walls and cliff ledges | Inline skates | Change styles for compact transfers |
| Mataan | Canals, bridges, industrial rooftops | Skates, then BMX | Keep one continuous route for speed |
Post-game characters and the final completion checklist
The largest hidden rewards arrive after the main story. Bomb Rush Cyberfunk adds extra playable characters and challenges that are not all presented during the first campaign run. Finish the story, return to the hideout, and speak to every available crew member before assuming the game is complete. New dialogue and challenge prompts can appear only after the ending.
For a serious 100-percent sweep, use this order:
- Complete the story and unlock every district.
- Finish the major character challenges for Rave, Shine, Rise, and Coil.
- Return to each district and collect visible REP and graffiti targets.
- Repeat every area with BMX, inline skates, and regular skates.
- Check rooftops, billboard backs, rail endpoints, canals, and maintenance platforms.
- Visit the hideout after each major milestone to trigger new crew dialogue.
- Complete post-game challenges and revisit the districts one final time.
Don’t confuse a full graffiti collection with total completion. The game’s movement challenges and crew unlocks are separate layers, and the map won’t always provide a satisfying checklist for every secret. Recording your route is worthwhile: note the district, landmark, movement style, and whether the spot produced graffiti, REP, a cosmetic, or a character event.
The best performance setup is also the simplest. Bomb Rush Cyberfunk feels dramatically better when input stays consistent during long wallrides and precision landings. On PC, prioritize a stable frame rate over flashy post-processing, especially if your system struggles in dense districts. The Steam listing provides the baseline requirements, while Team Reptile’s official game page is the safest place to check current information.
Once you know the routes, secret hunting becomes less like pixel searching and more like reading the city’s design. A ramp points upward, a rail points forward, and an empty wall usually means you haven’t approached it from the right angle yet. That rhythm is the real hidden reward: by the time you’ve cleared Versum Hill, Millennium Square, Brink Terminal, Pyramid Island, and Mataan, you’ll be chaining routes that looked impossible during the story.
For more game-by-game completion advice, Steamoz readers can also compare this route-focused guide with our Everspace 2 secret locations guide, Dungeons 4 hidden rewards guide, and Empires of the Undergrowth progression guide. The games are wildly different, but the same rule applies: finish the obvious route, then return with every tool the game gives you.