Blueprint Tycoon becomes much easier once you stop treating it like a decorative city builder and start reading it as a logistics puzzle. Build only the production chains you can feed, keep warehouses close to the buildings that use them, test every blueprint before committing, and expand in small loops rather than one giant settlement. These 10 Blueprint Tycoon tips will help you survive the awkward opening, avoid expensive bottlenecks, and create a town that keeps producing without constant emergency rebuilding.
If you enjoy games where a single missing input can unravel an entire economy, Steamoz's Dins's Curse town-saving tips cover a similar lesson: stability beats flashy expansion. Blueprint Tycoon rewards that mindset from the first few minutes.
1. Learn the production chain before you build
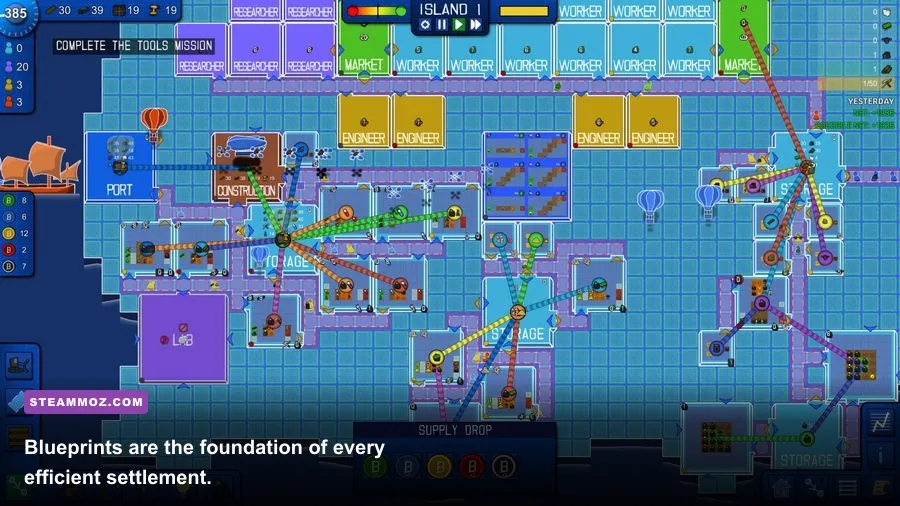
Your first priority isn't population or attractive roads. It's understanding what each building consumes and what it creates. Open a building's production information before placing it, then trace the chain backward. A workshop may need processed timber, while processed timber requires raw timber and a sawmill-style facility. That means the workshop is not one building; it's the final link in a chain.
Write the chain down mentally as raw material → processed material → finished product. If a building needs two different inputs, treat both as separate projects. New players often place the final producer first, discover that it is idle, and then scatter the missing suppliers around the map. That creates long walks, confused workers, and storage dead zones.
Start with one dependable chain and watch it complete several production cycles. A building that shows an input shortage is giving you useful information: the problem is upstream, not necessarily inside that building. Check whether the resource exists, whether it is being harvested, whether a worker is assigned, and whether the item can actually reach the destination.
Tip 1: Use the pause button as a planning tool
Pause before placing a new facility. Blueprint Tycoon is far more forgiving when you inspect the chain while the simulation is stopped. You can compare building footprints, check nearby resource nodes, and plan a short road without letting workers wander into a bad layout. Pause is not just for emergencies; it is your cheapest form of construction insurance.
Tip 2: Never expand a chain from memory
Recipes and building requirements are easy to misremember after a break. Reopen the production panel every time you add a new link. This is especially important when moving from basic timber and stone production into manufactured goods. A missing secondary input can make an apparently complete factory sit idle while consuming workers and space.

🎮 Blueprint Tycoon
Looking to experience this game? Grab your digital key directly on our store for $0.74.
View on Steammoz Store →2. Make your first settlement compact, not pretty
Compact layouts are the strongest early-game advantage. Put your initial resource buildings, storage, housing, and first processing facilities within a short walking distance. The goal is not perfect symmetry. The goal is reducing the time workers spend walking between a workplace, a stockpile, and the next job.
Leave deliberate gaps between blocks. Buildings in Blueprint Tycoon need room for access and future connections, and a settlement that uses every tile immediately becomes painful to repair. A two-tile or similarly modest service lane between major blocks gives you space to extend roads and replace a temporary building later.
Keep raw-material production near the relevant resource source when possible, but move finished-goods production closer to storage and demand. This prevents long-haul traffic from filling every route. A timber harvester can sit beside trees; a workshop making finished items should be near the warehouse that distributes those items.
| District | Place It Near | Why It Matters | Common Mistake |
|---|---|---|---|
| Raw materials | Resource nodes | Shortens collection routes | Building too many extractors at once |
| Processing | Input storage | Reduces delivery downtime | Mixing every recipe in one crowded block |
| Finished goods | Warehouses and demand | Improves distribution | Sending workers across the entire map |
| Housing | Road network and services | Keeps the workforce accessible | Spreading homes into industrial gaps |
Think of the starting town as a prototype. You will probably rebuild it. That is normal. The first layout's job is to reveal which chains matter, not to become a permanent capital.
3. Treat blueprints like tested production tools
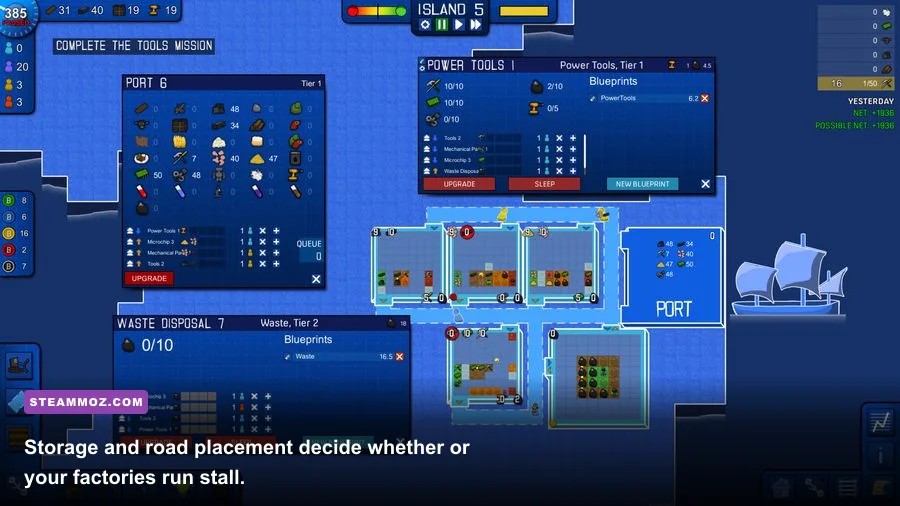
The blueprint system is the game's defining feature, and it is also where beginners can waste the most time. A blueprint should solve a repeatable problem: a compact processing block, a standard storage hub, or a resource outpost that can be copied near several deposits. Do not spend your early game making ornate designs that have no logistical purpose.
Build a rough version first, run it, and watch the workers. Check whether inputs arrive in the correct order, whether the output has somewhere to go, and whether an access road is blocked by a building footprint. Only save the design after it completes multiple cycles without manual intervention.
Tip 3: Make three blueprint families
Create a starter block for basic extraction and storage, a processing block for turning raw resources into intermediate goods, and a distribution block built around warehouses and finished products. Keeping these roles separate makes your saved designs easier to understand when the map becomes busy.
Use consistent orientation. If every blueprint faces the same direction, roads and storage connections line up naturally. Rotating each copy by hand sounds harmless, but inconsistent entrances create awkward detours that compound across a large settlement.
Do not copy a blueprint simply because it fits. Copy it when the map has the inputs and the town has the workers to operate it. A perfect design placed without its supply chain is still a dead building.
For another perspective on planning around a game's core systems, see our Deltazeal starting build guide. The genre is different, but the lesson is identical: establish a reliable base pattern before adding complexity.
4. Fix bottlenecks in the right order
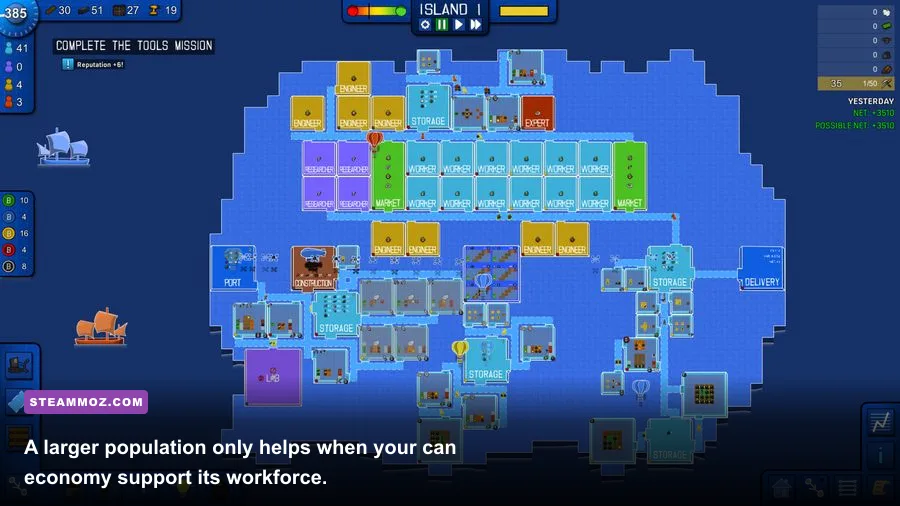
When production stalls, don't immediately build another factory. Diagnose the blockage in this order: resource availability, worker assignment, transport distance, storage capacity, then production capacity. That sequence matters because the most visible building is often not the real problem.
If a sawmill has no timber, inspect the harvester and the resource node. If timber exists but the sawmill remains idle, check whether workers can reach both buildings. If the sawmill produces successfully but the workshop is waiting, the issue may be a warehouse location or a full output store. Adding a second sawmill before fixing the route only doubles the traffic.
| Symptom | Likely Cause | First Check | Best Fix |
|---|---|---|---|
| Producer has no input | Upstream shortage | Resource node and supplier | Add supply only after confirming demand |
| Resources exist but building is idle | Worker or route issue | Access and assignment | Shorten the route or adjust the block |
| Output piles up | Storage or demand bottleneck | Warehouse capacity | Add storage or improve distribution |
| Several buildings stop together | Shared input shortage | Common upstream recipe | Expand the shared supplier first |
Tip 4: Watch for shared-input failures
One supplier can quietly support several downstream buildings. When all of them stop at nearly the same time, you have found a shared bottleneck. Increase that supplier's support only after confirming the workers, storage, and transport network can handle the extra volume.
Tip 5: Build storage before panic-building producers
Storage is not glamorous, but it smooths the gaps between collection and processing. A small buffer means a workshop can keep running while a harvester is between cycles. Place storage where it serves a group of buildings rather than at the far edge of town. Warehouses that are technically connected but painfully distant still create slow production.
5. Grow the workforce and economy in controlled steps
Every new building is a promise that your town can supply workers, inputs, roads, and storage. If you add facilities faster than the workforce grows, existing chains become unreliable. If you expand housing without securing food or essential goods, you create demand that exposes every weakness in the economy.
Use a simple expansion rhythm: add one production link, observe it, then add the next. After a major upgrade, let the simulation run long enough to see whether stocks stabilize. A chain that works for a few seconds can still fail once several workers begin competing for the same warehouse or road.
Keep a reserve of basic materials before committing to a larger district. Your exact reserve target depends on map distance and production speed, but a practical beginner rule is to hold at least one full delivery cycle of the key input before expanding its consumer. If the new building immediately empties your stockpile, it arrived too early.
Tips 6–10 for a stronger mid-game
- Tip 6: Expand toward resources, not empty space. New land is useful only when it shortens or unlocks a supply chain.
- Tip 7: Keep one test district. Try unfamiliar blueprints there before copying them across the main town.
- Tip 8: Separate temporary buildings from permanent industry. Early facilities can be useful prototypes, but don't let them dictate the final road grid.
- Tip 9: Check demand before increasing supply. Surplus goods consume workers and storage while contributing nothing to growth.
- Tip 10: Save before a major redesign. A rebuild can improve throughput, but a backup lets you compare layouts without losing a functioning economy.
That controlled approach is also useful in games with complicated progression systems. Steamoz's Deponia progression guide and Dragonkin performance guide both reward the same habit: identify the system that is actually limiting you before spending resources elsewhere.
Blueprint Tycoon mistakes that quietly ruin a town
The most dangerous mistakes are rarely dramatic. They are small inefficiencies repeated for several minutes. A warehouse placed one district too far away, a road that forces every worker through the same choke point, or a blueprint copied before its inputs are stable can gradually turn a healthy town into a permanent traffic jam.
Watch your settlement while doing nothing. Don't click through menus for a full production cycle. Follow one worker from pickup to delivery, then follow the goods. If the worker spends more time walking than producing, your next upgrade should probably be layout or storage rather than another production building.
Also resist the urge to rebuild every time you see an idle building. Idle time can be normal between deliveries. Rebuild only when the same warning appears repeatedly, when multiple downstream buildings share the failure, or when the route is clearly creating a permanent delay.
A practical opening plan
- Pause immediately and inspect the starting resource nodes.
- Place one compact extraction and storage group.
- Connect a single processing chain and watch several cycles.
- Save the working arrangement as a basic blueprint.
- Add housing only when the first chain is stable.
- Introduce one new demand at a time and keep an eye on stockpiles.
- Move production into districts only after you understand the traffic pattern.
Before starting a new settlement, check the game's official Blueprint Tycoon Steam page for the current feature list and platform details. The Steam Community hub is also useful for comparing layouts, while the official Steam guides section can provide alternate blueprint ideas.
Blueprint Tycoon clicks when every building has a job and every job has a route. Keep the opening compact, test blueprints before copying them, diagnose shortages from upstream to downstream, and expand only when your workforce and storage can support the next link. Do that, and the game stops feeling like a pile of disconnected production menus. It becomes what it really is: a satisfying machine you designed yourself.