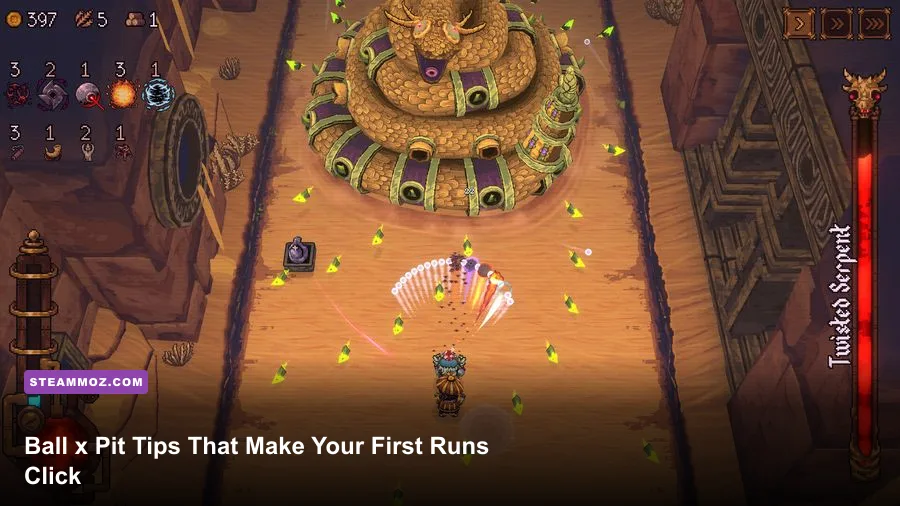
The fastest way to improve at Ball x Pit is to stop treating it like a normal brick breaker. Your early priority should be a dependable damage ball, one control or defensive option, and enough movement space to survive elite waves. Spend your rewards on the home base between runs, combine matching balls whenever the recipe is useful, and avoid grabbing every shiny upgrade just because it appears.
That sounds simple, but Ball x Pit becomes much easier once you understand what the game is really testing. You aren't only clearing blocks. You're managing projectile angles, enemy pressure, upgrade timing, resource runs, and a build that has to stay useful after the first few encounters. These ten tips focus on the decisions that matter most for new players, including the mistakes that quietly ruin otherwise promising runs.

1. Learn the pit before chasing a perfect build
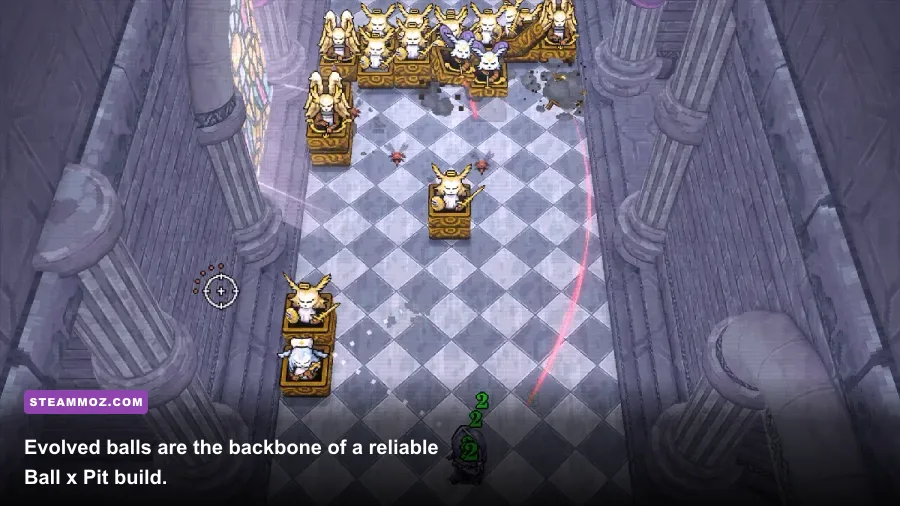
Your first several attempts should be scouting missions. Watch how the ball leaves your character, how long it takes to return, and how enemy movement changes when the arena fills up. Ball x Pit's most important skill is predicting where a shot will be several seconds from now, not reacting after it has already missed.
At the start of a wave, aim for the densest safe cluster rather than the single strongest enemy. A ball that gets multiple wall or target bounces can generate far more value than a direct hit. Once enemies begin closing in, shift your aim toward the side of the arena that gives the projectile a clean angle while keeping your escape route open.
Don't stand still to squeeze out one extra bounce. A slightly weaker shot is usually better than getting surrounded while waiting for the ball to return. Think of movement as part of your damage rotation: reposition, fire, cross the open lane, and let the ball do work while you create distance.
🎮 BALL x PIT
Looking to experience this game? Grab your digital key directly on our store for $11.99.
View on Steammoz Store →2. Protect your economy during the first few waves
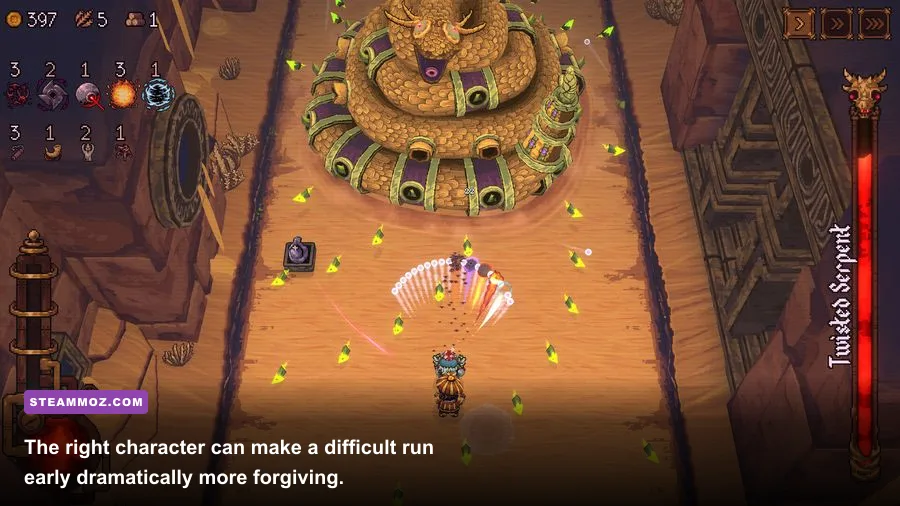
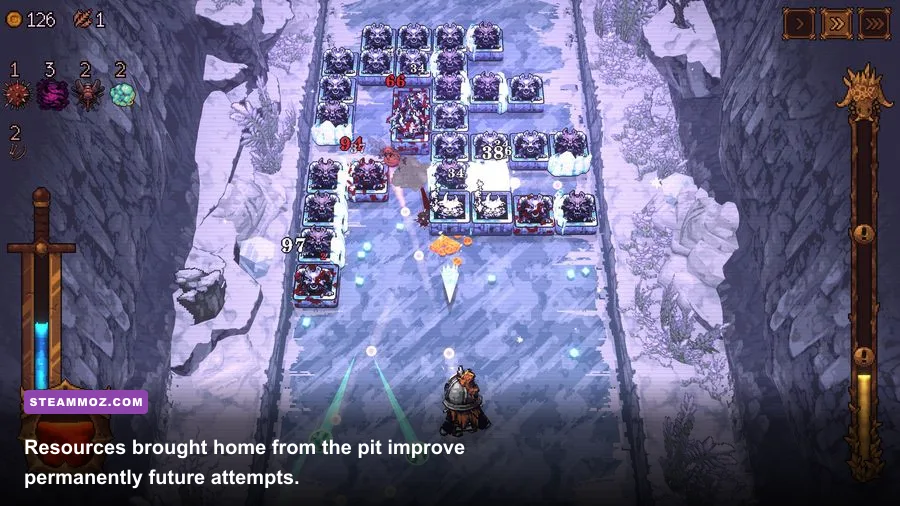
New players often spend every early reward on immediate power and then wonder why later runs feel unchanged. Ball x Pit has a persistent home-base progression loop, so resources earned during a run can be more valuable than one modest upgrade inside that run. Before committing to an expensive purchase, ask whether it improves every future attempt or only the current one.
Use safe early waves to collect what you can, but don't chase a resource into a collapsing formation. The best economy run is the one you successfully bring home. A failed attempt that collected a little more is still worse than a clean extraction with enough materials to unlock a meaningful building improvement.
Prioritize upgrades that improve access to characters, balls, recipes, or repeatable run power. Cosmetic or narrowly useful purchases can wait. If your base offers several choices, favor the one that expands your future options rather than the one that adds a tiny bonus to a single damage type.
| Reward Choice | Early-Run Value | New-Player Decision | Why It Matters |
|---|---|---|---|
| Permanent ball or recipe access | Very high | Usually take it | Improves future build consistency |
| Character unlock | High | Prioritize after core base needs | Creates new starting strategies |
| Run-only damage boost | Medium | Take when a wave is already dangerous | Helps survival but disappears after failure |
| Small resource pickup in danger | Low | Leave it if the route is unsafe | Survival preserves the entire haul |
3. Build around one main damage plan
A strong beginner build in Ball x Pit usually has one primary damage ball and two supporting functions: crowd control and survival. That doesn't mean every run should use the same combination. It means your upgrades should solve a clear problem instead of creating a pile of unrelated effects.
Direct-damage balls are easy to understand, but they can struggle when enemies spread out. Piercing or bouncing attacks improve lane control, while explosive effects help when several targets stack together. Area damage is especially valuable when the pit becomes crowded, but it shouldn't come at the cost of having no answer for a durable target.
Control effects, including slowing or freezing-style effects when available, buy the time needed for your main projectile to make another pass. Defensive effects are not wasted damage either. Surviving long enough to fire three more volleys is often worth more than a minor attack upgrade that leaves you cornered.
| Build Role | What to Seek | Best Use | Common Mistake |
|---|---|---|---|
| Main damage | Reliable bounce, pierce, or repeated hits | Clearing normal waves | Replacing it too often for novelty |
| Area control | Explosion, chain effect, or wide coverage | Enemy clusters and chokepoints | Taking area damage with no single-target answer |
| Control | Slow, freeze, knockback, or spacing tool | Creating safe firing windows | Ignoring it because it shows less damage |
| Defense | Shielding, healing, or emergency mobility | Elite waves and crowded arenas | Waiting until health is already critical |
4. Combine balls with a purpose, not by habit
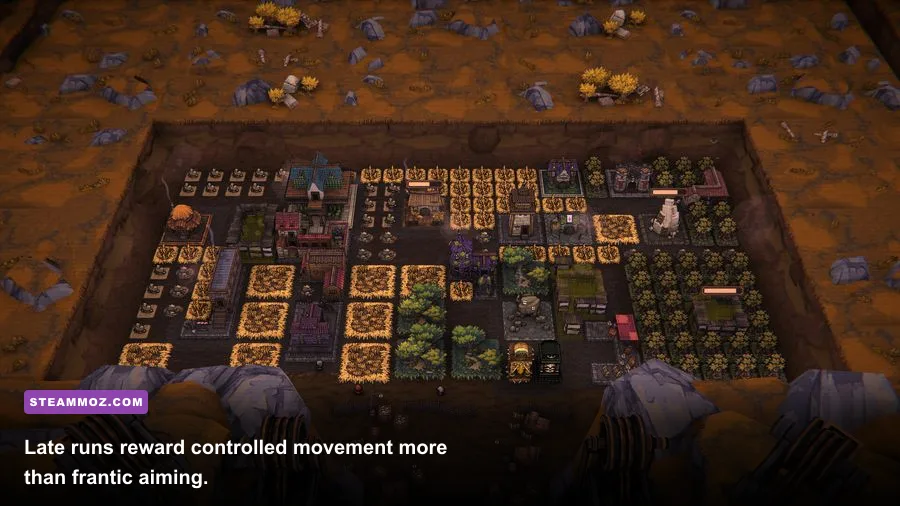
Ball combinations are one of Ball x Pit's biggest traps for beginners. Seeing a possible evolution is exciting, but an evolved ball is only good if it fits the run you are actually playing. Before combining, check three things: does the result improve your main damage plan, does it cover a current weakness, and can you still survive the next wave while giving up the component balls?
Keep a strong basic ball when it offers dependable coverage. Some spectacular-looking combinations have awkward travel paths, slow returns, or poor performance against enemies that refuse to group. A predictable projectile that constantly connects can outperform a higher-damage option that spends most of the wave missing.
Use your weaker duplicate balls as the foundation for experimentation. Save the best-performing version of your main attack until you know the combination will improve it. This single habit prevents the classic early-run disaster: fusing your only reliable weapon and discovering that the replacement doesn't work in the current arena.
For broader roguelite build discipline, Steamoz's Dungeons 3 beginner tips cover the same useful principle: build around a win condition instead of collecting disconnected upgrades.
5. Aim for angles, not enemies
Ball x Pit rewards geometry. Aiming directly at an enemy can produce one hit, while aiming just beside it may send the ball into a wall, through another target, and back across the formation. Learn the arena's edges and use them as extra attack surfaces.
When the pit is quiet, fire into a dense group and watch the first two rebounds. If the ball keeps returning through empty space, move before the next shot and change the launch angle. Don't stubbornly repeat an angle that has already shown poor coverage.
During a swarm, prioritize angles that send the ball across the widest section of the arena. Narrow vertical shots can be powerful against stacked enemies, but they become risky when threats approach from both sides. Horizontal coverage gives you more consistent value and makes the projectile easier to track.
6. Move in arcs instead of hugging one wall
Wall-hugging feels safe because it limits the directions enemies can approach from. It also makes you vulnerable to corner pressure and leaves fewer escape options when a fast enemy slips through. Use broad arcs around the arena instead. Move toward open space immediately after firing, then cut back once the projectile has travelled.
Your movement path should be deliberate. Circular or crescent-shaped routes keep enemies grouped behind you and give bouncing balls more opportunities to pass through the pack. Sudden zigzags are harder to control and can walk you directly into a threat that was hidden behind the crowd.
Reserve sharp turns for emergencies. If you change direction every second, you lose the ability to predict where the next enemy collision will happen. Smooth movement also makes it easier to judge whether a pickup is worth collecting or whether it sits inside a dangerous pocket.
7. Treat elite waves as positioning checks
Elite encounters punish panic more than they punish low damage. Their larger health pools make weak builds obvious, but the immediate danger is usually their pressure on your movement lane. Enter an elite wave with the arena as clear as possible, then remove the enemies that block your safest route before chasing damage elsewhere.
Watch for telegraphs rather than health bars. Large enemies often signal a charge, projectile, or area attack before it happens. The correct response is usually to move early and keep firing from the new angle, not to wait for the animation to finish. If you only react when the attack is already active, the pit may not leave you enough room.
Don't spend every defensive tool on the first hit you take. Save emergency protection for the moment when an elite and a normal wave overlap. That combination is what turns a manageable encounter into a run-ending trap.
8. Choose upgrades by breakpoint, not rarity
A rare upgrade isn't automatically better than a common one. The useful question is whether it changes how many hits, volleys, or bounces you need to remove a threat. An attack-speed improvement that lets your main ball fire one extra time during a dangerous cycle can be more valuable than a flashy damage increase with no practical breakpoint.
Use a simple priority order when choices are unclear: first fix survival, then improve consistent damage, then add scaling or convenience. If enemies are reaching you, defensive space is the priority. If you survive comfortably but waves take too long, increase coverage or projectile frequency. If normal enemies melt but elites stall, select upgrades that improve sustained single-target pressure.
| Run Problem | Upgrade Direction | What to Avoid | Practical Test |
|---|---|---|---|
| Enemies reach the player | Control, defense, or movement help | Another tiny damage bonus | Can you keep a clear lane? |
| Groups survive too long | Area coverage or better bounce angles | Single-target effects only | Does one volley hit multiple targets? |
| Elites take too long | Sustained damage and repeated hits | Purely defensive stacking | Can you damage while repositioning? |
| Build feels inconsistent | Upgrade the main ball or preserve duplicates | Random new mechanics | Does the attack work every wave? |
9. Unlock characters that cover your weaknesses
New characters are not just alternate skins. Their starting tools and passive tendencies can change which balls are worth taking, how aggressively you can play, and how much room you have for mistakes. Try a character for several runs before judging them; a kit that feels slow in the opening can become excellent once the right base upgrades are available.
If you keep dying while surrounded, choose a character that gives you more control or survivability. If you comfortably avoid damage but fail to finish elites, experiment with a damage-oriented option. Don't force the same build onto every survivor. A character's starting identity should guide your first choices, not be ignored.
Record what actually ends each run. If the answer is always contact damage, your next unlock should solve spacing. If the answer is a late-wave damage wall, prioritize a character or upgrade path that improves scaling. This is much more useful than simply picking whichever character has the highest-looking starting number.
10. Use settings that keep the action readable
Ball x Pit is visually busy, and clarity matters more than cinematic presentation once projectiles and enemies cover the screen. Play at a stable frame rate, use a resolution your system can hold consistently, and reduce effects that make enemy movement harder to read. A steady 60 frames per second is generally more valuable than unstable higher performance.
Keep screen shake low if impacts obscure your character. Lower post-processing or effects quality if explosions hide telegraphs, but leave the game at a resolution where ball paths remain easy to follow. If you play on a high-refresh monitor, test the game during a crowded late wave rather than trusting an empty arena's frame rate.
| Setting Area | Recommended Starting Value | Performance Impact | Visual Priority |
|---|---|---|---|
| Resolution | Native or one step below | High | Keep ball paths sharp |
| Effects quality | Medium on older GPUs | Medium to high | Preserve enemy readability |
| Screen shake | Low or off | Minimal | Improves telegraph visibility |
| Frame cap | Stable 60 FPS target | Can reduce spikes | Consistency beats peak FPS |
Build a repeatable first-run routine
Use the same opening checklist until it becomes automatic. Fire into dense groups, preserve your escape lane, take one reliable damage upgrade, and only combine balls when the result answers a real problem. Bring home safe resources instead of gambling a promising run for one extra pickup. Between attempts, invest in permanent progression that expands your options.
After each failure, identify the exact moment the run became unrecoverable. Was your main ball too slow? Did you combine away your only dependable attack? Did you enter an elite wave with no open space? That diagnosis tells you what to change next time. Random experimentation is fun, but deliberate iteration is how Ball x Pit finally clicks.
For more resource-minded progression advice, compare that approach with Steamoz's fast leveling and gold route guide and the Empires of the Undergrowth farming guide. The games differ, but the lesson carries over: efficient progress comes from repeating a safe plan, not gambling every attempt.
Where to check updates and current unlock details
Ball x Pit can change as balance patches adjust balls, characters, recipes, and progression costs. Check the game's official Steam page for patch notes, system information, and community updates. The Devolver Digital game page is also a useful source for official announcements, while Kenny Sun's developer site provides background on the creator.
Once you can survive consistently, start taking bigger risks with unusual combinations. That's where Ball x Pit opens up: the early game teaches clean angles and disciplined movement, while the later game rewards players who understand exactly when to break those rules.