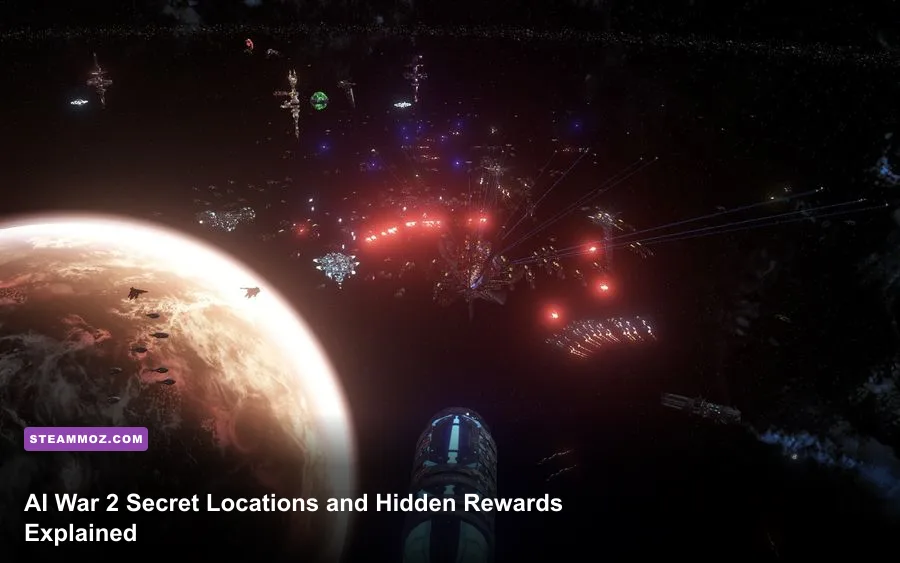
AI War 2 does not hide a fixed set of collectible chests at permanent map coordinates. Its secret locations are generated through the galaxy layout and revealed by scouting: derelict fleets, unusual star systems, AI support structures, hidden routes, and high-value targets behind dangerous fortress networks. The best rewards are usually extra ships, captured technology, strategic access, or a safer path toward the AI Homeworld—not a glowing treasure chest.
That distinction matters. A location guide copied from somebody else’s campaign will fail the moment your galaxy seed changes, and AI War 2 is built specifically to punish memorized routes. This guide shows how to identify every meaningful secret type, what each one can reward, when it is safe to investigate, and how to avoid turning a promising discovery into an accidental AI Progress spike. For a useful comparison, Steamoz’s secret-location guide for Fated Souls covers a traditional fixed-map approach; AI War 2 demands a much more reactive mindset.
Why AI War 2 Has No Fixed Secret Map
AI War 2’s galaxy is assembled around procedural systems, faction placement, difficulty settings, and the strategic choices made during generation. The result is a campaign where the same named objective can sit behind completely different defenses. A derelict fleet may appear one jump from your starting area in one game and directly beside an AI fortress in another.
The game’s real hidden layer is information. The map tells you where stars are, but it does not immediately tell you which system contains the best salvage, which route is watched by a dangerous Guardian fleet, or which seemingly weak world acts as a support hub. You uncover that information through scouts, probes, captured systems, and careful reading of fleet composition.
Three numbers should shape every secret-hunting decision:
- AI Progress: the campaign’s long-term escalation track. Capturing or destroying important AI assets can push the AI toward stronger responses.
- Threat: the local danger created by enemy fleets, special defenders, and the strategic importance of a system.
- Command Points and fleet capacity: the practical limits on how much you can bring and how many simultaneous objectives you can support.
Never treat a newly revealed location as an automatic objective. First ask whether the reward changes your campaign enough to justify the escalation. A small cache that gives you a few expendable ships is excellent early on; the same cache may be worthless if reaching it exposes your main fleet to a counterattack.
| Secret type | How to identify it | Typical reward | Best timing |
|---|---|---|---|
| Derelict fleet | Neutral or abandoned ships discovered during scouting | Extra hulls, support ships, or salvage value | Early and mid-game, if the route is quiet |
| Hidden support world | Weak-looking system connected to stronger AI territory | Safer approach routes and reduced enemy reinforcement | Before a major offensive |
| Special fortress | Dense defensive cluster with unusual fleet composition | Access, technology, or a major strategic opening | After your economy and escape plan are ready |
| AI Homeworld route | Deep network of guarded systems leading toward the core | Campaign-winning objective and late-game access | Late game only |
The official AI War 2 Steam page is worth checking before starting a new campaign because patches, DLC, and difficulty options can alter the strategic context. Don’t assume an old screenshot represents your current galaxy.

🎮 AI War 2
Looking to experience this game? Grab your digital key directly on our store for $4.99.
View on Steammoz Store →Derelict Fleets and the Best Early Hidden Rewards
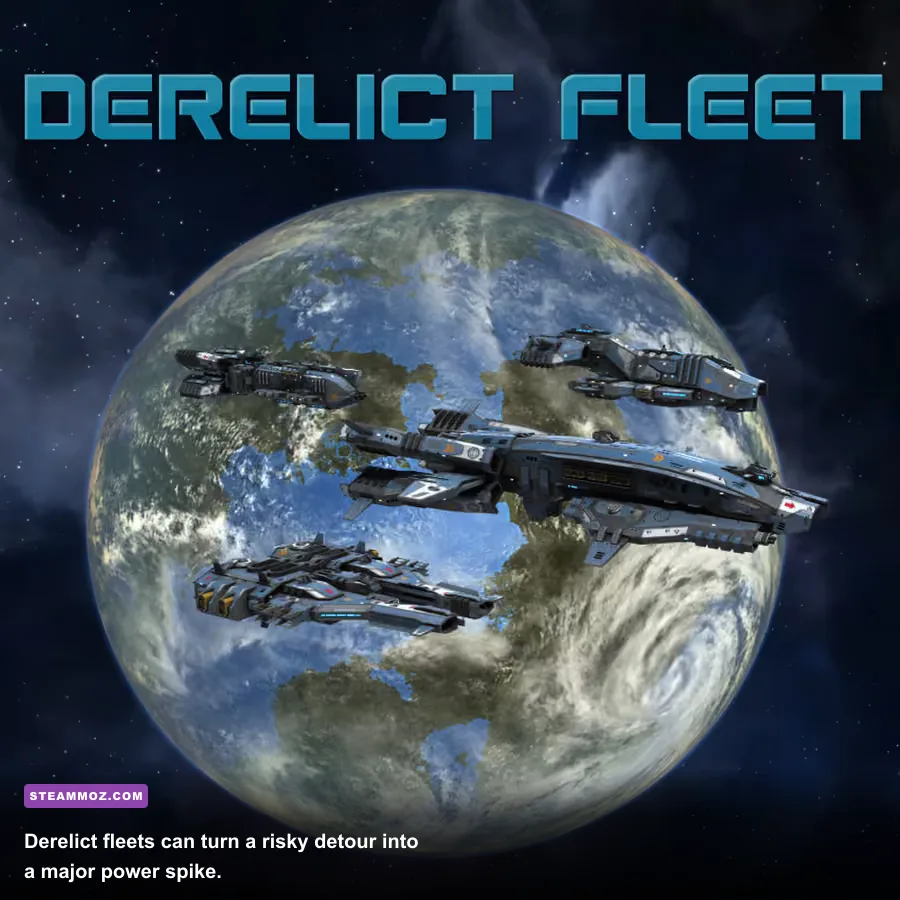
Derelict fleets are usually the most valuable secrets for a new campaign. They reward curiosity without requiring you to assault the strongest AI territory, but they are not free. The ships may be scattered, protected by nearby enemies, or positioned in a system that becomes strategically awkward after capture.
Scout the entire system before committing. Look for the derelict ships, nearby Guardian or AI fleets, command structures, and the jump routes leading out. The common mistake is sending the first combat group straight to the prize and discovering that the exit route is covered by a second fleet. In AI War 2, surviving the battle is only half the job; getting the salvaged force home is what makes the discovery worthwhile.
Prioritize rewards that solve an immediate campaign problem. A durable frontline hull can stabilize an early defense, while repair, logistics, or long-range support ships can make a much larger difference than another fragile damage dealer. Don’t split a valuable derelict group across multiple fronts unless you already have safe command infrastructure. Small fleets are easy for the AI to isolate.
A reliable salvage procedure
- Reveal first, fight second. Use the cheapest scout available and map the system’s exits.
- Check ownership and consequences. Capturing a system may be more important than collecting every abandoned hull.
- Bring a recovery fleet. Include repair, command, and screening ships rather than only high-damage units.
- Extract immediately. Once the reward is secured, retreat through the route you already checked.
- Reassess AI Progress. A successful capture can make the next wave stronger even if the battle felt easy.
| Reward profile | Value | Risk | What to do |
|---|---|---|---|
| Frontline combat hulls | High early-game value | Medium | Use them to hold a chokepoint, not to launch an unsupported deep strike |
| Repair and support ships | Very high over a long campaign | Low to medium | Keep them behind the main line and protect their retreat path |
| Fast scouting ships | Moderate immediately, excellent strategically | Low | Send them toward adjacent unexplored stars |
| Mixed or damaged groups | Situational | High if isolated | Recover only after clearing the surrounding exits |
This is also where the game’s fleet-management depth becomes obvious. A “free” ship still consumes command attention, supply, and defensive coverage. If your economy cannot support it, the reward is effectively a liability. The strongest players treat derelicts as tools for a specific operation, not as a collection goal.
Hidden Routes, Support Worlds, and Fortress Networks
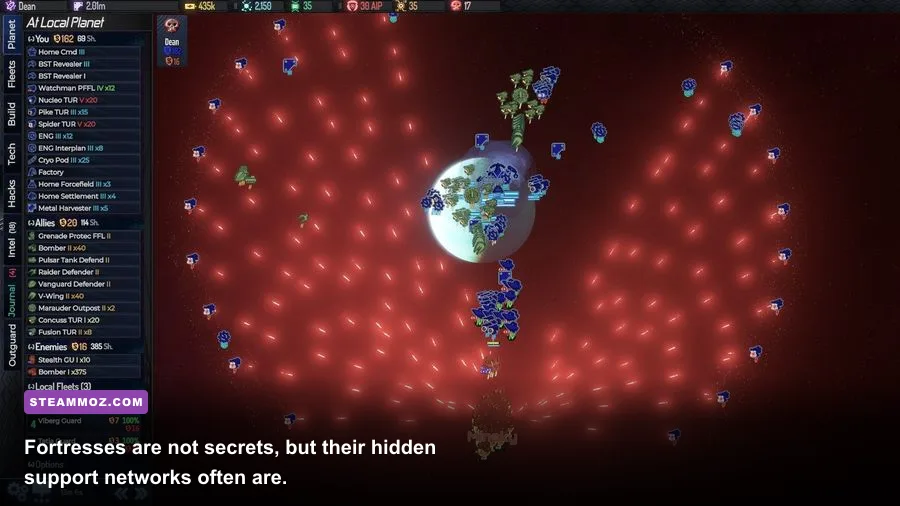
The most important secret locations are often not special icons at all. They are ordinary-looking stars that connect several AI systems. Capture one and the enemy’s reinforcement pattern may change; ignore it and every assault farther inside becomes more expensive.
Follow the network, not just the shortest path. A star with multiple exits can be a staging point, a retreat route, or a reinforcement funnel. Before taking it, inspect which AI fleets can reach it in one move and whether the system contains a command structure that will trigger a wider response. If a route seems strangely easy, assume it is being protected indirectly.
AI support worlds deserve special attention. They may carry fewer visible combat ships than a fortress, yet their position can make nearby defenders sustainable. Destroying or capturing the support node can weaken a whole region, while attacking the heavily defended frontline first can leave you fighting an enemy that still receives reinforcements.
How to read a suspicious star system
Start with the system’s fleet density. A single powerful group is easier to understand than several modest fleets separated across the map. Next, identify static defenses and command-related structures. Finally, compare the system with its neighbors. If a quiet star sits between an AI-controlled corridor and a valuable unexplored branch, it is probably strategically important even if the immediate reward looks poor.
Use disposable scouts to test routes. Losing a scout is frustrating; losing your main fleet because you skipped reconnaissance can end a campaign. Mark systems by function in your own notes: staging point, escape route, reinforcement hub, salvage site, or unacceptable risk. AI War 2 rewards external planning because the game’s information is deliberately dense.
The official AI War 2 page from Arcen Games explains the game’s asymmetric structure, but the practical lesson is simple: you are not trying to conquer the galaxy evenly. You are building a route through it while keeping the AI below the point where it can crush your economy.
| System clue | Likely meaning | Primary danger | Recommended response |
|---|---|---|---|
| Several AI fleets near a narrow route | Chokepoint or reinforcement corridor | Encirclement | Scout exits and prepare a retreat lane before attacking |
| Weak system beside a fortress | Support or staging world | Hidden reinforcements | Inspect connections and consider striking it first |
| Multiple unexplored branches | High-information junction | Overextension | Map the branches before claiming the system |
| Special defenses around a valuable route | Late-game gate or strategic prize | AI escalation | Delay until you can win quickly and withdraw cleanly |
For a broader progression mindset, Steamoz’s Enigma farming guide is built around a different game, but its central lesson carries over: efficient progress comes from choosing profitable risks, not fighting every enemy you can see.
AI Homeworld Secrets and Late-Game Rewards
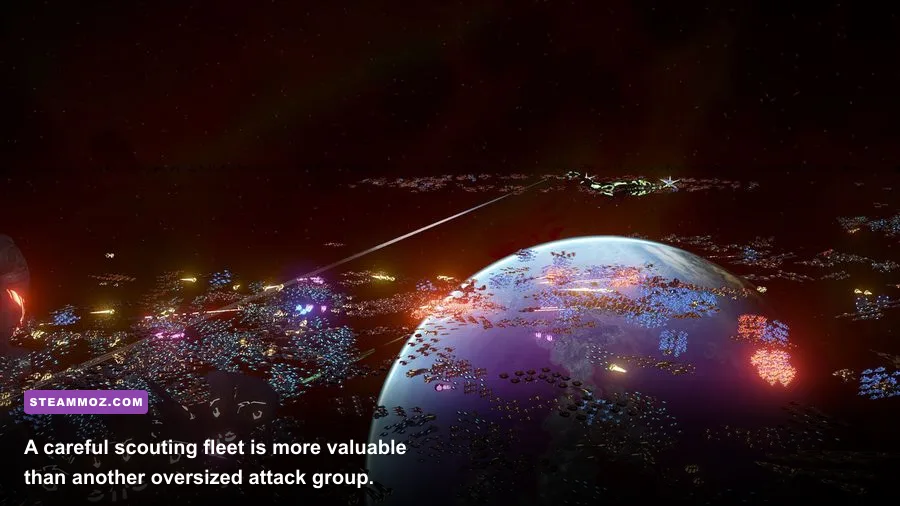
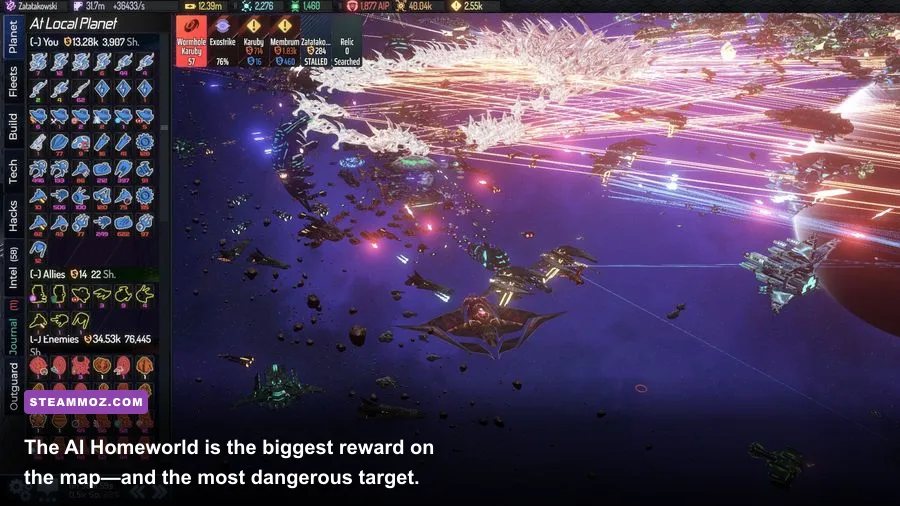
The route to the AI Homeworld is the campaign’s largest hidden reward because it represents access to the final strategic objective, not merely a better loot drop. Reaching it usually requires several controlled captures, careful management of AI Progress, and enough fleet depth to survive the response after a major strike.
Do not rush toward the Homeworld because you found a direct-looking line on the galaxy map. The direct route may pass through fortress systems that are individually manageable but impossible to hold in sequence. Instead, build a launch corridor. Secure one or two fallback systems, establish repair and command coverage, and keep a second fleet ready to defend the rear.
Late-game secrets are about timing. Attack after the AI’s mobile defenders have moved away, not when every fleet is stacked around the target. Baiting a response with a cheap force can reveal the real defense pattern, but only if the bait has a guaranteed escape route. Once the route is clear, concentrate force, complete the objective, and retreat before the AI can turn your victory into a prolonged occupation war.
| Phase | Danger | Counter-strategy | Success condition |
|---|---|---|---|
| Approach | Scouts reveal a defended corridor | Map adjacent systems and identify a fallback | At least one safe retreat route exists |
| First breach | Mobile AI fleets converge | Use a secondary force to screen the withdrawal | Main strike force remains intact |
| Objective assault | Static defenses and reinforcement pressure | Focus fire, ignore low-value targets, finish quickly | Objective is completed before the fleet is surrounded |
| Extraction | Fresh defenders arrive behind you | Withdraw through pre-scouted systems and repair immediately | Campaign remains economically stable |
Hidden rewards at this stage are often strategic rather than collectible: a cleared route, a weakened AI response, captured infrastructure, or the ability to attack the core from a better angle. If you are playing with expansions, the exact special fleets and faction interactions can differ, so confirm mechanics through the official Steam community discussions and the current game version.
The Safest Secret-Hunting Build Order
A secret-focused opening should not resemble a full rush. Build enough economy and defense to survive your first discovery, then invest in information. Your first goal is a map, your second is a safe route, and only then does the reward matter.
Opening sequence
- Establish a defensible home system. Don’t leave the starting area empty just because the nearest star looks attractive.
- Send scouts in separate directions. One scout finds resources; another checks enemy approach lanes.
- Choose one secret objective. Avoid opening three unexplored fronts at once.
- Build a recovery group. Add support and screening ships before claiming a derelict reward.
- Capture the route, not every prize. A secure junction often beats a risky cache.
- Pause after each major capture. Watch AI Progress, fleet movement, and your own repair capacity.
Keep combat ships grouped by job. Fast scouts should not be trapped in a slow assault fleet, while fragile support vessels should never lead a breach. Focus fire on the enemy’s most dangerous damage source, then disengage as soon as the secret objective is secured. AI War 2’s combat system rewards disciplined exits more than dramatic last stands.
| Campaign stage | Priority | Secret to pursue | Mistake to avoid |
|---|---|---|---|
| Opening | Information and survival | Nearby derelicts and safe junctions | Launching an unsupported deep attack |
| Mid-game | Route control | Support worlds and reinforcement hubs | Capturing isolated systems with no retreat |
| Late game | Fast decisive operations | Fortress corridors and AI Homeworld access | Turning a successful strike into a long occupation |
If the galaxy feels overwhelming, that’s normal. AI War 2 is closer to a military intelligence puzzle than a conventional expansion RTS. Steamoz’s Enter the Gungeon progression guide has a different genre focus, but the same practical principle applies: don’t waste time farming low-impact rewards when one smart route can transform the run.
The short version is this: there is no universal coordinate list for AI War 2’s secret locations. Scout every star, inspect the connections around suspicious systems, treat derelict fleets as operational rewards, and judge every discovery against AI Progress and your escape plan. The players who find the most hidden rewards are rarely the ones who fight the most. They’re the ones who know when a secret is valuable—and when leaving it untouched is the winning move.