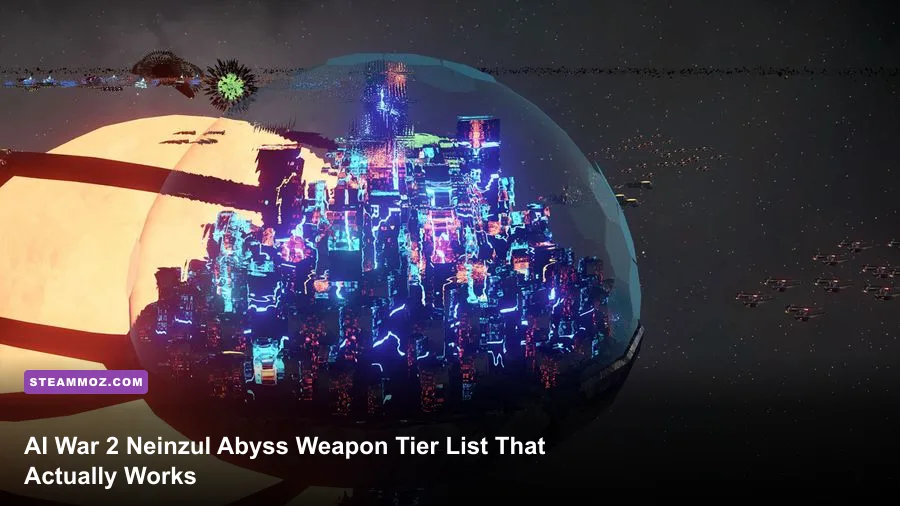
Short answer: prioritize the Neinzul equipment that improves uptime, disables dangerous targets, or lets your fleet disengage cleanly. In most campaigns, control and sustain sit in S-Tier, direct damage belongs in A-Tier, and highly situational anti-armor tools fall into B-Tier. The Neinzul Abyss rewards patient raids rather than a single all-purpose deathball.
This ranking is built around real AI War 2 campaign conditions: variable fleet sizes, difficulty-scaled AI defenses, limited command bandwidth, and the fact that equipment performance changes with ship roles and tech level. There is no universal DPS chart that survives every galaxy seed. A weapon that dominates a small escort group can be a liability against a command station surrounded by guardians.
The Neinzul Abyss tier list at a glance
Think of this as a priority list for choosing what to deploy first, not a traditional hero-shooter damage chart. AI War 2 weapons are judged by how much strategic work they do per ship slot. A system that slows a wave, suppresses a guardian, or keeps your fleet alive through a retreat can be more valuable than a weapon with higher listed damage.
| Tier | Equipment role | Why it ranks here | Best target |
|---|---|---|---|
| S-Tier | Disables, slows, and control effects | Creates safe firing windows and prevents losses | Guardians, command stations, elite escorts |
| S-Tier | Repair, shielding, and fleet sustain | Extends raids and makes disengagement reliable | Long incursions and contested planets |
| A-Tier | Focused anti-ship damage | Efficient once the target is exposed | Capital ships and isolated defense groups |
| A-Tier | Area damage and swarm clearing | Excellent against massed small craft | Reinforcement waves and sentry clusters |
| B-Tier | Specialized anti-armor tools | Powerful, but inefficient without scouting | Armored targets and fixed defenses |
| B-Tier | Pure range or burst damage | Looks impressive but struggles under pressure | Open-space hit-and-run attacks |
The important distinction is between damage delivered and damage that actually lands. A slow beam that keeps an AI escort inside your firing arc can outperform a higher-damage weapon whose target immediately escapes. Likewise, a repair-oriented Neinzul group may appear weaker on paper while winning because it avoids rebuilding an entire strike fleet.
🎮 AI War 2: The Neinzul Abyss
Looking to experience this game? Grab your digital key directly on our store for $3.99.
View on Steammoz Store →S-Tier equipment for Neinzul fleets
Control and disable systems
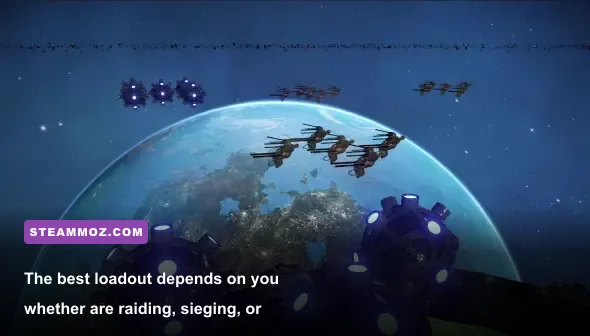
Control equipment is the safest first investment because AI War 2 punishes uncontrolled engagements. Slows, stuns, weapon suppression, and movement denial all buy the same precious resource: time. Use them on the ship that makes the enemy formation dangerous, not on the first unit that enters range.
Against a command station, lead with control and follow with focused damage. Against a mobile guardian group, spread control effects so the entire formation cannot collapse onto one Neinzul ship. The most common mistake is stacking every disable on a low-value escort while the real threat continues firing freely.
Repair and shielding equipment
Sustain is arguably the Neinzul fleet's defining advantage in a campaign. Repairs become more valuable as the operation gets longer because every recovered hull saves production time, fleet capacity, and travel time. Keep support ships behind the forward line, and never let them chase a damaged target into a turret envelope.
Use sustain equipment during the approach and retreat, not only after the fight. If your fleet begins repairing while moving between defensive pockets, it can arrive at the next objective ready to fight instead of spending another cycle recovering. This is especially important on higher AI difficulties, where a damaged fleet invites counterattacks.
Why these tools beat raw damage
AI War 2's economy is not just metal and energy. It is also attention, safe movement, and the number of times you can force the AI to react. S-Tier equipment converts all three into extra offensive tempo. That is why a modest control package frequently outperforms an oversized damage package with no escape plan.
| S-Tier choice | Deployment pattern | Timing | Main warning |
|---|---|---|---|
| Disable package | One lead group plus one reserve group | Before concentrated fire begins | Do not waste it on disposable escorts |
| Slow or movement control | Overlap effects at the edge of your range | During approach and retreat | Leaving a gap lets the AI surround you |
| Repair support | Behind the damage dealers | Between volleys and after disengagement | Support ships must not enter turret range |
| Shield or mitigation support | Central position inside the formation | As the enemy begins focus fire | Do not split the fleet into unsupported groups |
For broader strategy fundamentals, the resource discipline in our Dins Curse survival tips is surprisingly applicable: protect the infrastructure that lets you keep taking risks.
A-Tier weapons that finish the job
Focused anti-ship damage
Focused weapons are A-Tier because they become exceptional after control effects have done their work. Aim them at high-value ships, not whatever happens to be closest. In a typical raid, the correct order is threat identification, disable, concentrated fire, then immediate repositioning.
Use focused damage against guardians, command-station escorts, and expensive mobile defenses. It is less attractive against large groups of low-health units, where an area weapon produces more practical value. If you cannot keep the target inside the firing window, add control before adding more damage ships.
Area damage and swarm clearing
Area weapons are the Neinzul answer to reinforcement spam. They shine around jump points, narrow approach lanes, and planets where the AI repeatedly launches small craft from a compact staging area. Their weakness is wasted output: if the enemy formation is spread out, much of the effect hits empty space.
Do not rush area damage just because the first planet contains many weak targets. Scout the next two systems. If the campaign is moving toward armored stations and elite guardians, control plus focused fire scales better. If the AI is flooding you with cheap escorts, area damage earns its A-Tier placement immediately.
Range and burst options
Long-range burst tools are strong for opening a fight, but they should not become your entire fleet plan. Their best use is deleting a vulnerable support ship before the main exchange. After that first volley, move. A static Neinzul fleet gives the AI too much time to bring reinforcements and saturate your defenses.
| Weapon profile | Tier | Best use | Pair it with |
|---|---|---|---|
| Focused anti-ship | A | Removing guardians and elite escorts | Disable or slow effects |
| Area damage | A | Clearing swarms and reinforcement lanes | Movement control |
| Long-range burst | A | Opening a raid with a priority kill | Recon and retreat tools |
| Point-defense coverage | A- | Surviving missile-heavy defense groups | Repair support |
Equipment ranking also depends on your chosen difficulty and galaxy shape. On a cramped map, range and area coverage gain value because engagements happen quickly. On a spacious map, sustain and mobility usually win because you can choose when to fight.
B-Tier gear and the traps behind it
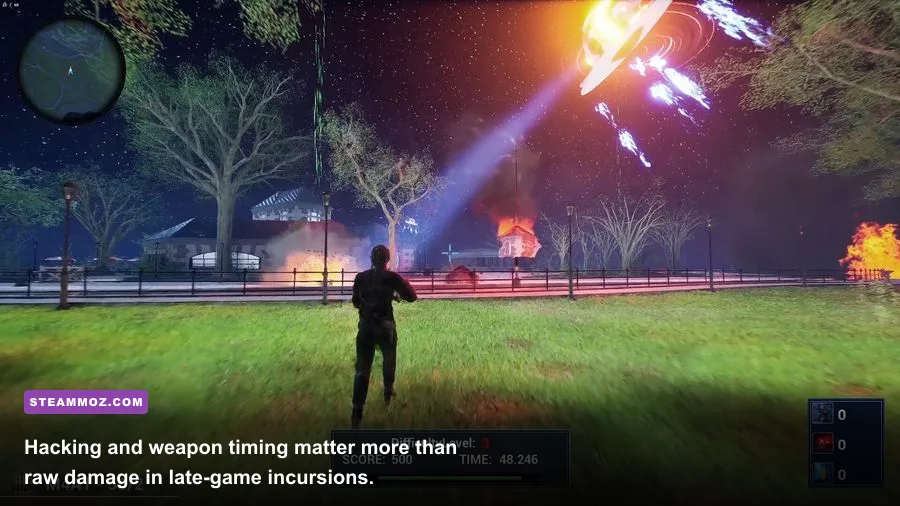
B-Tier does not mean useless. It means the equipment needs a specific battlefield to justify its slot. Specialized anti-armor systems can be devastating against the right target, but they feel terrible when deployed into a planet filled with fast escorts. Scout first, then commit.
Anti-armor and fixed-defense breakers
These tools are best reserved for planets where the primary obstacle is a dense cluster of high-health structures or armored ships. Bring enough control to hold the target in place, because slow damage without containment lets the AI rotate fresh defenders into the engagement.
Pure burst and glass-cannon loadouts
Glass-cannon equipment looks tempting in the early game because it can produce spectacular kills. The problem arrives when the AI survives the opening exchange. Without repair, mitigation, or a reliable retreat route, every lost ship turns a successful raid into a production problem.
A practical rule is to keep at least one defensive or control layer for every major offensive layer. If your fleet has focused damage, add disable. If it has area damage, add movement control. If it has long-range burst, add sustain or a clear extraction route. This simple balance prevents most bad Neinzul builds.
Best Neinzul equipment loadouts by mission
The best equipment ranking changes with the mission. Raiding a lightly defended economy planet is not the same job as breaking a command station. Build around the objective, then bring only enough damage to finish it.
| Mission | Recommended package | Engagement plan | What to avoid |
|---|---|---|---|
| Early scouting raid | Mobility, light burst, one control layer | Strike an exposed target and leave immediately | Fighting the entire local defense network |
| Escort clearance | Area damage, slow, repair | Hold a safe lane while waves collapse | Chasing stragglers into unknown space |
| Guardian hunt | Focused damage, disable, sustain | Mark the priority target and rotate out after the kill | Splitting fire across the whole group |
| Command-station assault | Control, focused damage, mitigation, retreat tool | Remove outer threats before committing the core fleet | Attacking before scouting reinforcement routes |
| Emergency defense | Area damage, point defense, repair | Fight near your own support and production | Deploying the fleet piecemeal |
A dependable campaign progression
Start with control and sustain, add focused damage once you know what the AI is protecting, and only then specialize into anti-armor or burst. This progression keeps the Neinzul fleet useful across more planets and avoids spending scarce research on a tool that has no current target.
Before every major attack, check four things: where the enemy reinforcements come from, which unit has the most dangerous weapon, how long your support ships can remain safe, and where the retreat path ends. If you cannot answer all four, you are not ready for the assault. The pause button is there to let you inspect the fight, not to make reckless attacks feel safer.
Players coming from conventional RTS games may also benefit from our weapon-tier ranking guide, though AI War 2 demands much more attention to battlefield roles than simple damage numbers.
How to test equipment without wasting a campaign
Use a controlled skirmish or a low-risk outer planet to test a new package. Record how many volleys are needed to remove the priority target, how much damage your support ships take, and whether the fleet can retreat without losing stragglers. Those three observations tell you more than a tooltip alone.
Test one variable at a time. Swapping damage, control, and sustain simultaneously makes the result impossible to read. Keep the same fleet size, target class, and approach route, then change only the equipment under review. AI War 2's battles are chaotic, but a repeatable test still exposes whether a weapon is genuinely improving your campaign.
Also remember that the game receives balance changes and that DLC content may interact with the base roster differently across versions. Check the current AI War 2 Steam page, the official Arcen Games site, and the official AI War 2 wiki before treating a balance interaction as permanent.
The final verdict is straightforward: control and sustain are the safest S-Tier investments, focused and area damage are the dependable A-Tier finishers, and specialist anti-armor or glass-cannon tools belong in B-Tier until scouting proves they have a job. Build the Neinzul fleet around uptime, target priority, and escape routes, and The Neinzul Abyss becomes far less about hoping your weapons overpower the AI and far more about making every engagement unfair.
For more strategy-game build discipline, see our beginner build breakdown and fast progression guide. The games differ wildly, but the lesson carries over: specialize only after you understand what the next fight is asking from you.