
The biggest trap in Hogwarts Legacy is treating it like an open-ended walking simulator the second you step into the Great Hall. Avalanche Software built a sprawling, nostalgia-drenched recreation of the Wizarding World, but mechanically, it is a hard-edged action RPG where your most essential quality-of-life tools—your flying broom, talent points, lockpicking spells, and gear capacity—are locked behind specific story milestones. If you spend your first ten hours wandering the Astronomy Tower or picking every field guide page in the South Wing, you will strangle your character's progression and leave your inventory overflowing with useless loot.

Beeline the Golden Path Until You Unlock the Map Chamber

It sounds counterintuitive for a massive open-world adventure, but you need to prioritize the golden main story quests almost exclusively for your first six to eight hours. Wandering off into the Scottish Highlands at level 8 might feel adventurous, but you will constantly run into Level 3 locked doors, inaccessible puzzle vaults, and massive cliff faces you cannot scale because you skipped the tutorial quests that hand over traversal tools.
Your true baseline experience does not even begin until you finish "Jackdaw's Rest." This pivotal quest unlocks the Map Chamber and finally opens the Talents menu. Any XP you grind before this point counts toward your level, but you cannot spend a single talent point until that specific cutscene plays out. Immediately after that, knocking out "Flying Class" gives you access to Sprintwitches in Hogsmeade to purchase your first broom for 600 galleons, turning tedious five-minute mountain hikes into twenty-second aerial glides. Much like learning how to level fast and farm resources in other sprawling action adventures, timing your narrative progression dictates how quickly you scale in power.
Hold off on heavy exploration until you have checked off these critical early-game unlocks:
- Broom Flight: Unlocked via the "Flying Class" main quest (approx. Level 6–8).
- Talent Tree System: Unlocked via "Jackdaw's Rest" (approx. Level 10–12).
- Merlin Trials: Unlocked via "Trials of Merlin" right after helping Nora Treadwell along the Lower Hogsfield coastline.
- Alohomora (Lockpicking): Handed over by Gladwin Moon during "The Caretaker's Lunar Lament."
- Room of Requirement: Unlocked midway through the autumn act via Professor Weasley.
🎮 Hogwarts Legacy
Looking to experience this game? Grab your digital key directly on our store for $59.99.
View on Steammoz Store →Manage the Brutal 20-Slot Gear Limit and Master Transmog

You start your journey with an insulting 20 gear inventory slots. Because every chest in every dungeon, hamlet, and corridor vomits out randomized scarves, robes, hats, and gloves, your inventory will choke constantly. There is nothing worse than cracking open a massive ornate chest at the end of a puzzle dungeon only to be greeted by the dreaded red prompt: Your gear inventory is full.
Here is what the game does not make obvious right away: sell everything that isn't your highest-stat item immediately. Hogwarts Legacy features an integrated cosmetic transmog system. The second an item hits your backpack, its visual appearance is permanently saved to your collection. You do not need to hoard that legendary green trench coat or quirky dragon-hide glove just to keep the look. Equip whatever piece offers the highest Offense or Defense numbers, and hawk every single spare piece of clothing to any merchant in Hogsmeade or roadside vendor in the Highlands.
To permanently expand your carrying capacity, you must complete Merlin Trials scattered across the world map. Each completed tier in your Challenges menu awards additional gear slots, scaling from a cramped baseline up to a comfortable 40 slots.
| Challenge Milestone | Merlin Trials Needed | Cumulative Trials | Slots Awarded | Total Inventory Space |
|---|---|---|---|---|
| Tier 1 | 2 | 2 | +4 Slots | 24 Slots |
| Tier 2 | 6 | 8 | +4 Slots | 28 Slots |
| Tier 3 | 10 | 18 | +4 Slots | 32 Slots |
| Tier 4 | 14 | 32 | +4 Slots | 36 Slots |
| Tier 5 | 20 | 52 | +4 Slots | 40 Slots |
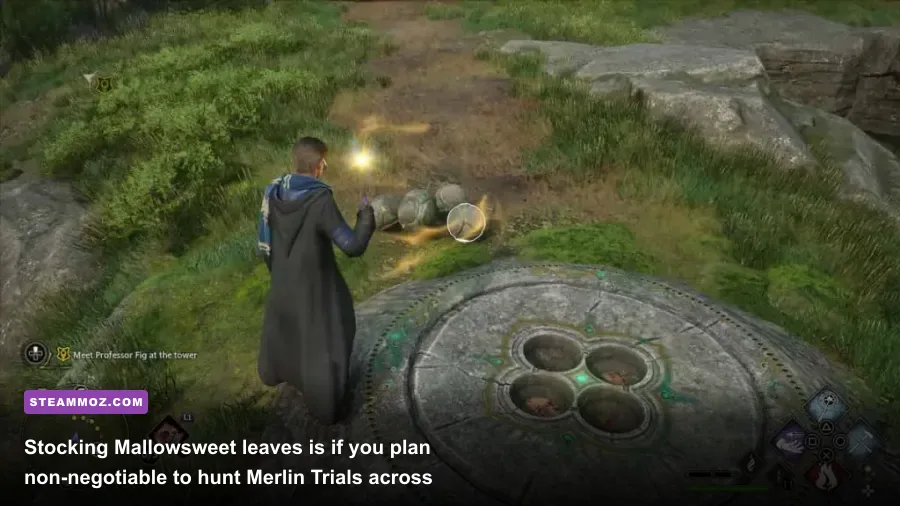
Remember that activating any Merlin Trial consumes one Mallowsweet leaf. Pick up seeds at The Magic Neep in Hogsmeade early, or you will find yourself staring at an interactable stone platform with empty pockets while hunting down secret locations and hidden rewards across the Scottish wilderness.
Talents Cannot Be Respec'd: Avoid the Beginner Traps

When you finally crack open the Talents screen, you might assume you can simply buy whatever looks fun and re-roll your points down the road. You cannot. The game hard-caps your character level at 40. Since you earn your first talent point at level 5, you will only receive 36 talent points across your entire run. With 48 total talents spread across the Core, Spells, Dark Arts, Stealth, and Room of Requirement trees, you will inevitably lock yourself out of a dozen perks permanently.
Just like assembling the best beginner build in any deep progression title, your opening points dictate your combat flow. Your absolute first investment must be Spell Knowledge I, located in the Core tree. By default, you can only slot four active spells on your primary diamond. Spell Knowledge I adds a secondary loadout wheel toggled with your shoulder button, doubling your instant combat options from four to eight. Pick up Spell Knowledge II shortly after so you can maintain a combat wheel, an exploration wheel, and a beast/utility wheel without constantly pausing the game to drag-and-drop spells.
| Talent Name | Tree | Priority Rating | Gameplay Mechanic Impact | Verdict |
|---|---|---|---|---|
| Spell Knowledge I & II | Core | S-Tier | Expands hotbar with up to 8 additional spell slots via triggers | Mandatory immediately at level 10 |
| Swift | Core | S-Tier | Turns your basic roll into a long-distance vanishing teleport dash | Essential for evading unblockable red-warning attacks |
| Wiggenweld Potency I | Core | A-Tier | Significantly increases healing amount per potion consumed | Saves resource consumption during early boss battles |
| Incanter's / Basic Cast Mastery | Core | A-Tier | Basic hits accelerate main spell cooldown timers | Keeps your heavy damage rotation spinning continuously |
| Disillusionment Mastery | Stealth | C-Tier | Reduces enemy vision cones while running invisible | Fun for stealth fans, but Petrificus Totalus already trivializes camps |
| Sense of Secrecy (I & II) | Stealth | D-Tier | Enemies take longer to spot you while walking | Wasted points; long-range spell sniping renders it obsolete |
Grab Swift as early as humanly possible. Holding down the dodge button causes you to vanish into thin air and reappear several yards away. It completely changes defensive spacing against charging Dugbogs, troll club sweeps, and Ashwinder Executioner lightning strikes.
Crack Shield Colors and Exploit Critical Shatter Windows
Combat in Hogwarts Legacy is fundamentally a rhythm-action color-matching puzzle. Enemies frequently shroud themselves in colored magical bubbles that make them impervious to normal spells and basic wand strikes. If an Ashwinder Duelist wraps herself in a violet orb, you cannot hammer her down with Incendio or basic casts.
To break through, hit them with a spell belonging to the corresponding color class:
- Yellow Shields (Control): Shatter using Levioso, Arresto Momentum, or Glacius.
- Purple Shields (Force): Shatter using Accio, Depulso, Flipendo, or Descendo.
- Red Shields (Damage): Shatter using Confringo, Diffindo, Incendio, or Bombarda.
There is a massive shortcut that many players overlook: Ancient Magic Throws bypass all shield types. By tapping the throw button (R1 on PlayStation, RB on Xbox, or Z/X on PC) to fling a wooden barrel, boulder, or metal anvil into an enemy, you will instantly shatter any shield regardless of color while staggering the target. This keeps your momentum going even if all your colored damage spells are trapped behind cooldown timers.
Once shields drop, leverage the game's hidden damage multipliers. The single strongest standard combo in the game is Glacius followed immediately by Diffindo. Glacius freezes a target solid, applying an enormous hidden damage vulnerability debuff to the very next strike. Diffindo acts as a massive physical severing blade. When Diffindo connects with a frozen target, it shatters the ice for critical burst damage capable of wiping out two-thirds of a Loyalist Assassin or Poacher Stalker's entire health bar in a single frame.
The Room of Requirement is an Overpowered Combat Engine
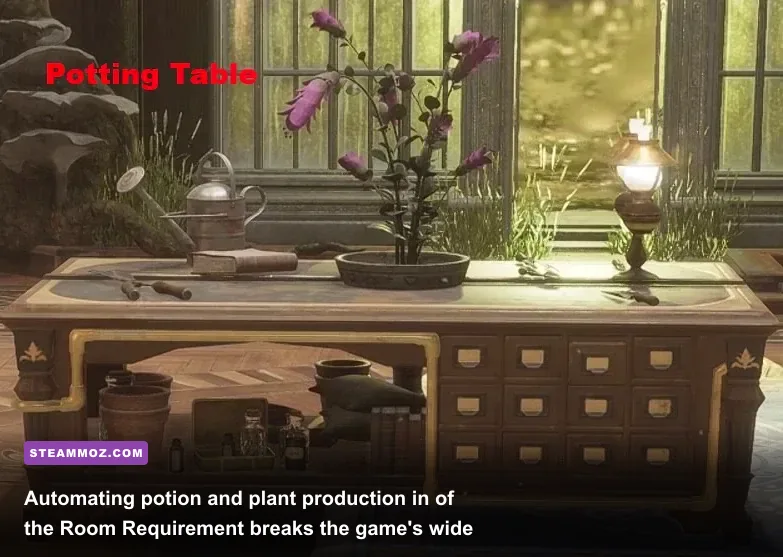
Do not dismiss the Room of Requirement as mere cosmetic base-building. Once unlocked, this instanced sanctuary becomes your private armory and chemical synthesis plant. In the wild, buying Wiggenweld Potions, Maxima Potions, and combat plants from vendors like J. Pippin's Potions or Dogweed and Deathcap will drain your gold reserves completely dry.
Invest your early galleons into high-yield spellcraft conjurations from Tomes and Scrolls in Hogsmeade:
- Potting Tables with Large Pots: Allows you to grow Venomous Tentacula and Chinese Chomping Cabbage continuously.
- T-Shaped Potion Stations: Brews multiple batches of Focus, Maxima, and Edurus potions simultaneously.
- Hopping Pots: Spits out a completely random combat or utility potion every 12 minutes at zero ingredient cost.
- Material Refiners: Generates Moonstone over time so you never have to farm crystal nodes in crags.
Combat plants—especially the Chinese Chomping Cabbage paired with the "Fertiliser" talent—are genuinely game-breaking. Dropping two cabbages alongside a Venomous Tentacula creates an automated turret setup that can solo entire bandit camps while you sit comfortably behind a rock under Disillusionment invisibility. If you find yourself repeatedly dying to high-level Infamous Foes, whip up an Edurus Potion. When upgraded via the Room of Requirement talent branch, chugging an Edurus potion renders you completely invulnerable to all damage while automatically deflecting projectile spells back into the casters' faces.
House Choice, Wand Design, and the Myth of Alignment
Players often agonize over the Sorting Hat ceremony and Ollivanders wand customization, terrified that a wrong dialogue choice will lock them out of content or steer them toward a bad ending. Let us save you the headache: most of these initial aesthetic choices have zero mechanical impact on your build.
Wand wood, wand core (Dragon Heartstring, Phoenix Feather, or Unicorn Hair), wand length, and flexibility are purely cosmetic. A 14-inch unyielding Dragon Heartstring wand casts spells at the exact same velocity, range, and damage scaling as a 9.5-inch bendy Unicorn Hair twig. Customize your wand strictly for your personal visual roleplay preferences, as detailed across the official lore catalog on the Harry Potter Wiki.
House selection (Gryffindor, Ravenclaw, Hufflepuff, Slytherin) determines three specific elements:
- Your Common Room location, interior architecture, and fast-travel spawn point.
- The visual color accent and emblems on house-specific cosmetic robes.
- One exclusive mid-game questline: Hufflepuff is the only house that gets to visit Azkaban prison during the quest leading to the Jackdaw mystery; Gryffindor hangs out with Nearly Headless Nick in the pumpkin patch; Ravenclaw solves an Owlery logic puzzle with Ollivander; and Slytherin assists Scrope in a coastal grotto.
Crucially, Hogwarts Legacy does not feature a morality or alignment meter. You can freely learn and cast the three Unforgivable Curses—Crucio, Imperio, and Avada Kedavra—right in front of Hogwarts professors and Aurors during Sebastian Sallow's companion questline. You will not get expelled, your house points will not drop, and the narrative path remains entirely open. If you want to run a dark wizard playstyle, the game allows you to do so without mechanical punishment, a design philosophy highlighted in official community deep-dives on Avalanche Software's official portal.
Essential Settings and PC Performance Tuning
Before casting your first Lumos, take five minutes to adjust the game's default controls and display options. The stock camera settings feel sluggish, heavy, and claustrophobic on both console and PC platforms.
First, head into the Gameplay Options and max out your Field of View (FOV) slider if you are playing on PC or broad aspect displays. The baseline camera clings far too close to your character's shoulders, which severely blindsides you against off-screen goblin attacks and airborne Spindle spiders. Next, drop Camera Acceleration to low or zero, and crank Camera Sensitivity up by at least 20–30%. This allows you to flick your view toward incoming flanking threats without fighting artificial cursor smoothing.
On the graphics end, Hogwarts Legacy is notorious for aggressive VRAM spikes and shader compilation stutters, a topic well-known to anyone familiar with fixes that rescue your FPS in dense open-world engines. Turn off Motion Blur, Depth of Field, and Chromatic Aberration immediately. Not only do these settings muddy target readability during chaotic duels, but disabling them also claws back valuable GPU overhead. If you're fine-tuning your rig for maximum stability, pairing these tweaks with balanced upscaling profiles mirrors the strategies used in finding settings for max FPS across demanding AAA titles.
Grab your gear on the Hogwarts Legacy on Steam page, set your camera correctly, rush the golden path until that broomstick is firmly between your hands, and you will save yourself dozens of hours of inventory headaches and wasted talent points.