New players should treat Aliens: Fireteam Elite - Into the Hive Edition as a positioning game first and a shooting game second. Stay together, build a class around one clear job, save crowd-control tools for the push that can actually wipe the squad, and learn which enemies deserve instant focus fire. These 10 tips cover the habits that make Campaign missions, Horde Mode, and higher difficulties dramatically more forgiving.
The Into the Hive Edition gives you the full co-op firefight experience, including the base campaign and its major content additions, but it doesn't remove the game's sharp learning curve. Xenomorphs are fast, special enemies punish tunnel vision, and a badly timed ability can leave a team helpless during an objective. The good news is that the underlying rules are consistent once you know what to watch for.

1. Build a fireteam with jobs, not just damage
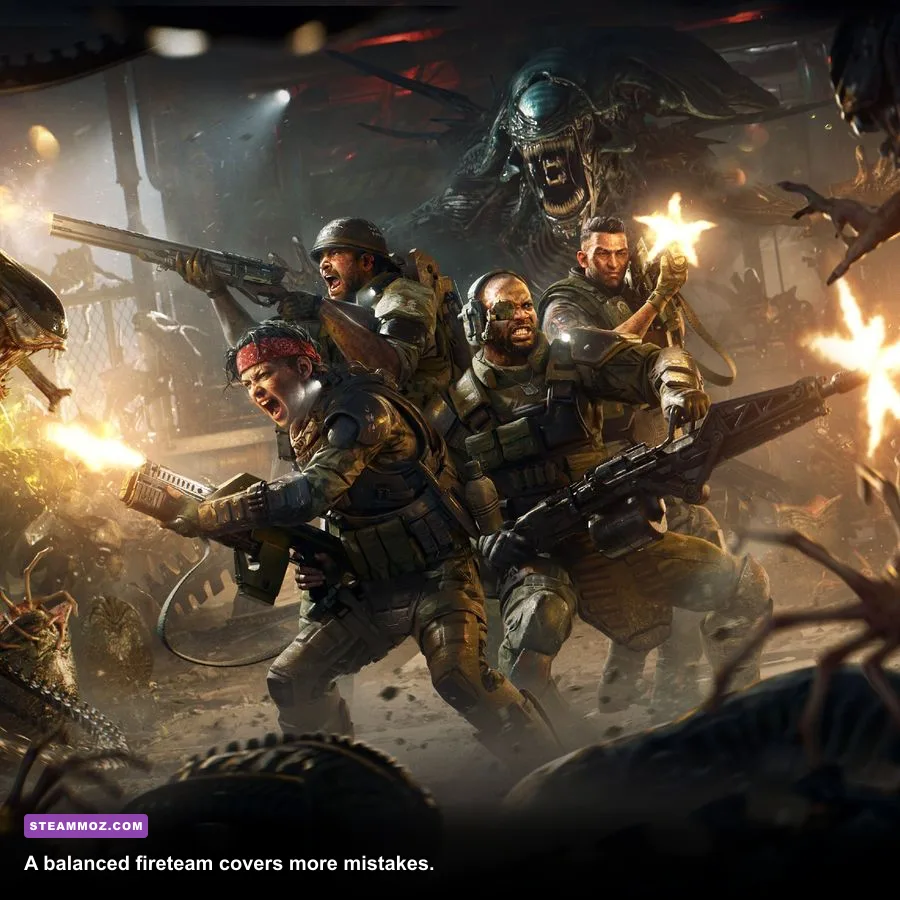
Aliens: Fireteam Elite's seven classes are Doc, Demolisher, Gunner, Technician, Recon, Phalanx, and Lancer. They aren't interchangeable damage skins. Each one changes how your team handles a corridor, an elite target, and the long defensive sections that define many missions.
For a first run, Gunner is the cleanest all-purpose pick. Overclock boosts fire rate and reload speed for the whole nearby team, while Frag Grenade gives you reliable burst damage. Demolisher is excellent when the squad is learning because Micro Rockets interrupt and stagger clusters, and Blastwave creates breathing room when runners reach the line. Technician is arguably the strongest safety net: the Sentry Turret adds sustained damage and the Electroshock Grenade slows enemies in a valuable area.
Doc's Trauma Station rewards disciplined positioning and gives the team healing, but inexperienced players often waste its charge by dropping it in open ground. Recon becomes more valuable later, when its PUPS support and ammunition utility can sustain a coordinated group. Phalanx and Lancer are powerful specialists, but both demand better awareness: Phalanx's shield changes your movement and firing angles, while Lancer's heavy melee-oriented tools can tempt new players too far forward.
| Class | Best beginner role | Core ability | Main mistake to avoid |
|---|---|---|---|
| Gunner | Team damage buffer | Overclock | Activating it after the wave is nearly dead |
| Demolisher | Wave clear | Micro Rockets | Firing rockets into one isolated enemy |
| Technician | Area control | Sentry Turret | Placing the turret where it cannot cover the approach |
| Doc | Sustain and healing | Trauma Station | Dropping the station before damage starts |
| Recon | Support and resource economy | PUPS | Running ahead and losing the support radius |
| Phalanx | Front-line control | Shield | Blocking teammates' shots in a narrow lane |
| Lancer | Close-range pressure | Particle Lance | Leaving the firing formation to chase kills |
A strong first-time trio is Gunner, Technician, and Demolisher. That combination gives you team buffs, a turret, slows, stagger, and explosive wave clear. If you're playing with bots, choose the class that supplies the utility your AI partners can't use intelligently. The bots shoot reasonably well, but they won't reliably manage a defensive ability at the perfect moment.
For more class-based advice, our DeltaZeal starting-build guide has a useful reminder: a beginner build should simplify decisions rather than maximize theoretical damage.

🎮 Aliens: Fireteam Elite - Into the Hive Edition
Looking to experience this game? Grab your digital key directly on our store for $11.99.
View on Steammoz Store →2. Let the motion tracker shape your movement
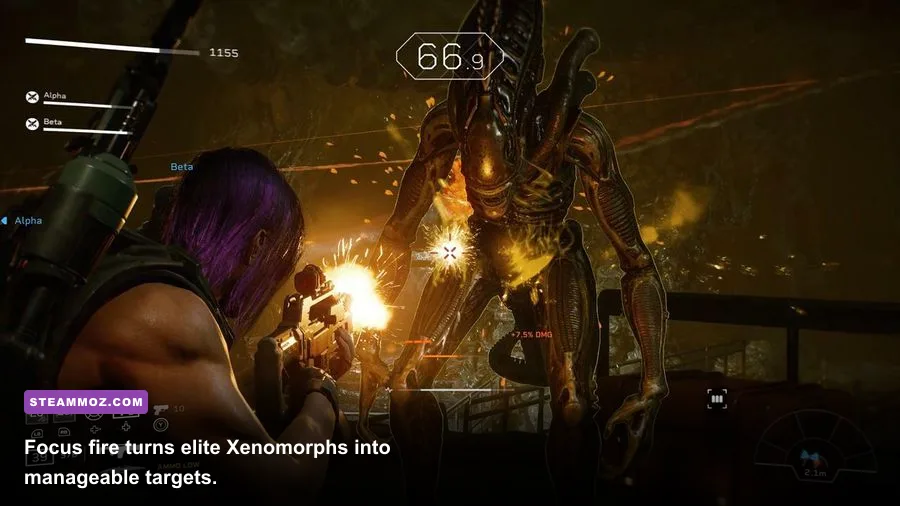
The motion tracker isn't decorative Alien fan service. It tells you when the next problem is approaching, even when the room itself looks empty. A blip close to the center means a contact is nearby, but the tracker won't tell you whether that contact is a Runner, Prowler, elite, or a whole group entering from an angle. Use it as an early-warning system, then confirm the approach with sound and visual cues.
Never sprint around a corner simply because the previous room is clear. Xenomorphs can emerge from vents, ceilings, side doors, and scripted spawn points. Move as a group, pause at intersections, and let the player with the best crowd-control tool stay near the rear. The rear guard isn't a passive job: Runners frequently wrap around the formation while everyone is staring down the main lane.
Keep a compact formation rather than stacking directly on top of one another. You want weapons close enough to focus fire, but spaced enough that a Prowler leap, Warrior swipe, or explosive attack doesn't damage everyone at once. In a three-player squad, one player should usually watch the flank while the other two clear the obvious lane.
Doors, corners, railings, and elevation changes are tactical assets. Back up toward a doorway before a wave starts so enemies have fewer angles. Don't retreat blindly through an unexplored room; that is how teams trade a controlled defense for a surrounded panic. If the objective gives you a minute to prepare, walk the room first and identify the safest fallback position.
3. Aim for the right target, not the biggest crowd
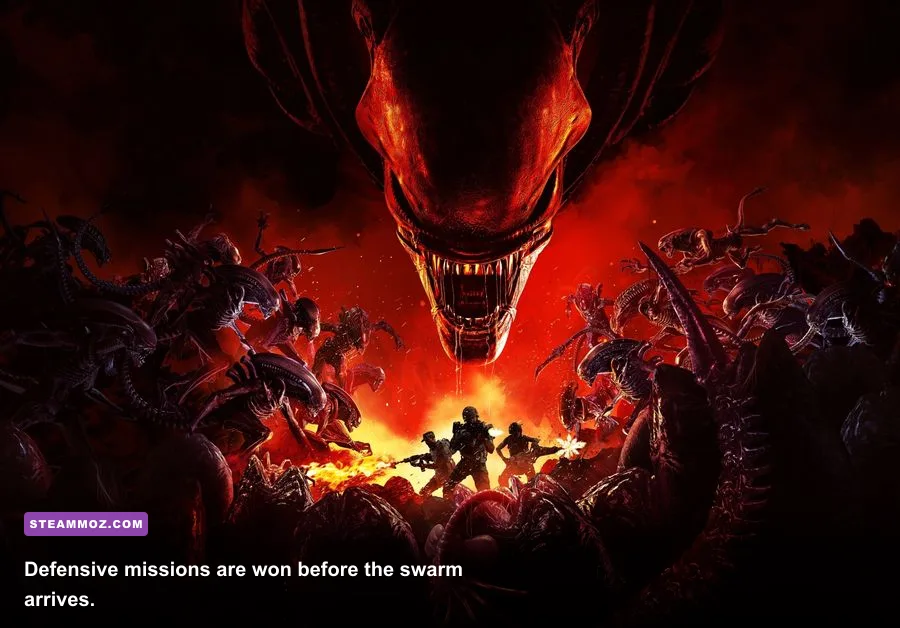
Standard Drones and Runners are dangerous in numbers, but special enemies are what collapse a squad. Warriors have heavy health and punishing melee reach. Prowlers can leap onto a marine and pin them. Bursters force you to respect distance because their death explosion can punish a careless execution. Spitters pressure stationary players from range, while Crushers demand space and a clean escape route.
Your priority order should change with the situation. A Prowler actively pinning a teammate is usually more urgent than a Drone. A Burster in the middle of your formation deserves immediate attention, while a distant Warrior can often wait until the lane is clear. When an elite enters, call it out, focus the weak point when practical, and avoid splitting damage across three targets.
Headshots are valuable, but accuracy isn't the same as spraying at the skull. Burst-fire rifles at medium range, use the reticle to track movement, and stop shooting for half a second when recoil carries you off target. The M41A2 Pulse Rifle is a forgiving early weapon because its balanced magazine and range let you handle Drones without constantly changing position. The CQW Auto Shotgun is better when the fight compresses into a doorway, but its limited reach makes it a poor answer to distant Spitters.
| Enemy | Telegraph | Immediate response | Best counter |
|---|---|---|---|
| Prowler | Crouches before a leap | Break line and focus it | Stagger, shotgun, or concentrated rifle fire |
| Burster | Distinct hiss and glowing body | Back away before killing | Long-range burst damage |
| Spitter | Stops to launch ranged acid | Strafe and remove it quickly | Rifle headshots |
| Warrior | Roar and forward charge | Keep distance and kite around cover | Overclock, rockets, and team focus |
| Crusher | Lowers body for a charge | Move sideways, never straight back | Slow, stagger, and sustained fire |
Don't reload in the middle of a target's stagger unless the weapon is nearly empty. A half magazine can finish an elite; an empty weapon during a pin animation cannot. Reload behind cover or during a clear lull, and communicate before using a heavy ability on a target another player is already about to finish.
4. Treat abilities and consumables as wave-control tools
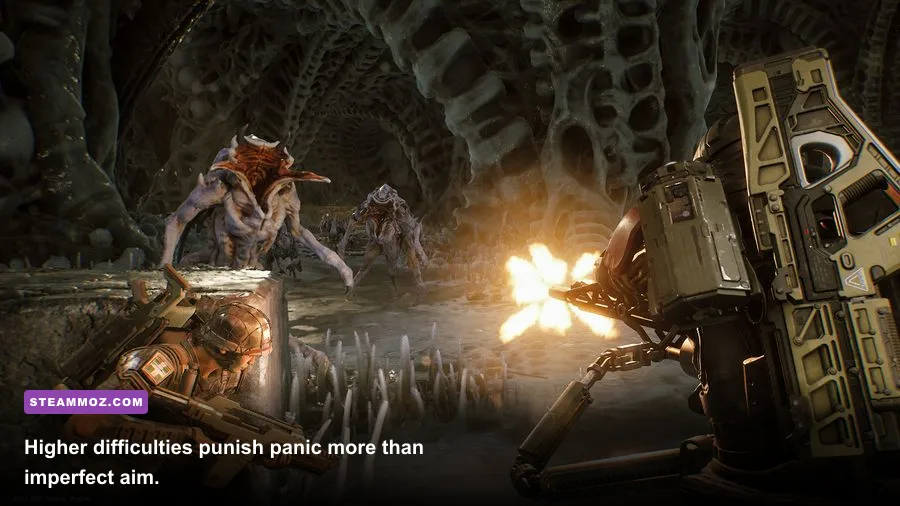
The most common new-player mistake is spending every ability the moment its cooldown ends. That feels productive, but Fireteam Elite is structured around pressure spikes. A Gunner should hold Overclock for an elite wave, an objective defense, or the moment a Warrior reaches the firing line. A Demolisher should save Micro Rockets for a dense approach instead of deleting three isolated Drones.
Technician's Sentry Turret is strongest when it watches a lane the team cannot comfortably monitor. Place it behind or beside the squad, angled toward the expected spawn route, and avoid dropping it at the very front where enemies will overrun it immediately. Electroshock Grenade is especially good at buying time for a reload or stopping a cluster from reaching a doorway.
Doc's Trauma Station has limited healing capacity, so plant it where the squad will actually stand during the fight. It isn't a portable answer to every scratch. If everyone is at full health, keep moving and preserve the station. If one player is badly injured, don't force the whole team to stand inside it while a wave approaches from an unprotected flank.
Consumables such as Sentry Guns, Cryo Grids, Incendiary Rounds, and Electroshock Rounds should be deployed before the threat reaches the team. A Cryo Grid at the mouth of a corridor can turn a Crusher push into a controlled target. An Incendiary Sentry is most valuable when it has a long lane to fire through, not when it is surrounded by enemies. Challenge Cards can add rewards or difficulty modifiers, but skip them while learning a mission's spawn patterns.
On higher difficulties, friendly fire makes panic especially expensive. Don't fire rockets, grenades, or explosive weapons through teammates simply because the crosshair is on an elite. Establish lanes before the wave begins. The player on the left handles the left side, the player on the right handles the right, and the center player calls targets.
5. Understand the card grid before chasing perks
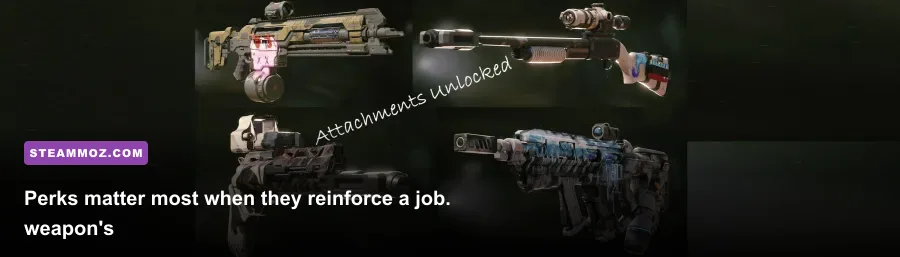
Class progression unlocks weapons, perks, attachments, and ability modifiers over time. The grid system lets you shape how a class behaves, but filling every available square with random bonuses is worse than leaving a few spaces empty. Start by making the class's primary job reliable: ability radius and cooldown improvements for Technician, damage and handling for Gunner, explosive utility for Demolisher, and healing efficiency or support range for Doc.
Ability modifiers can change more than raw damage. A larger Electroshock Grenade radius makes Technician safer in a doorway. A wider Trauma Station effect can let a team hold a defensive position without standing shoulder to shoulder. On Gunner, modifiers that improve Overclock's duration or team value are usually more useful to a new squad than a tiny personal weapon bonus.
Weapon perks should reinforce the weapon's role. Stability and reload improvements are noticeable on automatic rifles because they reduce missed shots and downtime. Weak-point damage is stronger when you can consistently hit heads; it is not an excuse to equip a perk that makes an unfamiliar weapon feel worse. Test a weapon in the Endeavor or a low-difficulty mission before committing your grid to it.
| Loadout goal | Recommended weapon direction | Perk priority | Why it works |
|---|---|---|---|
| Reliable first campaign build | M41A2 Pulse Rifle plus balanced CQW | Stability, reload, weak-point damage | Handles mixed ranges without demanding perfect aim |
| Close-range wave clear | Auto Shotgun or Type 95 Combat Pistol | Magazine, reload, stagger support | Deletes Runners before they reach the line |
| Elite support Gunner | Pulse Rifle or Kramer Assault Rifle | Accuracy, weak-point damage, Overclock modifiers | Converts team buffs into focused elite damage |
| Technician control | Rifle plus CQW weapon | Ability radius, turret utility, handling | Maintains a safe lane while abilities recharge |
Don't confuse Combat Rating with actual performance. A higher number can reflect a perk combination that doesn't suit your weapon or mission. A stable rifle you can land consistently is more useful than a theoretically stronger gun that kicks your reticle off every target. You can also revisit earlier missions for experience and weapon proficiency rather than rushing into higher difficulty under-equipped.
If you enjoy games where progression choices have a bigger strategic impact, compare that mindset with Steamoz's Dins Curse survival tips. The lesson carries over: protect the run first, optimize the build second.
6. Learn objective pacing and prepare before interacting
Many missions become harder because players trigger the next objective before reloading, healing, or checking the room. If a console, elevator, synth terminal, or data objective is waiting, treat the interaction prompt as a preparation alarm. Top off magazines, revive fallen teammates, place the turret, and identify where the squad will retreat. Then activate it.
For holdout sections, the best position is usually not the objective itself. Stand where enemies have to enter a narrow lane and where the team can retreat without crossing the spawn route. Leave one player free to interact or carry the objective while the others cover. If the mission sends you between multiple terminals, don't all chase the active marker; keep one player positioned to watch the rear.
On the final objective, expect the game to spend its nastiest combination of specials. Keep at least one major cooldown for that moment. A Gunner Overclock chained with Demolisher rockets can erase the dangerous opening seconds, while Technician's turret and shock grenade stabilize the edges. If you have a consumable, deploy it before the first contact rather than after the team is already taking damage.
Escorting or carrying objectives changes your priorities. The carrier should not be the first player through every doorway, and the team shouldn't abandon them to chase a kill. Clear a short route, move together, and stop when the formation breaks. A slow, controlled advance is faster than a sprint followed by a revive animation.
7. Use difficulty as a training ladder
Start on Casual or Standard until you understand the campaign's routes, then move to Intense when your class and weapon proficiency feel comfortable. Extreme and Insane are not simple health multipliers; they demand cleaner positioning, stronger builds, and disciplined friendly-fire awareness. The jump is especially noticeable when a single bad retreat turns into two incapacitations.
Don't farm the highest difficulty immediately. Repeating a mission you can complete consistently teaches more than failing a mission because your Combat Rating and coordination aren't ready. Use low-pressure runs to learn objective locations, hidden caches, spawn triggers, and the timing of elite appearances. Then increase difficulty once the squad can finish without burning every consumable.
Horde Mode is a useful practice ground for ability timing, but it teaches a different rhythm from Campaign. Horde rewards a fortified lane and repeated waves; Campaign also tests movement, resource management, and scripted encounters. Practice both if you want to become reliable in public matchmaking.
8. Build around a fallback position
Every room needs an answer to the question, “Where do we go when this fails?” Pick the fallback before the wave starts. It might be a doorway, a staircase, a long corridor, or a room with a clear line of sight. Avoid backing into dead ends unless the objective absolutely forces you there.
When a Warrior or Crusher breaks the front line, don't scatter in four directions. Call the fallback, move through it together, and turn only after the entire team has crossed. The player with crowd control should be last through the choke point. This habit prevents the classic wipe where one marine retreats early, another follows, and the squad loses its overlapping fire.
9. Communicate with short, useful callouts
You don't need constant voice chat. “Prowler left,” “reload,” “fall back,” and “Overclock now” are enough to save a mission. Mark elite targets, announce when an ability is unavailable, and tell teammates before you deploy a sentry or grenade. Silence is fine until something changes; then concise information beats frantic narration.
In matchmaking, assume teammates may not know your plan. Don't place a turret across the only escape route, don't stand in front of a Phalanx while firing, and don't activate an objective while someone is still shopping for attachments. Good co-op etiquette is tactical preparation in disguise.
10. Optimize performance for readable combat
Aliens: Fireteam Elite is a fast third-person shooter, so stable frame pacing matters more than a few extra reflection effects. On PC, start with the recommended preset, then reduce shadows, volumetric effects, and screen-space reflections if large waves cause stutter. Keep textures higher if your GPU has the VRAM; lower texture quality often makes the game look worse without fixing a CPU-bound swarm.
| Setting | Recommended starting value | Typical performance effect | Visual trade-off |
|---|---|---|---|
| Resolution | Native, or 90% scale | Very high | Lower scale softens distant targets |
| Shadows | Medium | Medium to high | Less contact-shadow detail |
| Volumetric effects | Medium | Medium | Reduced fog and lighting depth |
| Screen-space reflections | Low or medium | Low to medium | Less reflective surface detail |
| Textures | High if VRAM allows | Low on GPU with enough VRAM | Lower values blur armor and environments |
| Motion blur | Off | Small | Cleaner target tracking |
| Frame cap | Match monitor refresh stability | Can reduce spikes | May lower peak FPS |
Use the official Steam page for current platform details, and check Cold Iron Studios' official site for developer updates. The official support portal is the right place for technical issues rather than guessing from outdated forum posts.
Finally, remember that this game rewards composure more than heroics. Stay inside the squad's firing envelope, spend abilities on the dangerous wave, and leave yourself a route out. If you make those three habits automatic, the hive stops feeling like an endless ambush and starts feeling like a series of problems your fireteam can solve.
For more games that reward careful execution, Steamoz's Desperados III review and Dragonkin performance guide offer useful detours. And if you want another progression-focused read, see how Deponia handles progression without leveling.