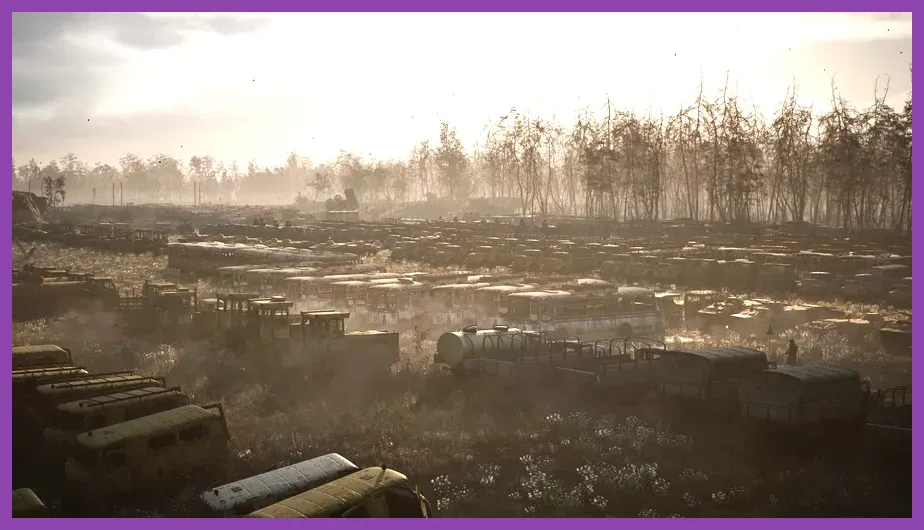
STALKER 2: Heart of Chornobyl does not have a conventional character-level system or an XP bar. To “level up” fast, build Skif’s power through main-story progression, efficient artifact hunting, high-value loot runs, weapon and armor upgrades, and careful coupon management. Prioritize the route from Zalissya to the Slag Heap, keep a detector equipped, sell excess guns only when their condition makes the transaction worthwhile, and spend money on survivability before cosmetic or marginal upgrades.
This distinction matters because grinding random mutants will not award experience or unlock skill points. Your practical level is determined by equipment quality, artifact bonuses, ammunition supply, mission access, and how much money you can repeatedly invest in technicians. The advice below is designed for a new game or a fresh save, with specific weapons, locations, vendors, and upgrade priorities that accelerate progression without wasting time in the open world.
Understand STALKER 2’s Real Progression System
There are no character levels, perk trees, or skill names to unlock in Heart of Chornobyl. Skif becomes stronger through six systems: weapons, armor, weapon attachments, armor upgrades, artifacts, and consumables. Main missions also function as progression gates because they open new areas, traders, technicians, stashes, and stronger equipment pools.
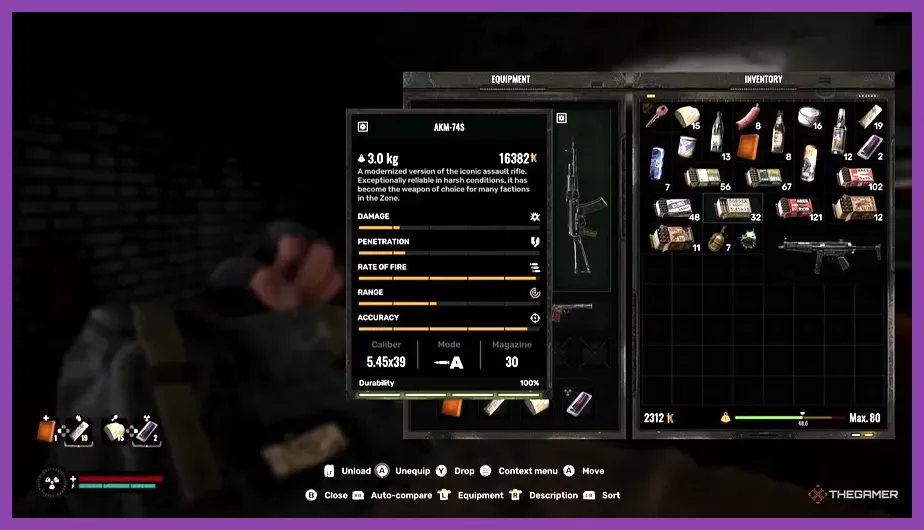
Coupons are the Zone’s main currency. You earn them by completing missions, selling artifacts, looting weapons, opening containers, and turning in selected mission items. Every gun also has a condition value. A damaged AKM-74S may look valuable in your inventory, but a trader pays much less for a heavily worn weapon, while repairing it before selling can cost more than the sale is worth. Check the expected price before using a technician.
Think of progression as a three-part loop:
- Secure income: finish nearby objectives, collect artifacts, and sell surplus gear at a settlement.
- Improve combat power: upgrade one reliable rifle, one close-range weapon, and your armor.
- Open the next region: follow the main story instead of spending hours clearing low-value areas.
For comparison, this is a resource-progression shooter rather than a traditional RPG. If you enjoy planning equipment economies, our Rust weapons tier list covers a similar question from a different survival game. In STALKER 2, however, no amount of enemy farming creates an invisible XP advantage, so every detour should produce money, an artifact, a weapon upgrade, or a useful story reward.
Use the Fastest Early-Game Route
1. Clear Zalissya before taking long detours
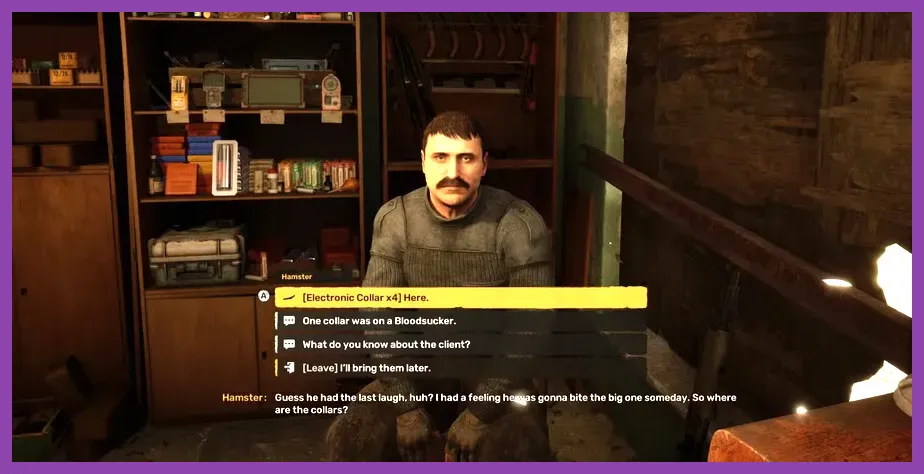
Zalissya is your first dependable base. Search buildings, stashes, medkits, food, and ammunition before leaving, then check Hamster’s inventory and the local technician. Do not sell every weapon immediately. Keep the best-condition AKM-74S or Viper-5 you find, a shotgun such as the M860 Cracker for close encounters, and enough ammunition for the next story objective.
Complete nearby jobs and side objectives while they are on your route. They provide coupons and supplies without the risk of an expensive expedition. Save frequently before entering unfamiliar buildings: a quick reload is far more efficient than recovering from a death that consumes ammunition, healing items, and durability.
2. Move through the Slag Heap efficiently
The Slag Heap is an important early hub and a better place to consolidate loot than repeatedly returning to the starting area. Follow the main objective, search marked buildings, and use the stash system to avoid carrying every low-value item. Weight is a progression problem: becoming overburdened slows you down and prevents you from reaching profitable loot before your inventory fills.
Carry one primary rifle, one close-range weapon, a pistol, and only the ammunition types you actually use. Skif’s Pistol is a dependable emergency sidearm, but carrying several damaged pistols usually produces little return. A Viper-5 is useful against human targets at short and medium range; an AKM-74S is a better all-purpose choice when you can maintain its ammunition supply.
3. Push story missions instead of respawn farming
Main missions provide the most consistent progression because they award coupons, equipment, access to new hubs, and route information. The early story also teaches you how anomalies, mutants, factions, and emissions behave. Complete profitable side content near the active objective, then continue the main path. Do not repeatedly clear a camp hoping for XP that the game does not award.
Before leaving any settlement, repair your main weapon if its condition is becoming unreliable, refill essential ammunition, and carry bandages, medkits, and anti-radiation consumables. You do not need a full inventory of food. Food restores hunger, but it is not a substitute for healing during a firefight, and excessive food weight makes loot runs less efficient.
Farm Artifacts for the Biggest Power Increase
Artifacts are the closest thing STALKER 2 has to permanent stat upgrades. They are found near anomalies and can grant protection or useful bonuses, but every artifact can also carry a radiation penalty. Use your detector around anomaly fields, listen for its signal, and move carefully instead of sprinting directly toward the artifact.
Build an artifact routine
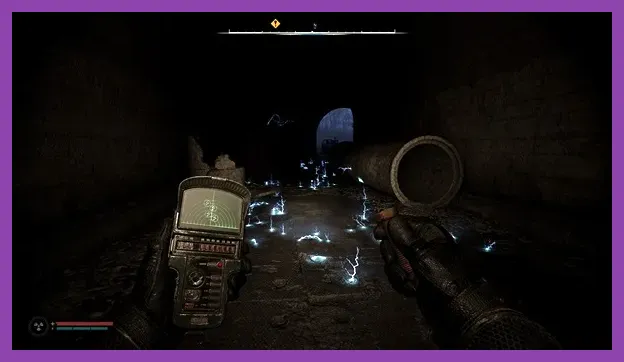
- Approach an anomaly field with bolts equipped. Throw a bolt ahead of you to reveal dangerous anomaly reactions and create a safer path.
- Equip the detector and scan the field while watching your health, radiation, and stamina.
- Collect the artifact only when you have a clear retreat route. Do not trade a rare find for a death and a lost inventory.
- Return to a trader, compare its sale price with its practical value, and keep artifacts that directly support your current armor and playstyle.
Early artifacts are especially valuable when they provide elemental protection or reduce a weakness your armor already has. A radiation-heavy artifact is not automatically an upgrade. If the radiation drain forces constant vodka or anti-radiation use, its income and survival value may be worse than selling it. Inspect every slot and treat radiation control as part of your build.
Artifact hunting becomes safer when you avoid fighting at the same time. Clear nearby hostile humans or mutants first, reload, heal, and then enter the anomaly field. The detector’s audio and visual feedback can be difficult to read during a firefight. This is one reason a short, deliberate route is better than wandering across the Zone with a full inventory.
For broader resource-management ideas, see our materials and crafting guide for Sea of Stars. The games use different systems, but the principle is the same: keep rare resources that solve an immediate problem and convert surplus materials into dependable progress.
Spend Coupons on the Right Upgrades
Upgrade order for weapons
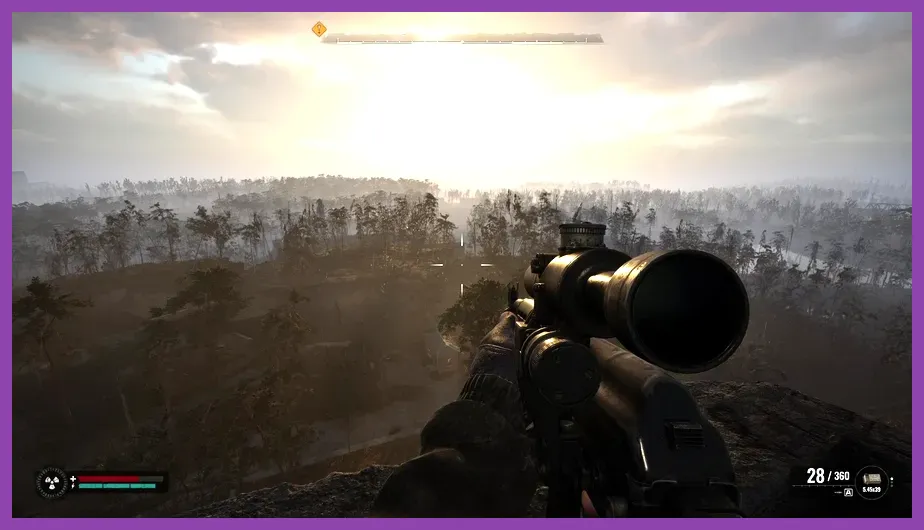
Upgrade the weapon you use for most encounters first. A sensible early order is reliability, magazine capacity, accuracy, and then damage-focused improvements. A clean AKM-74S can carry you through numerous human encounters, while the M860 Cracker remains valuable when a mutant closes the distance. Do not spread coupons across five guns that all need repairs.
Attachments also matter. A suppressor can help with stealth but may reduce weapon performance or increase maintenance demands depending on the gun. A scope is useful only if you actually fight at its effective range. For early progression, a practical sight and a larger magazine generally provide more consistent value than a specialized attachment that you rarely use.
Upgrade armor before chasing perfect guns
Armor upgrades are often the best defensive investment because they improve your margin for error across every fight. Prioritize radiation resistance, physical protection, and the ability to equip more artifacts when those upgrades are available. The SEVA-D suit is a strong long-term target because it supports exploration and artifact hunting, but it is not a reason to ignore a serviceable suit that keeps you alive in the next mission.
Technicians are not interchangeable. Each settlement has its own repair and upgrade access, and some upgrades require blueprints or specific equipment availability. Visit technicians whenever the story opens a new hub, compare the upgrade menu, and avoid paying to repair a nearly worthless weapon merely to sell it. Store rare guns in a personal stash until you decide whether they belong in your loadout.
Use the official STALKER 2 support site for current patch information before committing to a bug-sensitive route. Balance, quest behavior, and technical issues can change after updates, while the core no-XP progression model remains the key fact for planning your run.
Build a Reliable Combat Loadout
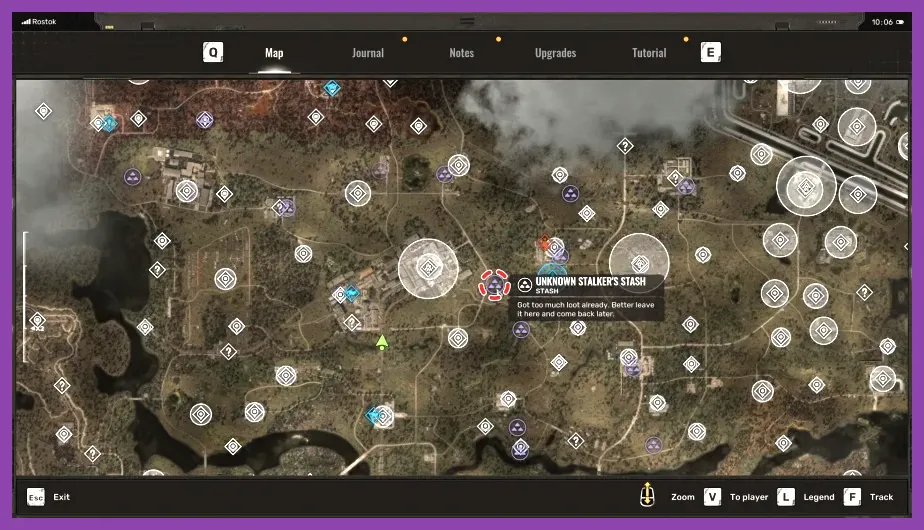
The fastest route is useless if every encounter forces a reload from the previous checkpoint. Your early loadout should cover three ranges. Use the AKM-74S for medium-range human enemies, the Viper-5 when targets are close and ammunition is available, and the M860 Cracker for mutants or sudden indoor fights. Keep Skif’s Pistol as a low-weight backup rather than carrying several sidearms.
Use the correct answer for each enemy
Against human squads, break line of sight, isolate one target, and aim for headshots rather than trading body shots in the open. Grenades are valuable for enemies behind cover, but do not throw them into a room before checking your escape route. Against mutants, movement and distance are more important than trying to stand still and absorb damage. The Bloodsucker’s invisibility makes audio critical: listen for footsteps, attack effects, and environmental movement, then create distance with the shotgun when it commits to a close attack.
Controllers can disrupt you at range and make panic movement costly. Use hard cover, keep your rifle loaded, and focus fire during a clear opening instead of wasting ammunition into a protected target. Pseudogiants are not efficient farming targets. Their shockwave and heavy attacks punish greedy reloads, so keep moving, use terrain, and spend ammunition only when you can maintain a safe angle.
Carry enough healing for the mission but do not hoard every consumable. Bandages handle bleeding, medkits restore health, and anti-radiation items protect the artifact-hunting loop. If radiation is constantly draining health, leave the contaminated route and return with better protection rather than burning your entire medical stockpile.
Progress Faster After Reaching New Regions
Once the story reaches hubs such as Rostok, Yaniv, and eventually Pripyat, progression accelerates because traders and technicians offer stronger options and missions become more rewarding. The same routine still applies: arrive with free inventory space, complete nearby objectives, search stashes, sell unwanted artifacts, and invest in one coherent loadout.
Use hub-to-hub planning
Keep a working stash at every major base. Store spare ammunition, unusual weapons, artifacts with radiation penalties, and armor you may want to test later. Before a long expedition, take one primary weapon, one close-range answer, and the armor best suited to the region. A lighter, reliable loadout beats a collection of damaged guns that leaves you overburdened.
Do not rush into a new region with empty artifact slots or an unmodified rifle just because the map is open. Complete the nearby story chain, learn the local anomaly and enemy pattern, then return to the technician. This is especially important before difficult late-game missions, where repairs, ammunition, and healing can consume coupons quickly.
Side missions remain worthwhile when they are compact and local. A mission that sends you across two regions for a small reward is a poor leveling route unless it unlocks a trader, unique equipment, or a major story branch. Use the map to group objectives, and travel only when the combined reward justifies the risk.
Track official announcements through the STALKER 2 Steam page and GSC Game World’s official site. For more survival-focused planning, our Red Dead Redemption 2 armor guide offers another useful example of matching equipment to dangerous regions.
The fastest STALKER 2 progression loop is simple: follow the main story, loot deliberately, hunt artifacts when you have a safe route, sell intelligently, and concentrate upgrades on one rifle, one close-range weapon, and your armor. Because there is no XP grind, every successful extraction matters more than the number of enemies you kill. Arrive at each new hub better equipped than the last, and Skif will become stronger far faster than a wandering run built around random firefights.