
The fastest reliable way to farm gold in The First Descendant is to repeat the Fortress Outskirts mission in Hard mode with Bunny or Valby, then sell unwanted weapons and dismantle excess gear between runs. For a safer, less repetitive option, run The Block Kuiper Mining Special Operation through as many waves as your build can clear efficiently. Stack any available Gold Gain bonuses, use a Fellow for automatic pickups, and prioritize gold per minute rather than the biggest single payout.
Gold is needed for module upgrades, weapon enhancement, Descendant research, Ultimate Weapon crafting, and maintenance at the Workbench. A strong farming route therefore has to do more than drop cash: it should also produce Kuiper Shards, weapon blueprints, modules, and gear worth selling. The methods below focus on repeatable activities available in the live version of the game, with separate recommendations for new players, Hard-mode farmers, and players who want a low-effort group activity.
Best Fast Gold Method: Fortress Outskirts

Fortress Outskirts is the best all-purpose gold farm when you can clear it rapidly. It is a short repeatable mission in the Fortress region with tightly packed Vulgus groups, straightforward objectives, and excellent value for an area-clear Descendant. The exact payout changes with difficulty, modifiers, boosters, and seasonal balancing, but a geared player can usually complete the Hard version in roughly four to six minutes. That makes it more consistent than waiting for a long Special Operation to finish.
How to run Fortress Outskirts efficiently
- Open the map, select Fortress, and choose Fortress Outskirts from the mission list.
- Set the mission to Hard if your Descendant survives regular hits and your weapon can kill standard enemies without repeatedly reloading.
- Start with Bunny, activate Lightning Emission, and sprint through enemy packs while maintaining enough distance to avoid getting staggered.
- With Valby, use Plop Plop and Clean Up to create water trails and burst down clusters while moving between objectives.
- Collect the dropped gold, finish the mission, return to Albion, and restart immediately. Do not spend time opening every low-value chest or fighting enemies outside the objective path.
Bunny is usually the fastest choice because Lightning Emission damages nearby enemies while she moves, and Speed of Light improves her sprint speed and skill range. Build around skill range, skill duration, and survivability rather than maximum burst damage. A dead Bunny earns zero gold, so Increased HP, Increased DEF, and a properly upgraded Electric Specialist setup are more valuable than a fragile glass-cannon loadout.
Valby is particularly good if you already have a water-focused build. Her Laundry mechanic helps spread damage through groups, while Supply Moisture can improve firearm critical performance when you are using a gun to finish elites. Valby may clear slightly slower than Bunny, but her movement and area control make Fortress Outskirts comfortable for players who do not yet have a fully optimized Bunny.
Use Bunny and Valby Builds That Kill, Not Just Move
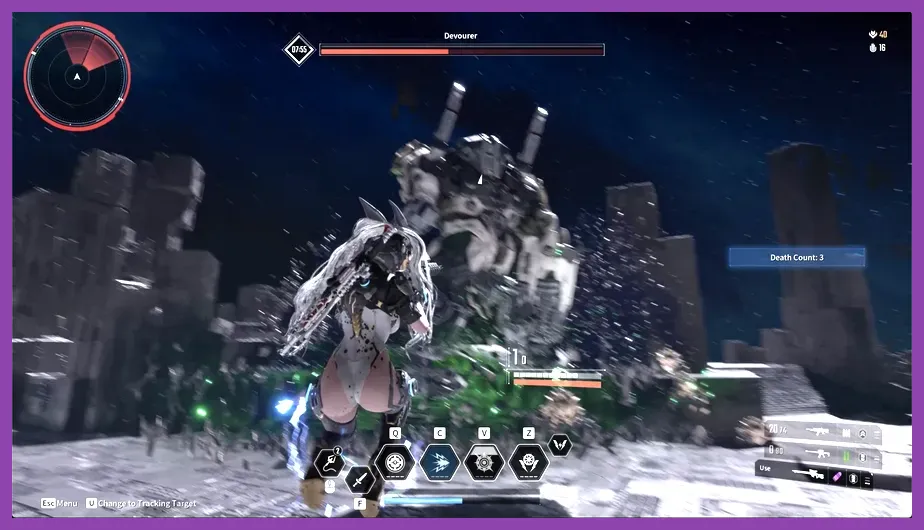
Gold per hour depends more on clear time than on theoretical reward totals. A mission that pays 150,000 gold but takes twelve minutes can be worse than a mission paying 90,000 gold in four minutes. Test your route with a stopwatch and compare completed missions per hour after loading screens, inventory trips, and failed runs.
Bunny priority stats
- Skill Range: lets Lightning Emission reach enemies before they surround you.
- Skill Duration: keeps your electric aura active across more groups.
- Electric Skill Power: improves clear speed against ordinary Vulgus.
- HP and DEF: prevents interruptions during objective captures and elite encounters.
- MP management: reduces downtime when Speed of Light and other skills are active.
For weapons, use a fully leveled assault rifle or machine gun that can kill Fortress elites without a long reload. Thunder Cage is a strong practical choice because its Overcharge effect creates an electric explosion after kills, helping Bunny clean up survivors. Upgrade its firearm attack and critical modules before chasing niche gold bonuses. If your gun takes multiple magazines to defeat normal enemies, improve the weapon first.
Valby priority stats
- Skill Range and Skill Duration: keep water trails active over the route.
- Non-Attribute Skill Power: supports Plop Plop, Laundry, and Clean Up.
- HP: gives you room to continue moving when Fortress enemies spawn behind you.
- Cooldown Reduction: helps maintain consistent area coverage between objective waves.
Do not equip a farming setup that sacrifices every defensive module. A failed run, a revive delay, or a forced return to Albion destroys the advantage of a slightly stronger damage build. If you are still unlocking modules, our guide to The First Descendant achievements can help you identify progression goals that also expand your roster.
Best Infiltration Operations for Gold and Gear
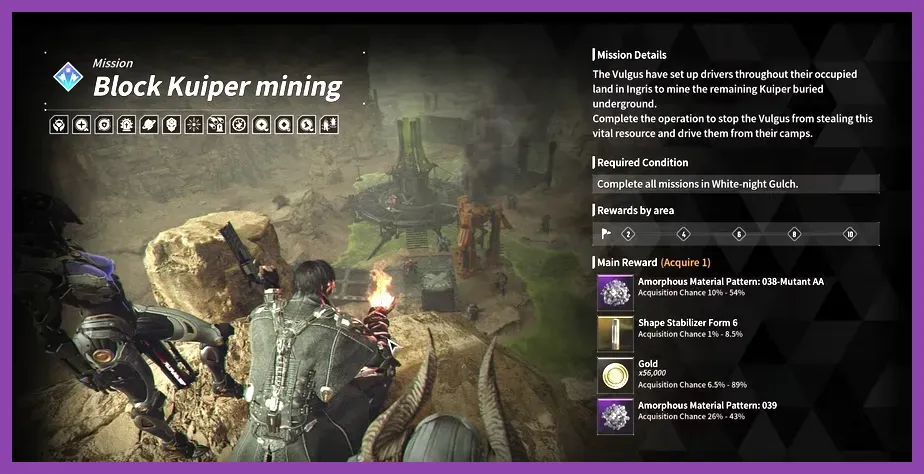
Hard Infiltration Operations are the best alternative when you want gold plus reactors, external components, modules, and Amorphous Material Patterns. The Asylum, The Chapel, and other dense missions can be profitable when your Descendant clears their rooms quickly. They are not always the highest raw gold-per-minute option, but the equipment you collect adds substantial value when you sell unwanted weapons and dismantle useless gear.
Step-by-step infiltration farm
- Open the Albion map and select an Infiltration Operation appropriate for your current gear level.
- Choose Hard mode only if you can clear standard rooms without stopping after every encounter.
- Activate the mission modifier settings that increase difficulty only when the added score and rewards do not slow your run.
- Use Bunny to clear rooms with Lightning Emission, or choose a boss-capable Descendant such as Lepic when the final encounter is your main bottleneck.
- Pick up gold and high-value drops, complete the boss, then return to Albion and sell unwanted weapons to Deslin.
Do not automatically activate every negative modifier. Reduced skill power, increased enemy shields, or extra enemy health can turn a six-minute route into a fifteen-minute route. The best modifier is the one that increases rewards while preserving your clear speed. Keep one loadout for room clearing and another for the final boss if the mission demands it.
Infiltration Operations also help fund future builds because duplicate Ultimate Weapon materials and modules can be converted into progress. Check the official The First Descendant website for current event bonuses and reward changes before committing to a long session. Events that increase mission rewards can temporarily make an infiltration route better than the normal Fortress loop.
Special Operations: Safe Gold for Long Sessions
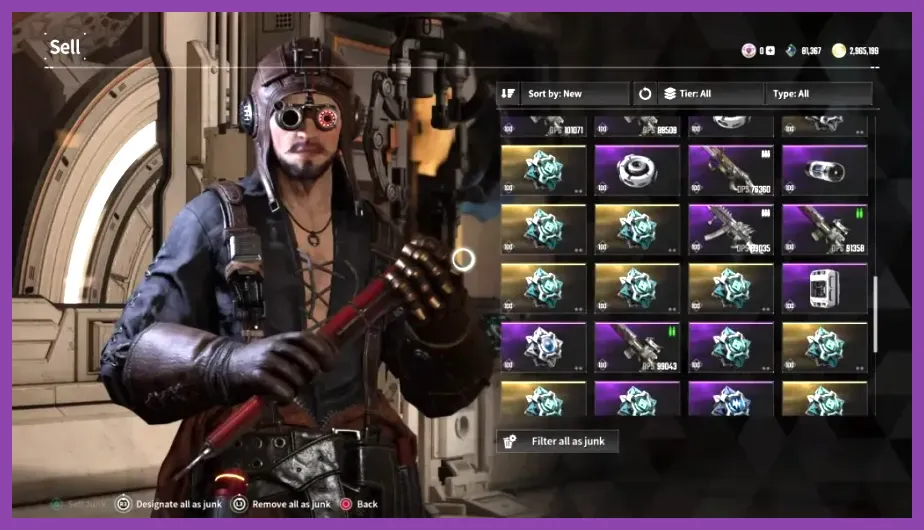
The Block Kuiper Mining Special Operation is the most comfortable choice for players who prefer a wave-defense activity. Instead of repeatedly loading into a short mission, you defend mining zones against escalating enemy waves. Gold arrives throughout the operation, while completion rewards include experience, Kuiper Shards, and equipment. The drawback is time: a full run can be less efficient than a fast Fortress Outskirts loop, especially if your squad waits between waves.
Use Bunny for rapid wave clearing, Freyna for poison damage across clustered lanes, or Ajax when the team needs protection during later waves. Place yourself where multiple spawn lanes overlap, but do not abandon the active mining objective. In wave defense, killing enemies far from the zone can make the next wave slower because teammates must chase stragglers.
When Special Operations are better
- You are undergeared for Hard-mode mission loops but can comfortably survive normal waves.
- You want Descendant and weapon experience at the same time as gold.
- You are playing with friends and can maintain constant damage without matchmaking delays.
- You dislike repeated loading screens and want one continuous activity.
Leave when the time-to-reward ratio collapses. A failed late wave is not automatically better than two completed short missions. For exact activity changes, compare your in-game reward panel with the official Steam listing and current patch information rather than relying on an old farming video.
Boost Gold Income Between Every Run
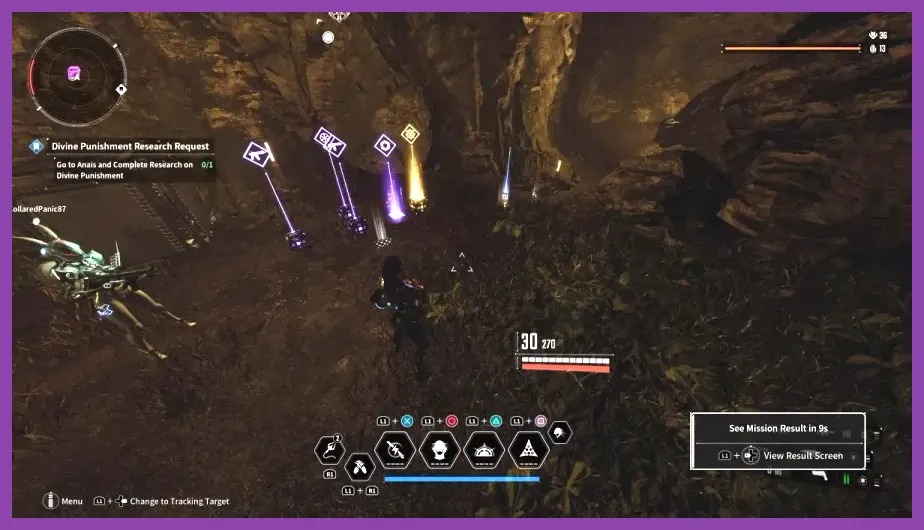
The route is only half the method. Efficient inventory management can add a meaningful amount of gold over a long session because missions flood your equipment slots with duplicate weapons and components.
Use these gold-saving habits
- Sell duplicate weapons: speak to Deslin in Albion and sell low-level or unwanted guns instead of storing them indefinitely.
- Dismantle selectively: dismantle gear when you need crafting materials, but sell weapons when the immediate gold payout is more important.
- Keep valuable rolls: do not sell reactors or external components with useful skill power, cooldown, HP, DEF, or attribute bonuses.
- Empty your inventory often: a full inventory can interrupt a profitable loop and force an unnecessary trip back to Albion.
- Use a Fellow: the companion system can help collect nearby drops, reducing the time spent turning around for scattered gold.
- Check Gold Gain bonuses: use any active Gold Gain consumables or equipment bonuses before starting a dedicated session, and confirm their duration in the inventory screen.
Gold boosters are most valuable during a continuous farming block, not during a single story mission. Activate one immediately before starting Fortress Outskirts or a long Special Operation, then avoid changing activities until the timer expires. If you are farming on a lower-end PC, reducing stutter can improve real clear time; our guides to fixing lag and low FPS and optimizing games on Steam Deck cover practical performance adjustments.
A Gold Farming Routine for Every Player
New players should first finish the main story, unlock access to higher-level regions, and spend gold only on modules that improve one dependable Descendant and one dependable weapon. Once Fortress becomes available, run the normal version until your clear is stable. Move to Hard mode when you can survive without constant revives and complete the mission in a predictable time.
For most established accounts, use this routine:
- Equip your fastest area-clear Descendant, preferably Bunny or Valby.
- Activate a Gold Gain bonus if you have one and confirm that your inventory has free space.
- Run Fortress Outskirts for 30 to 60 minutes while timing complete loops.
- Return to Albion before your inventory fills, sell duplicate weapons to Deslin, and dismantle only the materials you actually need.
- Switch to a Hard Infiltration Operation when you want Amorphous Materials, reactors, or module drops instead of pure cash.
- Use The Block Kuiper Mining when you want a relaxed group activity with experience and steady rewards.
Spend your profits carefully. Module upgrades become extremely expensive at high ranks, so avoid leveling every module at once. Maximize the modules on your farming Descendant first, then upgrade the weapon that kills Fortress elites most consistently. After that, reserve gold for Ultimate Descendant research, Ultimate Weapon enhancement, and build experiments.
The short version is simple: Fortress Outskirts with Bunny or Valby is the fastest repeatable gold route for most geared players; Hard Infiltration Operations are the best mixed reward option; and The Block Kuiper Mining is the safest long-session alternative. Track completed runs per hour, keep your inventory under control, and let clear speed—not a flashy single-run payout—determine your final farm.
For additional progression planning, consult the official patch and news page before farming. Mission rewards and event bonuses can change, but the underlying rule remains constant: use the fastest activity you can clear without deaths, wasted travel, or inventory downtime.