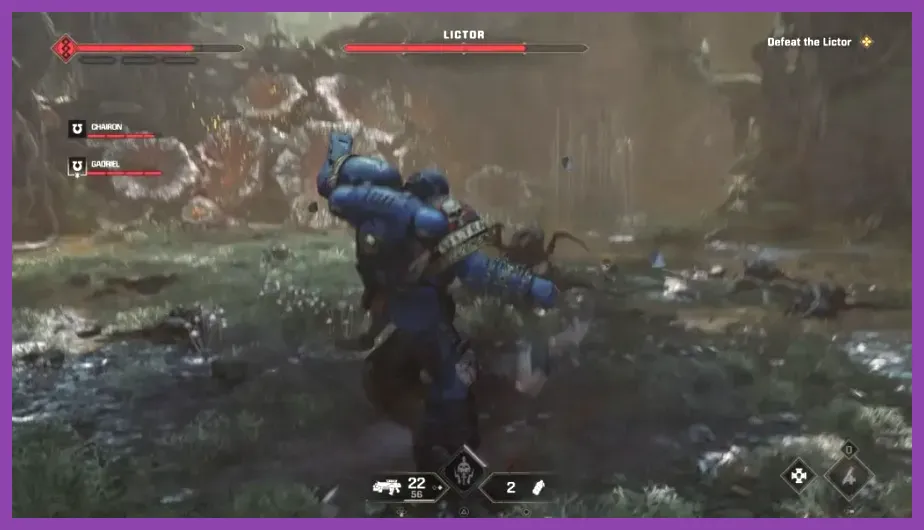
The secret boss most players mean in Warhammer 40,000: Space Marine 2 is the Lictor ambush in the campaign mission Skyfire. You beat it by staying in the open arena, parrying its blue-indicator attacks, dodging every red-indicator strike, and damaging it only after a missed pounce or exposed combo. Do not chase its cloak; let the Lictor come to you, then use a Combat Knife, Chainsword, or controlled Bolt Rifle bursts to stagger it.
The encounter is a sharp test of Space Marine 2's melee systems rather than a traditional damage race. On higher difficulties, the Lictor can erase a lightly protected Marine with a single grab sequence, especially when Tyranid Majoris enemies are still alive. Clearing the surrounding swarm, managing armor charges, and recognizing the boss's visual telegraphs matter more than bringing the highest possible weapon level.
Where to Find the Secret Lictor Boss
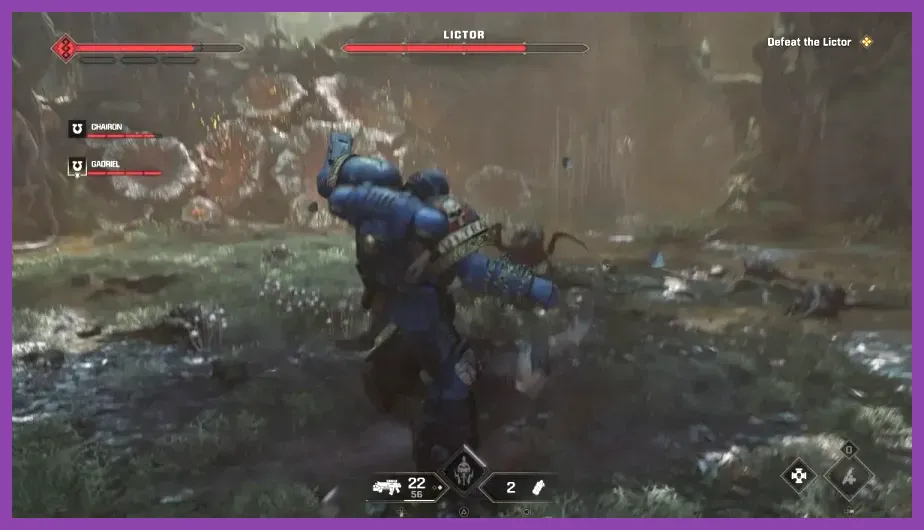
The Lictor appears during Skyfire, the Kadaku campaign operation where Titus, Chairon, and Gadriel investigate the planetary defense situation. Progress through the jungle and defensive positions until the squad reaches the open section where the Tyranid attack escalates. The Lictor enters after the combat space is established, usually emerging from camouflage rather than arriving with a conventional boss-health introduction.
If you are trying to complete the encounter deliberately, avoid sprinting straight through the mission's earlier fights. Arrive with full armor, a stocked secondary weapon, and a ready Ability charge. A Lictor can cloak and reposition, so the first few seconds are more dangerous when your squad is already damaged or surrounded by Hormagaunts.
The arena has enough room for a reliable strategy, but its vegetation and wreckage can interrupt your camera. Move toward the clearest ground as soon as the Lictor appears. Keep your teammates within supporting distance, but do not stack directly on top of one another: one pounce can stagger several Marines and allow nearby Warriors to finish the attack.
Recommended difficulty preparation
On Easy or Normal, any class can win with basic parries. On Veteran, Angel of Death, or Ruthless, begin the fight with at least two armor segments and a full magazine. If you are playing Operations rather than the campaign, the same Lictor principles apply to random Lictor boss spawns, although the enemy support composition can differ.
For broader weapon advice, our weapon tier list guide covers the same general principle: reliable damage and controllability are more valuable than theoretical burst when an enemy frequently disappears.
Best Classes, Weapons, and Abilities
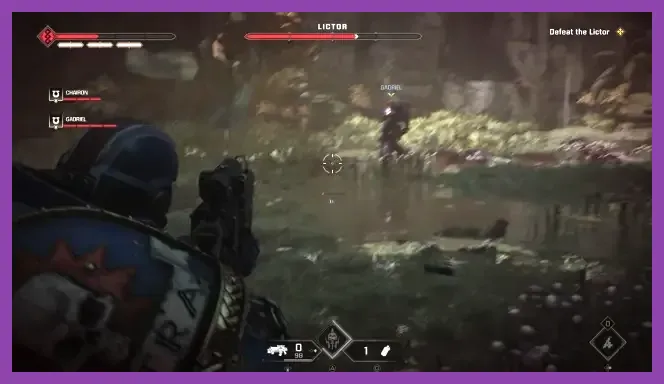
The Tactical class is the most forgiving choice because Auspex Scan reveals the Lictor and increases the damage it takes. Activate the scan immediately after the boss becomes visible, then concentrate Bolt Rifle or Bolt Carbine fire on its head and torso. Do not waste the scan while the Lictor is fully cloaked or outside your team's line of sight.
Assault is excellent for experienced players. Use the Jump Pack to escape a crowded melee situation, not to blindly land on the cloaked boss. A Ground Pound can stagger nearby Tyranid support, creating space for a clean melee exchange. The Thunder Hammer delivers heavy damage, but the Chainsword is safer because its swings recover faster and leave more time to react.
Bulwark can control the fight with the Combat Shield. Keep the shield raised while waiting for the Lictor to commit, then parry its blue attacks and counterattack with the Power Sword. Bulwark's Banner is particularly valuable after a teammate is grabbed or loses armor, because restoring contested health can prevent the encounter from snowballing.
Heavy should use the Heavy Bolter or Multi-Melta according to range and ammunition availability. The Heavy Bolter is the safer all-round pick: fire short bursts after the Lictor misses a pounce rather than holding the trigger while it is moving. The Multi-Melta can inflict tremendous close-range damage, but standing too near the boss makes its red attacks harder to read.
For melee weapons, prioritize a Chainsword or Combat Knife until you know the timing. The Power Sword is strong in Bulwark's hands, while the Thunder Hammer is best used by players comfortable with dodge timing. A Plasma Pistol is a useful secondary because charged shots punish the Lictor during its recovery animation, but do not overcharge while the boss is actively approaching.
Every Lictor Attack and Its Counter
Camouflage and repositioning
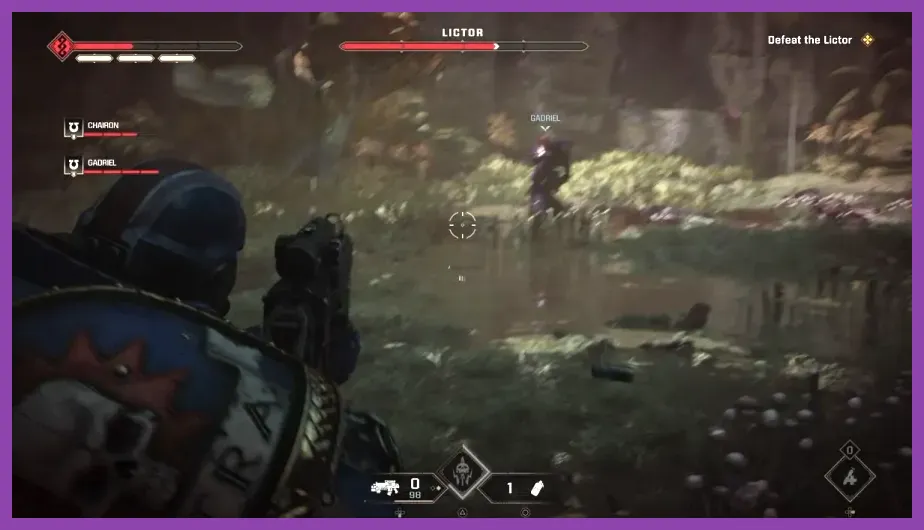
The Lictor's camouflage is not an invitation to swing randomly. Watch for disturbed foliage, a brief shimmer, claw sounds, and the direction your squad's weapons are tracking. Keep your crosshair at chest height and rotate toward the last confirmed position. Area attacks, grenades, and the Tactical's Auspex Scan can force the boss into visibility, but blind fire is usually a waste of ammunition.
Pounce and grab
The pounce is the attack that kills most first-time players. The Lictor crouches, faces one Marine, and launches forward. A red flash means the attack cannot be parried; dodge sideways at the last moment. Dodging backward often fails because the Lictor covers substantial distance. If it catches a teammate, attack the boss immediately with melee strikes or concentrated gunfire to interrupt the sequence.
Claw combo
At close range, the Lictor chains fast claw swipes into a heavier finishing blow. A blue flash marks an attack that can be parried. Tap the parry button as the claws are about to connect instead of holding it early. A successful parry damages the Lictor's contested health and can create a Gun Strike prompt. Take the Gun Strike, then follow with two or three melee hits before returning to defense.
Leaping slash
When the boss springs from a short distance, watch the indicator rather than its model. Blue means parry; red means dodge. Side-stepping is safer than rolling directly toward the Lictor, and a perfect dodge leaves the boss briefly exposed. Avoid committing to a long Chainsword combo until you confirm that the leap has ended.
Area disruption and retreat
After taking damage, the Lictor may retreat into camouflage and circle the arena. This is a reset, not a phase where you should pursue it. Reload, execute nearby minor enemies, collect armor pickups, and regroup. The boss is most vulnerable when it returns from a failed attack, not while it is moving between hiding spots.
Step-by-Step Strategy to Kill the Lictor
- Clear the immediate swarm. Kill Hormagaunts and Termagants around the arena first, prioritizing Tyranid Warriors with ranged weapons. A Warrior's whip or ranged fire can stagger you at exactly the wrong moment.
- Choose a visual landmark. Fight near open ground, a wreck, or a large rock that helps you maintain orientation. Do not let the Lictor drag the squad into dense vegetation.
- Hold your formation. Keep two Marines facing the boss while the others watch for adds. Spread slightly so a pounce cannot disable everyone at once.
- Wait for the first commitment. Do not spend grenades or Ability charges during camouflage. Respond to the first pounce with a sideways dodge or parry, depending on the indicator.
- Counterattack briefly. After a parry, perfect dodge, or missed leap, use a Gun Strike, then deliver a short melee string. Tactical players should activate Auspex Scan at this point.
- Break armor and execute safely. Once the Lictor's armor is depleted, use the execution prompt only when nearby enemies are controlled. Executions restore armor and can stabilize the whole squad, but attempting one beside a Warrior is risky.
- Reset after every exchange. Reload, check armor, and rotate back toward open ground. The Lictor's health is less important than preventing a chain of incapacitations.
Use grenades for support enemies rather than throwing them at a cloaked Lictor. A Frag Grenade is effective against clustered Hormagaunts, while a Krak Grenade is better reserved for a Tyranid Warrior or another Majoris target. If the Lictor is visible and stationary after a missed pounce, a grenade can add damage, but never stop moving to line up a perfect throw.
How to Survive Higher Difficulties
On higher difficulties, patience becomes the main damage multiplier. The Lictor's attacks deal heavy damage, but its behavior remains readable. Parry blue attacks consistently, dodge red attacks consistently, and do not confuse the two. A failed parry against a red strike can cost an entire armor segment; a late dodge against a blue strike gives up a valuable counter opportunity.
Team composition matters in multiplayer. Tactical provides target exposure through Auspex Scan, Bulwark protects the group with the Combat Shield and Banner, and Heavy supplies sustained ranged pressure. Assault is a strong fourth option for controlling swarms, but the player must avoid separating from the team with reckless Jump Pack attacks.
Voice communication should focus on information rather than constant callouts. Say “cloaked,” “red,” “blue,” or “grab” so teammates know whether to dodge, parry, or interrupt. If one Marine is downed, the others should first create space by killing support enemies; rushing the revive while the Lictor is active frequently produces a second knockout.
For PC players, visibility is also practical preparation. Keep Textures on High if your system allows it, set Effects to Medium if foliage and combat effects obscure attack indicators, and use Motion Blur Off. A stable frame rate makes the Lictor's blue and red telegraphs far easier to read. Our max-FPS settings guide explains the same performance priorities for competitive-style shooters.
If you want the official game details, check the Space Marine 2 Steam page, Saber Interactive's official community updates, and the official Focus Entertainment game page for patch changes.
Once you stop chasing the Lictor and start treating every attack as a telegraphed counter opportunity, the secret boss becomes consistent. Clear the adds, stay in open space, dodge the red pounce, parry the blue claw strikes, and spend damage abilities only after the boss is exposed. That rhythm works on the Skyfire campaign encounter and remains reliable when Lictors appear in Space Marine 2's Operations.