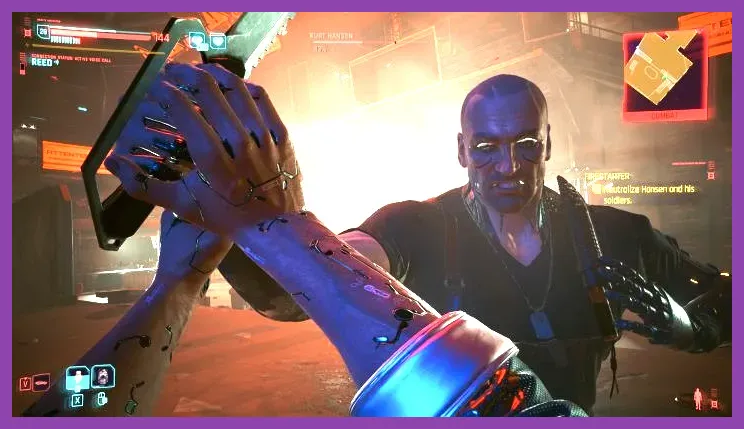
Phantom Liberty has two possible final-boss scenarios: Kurt Hansen if you side with Reed during Firestarter, or the Cerberus security robot during Somewhat Damaged if you help Songbird escape. Hansen is a conventional combat encounter, while Cerberus is an objective-driven survival sequence. Bring healing items, save before entering the stadium or Cynosure, and follow the correct strategy below instead of treating both fights like ordinary bullet sponges.
Before committing to the ending, make a manual save at the Firestarter decision. The choice to help Reed capture Songbird leads to Hansen and the Black Steel in the Hour of Chaos route. Helping Songbird triggers the escape through Cynosure and eventually the Cerberus encounter. You can also review the expansion’s official details on the official Phantom Liberty page before choosing your path.
Prepare V Before the Final Mission
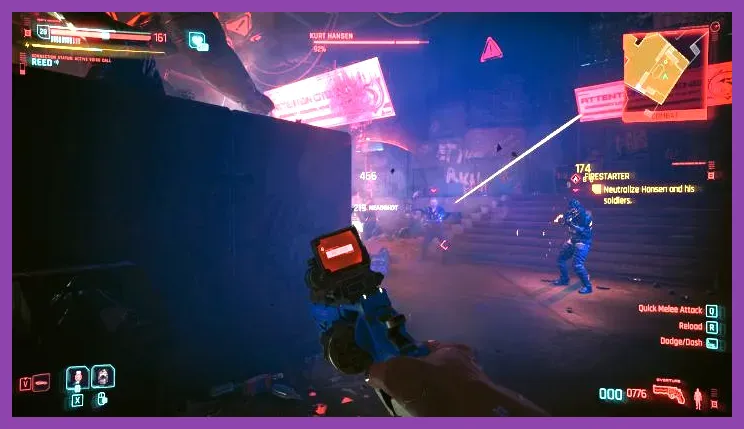
Do not enter the finale with a damaged cyberdeck, empty healing slot, or untested weapon loadout. Both routes can be completed on any build, but preparation removes most of the difficulty spikes.
Recommended weapons and cyberware
- Carry one accurate rifle or precision weapon, such as the Overture, Achilles, Yinglong, or a high-level iconic rifle. Hansen exposes weak points briefly, so controlled shots are safer than spraying.
- Keep a close-range option equipped. Guts, Order, a strong shotgun, or a reliable SMG helps when Hansen closes the distance.
- Install Second Heart or Biomonitor if available, and use Subdermal Armor plus Proxishield for extra survivability.
- Netrunners should bring Overheat, Short Circuit, and Cyberware Malfunction. A Sandevistan or Berserk build should reserve its activation for Hansen’s exposed phases.
Upgrade your cyberware capacity and weapons at a ripperdoc before the point of no return. The Cyberpunk 2077 Steam page confirms that Phantom Liberty is built around the revamped 2.0 systems, so modern perks, armor, and cyberware matter more than older launch-era guides suggest.
How to Beat Kurt Hansen in Firestarter
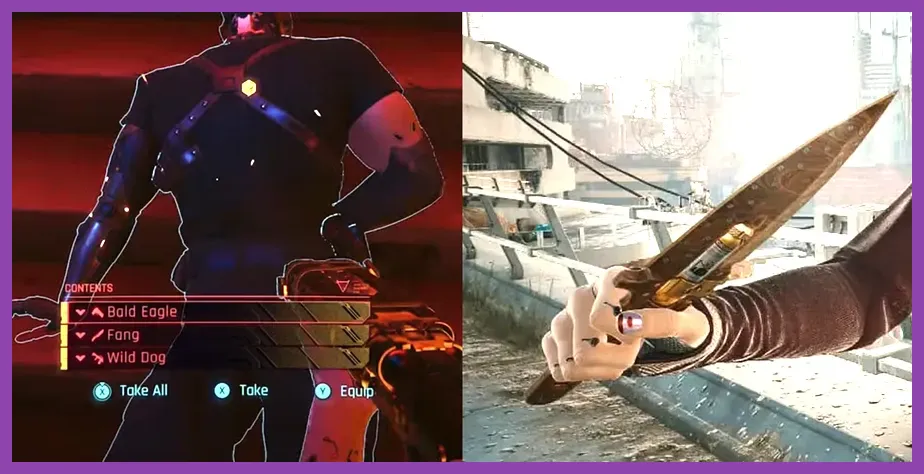
Hansen appears after the stadium sequence when you choose Reed’s side. The arena contains pillars, crates, and raised sections that can break his line of fire. Do not stand in the open center. Start by moving from cover to cover and wait for his attack animation before returning fire.
Phase one: control the arena
Hansen opens with firearm pressure and aggressive movement. His rifle bursts can stagger V, while grenades force you away from safe positions. Keep your crosshair at head level, fire two or three rounds, then relocate. Smart weapons are useful because they let you maintain damage while circling cover, but precision rifles and pistols deal better burst damage during his openings.
Use Quickhack Queue to stack Cyberware Malfunction and Short Circuit, or apply Cripple Movement when he begins rushing. Avoid wasting Overclock immediately; save it for a period when Hansen is trapped in an attack animation. If you use a Sandy, activate it after he commits to a leap or melee charge, not while he is still repositioning.
Phase two: survive Fang and the melee rush
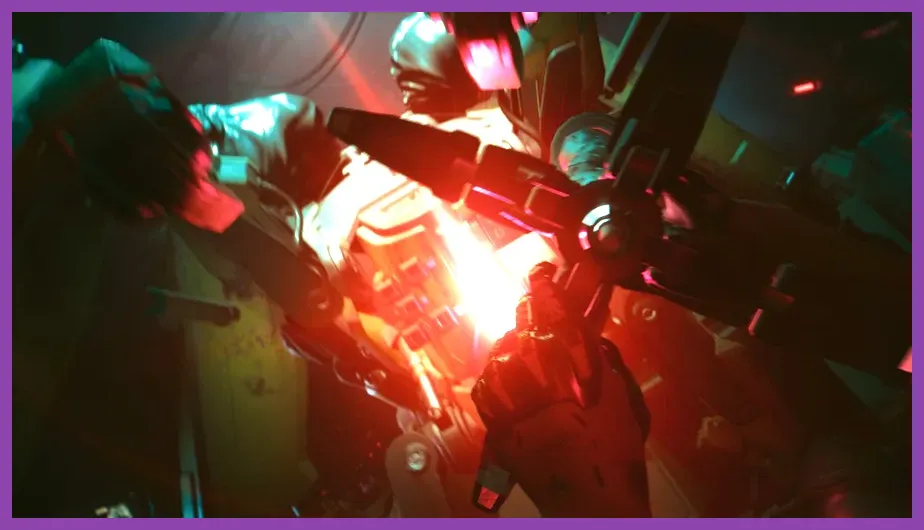
At lower health, Hansen draws the iconic Fang knife and becomes much more dangerous at close range. His melee strings are fast, but the recovery after the final strike is the safest damage window. Backpedal around large cover, block or dash through the first swing, and punish only after the combo ends. Do not repeatedly dodge backward into grenades or the arena wall.
Hansen can also use a powerful leap and closing attack. The telegraph is a brief pause followed by a forward lunge; sprint sideways rather than directly away. A shotgun blast, Gorilla Arms heavy attack, or quickhack during his recovery can interrupt the pressure. Keep one charge of a MaxDoc ready, because Biomonitor may activate at an awkward moment while you are trying to escape.
The safest finishing rotation
Stay behind a pillar, apply Cyberware Malfunction, then use your strongest burst weapon on his head or upper torso. When he begins charging, switch to your close-range weapon and dodge laterally. After the melee string, activate Overclock, Berserk, or Sandevistan and unload. Repeat this cover-and-punish cycle rather than chasing him around the arena. Once Hansen falls, collect Fang and finish the surrounding objectives before leaving Dogtown.
How to Survive the Cerberus Encounter
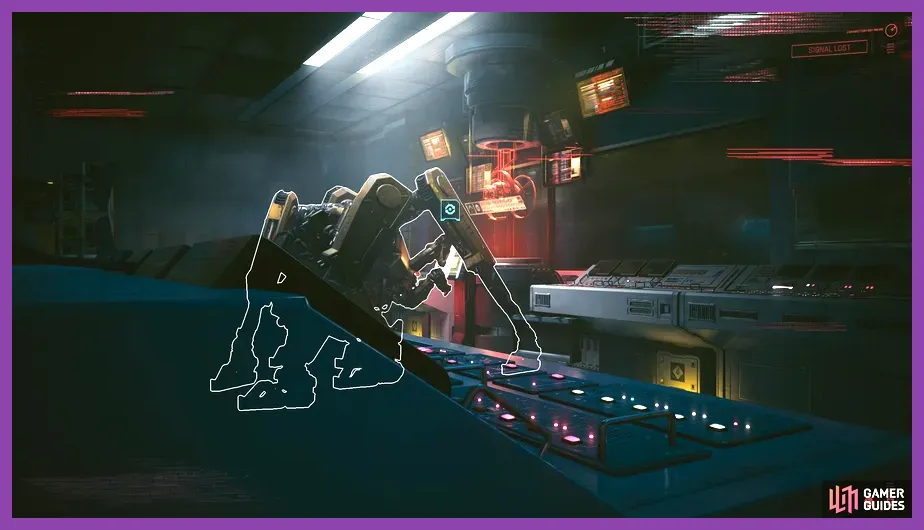
If you side with Songbird, Cerberus is the final threat in Somewhat Damaged. This is not a normal boss with a practical health bar. The machine stalks V through the Cynosure facility, appears through walls and corridors, and can kill you rapidly if you try to fight it head-on. Your objective is to remain alive, reach the marked maintenance areas, and disable the facility systems.
Read Cerberus’s movement and sound cues
Turn down music volume if necessary and listen for the machine’s heavy mechanical movement. Cerberus can emerge from vents, doorways, and unexpected sections of the facility. When it appears, break line of sight immediately and sprint toward a side room or alternate corridor. Do not waste ammunition on it. The robot’s durability and behavior make conventional damage a poor use of time.
Use crouch movement when the objective marker is nearby, but sprint during an active chase. Close doors behind you when possible and avoid dead-end rooms. The facility’s darkness is part of the encounter, so raise brightness slightly if you cannot distinguish doors, ladders, or terminal routes. Keep your scanner active to identify interactable maintenance equipment and the next objective path.
Activate the terminals in the correct rhythm
When you reach a maintenance terminal, interact with it quickly, then immediately check the route out. Cerberus may patrol back into the room while the interaction completes. Use obstacles to force it to take the long route, and never linger to loot containers during an objective phase. If you die, remember the layout from the previous attempt and take a different branch when the machine blocks the obvious corridor.
The final sequence requires more evasion and timed interactions rather than damage. Follow the objective prompts, hide when the game gives you a brief stealth opportunity, and move as soon as the route opens. If the encounter feels unwinnable, that is usually because you are trying to attack Cerberus or exploring away from the marked maintenance objective.
Final-Boss Mistakes to Avoid
Several common mistakes make both endings harder. Do not spend all grenades and healing items during the mission immediately before the boss. Do not rely on a single weapon type, especially if your build uses a long reload animation. Do not equip experimental cyberware without checking its health or stamina cost, and do not ignore the manual save before Firestarter.
For Hansen, the winning rule is cover, burst damage, lateral dodge, punish recovery. For Cerberus, it is hide, relocate, activate the terminal, and keep moving. The expansion’s official CD Projekt Red support hub is worth checking if a mission objective fails to update after a reload.
Which Ending Should You Prepare For?
Build around Hansen if you want the more traditional boss fight and enjoy precision shooting, quickhacks, or melee counters. Prepare for Cerberus if you are following Songbird and prefer a tense stealth-survival sequence. Neither encounter requires a specific class, but both reward a flexible loadout, high-tier healing, and a recent save.
For more endgame preparation, compare the resource planning principles in Steamoz’s RimWorld endgame base guide, the weapon prioritization approach in our Rust weapons tier list, and solo survival advice from the Satisfactory solo-player guide. Once you know which Phantom Liberty route you selected, the final boss becomes a focused test of preparation rather than a surprise difficulty spike.