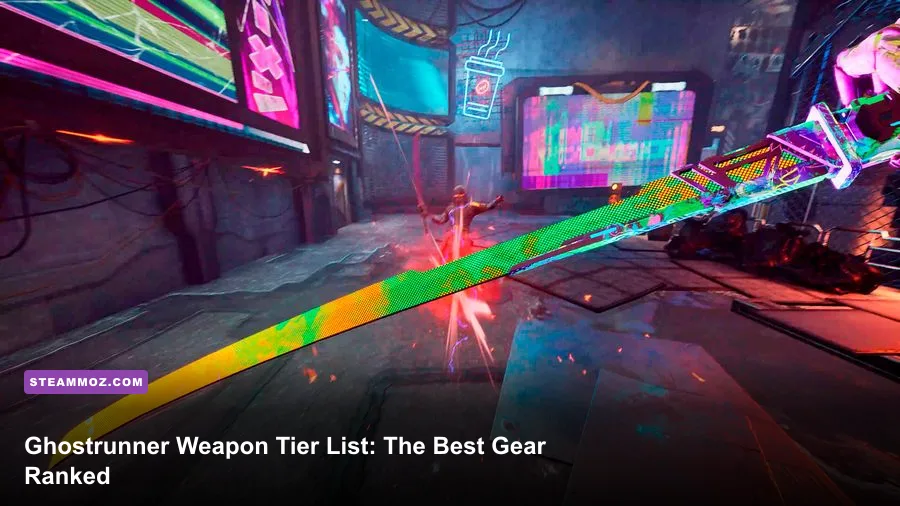
The original Ghostrunner doesn't have a traditional weapon inventory, but it does have a clear equipment hierarchy. Jack's sword kills almost every enemy in one hit, so the best loadout comes from ranking his four abilities and the motherboard chips that make movement, parries, and Focus more reliable. For most players, Tempest and Blink are S-Tier, Dash and Sensory Boost form the strongest core upgrades, and Surge is a powerful specialist tool rather than an automatic equip.
This guide covers Ghostrunner (2020), not Ghostrunner 2. That distinction matters: the first game has no collectible firearms, elemental swords, or damage-number loot system. You use Jack's katana, unlock abilities through the campaign, and customize them with motherboard upgrades. If you're expecting a conventional weapon tier list, the real answer is more interesting: execution speed, arena control, and movement consistency decide your ranking.
Ghostrunner's Real Weapon System Explained
Jack's katana is effectively an S-plus weapon because its damage is fixed by the game's rules. Standard enemies die to one successful sword strike, while Jack also dies from a single mistake in most combat situations. That creates a lethal rhythm where “weapon power” is really the time between seeing an attack and reaching the correct target.
The sword has no upgrade tree and no alternate damage statistics. Sword skins are cosmetic, not hidden perks. You cannot make the katana swing faster, add fire damage, or increase its range through progression. Instead, your practical equipment consists of:
- Abilities: Tempest, Blink, Surge, and Overlord.
- Movement tools: Dash, wall-running, grappling, Sensory Boost, and slow-motion Focus.
- Motherboard chips: socketed upgrades that improve cooldowns, range, energy economy, and movement control.
- Collectibles: swords and audio logs, which add completion value but do not improve combat stats.
That design is why a flashy ability can still rank below a movement chip. A larger explosion feels powerful, but a better Dash setup can save you dozens of times during a campaign level. If you want broader advice on mastering demanding movement games, Steamoz's guide to games like Absolute Drift is a useful companion read.
| Equipment | Tier | What It Actually Does | Best Use |
|---|---|---|---|
| Katana | S+ | One-hit execution tool with no damage customization | Every combat encounter |
| Tempest | S | Wide force blast that knocks enemies away | Groups, shielded threats, and panic recovery |
| Blink | S | Long-range line attack that can eliminate targets | Turrets, snipers, and aligned enemy groups |
| Dash upgrades | S | Improves repositioning and aerial survival | Every platforming and combat section |
| Sensory Boost | A | Slows perception and helps redirect movement | Projectiles, jumps, and precision parries |
| Surge | A | Ranged energy wave with strong lane control | Corridors and stationary targets |
| Overlord | B | Temporarily hijacks an enemy to attack others | Setups, distractions, and style plays |

🎮 Ghostrunner
Looking to experience this game? Grab your digital key directly on our store for $29.99.
View on Steammoz Store →S-Tier Abilities and Equipment
Tempest is the best all-purpose ability
Tempest earns the top slot because it solves several problems at once. The blast pushes enemies off balance, clears space around Jack, and can send vulnerable targets flying from platforms. In a game where being surrounded usually means instant death, creating breathing room is more valuable than raw spectacle.
Use Tempest immediately after a wall-run or Dash when you land in the middle of a group. It can interrupt the momentum of melee attackers and disrupt enemies that are preparing ranged shots. It is especially useful against shield-bearing enemies: rather than trying to force a risky angle around their defense, you can reposition them and attack from a safer line.
Tempest also pairs beautifully with environmental kills. Push an enemy toward an exposed edge, a hazard, or a gap, then spend your sword strike on the next target. Its weakness is that it doesn't replace sword timing. Against a lone enemy on stable ground, a direct slash is faster and costs no ability resource.
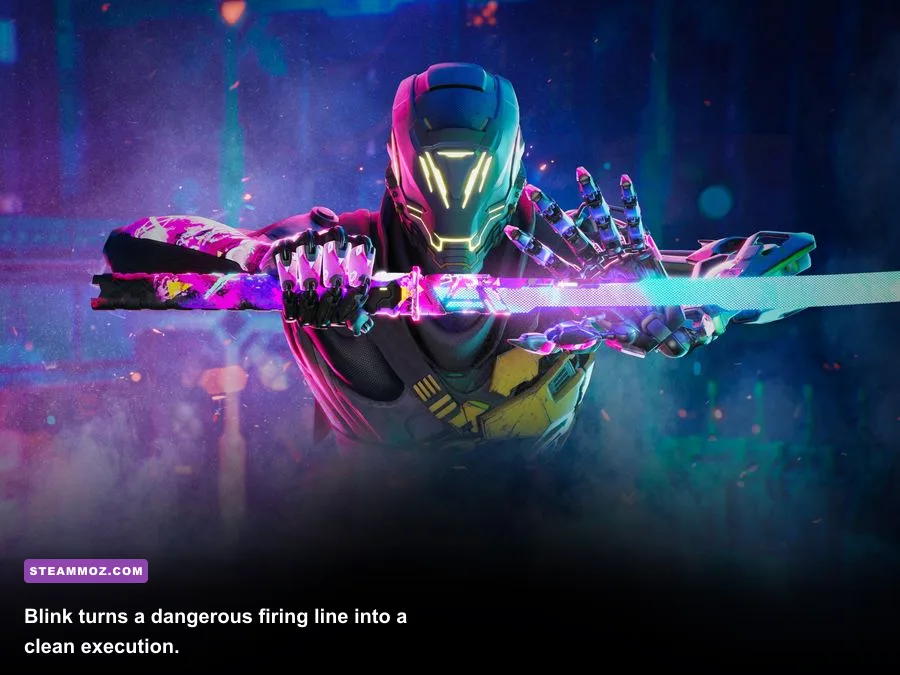
Blink is the cleanest answer to ranged pressure
Blink lets Jack target enemies along a line and cut through them from a distance. It is one of the few tools that lets you delete a dangerous target without crossing an exposed arena. That makes it exceptional against snipers, turrets, and grouped enemies whose firing lanes are difficult to approach normally.
Look for alignment before activating it. Blink is strongest when two or more enemies occupy the same lane, but it remains valuable as a single-target finisher if the target is protected by moving platforms or a lethal floor. It is less useful when enemies are spread across different elevations, where the line attack cannot connect efficiently.
Motherboard upgrades that improve Blink's range or target flexibility are premium choices. Don't waste Blink on the first easy enemy you see if a sniper is about to fire; the ability's value comes from removing the threat that would otherwise force a desperate Dash.
Dash upgrades belong in almost every build
Dash isn't listed as one of the four headline abilities, but it is arguably Jack's most important piece of equipment. The extra movement burst lets you cross gaps, dodge projectiles, change attack angles, and reach a target before another enemy completes its telegraph. The Dash: Extra Charge-style upgrades are particularly strong because additional movement options reduce the number of situations where a single missed jump ends the attempt.
Dash has a subtle combat function, too. A well-timed aerial Dash can carry you through a projectile lane while preserving the angle needed for a sword strike. Practice using it late rather than instantly. Dashing too early often leaves you exposed when the projectile or melee swing actually arrives.
A-Tier Choices That Make the Campaign Safer
Sensory Boost is the consistency upgrade
Sensory Boost slows the action around Jack and lets you redirect his movement in midair. It isn't as immediately destructive as Blink or Tempest, but it directly addresses the game's hardest execution checks: projectile timing, curved jumps, and aerial enemy approaches.
Use it when a jump requires you to change direction after leaving a wall, not just when you panic during a firefight. In combat, activate it as a projectile approaches, then steer toward the shooter or a safe platform. The ability is also excellent for parry setups because it gives you a clearer read on the incoming attack animation.
Its main drawback is that it rewards calm decision-making. If you trigger it without a destination in mind, you may simply watch yourself move slowly into another hazard. Sensory Boost rises close to S-Tier for players learning the game, but experienced speedrunners often prefer movement chips that keep their route fast.
Surge is strong when the arena gives it room
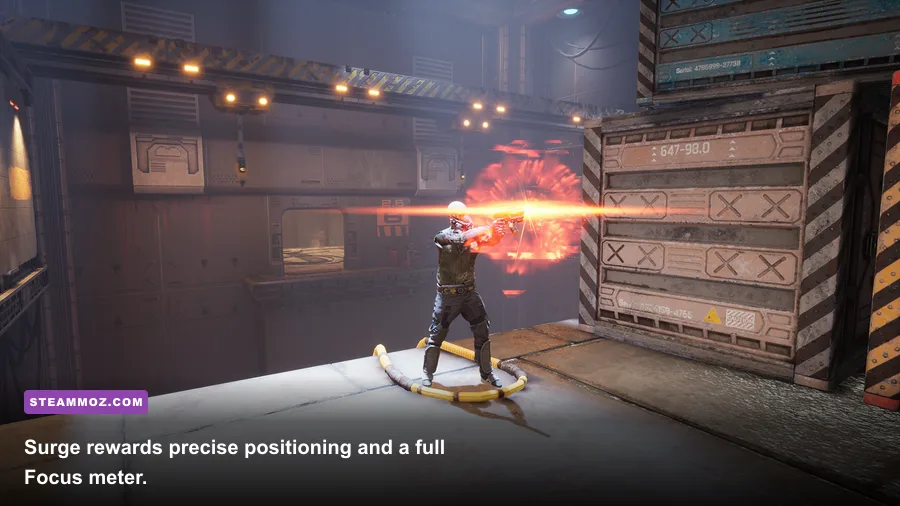
Surge fires a powerful energy wave across the environment. It shines in corridors and against enemies positioned in predictable lanes. The ability can clear several threats without demanding the same close-range commitment as the katana, and it is a great way to open an encounter before moving in for executions.
Surge drops to A-Tier because its geometry is less forgiving. Uneven platforms, cover, vertical arenas, and enemies positioned behind one another can make the wave miss or hit fewer targets than expected. It also competes with your Focus economy, so using it every time the meter is available can leave you without the slow-motion control needed for the next jump.
Equip range or cooldown improvements when a level contains long sightlines. In compact rooms, Tempest usually delivers more reliable value. The best Surge players don't fire it because the meter is full; they wait until the arena creates a clean lane.
| Ability or Chip Type | Tier | Strength | Limitation |
|---|---|---|---|
| Tempest range or cooldown | S | Reliable crowd control and emergency space | Less useful against isolated targets |
| Blink range or multi-target utility | S | Deletes ranged threats from safety | Needs enemy alignment |
| Dash extra charge | S | Improves both traversal and combat survival | Still demands accurate timing |
| Sensory Boost duration | A | More time for projectile and jump corrections | Can slow a route if used without purpose |
| Surge range | A | Excellent in straight corridors | Weak around cover and uneven geometry |
| Focus energy improvements | A | More access to slow-motion and abilities | Doesn't fix poor positioning |
B-Tier Equipment and Situational Picks
Overlord is stylish, but rarely essential
Overlord takes control of a vulnerable enemy and turns it against nearby opponents. Watching one hostile tear through its former allies is satisfying, and the ability can create a useful distraction in a crowded room. It also gives you a way to alter enemy attention before committing to a difficult route.
The problem is setup time. You need a suitable target, enough space, and a moment where activating the ability won't leave Jack exposed. Many arenas are solved faster by Blink or Tempest because those abilities remove danger immediately. Overlord is best when an enemy is already isolated or when you can use the hijacked target as a temporary shield from incoming fire.
Cosmetic swords rank below every combat upgrade
Ghostrunner's collectible swords change Jack's appearance, not his attack speed, reach, parry window, or damage. The sword designs are worth hunting if you enjoy completionism, but they should never influence your combat routing. Treat them as visual rewards found in hidden rooms and optional paths.
This is also why “best sword” claims online need a little skepticism. The only meaningful weapon choice in the original game is the standard katana's timing and positioning. If a guide says a specific collectible sword increases damage, it is confusing Ghostrunner with a loot-driven sequel or repeating an unsupported stat claim.
How to rank motherboard slots
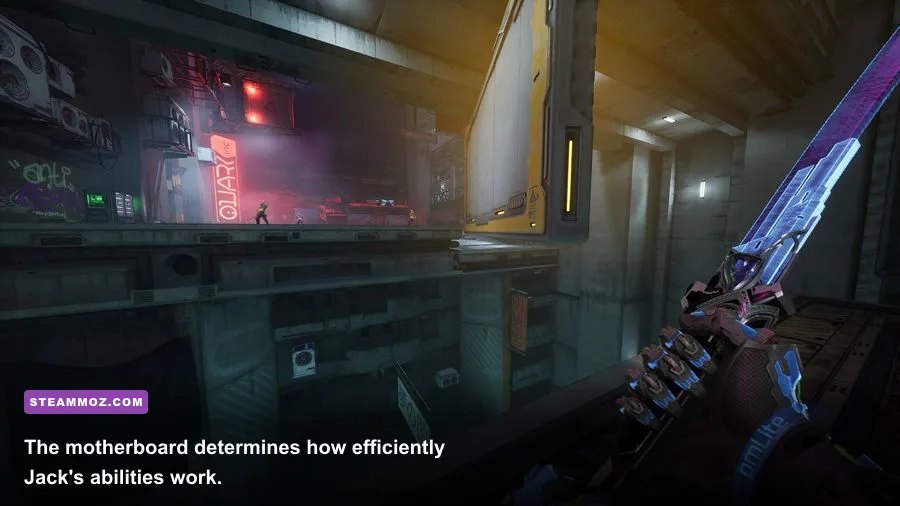
Motherboard space is limited, so prioritize upgrades that help you survive repeatedly rather than those that create one spectacular clip. Movement, Focus economy, and ability reliability should fill your first slots. Range improvements are usually better than tiny efficiency gains when they let you remove a sniper before crossing an open platform.
Don't rebuild the board for every room. Ghostrunner's upgrade screen is there to encourage experimentation, but constant swapping can interrupt your rhythm. Change the layout before a difficult boss or a major movement section, then test the new configuration in the next checkpoint area.
Best Loadouts for Combat, Bosses, and Platforming
Balanced campaign loadout
For a first playthrough, combine Tempest with Blink, then prioritize Dash reliability, Focus generation, and Sensory Boost duration. This setup covers close-range pressure, distant shooters, and tricky traversal without demanding a narrow playstyle. It also remains useful through Dharma Tower's increasingly crowded arenas.
Ranged-threat loadout
Against arenas filled with snipers, turrets, and projectile attackers, select Blink-focused upgrades and preserve Focus for the enemy that controls the most dangerous lane. Use Sensory Boost to cross the first gap, Blink the shooter, then Dash toward the next platform. Don't spend Surge merely because it can hit two targets; Blink's instant removal is usually safer.
Platforming and movement loadout
For sections built around wall-running, grapple points, and midair redirection, movement upgrades take priority over damage abilities. Keep Sensory Boost available for jumps that change direction, and use Dash only after you have committed to the correct trajectory. The game rewards late corrections; early panic inputs are the fastest way to turn a clean route into a respawn.
Boss preparation
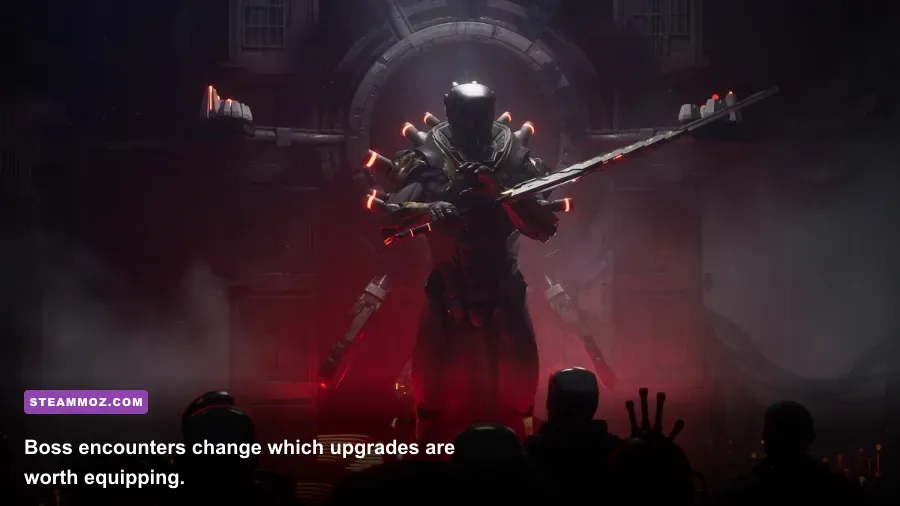
Bosses such as The Mara and Tom test pattern recognition more than equipment damage. Against The Mara, focus on reading her telegraphs and maintaining a safe position rather than trying to force ability damage. Tom's large arena makes movement and camera control especially important, so mobility and Sensory Boost deserve more attention than Overlord.
| Scenario | Recommended Setup | Priority Upgrade | Combat Plan |
|---|---|---|---|
| General campaign | Tempest + Blink | Dash and Focus economy | Create space, remove ranged threats, then execute |
| Sniper or turret arena | Blink + Sensory Boost | Blink range | Slow the approach and delete the controlling shooter |
| Enemy crowd | Tempest + Surge | Tempest range or cooldown | Break formation before choosing sword targets |
| Platforming section | Sensory Boost + movement chips | Dash charges | Make late air corrections and preserve Focus |
| Boss encounter | Dash + Sensory Boost | Movement consistency | Learn telegraphs; attack only after the safe opening |
How to Get More Value From Every Tier
The fastest way to improve isn't memorizing an S-Tier list. It's learning why each tool works. Tempest is valuable because it buys space. Blink is valuable because it deletes a distant threat. Dash is valuable because it changes the geometry of an encounter. Sensory Boost is valuable because it turns an impossible timing check into a readable one. Surge is valuable when the environment gives it a straight lane. Overlord is valuable when distraction matters more than speed.
Keep your Focus meter in mind before every major room. Focus slows perception and supports precision movement, but spending it on a low-risk target can leave you helpless during the next projectile sequence. Build Focus by moving aggressively and executing enemies, then spend it when a jump or attack genuinely requires extra reaction time.
Enemy telegraphs should decide your equipment choice. A sniper's laser line calls for Blink or a fast Dash. A melee group calls for Tempest and a quick escape route. A shielded enemy calls for repositioning instead of repeated frontal attacks. A room with several vertical platforms favors Sensory Boost because the threat is usually navigation, not damage output.
Ghostrunner's brilliance is that every weapon is lethal and every mistake is expensive. The tier list above simply identifies which tools make that equation easier to manage. Start with Tempest, Blink, and Dash-focused motherboard upgrades, add Sensory Boost when movement gives you trouble, and treat Surge and Overlord as deliberate alternatives rather than automatic upgrades. For more demanding PC action-game advice, check Steamoz's Chaos Control combat tips and our guide to Anachronox essentials.
You can also verify the game's current PC version and community details through the official Ghostrunner Steam page, learn more from the official Ghostrunner website, and follow the developer's updates at One More Level.