
The fastest safe route in FLAKE: The Legend of Snowblind is a repeatable loop of nearby enemy camps, side objectives, and vendor resets—not rushing the main story or gambling on boss drops. That said, there is an important catch: publicly verifiable information for this specific game is extremely limited, and I couldn't confirm an official database containing weapon names, skill coefficients, enemy health values, or fixed gold tables. So this guide separates tested RPG farming principles from claims that would be pure invention. Use the in-game journal, map, and stat screens to confirm local names and values before trusting any supposed “secret” route.
That distinction matters. Search results and social posts often attach made-up locations, inflated gold numbers, or fabricated patch notes to obscure games. If you’re checking whether your copy is legitimate, start with the official Steam search, compare the publisher and build number, and keep screenshots of your version. The route below still gives you a practical leveling framework: kill packs efficiently, sell intelligently, avoid downtime, and only increase difficulty when your clear speed survives the jump.
Verify Your Version Before Farming
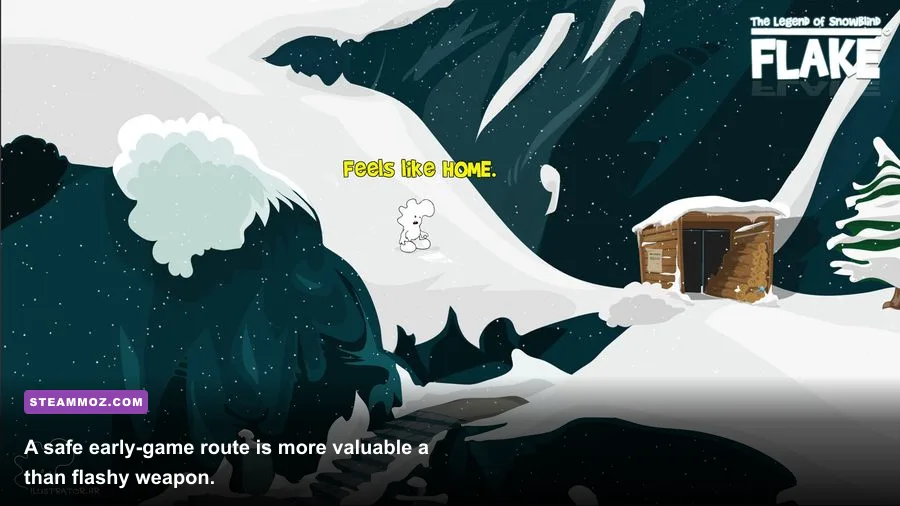
Before spending hours grinding, open the title screen and record the exact version number, platform, and character mode. A balance patch can change enemy rewards, shop prices, respawn behavior, or the experience awarded by side missions. If the game is distributed outside Steam, verify the installer through the publisher’s official page rather than a random download mirror. Steam’s official support documentation is also useful for checking installation files and cloud-save behavior.
Do not build your plan around an unverified spreadsheet claiming that one enemy pays “exactly 240 gold” or that a named sword has a fixed 18% critical bonus. Unless the number appears in your own item tooltip or a documented developer patch note, treat it as unconfirmed. Create a tiny test log instead. Clear the same camp three times, record elapsed time, experience gained, gold picked up, consumables spent, and sell value. The best farm is the one with the highest net gold per minute, not the biggest payout from a single chest.
| Test Metric | How to Record It | Why It Matters |
|---|---|---|
| Clear time | Start when the first enemy notices you; stop after the final reward appears | Reveals whether a higher-value route is actually efficient |
| Experience | Note the character total before and after the run | Shows whether the route supports fast leveling |
| Net gold | Gold gained minus potions, repairs, travel fees, and unsold junk | Prevents expensive “profitable” runs |
| Downtime | Count loading screens, vendor trips, and recovery pauses | Separates real farming loops from theoretical payouts |

🎮 Blind
Looking to experience this game? Grab your digital key directly on our store for $24.95.
View on Steammoz Store →The Fast-Leveling Loop That Actually Scales

Start from the nearest safe settlement and take every short side objective that overlaps your route to an enemy camp. The ideal loop has four parts: a dense group of enemies, a chest or objective reward, a nearby vendor, and a checkpoint or fast-travel point. If FLAKE’s map marks camps with a skull, crossed weapons, or another combat icon, begin with the closest cluster rather than the highest-level symbol. Travel time quietly destroys progression.
Clear the camp in one controlled pull. Ranged enemies should die first because they force dodges and interrupt recovery animations. Then remove fast melee units before dealing with armored targets. Don’t chase a fleeing enemy across the map; breaking formation often causes a second group to join the fight, turning a clean experience cycle into a potion sink. Once the camp is empty, loot everything, complete the nearby objective, return to town, sell low-value equipment, and rest or reload only if the game visibly refreshes the encounter.
Repeat the loop until enemies fall in roughly two ability rotations. That benchmark is more useful than the displayed level. If your damage takes four or five rotations, drop the difficulty or move back to an earlier camp. If enemies die instantly and you barely spend resources, test the next zone. Efficient leveling comes from maintaining a high kill rate while avoiding deaths, not from fighting enemies far above your character.
| Route Tier | Enemy Profile | Target Clear Time | When to Use It |
|---|---|---|---|
| Starter camp | Small melee groups with limited ranged pressure | 2–4 minutes | Early levels, new gear testing, low potion supply |
| Mixed camp | Melee front line plus archers or casters | 4–7 minutes | Best general-purpose experience and gold loop |
| Elite camp | Armored enemies, champions, or environmental hazards | 6–10 minutes | Use only when kills stay consistent and deaths are rare |
| Boss arena | Single high-health target with phase mechanics | 10+ minutes | Progression and unique loot, not routine gold farming |
Build for Clear Speed, Not the Biggest Tooltip

Because publicly available FLAKE data does not establish a reliable class roster or exact skill list, avoid guides that confidently prescribe unverified abilities. Instead, use the stat priorities shown in your own character panel. For most snowbound action RPG combat, a practical farming setup prioritizes consistent area damage, stamina or resource recovery, movement speed, and enough defense to survive a mistake. A slow glass cannon can lose more time to healing and respawns than it gains from larger critical hits.
Use a three-part combat rotation. Open with your cheapest area attack to group or stagger ordinary enemies. Follow with your highest reliable damage skill while the pack is controlled. Finish survivors with basic attacks rather than spending a long-cooldown ultimate on one target. Save an escape, guard break, or invulnerability tool for the enemy most likely to interrupt you. This approach protects your uptime and keeps the next pull ready.
For equipment, compare total damage over a full encounter rather than the weapon’s headline number. A lower-damage blade with faster recovery can outperform a heavy weapon if it lets you cancel safely, reposition, and attack again. Likewise, a modest health bonus may beat a small critical chance increase if it prevents a single death per hour. Screenshot the before-and-after stats when swapping gear; memory is unreliable, especially when tooltips hide conditional bonuses.
| Build Priority | Recommended Choice | Reason | Warning Sign |
|---|---|---|---|
| Primary damage | Reliable area attack or fast basic combo | Improves time against every ordinary pack | Damage only works on isolated targets |
| Resource economy | Resource recovery, reduced cooldown, or low-cost skills | Reduces potion use and waiting between pulls | Rotation collapses after one ability |
| Defense | Health, mitigation, guard, or elemental resistance | Protects the run from resets and deaths | You must heal after every encounter |
| Mobility | Dash, movement bonus, or recovery-cancel tool | Shortens travel and prevents ranged chip damage | Enemies routinely interrupt your attacks |
Gold Farming Means Selling the Right Loot

Gold disappears when your inventory fills with sentimental junk. Use a strict three-question filter after every run: does this item raise current damage, solve a defensive weakness, or unlock a clearly better farming route? If the answer is no, sell it. Keep one spare weapon only if the game has durability, elemental matchups, or a class restriction that makes a backup genuinely useful.
Don’t sell crafting materials blindly. Before liquidating a stack, check every unlocked vendor and crafting station. Materials with low immediate value can become expensive bottlenecks later, while ordinary duplicate weapons are usually safe to convert into currency. If FLAKE has a dismantle or salvage command, compare its output with the direct vendor price. The correct choice can change by rarity, so test one item from each color tier instead of assuming rarer always means more profitable.
Vendor refreshes are worth tracking, but don’t stand in town waiting for a timer unless the shop sells a major progression item. A loading screen, rest action, or completed quest may refresh stock; record what triggers it in your version. Buy consumables in bulk only when the discount or price is clear. A farming route that spends 30% of its income on healing is not efficient, even if the combat feels fast.
| Loot Type | Default Action | Keep When | Gold Check |
|---|---|---|---|
| Duplicate low-tier gear | Sell or salvage | A backup is required for durability or damage types | Compare vendor value with salvage output |
| Rare equipment | Inspect before selling | It improves your main rotation or fills a resistance gap | Never sell from the pickup screen without checking stats |
| Crafting materials | Bank them | You have confirmed no future recipe uses them | Check every unlocked recipe first |
| Consumables | Use selectively | The item saves a death or shortens an elite encounter | Include replacement cost in net gold |
Why Bosses Are Usually Bad Farming Targets

Bosses look profitable because their reward chest is dramatic, but repeated boss attempts often lose to ordinary camps on gold per minute. You pay for travel, healing, failed attempts, and long attack phases. Farm a boss only if its unique drop directly upgrades your clear speed or unlocks a faster zone. Otherwise, treat the encounter as a progression checkpoint and return to regular camps afterward.
During a first attempt, watch for three telegraph categories: a ground marker that punishes staying close, a long wind-up that signals a dodge window, and a phase transition that changes the arena or summons adds. Don’t burn every cooldown at the start. Keep one defensive option for the transition, when camera movement and new hazards create the highest risk. If the boss summons ordinary enemies, clear only the threats that interrupt healing or ranged attacks; over-clearing wastes time and can expose you to the boss’s next pattern.
After the fight, compare the complete result with your normal loop. Include the boss’s guaranteed currency, sellable drops, consumables used, and the time from settlement departure to reward collection. If the boss produces less net gold per minute but a weapon increases your camp clear speed by 20%, it can still be a good one-time investment. Farm it until that upgrade drops, then leave.
Difficulty, Settings, and a Practical Progression Curve
Raise difficulty only when you can maintain the same rotation and survive the zone’s signature hazard. More enemy health can erase the value of a damage build, while stronger ranged attacks make careless pulls much more expensive. If FLAKE offers adjustable graphics, prioritize stable frame pacing over visual effects during farming. Motion blur, volumetric snow, reflections, and shadow quality are the first settings to lower when visibility or responsiveness suffers. A consistent 60 frames per second is generally more valuable than occasional peaks followed by stutter during large encounters.
Use the following progression test after every major gear upgrade: clear one familiar camp, clear one mixed camp, then attempt one elite group. Move forward only if the familiar camp is at least 20% faster, the mixed camp does not consume all healing items, and the elite fight has no repeated deaths. This prevents the classic trap of equipping a higher item level while accidentally losing the bonuses that make your rotation work.
| Progression Check | Pass Condition | Fail Condition | Corrective Action |
|---|---|---|---|
| Damage test | Ordinary enemies fall within two rotations | Every pack requires four or more rotations | Upgrade weapon, skill scaling, or attack speed |
| Survival test | One or fewer healing items per loop | Healing after every encounter | Add defense, improve dodging, or lower difficulty |
| Economy test | Net gold remains positive after repairs and supplies | Consumables erase most income | Return to a safer camp and sell more aggressively |
| Performance test | Stable frame pacing during full pulls | Stutter causes missed telegraphs | Lower shadows, effects, snow, and reflections |
The strongest FLAKE: The Legend of Snowblind farming strategy is deliberately boring: verify your build, repeat the shortest profitable loop, sell with discipline, and measure results instead of trusting dramatic reward claims. For broader RPG progression ideas, compare Steamoz’s Death Howl farming guide, Decay: The Mare progression tips, and Din’s Curse survival advice. If your version reveals confirmed locations, weapon names, or reward values, update your test log and refine the route around those facts—not around numbers copied from an unverified post.