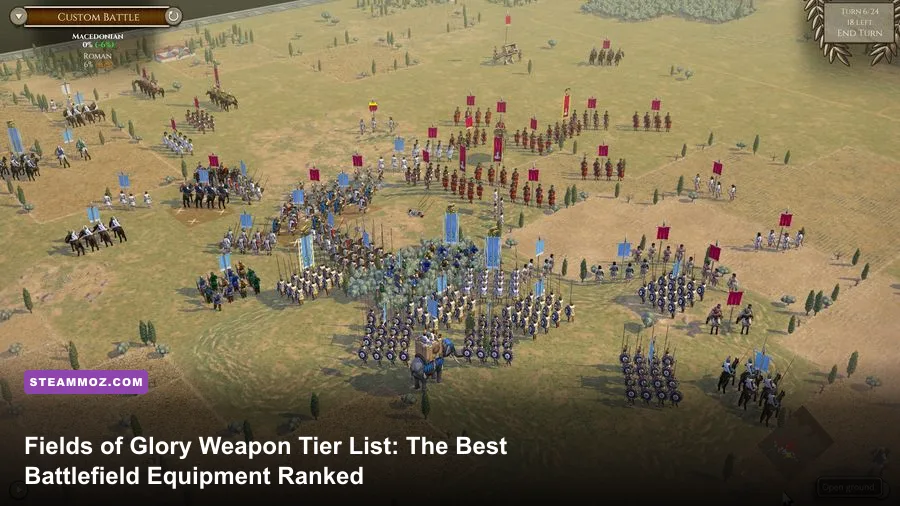
The best Fields of Glory equipment is not automatically the weapon with the biggest attack value. For most armies, pikes and heavy cavalry are S-Tier battlefield tools, longbows and crossbows sit just behind them, and ordinary swordsmen remain dependable A-Tier choices. The catch is that Fields of Glory II and Field of Glory: Medieval reward formation, cohesion, terrain and matchup more than raw damage. A supposedly weaker spear unit can outperform elite cavalry if it fights in rough ground, while an expensive pike block can collapse after one exposed flank.
This ranking treats weapons as the battlefield capabilities attached to units, not as lootable RPG gear. That distinction matters. Your army list determines whether a formation is armoured, protected, superior, drilled, impact-equipped or capable of shooting, and those traits interact with the engine's cohesion system. Before spending points, check the official Field of Glory II Steam page and the relevant army list. A weapon is only as good as the unit carrying it.
The Fields of Glory weapon tier list
The table below ranks the main weapon categories across open-field battles. It assumes a competent commander, a reasonably balanced army and units fighting in their intended role. Rankings can shift dramatically in forests, towns, steep hills and scenarios with narrow deployment zones.
| Weapon or equipment | Tier | Why it ranks here | Best battlefield role |
|---|---|---|---|
| Pike | S-Tier | Exceptional frontal staying power and strong impact against cavalry | Open-ground centre and anti-cavalry wall |
| Heavy cavalry | S-Tier | High mobility, shock value and decisive flank pressure | Flank charges and pursuit |
| Longbow | S-Tier | Excellent ranged pressure when protected and deployed in depth | Defensive line and lane control |
| Crossbow | A-Tier | Reliable armour-piercing fire with fewer positional demands | Fortifications, hills and mixed formations |
| Impact foot with swords | A-Tier | Strong opening melee performance and flexible infantry pressure | Centre attacks and rough-ground fighting |
| Spear | A-Tier | Efficient defensive answer to mounted units | Holding villages, hills and vulnerable flanks |
| Handgun or arquebus | B-Tier | Powerful situational shooting but limited by range and reload pressure | Late medieval defensive fire support |
| Light cavalry | B-Tier | Fast and useful for scouting, evasion and rear attacks | Screening, pursuit and objective play |
| Light spear or javelin | C-Tier | Cheap utility but poor staying power in sustained combat | Harassment and terrain control |
| Artillery | B-Tier | Can damage dense formations, but deployment and accuracy are demanding | Chokepoints and pre-battle disruption |
There is no universal “best equipment” button. In Fields of Glory, a unit's quality rating, armour, training and cohesion often matter as much as its weapon. A Superior Armoured unit with swords can beat a Poor Protected unit carrying a theoretically stronger weapon because it survives cohesion tests and keeps fighting after the initial clash.

🎮 Fields of Glory
Looking to experience this game? Grab your digital key directly on our store for $1.39.
View on Steammoz Store →S-Tier weapons that win battles
Pikes are the safest centrepiece
Pike formations earn S-Tier status because they create a front that many opponents cannot attack efficiently. Their greatest value is not simply damage. It is the way they discourage mounted charges and force the opponent to solve a positional problem before engaging. A pike block deployed in open terrain can anchor the centre while cavalry and skirmishers work around it.
Keep pikes facing the threat. Their power drops sharply when an enemy reaches the flank, and disrupted pikes are not magically invulnerable. Use a second infantry line, terrain or a nearby supporting unit to prevent a single cavalry move from turning into a disaster. Do not chase light troops with them; that wastes the formation's best advantage and opens gaps.
Heavy cavalry turns one opening into a rout
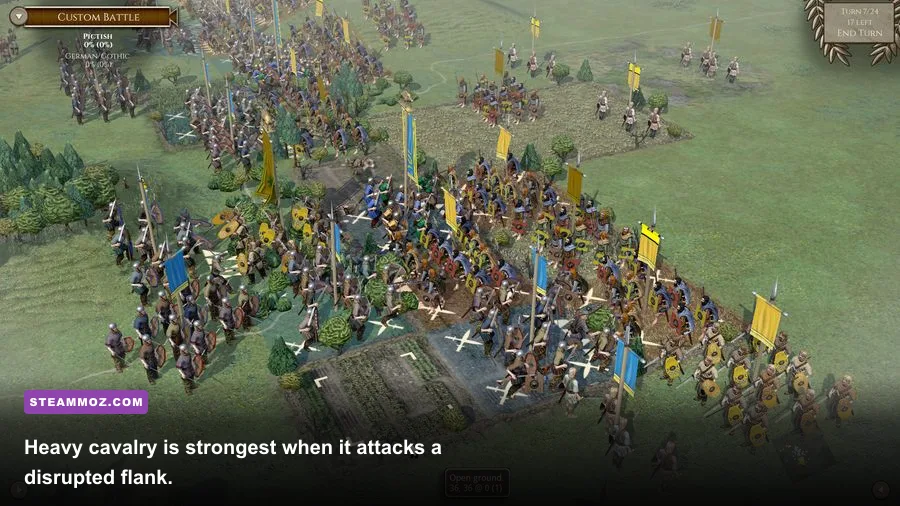
Heavy cavalry is the best offensive equipment in the game when you can create a flank or rear charge. A frontal charge into steady spear, pike or prepared heavy infantry is usually a poor trade. The correct sequence is to pin the target with infantry, attack its flank with cavalry, then exploit the cohesion damage before it can recover.
Watch the pursuit phase. A successful charge can carry cavalry farther than planned, leaving it exposed to a counterattack on the next turn. Keep one unit behind the main strike group, and avoid committing every mounted unit at once. Two coordinated charges are more valuable than four isolated ones because they give the enemy fewer safe places to retreat.
Longbows are a force multiplier, not a front line
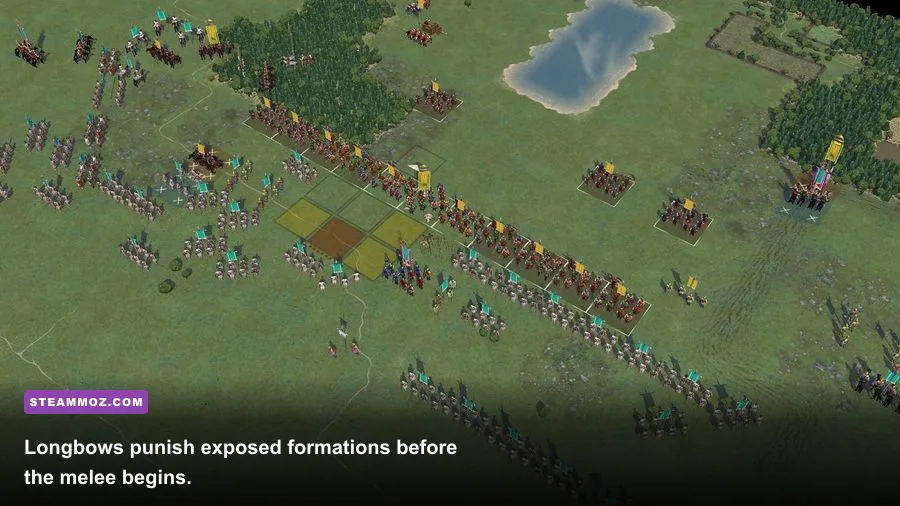
Longbows rank alongside pikes and heavy cavalry because sustained shooting can make a melee mathematically favourable before contact. They are especially nasty against exposed, lightly armoured or already disrupted troops. Their value rises when the enemy must advance through open ground and falls when hills, woods or buildings block line of sight.
Protect them with stakes or infantry where the army list allows it, and deploy them in a way that lets several units shoot the same target. Spreading fire across five enemy units looks impressive but rarely creates a rout. Concentrate volleys until one formation is disrupted or fragmented, then switch to the next threat. If cavalry reaches your archers, the formation has already failed its defensive plan.
A-Tier equipment with fewer weaknesses
A-Tier weapons are not inferior choices. They are simply less dominant across every matchup. Crossbows are the clearest example. Their shooting is dependable against armoured targets and they fit naturally into medieval defensive armies, especially around towns and fortifications. They do not control open ground as comfortably as longbows, but they are easier to protect because their job is usually to punish an approach rather than maintain a massive firing line.
Swordsmen and impact foot are excellent generalists. They want the initial clash, particularly against units that are not prepared to absorb impact pressure. Use them to attack disrupted targets, clear rough terrain and support a pike or spear centre. Their weakness is a long, unsupported grind against superior heavy infantry. If the first attack does not create cohesion damage, rotate in another formation instead of feeding the same unit into combat.
Spears are among the most efficient defensive purchases in an army list. Their anti-mounted role makes them ideal for protecting artillery, archers and vulnerable flanks. They are less exciting than cavalry because they rarely decide a battle alone, but they prevent the opponent's most explosive plays. Put them in villages, on hills or across likely charge lanes, and their practical value jumps.
| Unit profile | Priority equipment | Stat or trait to value | Common mistake |
|---|---|---|---|
| Open-ground centre | Pike or armoured impact foot | Armour, cohesion quality and formation depth | Advancing before the flanks are secure |
| Defensive medieval line | Crossbow plus spear | Protected firing position and rear support | Leaving missile units unsupported |
| Flanking force | Heavy cavalry | Mobility, charge timing and quality | Charging steady enemies from the front |
| Rough-ground detachment | Swordsmen or light spear | Terrain compatibility and manoeuvrability | Using heavy mounted units in bad terrain |
| Screening wing | Light cavalry or javelin | Speed and evade potential | Trying to win a prolonged melee |
For a useful comparison with another equipment-focused strategy guide, see Steamoz's Dungeons 2 winter weapon tier list. The systems differ, but the lesson carries over: rank gear by the situations it solves, not by its flashiest tooltip.
B-Tier and C-Tier weapons still have jobs
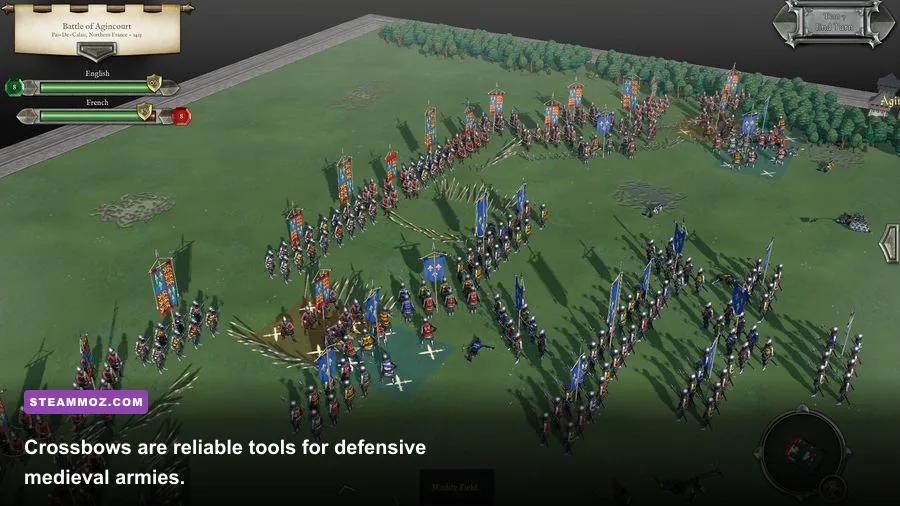
Handguns and arquebuses are B-Tier because their battlefield impact depends on timing. They are dangerous against dense formations and valuable in late medieval armies, but their range and reload limitations make them poor substitutes for a full archer line. Position them behind infantry, fire into an approaching target and retreat before melee contact. Their best use is concentrated defensive punishment, not independent aggression.
Light cavalry is another misunderstood B-Tier tool. It is not supposed to trade blows with armoured knights. Its job is to threaten artillery, force awkward facing changes, chase fragmented units and deny the opponent an easy route around your line. In campaign battles, light cavalry also helps you exploit a broken enemy, where mobility matters more than armour.
Light spears and javelins fall into C-Tier for general ranking, but that does not make them useless. They are cheap ways to occupy difficult ground, screen a valuable unit and draw an enemy into a bad charge. Their biggest mistake is asking them to hold open terrain against armoured infantry. Use them as a tool for tempo, not as the army's main damage dealer.
Artillery sits between B and C depending on the scenario. A well-placed battery covering a bridge or road can force the enemy to deploy around it. On a wide map with poor visibility, however, the points may be better spent on another manoeuvrable unit. Artillery needs protection, clear lines of fire and enough turns to earn its cost. It is strongest before the battle becomes a chaotic melee.
Best equipment combinations by army plan
The most reliable build is a combined-arms core: pikes or heavy infantry in the centre, spears guarding the flanks, longbows or crossbows behind the line, and heavy cavalry held back for the decisive charge. This setup is not glamorous, but it gives you answers to infantry, cavalry and exposed missile troops. It also keeps one mistake from destroying the entire army.
For an aggressive army, pair impact foot with heavy cavalry. Infantry fixes the enemy in place; cavalry supplies the shock. Add light cavalry only if you can use it to pull defenders away or attack artillery. An all-cavalry plan looks fast on paper, yet it struggles against disciplined spear formations and terrain that removes charge lanes.
For a defensive army, choose crossbows, spears and artillery around a strong position. Make the opponent advance through overlapping fire, then counterattack only after a formation becomes disrupted. Longbows are better when you expect a broad open battlefield, while crossbows become more attractive near towns, hills and constricted approaches.
| Army plan | Core equipment | Opening moves | Win condition |
|---|---|---|---|
| Combined arms | Pikes, spears, bows and heavy cavalry | Hold centre and reveal enemy commitment | Flank charge after cohesion damage |
| Aggressive shock | Impact foot and heavy cavalry | Advance under mutual support | Break one wing before the centre stalls |
| Defensive fire | Crossbows, artillery and spears | Control roads, hills and settlement edges | Win the approach battle before melee |
| Mobile harassment | Light cavalry, javelins and selected archers | Evade, screen and isolate targets | Destroy fragmented units and objectives |
If performance or interface clarity is getting in the way of reading formations, Steamoz's settings guide for Dragonkin offers useful general advice on reducing visual clutter and stabilising frame delivery. For strategy veterans, the same principle applies: a clean battlefield view helps you spot a threatened flank before the combat report announces the damage.
How to spend points without wrecking your roster
Start by buying the equipment your plan needs, then improve quality and armour where the points allow. Do not build an army around a single S-Tier category. Six elite cavalry units still lose if the opposing player screens them with cheap spears and controls the terrain. Likewise, a huge missile investment fails when there is no infantry to stop the enemy reaching the firing line.
Prioritise formations that can support each other within one turn's movement. A bow unit should have a retreat route and a nearby blocker. A cavalry unit should have an infantry target already under pressure. A spear unit should protect something worth protecting. This is the real Fields of Glory equipment ranking: the strongest gear is the option that creates a second threat when the first one is answered.
Use the Steamoz resource-planning guide for another perspective on spending limited resources, and check our Dungeon Siege strategy coverage if you enjoy comparing older PC systems. For official rules, army lists and expansions, the Slitherine Field of Glory II page, the Field of Glory II Medieval listing and the official Medieval game page are the safest references for version-specific content.
Final verdict: pick pikes, heavy cavalry and longbows when the map supports them; choose spears and crossbows when you need dependable answers; and treat light troops, firearms and artillery as specialist tools. Master the matchup, protect cohesion and attack flanks, and even an A-Tier army list can dismantle a supposedly superior force.