The Pulse Rifle is Fast Break's best overall weapon, while the Scattergun and Arc Launcher dominate specialized builds. For most players, the winning setup is Pulse Rifle with a mobility-focused secondary, Reinforced Plating, Emergency Battery, and either Overclocked Core or Kinetic Capacitor. That combination gives you reliable mid-range damage, enough survivability to recover from mistakes, and a much smoother power curve than chasing flashy legendary drops.
This ranking is based on practical run value rather than a weapon's biggest possible damage number. Fast Break rewards uptime: weapons that reload quickly, hit consistently, and keep pressure on elite targets outperform gimmicks that only shine in perfect rooms. The list below also accounts for boss phases, ammunition economy, upgrade dependence, and how well each option behaves when the arena gets crowded.
Fast Break weapon tier list at a glance
The table below ranks the main weapons by how much work they do before receiving perfect upgrades. S-Tier choices are dependable from the first room and remain competitive against late-run elites. A-Tier weapons can absolutely clear the game, but they ask you to build around their limitations. B-Tier picks are usable, though usually inferior unless a run hands you unusually good support equipment.
| Weapon | Tier | Best range | Main strength | Biggest weakness |
|---|---|---|---|---|
| Pulse Rifle | S-Tier | Mid | Reliable damage and accuracy | Does not burst bosses instantly |
| Arc Launcher | S-Tier | Mid to long | Chain damage and crowd control | Slow projectile cycle |
| Scattergun | A-Tier | Close | Huge stagger and burst damage | Unsafe against ranged elites |
| Rail Driver | A-Tier | Long | Excellent weak-point damage | Misses are heavily punished |
| Flak Cannon | B-Tier | Close to mid | Wide room control | Inconsistent single-target damage |
| Viper SMG | B-Tier | Close to mid | Fast fire rate and mobility | Weak ammo efficiency |
S-Tier: Pulse Rifle and Arc Launcher
Pulse Rifle is the weapon I recommend when you don't yet know what a run will throw at you. Its recoil is mild, its magazine is forgiving, and its damage stays useful without demanding a specific elemental module. The best upgrades are Magazine Capacitor, Stabilized Barrel, and Critical Relay. Magazine Capacitor is especially valuable because it reduces the number of reload windows during elite attacks. Pair it with Overclocked Core and the rifle becomes a steady stream of safe damage rather than a burst weapon that leaves you exposed.
Arc Launcher earns S-Tier status because its secondary arcs can clear clustered enemies while the primary projectile pressures shielded targets. It is strongest in rooms containing drones, rushers, or summoned adds. Use Conductive Coil and Split Current whenever possible. The weapon feels slower than the rifle, but that apparent weakness disappears once chain damage starts jumping between four or five targets. Don't fire it into a single weak enemy just because the cooldown is ready; save the shot for a group or an elite surrounded by adds.
A-Tier: Scattergun and Rail Driver
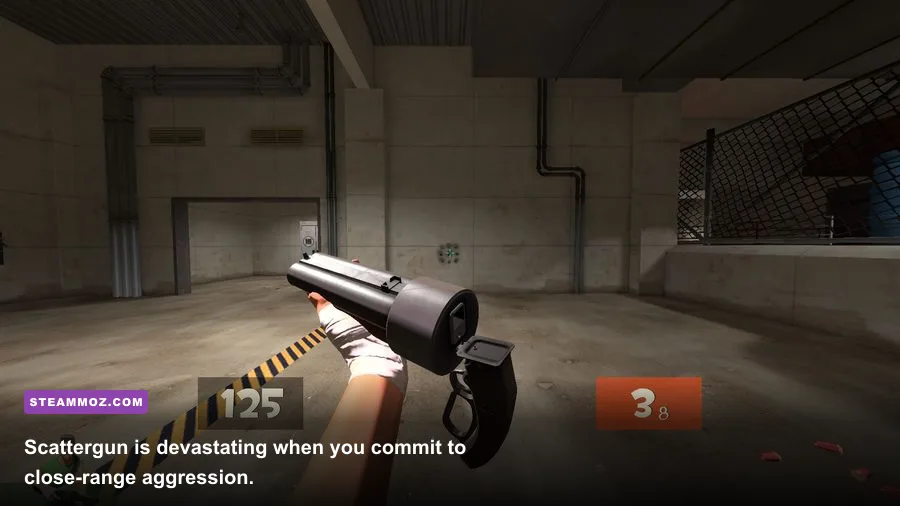
Scattergun has the highest immediate close-range impact in the pool. A centered blast can stagger armored enemies and create the opening needed for a melee finisher or emergency dash. Its rating drops from S-Tier because Fast Break's later arenas often force you to cross open ground against ranged threats. Reinforced Plating helps, but it doesn't solve the underlying range problem. Run Scattergun with Kinetic Capacitor, Quick Chamber, and a mobility module such as Vector Boots. The correct rhythm is dash in, fire at the torso, perform a short reposition, then reload behind cover.
Rail Driver is the precision specialist. Its charged shot can delete weak points and punish bosses during exposed phases, but every missed shot costs valuable tempo. Use it if you consistently land headshots or core hits; don't select it merely because its damage tooltip is the highest. Focus Lens and Stabilized Barrel are the priority upgrades, followed by Emergency Battery to cover the weapon's slow reload cycle. Rail Driver is particularly effective in the final arena, where bosses expose predictable cores, but it is awkward in cramped rooms with multiple flankers.

🎮 Fast Break
Looking to experience this game? Grab your digital key directly on our store for $1.39.
View on Steammoz Store →Why the S-Tier weapons pull ahead
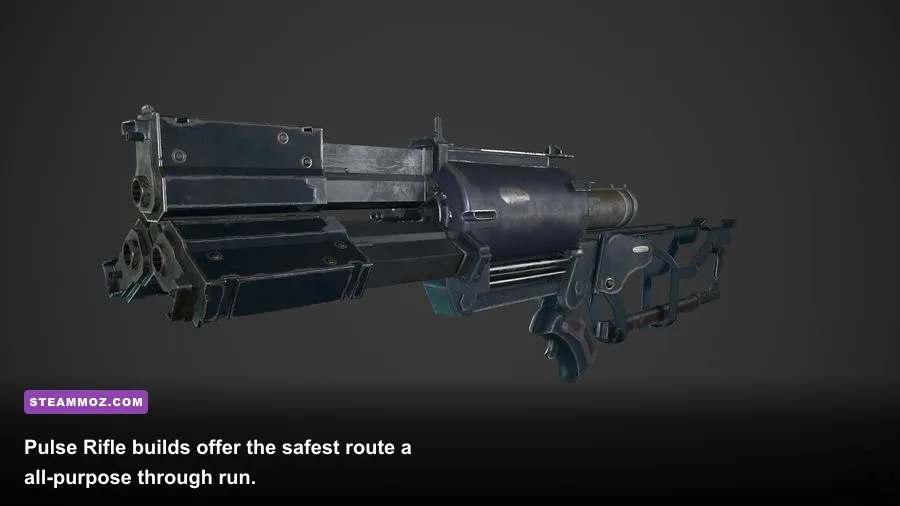
The strongest Fast Break weapons win through consistency, not just damage. Pulse Rifle and Arc Launcher both let you keep firing while maintaining enough distance to read enemy telegraphs. That matters because most deaths come during reloads, not because the player lacks theoretical damage. If a weapon needs three perfect upgrades before it becomes functional, it has already lost value compared with an option that performs immediately.
Pulse Rifle also has the cleanest progression curve. Early upgrades improve magazine size and accuracy; mid-run upgrades add critical chance and armor penetration; late upgrades increase sustained damage without changing how the weapon feels. You aren't forced into a strange build just to compensate for a terrible baseline. That flexibility makes the rifle the safest recommendation for new players and still a strong choice for experienced players pushing higher difficulty.
Arc Launcher follows a different curve. Its single-target damage is merely respectable at the start, but its room-clearing value rises sharply once Split Current and Conductive Coil appear. The weapon's real damage is distributed across targets, so judge it by how much incoming pressure it removes per shot. Against a lone boss, switch to your secondary or use Arc Launcher only when adds spawn. Treating it like a rifle wastes its defining advantage.
| Weapon | Priority upgrade | Second upgrade | Ideal equipment | Combat pattern |
|---|---|---|---|---|
| Pulse Rifle | Magazine Capacitor | Stabilized Barrel | Overclocked Core | Hold mid-range and reload behind cover |
| Arc Launcher | Split Current | Conductive Coil | Energy Relay | Group enemies before firing |
| Scattergun | Quick Chamber | Heavy Buckshot | Vector Boots | Dash in, stagger, retreat |
| Rail Driver | Focus Lens | Stabilized Barrel | Emergency Battery | Charge during telegraphs, fire at weak points |
Best equipment ranked for every build
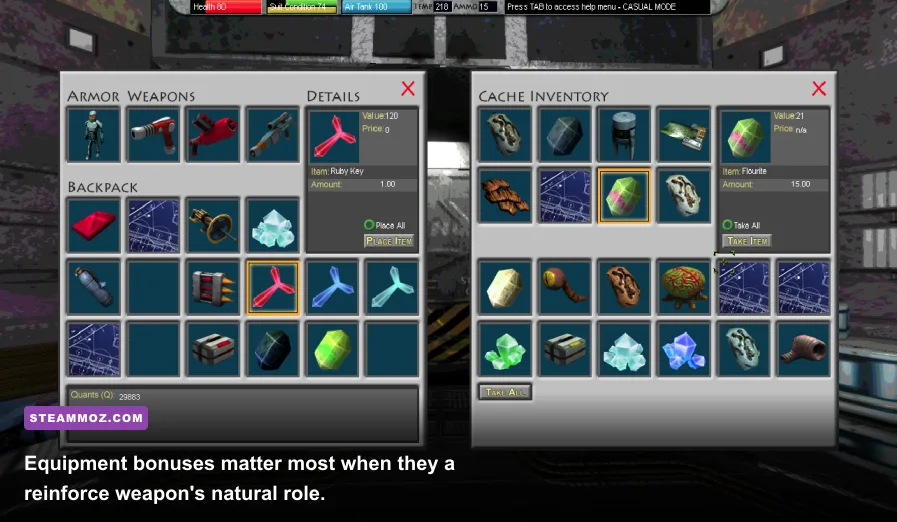
Equipment should solve a weapon's problem, not simply add the biggest number on its card. Pulse Rifle wants longer firing windows. Scattergun wants safer entry and exit tools. Rail Driver needs protection while charging. Arc Launcher wants energy regeneration and positioning options. That principle is more useful than blindly stacking attack power.
S-Tier equipment
Overclocked Core is the best general-purpose offensive module because its fire-rate bonus improves both clear speed and boss damage. It is especially strong on Pulse Rifle, where the weapon already has manageable recoil. Emergency Battery is the best defensive pick for most players. Its reserve charge gives you a recovery option after a failed dodge, and it prevents one mistake from becoming a lost run.
Vector Boots rank highly because movement is damage in Fast Break. A shorter dash cooldown lets you avoid attacks without abandoning an angle, which means more shots land during the same encounter. Energy Relay is the standout Arc Launcher module, improving the weapon's ability to cycle its crowd-control attack before the next wave arrives.
A-Tier and B-Tier equipment
Reinforced Plating is a dependable A-Tier armor choice, especially for Scattergun players who spend more time inside enemy attack ranges. It is less exciting than a damage module, but the extra margin makes close-range routes dramatically more forgiving. Kinetic Capacitor is another A-Tier option: it turns movement and successful dodges into better burst windows, making it excellent for aggressive players.
Thermal Shield and Targeting Visor sit in B-Tier. They are not bad, but they are narrower. Thermal Shield is useful when a particular stage heavily favors burn damage, while Targeting Visor needs consistent weak-point access to compete with universal choices. Pick them when the encounter demands them, not because their descriptions sound impressive.
| Equipment | Tier | Best pairing | Why it works | When to skip it |
|---|---|---|---|---|
| Overclocked Core | S-Tier | Pulse Rifle | Improves sustained damage and clear speed | When survivability is already failing |
| Emergency Battery | S-Tier | Rail Driver | Protects long charge and reload windows | On low-difficulty farming runs |
| Vector Boots | S-Tier | Scattergun | Makes close-range disengagement safer | In stationary turret builds |
| Reinforced Plating | A-Tier | Scattergun | Reduces the cost of aggressive positioning | When you never take contact damage |
| Kinetic Capacitor | A-Tier | Viper SMG | Converts movement into stronger burst windows | With poor dodge timing |
| Targeting Visor | B-Tier | Rail Driver | Rewards accurate weak-point shots | Against swarms with no exposed cores |
Best loadouts for bosses and difficult rooms
For a safe all-round run, take Pulse Rifle, Vector Boots, Emergency Battery, and Overclocked Core. Open each room by removing the fastest enemy first, then use cover to force melee units into predictable lanes. Don't burn your dash simply to gain a few steps of distance; hold it for the moment an elite begins its lunge animation. This setup has enough damage to end fights quickly without requiring perfect aim.
The best crowd-control build is Arc Launcher, Energy Relay, Reinforced Plating, and Split Current. Pull enemies together before firing, then circle the room while the chain effect does its work. Against shielded groups, use the launcher after the shield carrier commits to an attack. That prevents the projectile from being wasted on a target that is about to become invulnerable.
For boss hunters, use Rail Driver, Emergency Battery, Focus Lens, and Targeting Visor. Learn the boss's telegraph rather than firing whenever the charge completes. The ideal shot comes after a dodge, during the brief recovery animation when the core or head remains exposed. If the boss has summoned adds, switch targets immediately; a perfect weak-point hit is worthless if a flanker interrupts the next charge.
Scattergun has the most demanding but satisfying setup: Vector Boots, Reinforced Plating, Quick Chamber, and Kinetic Capacitor. Enter only after an enemy has committed to an attack, fire into the center mass, and leave before the recovery animation ends. Never reload in the open. The weapon's short range is manageable; standing still in that range is what gets players killed.
Upgrade priorities and mistakes to avoid

Choose one primary damage plan by the second upgrade room. Mixing Pulse Rifle fire-rate bonuses with Scattergun reload perks creates a loadout that is technically stronger in two directions but excellent in neither. Fast Break's upgrade economy favors specialization: three upgrades that reinforce one weapon usually outperform five unrelated bonuses.
Prioritize magazine, reload, and energy improvements before chasing critical-hit multipliers. A critical bonus looks attractive on paper, but it has little value if you spend half the encounter reloading. The exception is Rail Driver, where Focus Lens should arrive early because the weapon's entire identity revolves around charged weak-point damage.
Another common mistake is choosing equipment for the room you just cleared. A fire-resistance module may have saved you in the previous stage, but if the next boss attacks with physical shockwaves, Reinforced Plating or Emergency Battery offers more practical value. Check the upcoming encounter, then build for its telegraphs and adds.
Finally, don't judge a weapon in the training room alone. Test it against a mixed wave containing a ranged attacker, a fast melee unit, and an armored target. That is where the tier difference becomes obvious. Pulse Rifle remains useful against all three, Arc Launcher controls the group, Scattergun deletes the melee unit, and Rail Driver demands a clean line. Your best choice depends on which of those problems you can solve consistently.
For official patch notes and current availability, check the Fast Break listings on Steam and the game's official Steam Community results. If you enjoy comparing specialized loadouts, Steamoz's Ace Combat 7 weapon tier list is a useful follow-up, while Captain Tsubasa equipment rankings take the same optimization mindset into a very different genre. Players looking for more build-focused coverage can also read our beginner build guide.
Final ranking: start with Pulse Rifle for the most reliable clear, choose Arc Launcher when rooms regularly spawn groups, take Scattergun for aggressive close-range play, and reserve Rail Driver for players who trust their aim. Pair any of them with equipment that fixes its weakness, and Fast Break becomes far less about hoping for the perfect drop and far more about making the right tactical decision.