
ENSLAVED: Odyssey to the West Premium Edition doesn’t have traditional levels, XP, or gold. The fastest way to become stronger is to sweep each route for Tech Orbs, spend them on high-impact upgrades, and use Monkey’s stun, staff, and shield tools in a deliberate order. There’s no repeatable gold farm to exploit, so this guide focuses on the real progression system: collectible routing, upgrade priority, combat efficiency, and the safest way to prepare for the game’s tougher robot encounters.
That distinction matters. ENSLAVED is a largely linear action-adventure starring Monkey and Trip, not an RPG with enemies that respawn for endless currency. Tech Orbs are placed throughout chapters, while hidden Masks reward exploration and complete collections. Once an area is cleared, returning to it for a second farming run usually isn’t possible in the normal campaign. Treat every chapter as a one-time payday and you’ll finish with a much stronger toolkit.

🎮 Get ENSLAVED: Odyssey to the West Premium Edition
Ready to dive in? Grab your copy today for just $2.99.
Check OfferWhat “fast leveling and gold farming” really means
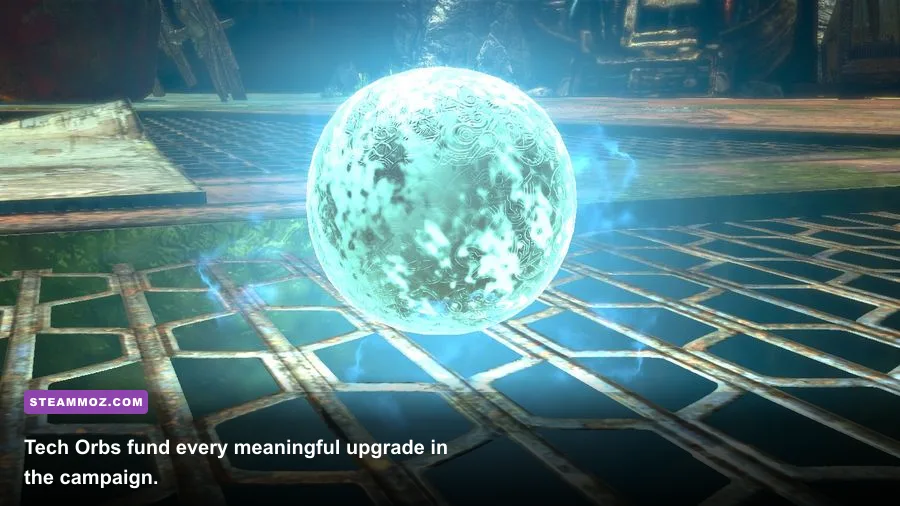
There are three systems players often lump together as leveling. The first is Monkey’s upgrade tree, purchased with Tech Orbs. The second is story progression, which unlocks new weapons, abilities, and traversal options. The third is collectible completion, mainly Masks and additional Tech Orbs hidden off the critical path. None of these systems uses gold, credits, XP, or a character level.
Tech Orbs are the resource that matters. You’ll see them as bright collectibles scattered along roads, rooftops, broken interiors, and combat arenas. Some sit directly on the route; others are tucked behind wreckage, on side platforms, or near a ledge that only becomes obvious after the fight begins. The game’s chapter design encourages a careful sweep rather than a speedrun through the objective marker.
| Progression Item | What It Does | Best Farming Approach | Important Limitation |
|---|---|---|---|
| Tech Orbs | Pay for Monkey’s combat, shield, health, and staff upgrades | Search side paths before triggering the next objective | Mostly fixed pickups; no reliable infinite farm |
| Masks | Optional collectibles tied to exploration and story atmosphere | Check elevated platforms and dead-end routes | They are not spendable currency |
| Story abilities | Unlock new combat and traversal options | Advance the campaign | Cannot be rushed through grinding |
| Gold | Not a standard ENSLAVED campaign resource | There is no genuine gold route | Beware guides confusing the game with an RPG |
The practical rule is simple: before you activate a console, enter a vehicle sequence, board a moving platform, or cross a major story threshold, turn around and inspect the current space. ENSLAVED often places an optional collectible just beyond the combat route, but it rarely hides progression behind obscure puzzles. A patient first pass beats trying to grind later.
🎮 ENSLAVED: Odyssey to the West Premium Edition
Looking to experience this game? Grab your digital key directly on our store for $2.99.
View on Steammoz Store →Spend Tech Orbs on survival before style
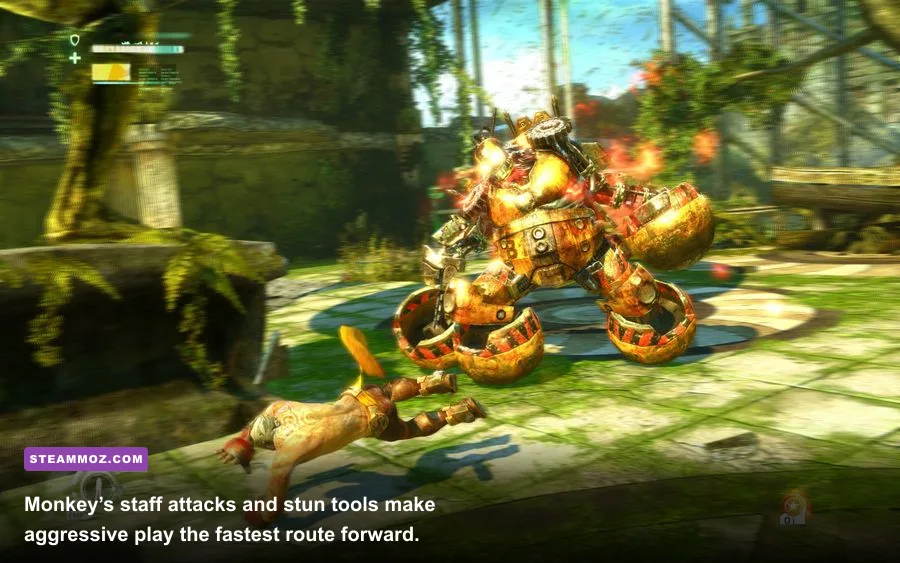
Monkey’s upgrade menu is where your “leveling” decisions live. The strongest early investment is usually the defensive branch: more survivability and a more dependable shield let you absorb mistakes while learning robot attack patterns. A dead Monkey earns nothing, and aggressive players still benefit from having enough health to survive a ranged hit while closing distance.
After defense, prioritize the tools that improve control. The staff’s Stun ammunition is valuable because it interrupts dangerous machines and creates safe openings. Plasma ammunition is your ranged damage option, but it should not automatically receive every early purchase. Plasma is most useful when you need to hit a weak point, finish a damaged target, or fight from a position where melee is unsafe.
Combat upgrades that improve Monkey’s close-range strings become more valuable once you’re comfortable with dodging and shield timing. The game rewards short, purposeful combos rather than blindly mashing until the arena is empty. Use the staff to build pressure, stun a priority target, reposition, and then return for the finish. That rhythm saves ammunition and reduces the damage you take.
| Upgrade Priority | Recommended Timing | Why It Matters | Best Use Case |
|---|---|---|---|
| Health upgrades | Early campaign | Raises your margin for error in mixed robot encounters | New players and higher difficulty |
| Shield upgrades | Early to mid-game | Improves the value of blocking while closing on ranged enemies | Turrets, lasers, and crowded arenas |
| Stun ammunition | Early priority | Creates interrupts and safe melee windows | Elite robots and dangerous attack animations |
| Plasma ammunition | Mid-game priority | Gives reliable ranged damage and weak-point access | Enemies that punish close-range attacks |
| Combo upgrades | After defensive basics | Improves damage when you can maintain melee pressure | Isolated targets and stunned machines |
Don’t spread purchases randomly just because you have enough Tech Orbs for several minor options. A focused defensive-and-control build stays useful in every chapter. If you’re already comfortable with blocking, move Stun and melee improvements up the list. If you’re taking frequent hits, health and shield upgrades will outperform flashy damage spending.
Use this combat rotation to save resources
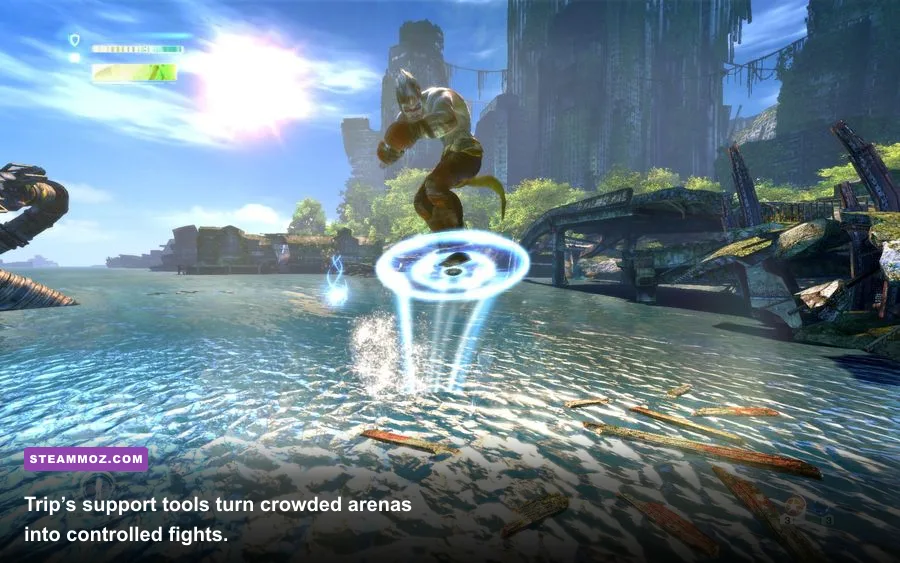
The fastest combat route is not always the most violent one. It’s the one that prevents a robot pack from surrounding you. Start by identifying the enemy with the most dangerous ranged attack, usually a machine capable of locking you in place or punishing a direct approach. Use cover to break line of sight, then close on that target while your shield is available.
Once inside melee range, use Stun to interrupt rather than opening with your longest combo. A stunned machine gives you time to reposition, attack, and watch the rest of the arena. Against a lone target, a short staff string followed by a heavier finisher is safer than committing to repeated attacks after the stun wears off.
Trip’s abilities are your force multiplier. Her Decoy can draw attention away from Monkey, giving you a clean route to a ranged enemy or a chance to revive the tempo of a fight. Her Cloud tool helps alter the battlefield and can create breathing room when several robots are active. Don’t trigger support abilities on cooldown simply because they’re available. Save them for the moment an enemy pack starts collapsing on your position.
The shield is not a permanent safety bubble. It protects you while you approach, but it won’t solve poor positioning or let you ignore flanking attacks forever. Block the first burst, move laterally, and attack during the enemy’s recovery animation. Robot telegraphs are readable: weapons charge, bodies turn toward the target, and heavier machines expose a brief recovery window after committing to an attack.
| Encounter Problem | Telegraph or Threat | Counter | Resource-Saving Choice |
|---|---|---|---|
| Ranged fire | Weapon charge and visible targeting direction | Use cover, shield the approach, then stun | Close distance instead of trading Plasma shots |
| Several robots converge | Multiple attack angles and reduced escape space | Use Trip’s Decoy or Cloud, then rotate around the arena | Control the group before spending ammunition |
| Heavy machine | Long wind-up followed by a committed strike | Dodge away from the impact zone and punish recovery | Use stun only to interrupt a lethal sequence |
| Low health | Reduced tolerance for a single ranged hit | Break line of sight and search for the safe route | Do not force a melee finish for speed |
Chapter-by-chapter Tech Orb routing

ENSLAVED’s linear structure makes route discipline more important than grinding. The early sections establish the pattern: follow the main path, clear the immediate threat, then inspect the edges before continuing. Look behind wrecked vehicles, around collapsed structures, and above the level of the obvious walkway. The camera frequently reveals collectibles when Monkey reaches a broad overlook, so pause before dropping down.
The Wasteland and early escape sections
These areas are ideal for learning the collection rhythm. After a combat encounter, check the arena perimeter before interacting with the next objective. Don’t sprint through every traversal segment; side ledges and broken platforms often contain Tech Orbs or Masks. If Trip moves toward a story interaction, that’s your cue to make one last visual sweep rather than an invitation to rush.
The Titan Factory
The factory introduces denser robot encounters and more dangerous sightlines. Search before crossing large industrial arenas, especially around side cover and elevated walkways. The best farming decision here is not collecting every orb during combat. First make the arena safe, then circle the room. Trying to grab a glowing pickup while ranged machines are active is a fast way to lose the health that your upgrades were meant to protect.
Later city and facility chapters
By this point, a balanced Monkey build should have strong defensive tools and dependable Stun ammunition. Continue checking dead ends, but prioritize completion over perfection if the next story trigger is obvious. A missed orb is disappointing; a forced death that sends you back through a long encounter costs more time than it saves.
For collectible cleanup, use the game’s chapter selection and replay structure where available rather than expecting an open-world return. The official Steam page for ENSLAVED Premium Edition is the safest reference for the package contents, while Ninja Theory’s game page provides the original developer context.
Don’t confuse Pigsy’s Perfect 10 with the main campaign
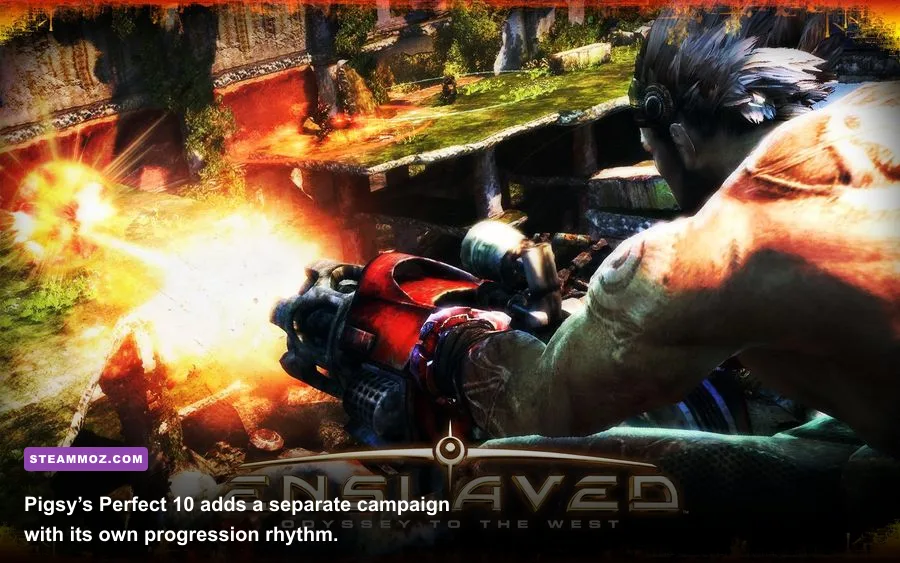
Premium Edition includes Pigsy’s Perfect 10, but its progression shouldn’t be treated as an extension of Monkey’s campaign economy. Pigsy’s adventure is a separate story with a different playable character and a distinct combat rhythm. His long-range approach and gadget-focused encounters change how you evaluate risk, positioning, and collectible routes.
That means the best Monkey upgrade plan won’t magically transfer to Pigsy. Play his chapters as a separate run, search the environment before advancing, and use height and distance to control fights. The DLC is worth playing after the main story if you want a fresh mechanical angle, but it isn’t a secret gold farm or a shortcut for Monkey’s upgrades.
The same warning applies to online advice that promises infinite currency, hidden vendors, or a repeatable endgame arena. Those systems don’t define ENSLAVED. If a guide claims you can repeatedly kill a respawning enemy for gold, it’s probably describing another action game or using “gold” as a loose name for Tech Orbs. Check the Bandai Namco official site for publisher information, but judge progression by what actually appears in your in-game upgrade menu.
Best settings for a smooth farming run on PC
A smooth frame rate won’t increase Tech Orb drops, but it absolutely improves the timing-heavy parts of Monkey’s combat. ENSLAVED is an older PC release, and modern hardware can often run it comfortably, though compatibility and frame pacing vary by system. Start with a stable 60 FPS target rather than chasing an unnecessarily high refresh rate. Consistent input makes shield timing, dodges, and staff interrupts easier to read.
| Setting | Recommended Value | FPS Impact | Visual Note |
|---|---|---|---|
| Resolution | Native monitor resolution | Medium to high | Keep native resolution unless performance is unstable |
| Anti-aliasing | Highest stable option | Medium | Helps smooth skyline and machinery edges |
| Texture quality | High | Low to medium | Preserves environmental detail and collectible visibility |
| Shadow quality | Medium or High | Medium | Lower this first if busy arenas stutter |
| Post-processing | High, then test | Low to medium | Controls the game’s strong cinematic look |
| V-Sync | On if tearing appears | Small latency cost | Use a driver-level limiter if frame pacing feels uneven |
If the game feels sluggish, lower shadows before textures. Collectibles are easier to spot when the environment retains its detail, while shadow quality generally gives you less useful information during a hectic fight. Fullscreen mode, updated GPU drivers, and a sensible frame cap are also worth testing before you start cutting image quality.
For more PC performance reading, Steamoz’s A Year of Rain settings guide and Bionic Dues performance tips cover the same practical approach: stabilize frame pacing first, then tune visuals. If you enjoy the game’s post-apocalyptic action, our lists of games like Far Cry Primal and games like Dead Rising 4 are natural next stops.
The fastest honest route to a fully upgraded Monkey
Play each chapter once with a collector’s mindset: clear the arena, sweep its perimeter, inspect high and low routes, then trigger the next objective. Spend early Tech Orbs on health, shield, and Stun-focused tools; add Plasma and combo upgrades once your defensive foundation is secure. Use Trip’s Decoy and Cloud to control groups instead of burning ammunition in panic, and replay chapters only for missed collectibles or a cleaner completion run.
That’s the real fast-leveling strategy in ENSLAVED: Odyssey to the West Premium Edition. There’s no gold economy to manipulate and no endless enemy loop waiting to make Monkey overpowered. The game rewards smart routing, controlled aggression, and upgrades that remove failure points. Once you stop hunting for a nonexistent farm and start treating every chapter as a fixed Tech Orb route, the campaign’s progression becomes pleasantly direct—and the late-game robot fights feel far less punishing.