
If you want the short answer, run the M4A1 with a compact optic, light armor, one Medkit, and Frag Grenades for the most reliable ENIGMA setup. The MP5 is the better pick for indoor maps, the SVD wins patient long-range fights, and the AK-74 only reaches S-tier when you can manage its recoil. This ranking focuses on practical performance: time to kill, reload exposure, effective range, mobility, ammunition efficiency, and how much skill each weapon demands.
ENIGMA's best equipment isn't simply the gear with the largest damage number. A rifle that misses four shots during a panic spray is worse than a slightly weaker weapon that keeps its sights on target. The same goes for armor. Heavy protection can save you from a burst, but the movement penalty may leave you unable to reposition before the enemy's second attack. Think of this list as a ranking for winning actual engagements rather than testing weapons against stationary targets.
ENIGMA weapon tier list at a glance
The table below is the quick reference I use when building a loadout. S-tier weapons are dependable across most maps and skill levels. A-tier options are excellent but have a clear weakness. B-tier weapons can still perform, although they usually need a specific map, attachment setup, or playstyle. C-tier gear is usable for challenge runs or early progression, not something I'd take into a serious match.
| Tier | Weapon | Role | Why it ranks here |
|---|---|---|---|
| S | M4A1 | All-purpose assault rifle | Low recoil, strong mid-range damage, dependable reloads |
| S | MP5 | Close-range SMG | Fast handling and excellent sustained damage indoors |
| S | SVD | Long-range marksman rifle | High impact per shot and efficient ammunition use |
| A | AK-74 | Heavy assault rifle | Excellent damage, but vertical recoil punishes rushed sprays |
| A | M870 | Close-range shotgun | Devastating in ambushes, inconsistent at open angles |
| A | P-19 | Sidearm | Quick draw and strong emergency damage |
| B | Vector | High-rate SMG | Fast kill potential, but burns magazines quickly |
| B | R9 Revolver | Heavy sidearm | Great burst damage, slow follow-up shots |
| C | SKS | Budget marksman rifle | Capable in theory, awkward against coordinated squads |
Weapon rankings can shift with balance patches, so check the game's official Steam listing and patch notes before spending rare currency. Steam's community search is also useful for spotting attachment changes that aren't obvious from the menu.
🎮 ENIGMA:
Looking to experience this game? Grab your digital key directly on our store for $7.49.
View on Steammoz Store →S-tier weapons that deserve your best resources
M4A1: the best first investment
The M4A1 is ENIGMA's most complete weapon because it has no disastrous matchup. Its practical sweet spot is roughly 15 to 45 metres: close enough to win against SMGs if you keep your crosshair high, yet stable enough to challenge rifles when you fire controlled bursts. Use a 1x or 2x optic, a muzzle attachment that reduces vertical climb, and an angled grip if the game offers one. You don't need to turn it into a slow precision rifle.
The key is burst discipline. Fire six to eight rounds, release the trigger for a fraction of a second, then resume. That small reset keeps the sight picture centred and prevents the final bullets from climbing over an enemy's head. The M4A1 is particularly strong for players learning map rotations because it lets you switch between holding a doorway and pushing a hallway without rebuilding your entire loadout.
MP5: the room-clearing specialist
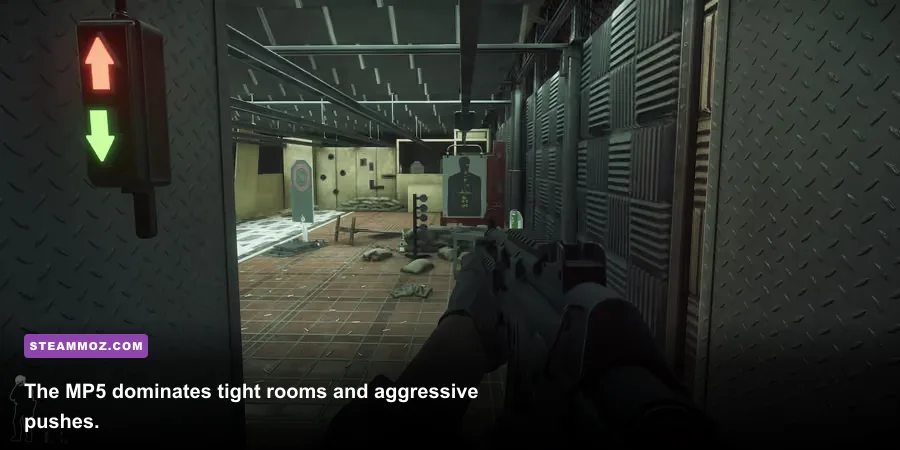
The MP5 is the weapon to choose when ENIGMA's map is built around stairwells, corridors, and short sightlines. Its quick ready speed makes it more forgiving after sprinting, and the manageable recoil lets you keep the reticle on a target's upper chest while strafing. Aim for the chest rather than forcing headshots; the faster follow-up shots make body tracking more consistent during chaotic fights.
Its weakness is range. Past the weapon's comfortable distance, the damage falloff and spread make every extra bullet feel expensive. Don't challenge an SVD user across an open lane. Break line of sight, rotate through cover, and force the fight into the distance where the MP5's handling matters more than raw bullet efficiency. Carry the P-19 as a backup instead of trying to stretch the MP5 into a rifle.
SVD: the patient player's power pick
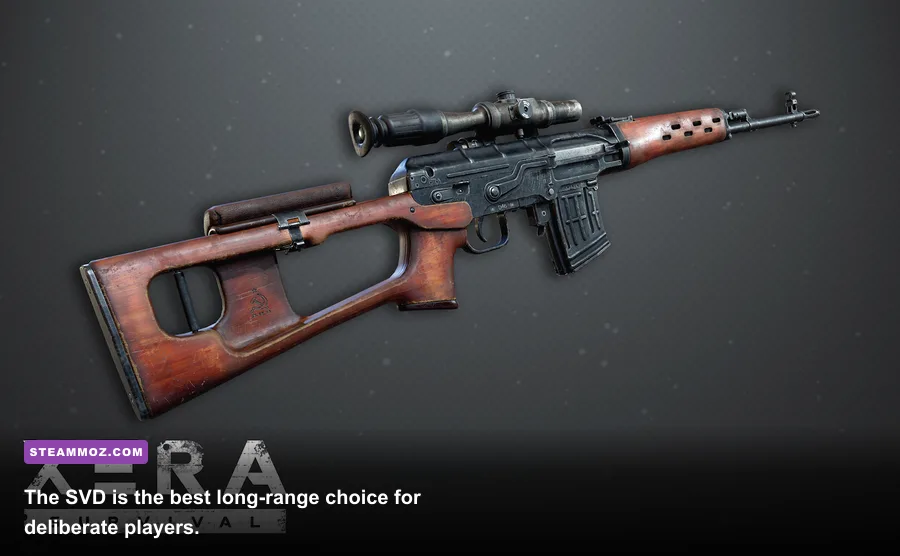
The SVD earns S-tier status because it can remove an opponent from a fight with very few accurate hits while still allowing a faster follow-up than a traditional bolt-action rifle. It excels when you hold an angle with cover behind you, especially near extraction routes and objective entrances. A 4x optic is normally the best compromise; higher magnification makes close threats harder to track.
Don't tunnel vision after landing a hit. ENIGMA players often survive the first shot, immediately duck behind cover, and reappear from a different angle. Fire, relocate two or three metres, and hold the new line. That habit matters more than squeezing another point of damage from an attachment. The SVD's real cost is tempo: if a squad gets inside your minimum comfortable range, you need a sidearm or teammate to buy space.
A-tier weapons and the situations they actually win
AK-74: powerful, unforgiving, and worth mastering
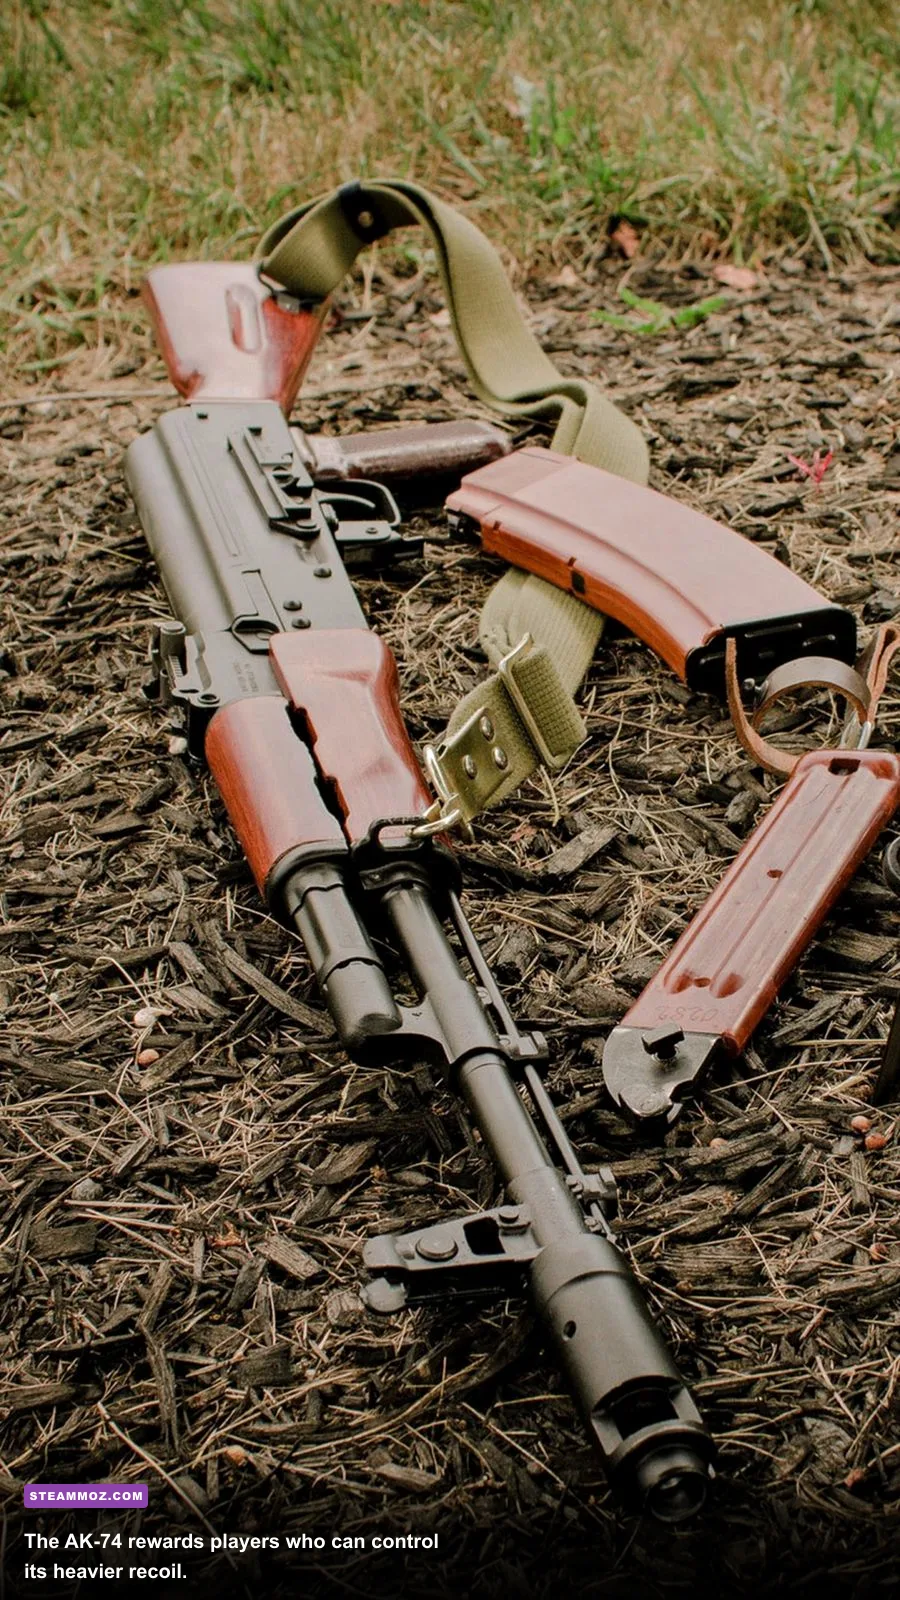
The AK-74 deals enough damage to compete with the M4A1, but its first ten rounds climb harder and its recovery between bursts feels less forgiving. That makes it a strong A-tier weapon rather than a universal S-tier recommendation. Use it when you expect medium-range fights and can anchor your aim against cover. A compensator or recoil-focused muzzle should come before a damage attachment.
Tap-fire at long range and use five-round bursts at medium range. Full-auto spraying is reserved for emergencies inside a room. The AK-74 rewards a deliberate peek: expose only the side of your character, fire a burst, then retreat. Wide-swinging a doorway gives the recoil too much time to punish you.
M870: the ambush monster
The M870 is one of ENIGMA's most satisfying weapons because it turns positioning into damage. It belongs in A-tier for players who understand corner timing, not because it is secretly reliable at every distance. Let enemies enter your range, aim at the centre mass, and fire only when most of the pellet spread can connect. Shooting at a shoulder or a hand produces the classic shotgun disaster: a loud hit marker followed by an enemy who somehow wins the duel.
Keep the M870 loaded before crossing a dangerous area. Its reload interruption is a bigger problem than its raw reload time, and topping up after every shot can leave you stuck during a push. Pair it with the P-19 so you can finish a damaged target without standing still beside cover.
P-19 and R9 Revolver: sidearms with different jobs
The P-19 is the better general sidearm. Its fast draw makes it ideal when your primary runs dry, and it gives SMG users a way to finish targets at the edge of falloff. The R9 Revolver hits harder, but the slow cadence means each miss is costly. Choose the R9 if you play from cover and have the discipline to reset your aim between shots. Choose the P-19 if your fights involve movement, multiple targets, or sudden reloads.
| Weapon | Best range | Recommended attachment priority | Main mistake to avoid |
|---|---|---|---|
| M4A1 | 15–45 metres | Optic, recoil control, magazine | Holding full-auto through a long lane |
| MP5 | 0–20 metres | Magazine, handling, hip-fire control | Taking rifle duels in open ground |
| SVD | 35+ metres | Optic, stability, reload utility | Remaining on the same angle after firing |
| AK-74 | 20–40 metres | Vertical recoil, muzzle, optic | Spraying while wide-swinging a doorway |
| M870 | 0–12 metres | Spread control, capacity, handling | Firing before the enemy enters full spread range |
Best armor, healing, and tactical equipment
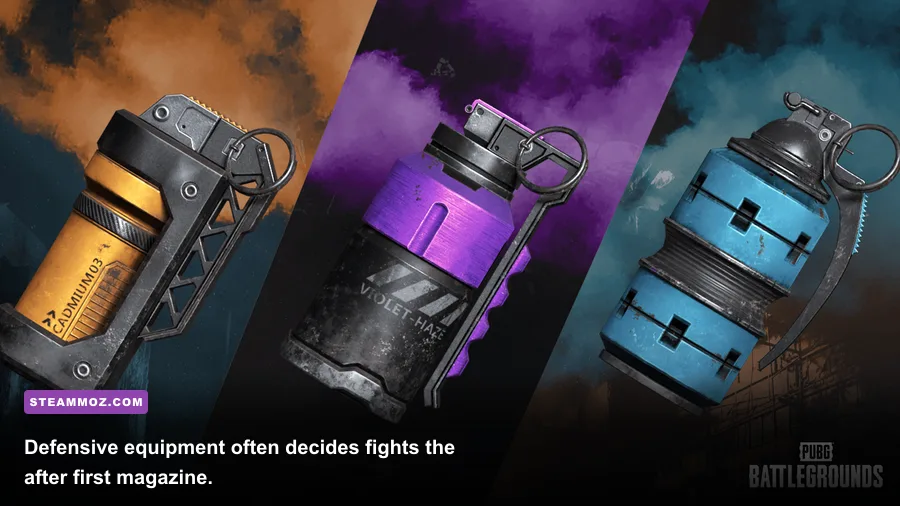
A weapon cannot carry a bad equipment setup. ENIGMA's most reliable general kit is light or medium armor, one Medkit, one quick-heal item, and two Frag Grenades. This combination preserves enough movement to win the first duel while giving you a way to recover before the next engagement. Heavy armor is tempting, but it should be a deliberate choice rather than an automatic upgrade.
Armor ranking
Light armor is best for aggressive MP5 and M870 players. The movement advantage helps you reach cover, close distance, and break an opponent's tracking. Medium armor is the default recommendation for M4A1 and AK-74 users because it gives extra survivability without making rotations feel sluggish. Heavy armor belongs to objective holders, SVD players, and squads that move together. It becomes much less attractive when the map has several exposed rotations.
Healing and utility priorities
Use the Medkit after you have created genuine safety, not immediately after taking a single hit. Healing in the open just because your health bar is below full is how players lose otherwise won fights. First break line of sight, listen for footsteps, then heal. Save your quick-heal item for a short reset between engagements when a full Medkit would cost too much time.
Frag Grenades are the strongest universal tactical item because they force movement. Throw one behind an enemy's cover, then swing the opposite side as they relocate. Don't throw both at the same doorway unless you are certain the target is trapped; staggered grenades create more pressure and prevent a simple wait-out. Smoke is better than a second Frag when your loadout depends on crossing open ground, reviving a teammate, or escaping an SVD angle.
| Equipment | Tier | Best pairing | Practical use |
|---|---|---|---|
| Medium Armor | S | M4A1, AK-74 | Best balance of protection and movement |
| Light Armor | A | MP5, M870 | Supports fast pushes and close-range repositioning |
| Heavy Armor | A | SVD, objective defense | Strong when cover and team support are available |
| Medkit | S | Every primary | Restores fighting condition after a safe reset |
| Frag Grenade | S | MP5, M4A1 | Flushes enemies from cover and interrupts holds |
| Smoke Grenade | A | SVD, revive-focused squads | Denies sightlines and protects rotations |
Best ENIGMA loadouts by map and playstyle
All-rounder loadout
Take the M4A1, P-19, Medium Armor, Medkit, and two Frags. This is the best starting build because every item solves a different problem. The rifle handles standard lanes, the pistol covers reload emergencies, armor forgives one mistake, and grenades let you attack entrenched players. It is also the easiest loadout to use when you don't yet know where the next fight will happen.
Close-quarters pressure loadout
Use the MP5, P-19, Light Armor, Medkit, and a Frag-Smoke combination. The smoke gives you a safe approach when the enemy refuses to leave a room, while the Frag punishes players hiding behind a single piece of cover. Keep the MP5's crosshair at upper-chest height before entering a doorway. Pre-aiming is more valuable than sprinting in with the weapon lowered.
Long-range control loadout
The SVD, P-19, Heavy or Medium Armor, Medkit, and Smoke Grenades form the strongest angle-holding kit. Use Heavy Armor only if your squad can protect your flanks. Otherwise, Medium Armor gives you the mobility needed to relocate after every shot. Your job isn't to chase every hit; it's to deny a lane, damage the first player crossing, and force the enemy to spend utility before they reach the objective.
For more practical gear comparisons, Steamoz's Dead in Antares weapon ranking and Dungeons 2 equipment tier list are useful reminders that the highest damage item isn't always the best field choice. ENIGMA follows the same rule: consistency beats theoretical peak performance.
How to spend currency and upgrade weapons efficiently
Upgrade the weapon you can use repeatedly, not the weapon with the flashiest tooltip. For most players, the correct order is M4A1 attachments first, then armor quality, then the P-19, followed by specialist weapons such as the SVD or M870. A stable primary increases the number of fights you can win immediately, while expensive niche gear may sit unused because the map doesn't offer its ideal range.
Prioritise magazine capacity when your weapon regularly needs a second target, recoil control when your misses climb vertically, and handling when you spend most fights sprinting between rooms. Damage upgrades are valuable only when they change the number of shots required to secure a kill. If an upgrade doesn't cross that breakpoint, smoother recoil or faster ready speed usually produces more real victories.
Don't ignore ammunition economy. The Vector can delete a target quickly, but its rapid fire rate empties magazines so fast that a second enemy often arrives while you're reloading. The SVD saves ammunition but demands accuracy. The M4A1 sits between those extremes, which is why it remains the best recommendation for progression and the weapon most likely to stay in your inventory after the rest of the arsenal is unlocked.
If you enjoy testing performance alongside builds, Steamoz's frame-rate settings guide has useful optimization habits, while the Deltazeal starting-build guide covers the same kind of early-resource decision making. For official announcements, follow the developer's Steam developer results rather than relying on outdated tier-list screenshots.
The final verdict is simple: pick the M4A1 if you want one weapon that handles almost every situation, switch to the MP5 when the map compresses the fight, and bring the SVD when you can dictate distance. The AK-74, M870, and P-19 are excellent A-tier tools when their strengths match your habits. Pair any of them with sensible armor, a Medkit, and utility that changes enemy positioning, and you'll get more wins from smart engagements than from chasing a supposedly perfect damage statistic.