
Short answer: Dungeons 4 – Double Trouble does not use a conventional weapon-loot system, so there are no swords, bows, or legendary drops to rank. The strongest “equipment” choices are your unit upgrades, Evil abilities, training rooms, traps, and hero skills. For most Double Trouble missions, prioritize Horde survivability first, Demon area damage second, and Undead sustain third; that combination handles both campaign pressure and the DLC’s nastier two-front engagements far better than chasing raw damage.
That distinction matters because searches for a Dungeons 4 Double Trouble weapon tier list can easily lead you toward advice borrowed from a loot-based RPG. Dungeons 4 is an RTS and dungeon-management game. Your forces do not equip named weapons from a randomized inventory. Instead, their combat power comes from research, unit composition, room placement, resource flow, and the skill trees attached to the Evil and playable heroes. The ranking below translates those systems into a practical equipment-style tier list without inventing weapons the game does not contain.
For the official product details, check the Dungeons 4 Steam page, the Kalypso Media site, and the Realmforge Studios website. Patch tuning can alter unit values, but the strategic hierarchy below remains reliable because it is built around role, timing, and opportunity cost rather than a fake item database.
The real Double Trouble equipment tier list

Think of each row as an equipment slot. A Horde upgrade is your frontline weapon, a Demon upgrade is your damage attachment, and an Undead upgrade is defensive gear. Evil abilities function like active-use items, while training rooms are the infrastructure that determines whether those “items” pay off.
| Tier | Upgrade category | Why it ranks here | Best use |
|---|---|---|---|
| S-Tier | Horde health and frontline upgrades | They keep enemies occupied and protect fragile damage dealers | Early pushes, chokepoints, mixed armies |
| S-Tier | Demon area damage and fire-based abilities | Excellent against clustered heroes and large waves | Mid-game breaches and two-front fights |
| A-Tier | Undead regeneration and revival-focused upgrades | Outstanding attrition value, but slower to exploit | Long defenses and resource-starved missions |
| A-Tier | Trap damage paired with slows | Multiplies unit damage and buys casting time | Dungeon corridors and bridge approaches |
| B-Tier | Pure economy upgrades | Powerful eventually, but dangerous when taken before survival | Safe starts and large-map missions |
| C-Tier | Single-target burst without control | Can delete one target but rarely solves a full wave | Finishing bosses after the frontline is stable |
The most important detail is sequencing. S-Tier does not mean “research this instantly.” A Horde health improvement is brilliant before an invasion, but wasteful if your dungeon has no food, no training capacity, or no way to reach the enemy. Likewise, Demon area damage is spectacular when opponents bunch together; it underperforms when a fast hero slips through and attacks your economy.
🎮 Dungeons 4 - Double Trouble
Looking to experience this game? Grab your digital key directly on our store for $13.49.
View on Steammoz Store →S-Tier choices that carry Double Trouble missions
Horde frontline investment
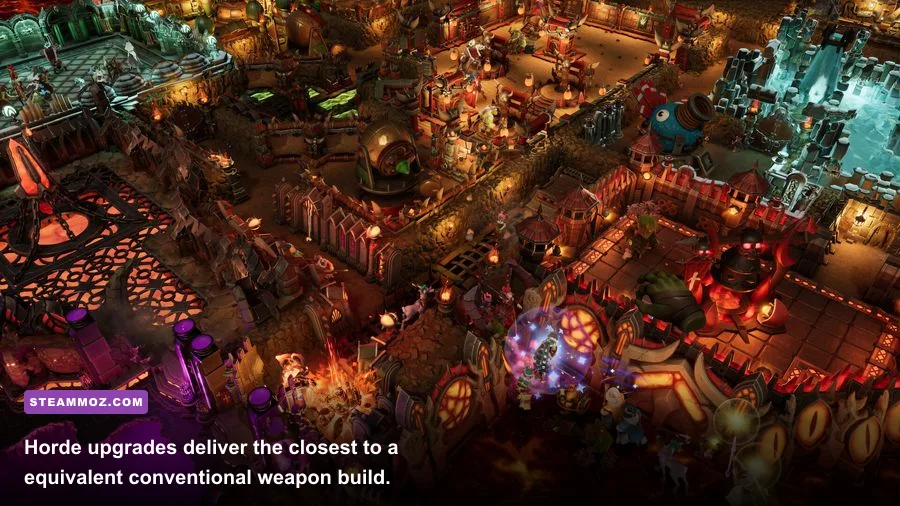
The Horde is the safest first investment because it solves the problem every campaign eventually creates: something has to stand in a doorway while your backline works. Little Snots are workers rather than premium combatants, so do not treat their numbers as a substitute for trained fighting units. Use them to accelerate digging, hauling, and room construction, then keep them away from the first contact line.
Orcs are the practical core of an early army. Their value is not flashy damage; it is the time they buy. More time means another attack cycle for Demon casters, another trap activation, and another chance for a hero to be boxed into a bad position. If a mission offers a choice between a modest damage improvement and a meaningful durability improvement before the first major invasion, durability usually wins.
Demon area damage
Demons become the best “weapon” category once the battlefield is crowded. Their area attacks punish enemies who stack at doors, bridges, and narrow dungeon turns. The trick is to avoid placing them where melee units can immediately surround them. Put a frontline layer between the Demon group and the approach, then force enemies through a trap or a tight corridor.
Area damage also pairs naturally with Evil abilities. Use your control or displacement tool first, wait until enemies commit to the choke, and then spend the Demon attack. Firing early at a scattered patrol wastes the part of the ability that makes it S-Tier: hitting several targets during the same window.
Why traps belong in the top tier
Traps are not weapons in the inventory sense, but they are absolutely equipment in practical combat terms. A damaging trap beside a slowing or controlling effect creates a damage multiplier because enemies remain inside the danger zone longer. One trap by itself is easy for a hero to endure. A layered corridor can turn the same hero into a manageable cleanup target.
Do not fill every corridor with traps immediately. That spreads your resources thin and makes repairs awkward. Build one deliberate kill lane near the dungeon heart or a critical room, then expand it after your economy can support the cost. Double Trouble rewards concentrated defenses more than decorative coverage.
A-Tier equipment for sustain and control
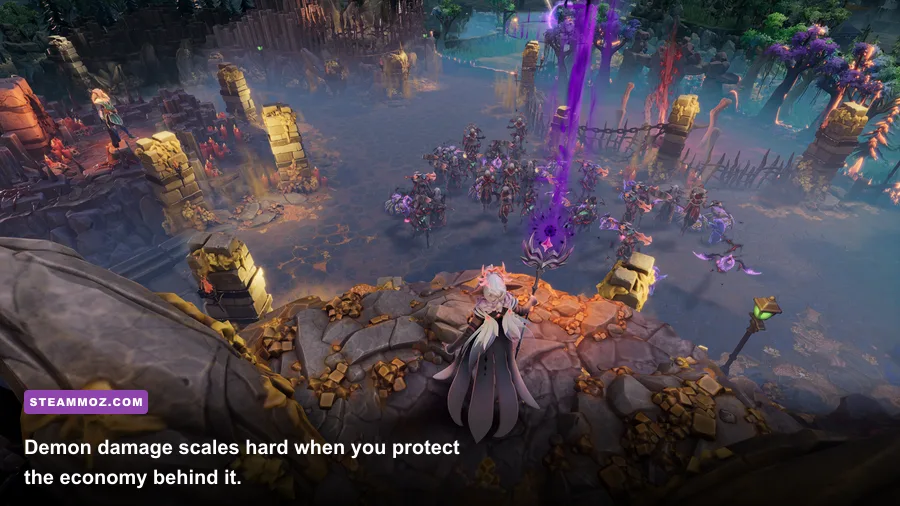
Undead upgrades sit just below the top because their strength appears over time. They are at their best when the enemy must cross several rooms or repeatedly attack a fortified position. Regeneration, revival, and other sustain effects reduce the cost of replacing units, which is enormous in missions where gold, mana, or population capacity is under pressure.
The downside is tempo. An Undead-heavy opening can feel safe while still losing the map because it does not remove threats quickly enough. Use Undead as the anchor of a defensive formation, not as your only answer to a fast offensive push. Horde units hold attention; Undead units absorb the prolonged punishment; Demons provide the kill pressure.
| Role | Recommended priority | Core pairing | Main weakness |
|---|---|---|---|
| Frontline | Horde durability, then damage | Traps and Demon area attacks | Can collapse if unsupported |
| Damage | Demon area abilities, then range | Control effects and narrow corridors | Fragile when reached |
| Attrition | Undead sustain and revival | Defensive rooms and healing access | Slow at ending fights |
| Control | Slows, knockbacks, and trap timing | Any concentrated damage source | Low value in open terrain |
| Economy | Gold, mana, and production capacity | Short safe expansion windows | Leaves you vulnerable if rushed |
Control deserves special attention because it often looks weaker on the upgrade screen. A slow does not produce a satisfying damage number, yet it lets every other source connect more often. In practical terms, a control effect can add several seconds of attack time to a choke. That is usually worth more than a small increase to one unit’s damage.
This is also where hero management enters the ranking. Thalya’s presence can swing a fight, but she is not a replacement for a formation. Keep her behind the first contact point until enemy attention is committed. Send her in to finish damaged targets, pressure a dangerous caster, or exploit a gap. Throwing her into an untouched wave simply converts your strongest flexible tool into a rescue mission.
B-Tier picks and the upgrades that look better than they are
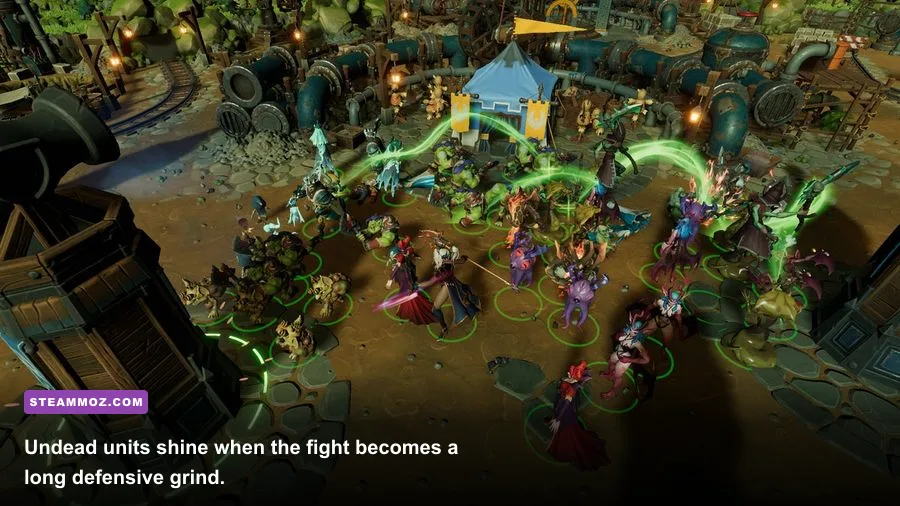
Economy upgrades are essential, but they are often misread as immediate combat equipment. More gold or mana only matters if you survive long enough to spend it. A common Double Trouble mistake is opening with aggressive economic expansion, then discovering that the first hero wave arrives before the army, traps, and rooms are ready.
Use a simple rule: secure one functioning production loop, one defensible route, and a reserve of resources before taking a greedy upgrade. After that, economy becomes an A-Tier investment because it increases every later decision. Before that point, it is a liability disguised as efficiency.
Single-target burst belongs in the same category. It is excellent against a priority target, especially a healer or a high-damage hero, but it does not solve a crowd. Burst should be your second layer, not your entire plan. Let the frontline establish contact, use control to keep the group together, and then direct the burst at the most dangerous unit.
Open-map combat also lowers the value of traps. A trap’s strength comes from predictability: you know where enemies must walk. If the map gives invaders multiple approaches, spend your first resources on mobile units and scouting rather than trying to trap every possible route. Once the genuine attack lane is clear, rebuild around it.
For broader dungeon strategy, the lessons in our Dungeons 3 Overlord tips guide still apply, especially the advice about protecting production rooms and avoiding premature expansion. Players coming from older entries can also compare the pacing with our Dungeons 2 weapon ranking, but remember that Dungeons 4’s equipment language is broader and less loot-focused.
Best Double Trouble builds by mission situation

There is no single best loadout because the campaign constantly changes the value of tempo, sustain, and control. These three templates cover the situations that cause the most trouble.
| Situation | Opening priority | Mid-game setup | Combat rotation |
|---|---|---|---|
| Early hero rush | Horde frontline and one kill lane | Add control, then Demon damage | Block, slow, area attack, finish priority target |
| Long defensive mission | Production and Undead sustain | Layer traps around the heart | Let enemies enter, control the choke, recycle survivors |
| Two-front pressure | Mobile Horde groups and scouting | Split Demon support between routes | Stabilize one lane, rotate hero support to the other |
| Open battlefield | Army capacity and movement access | Prioritize ranged or area damage | Retreat toward prepared ground instead of trading in the open |
The rush-defense build
Start with enough Horde presence to stop the first contact, then build one controlled approach rather than several weak ones. The moment the lane is reliable, add Demon damage. This build wins by compressing the battlefield: every enemy must walk through the same damage window while your frontline prevents direct access to the backline.
The attrition build
Choose this when the map gives you time. Build the economy carefully, invest in Undead sustain, and make the dungeon heart area your final defensive anchor. The combat loop is deliberately unglamorous: allow enemies to spend time on durable units, trigger control effects when they cluster, and preserve your mobile forces for leaks rather than throwing them away in the main fight.
The split-pressure build
Double Trouble’s most dangerous moments are the ones that pull your army in opposite directions. Keep a small response group near the less important route instead of moving your entire force every time an alert appears. A compact reserve buys enough time for the main army to finish its current target. If both fronts become equally serious, retreat toward rooms and traps; fighting in open ground is how a manageable split turns into a wipe.
How to spend upgrades without falling behind
Use this priority order unless the mission objective forces a change: establish resource income, create one reliable defensive lane, secure a Horde frontline, add control, then purchase Demon area damage. After that, choose between Undead sustain and economy according to how often your units are dying. If your army survives but cannot replace losses, choose sustain. If your army is healthy and the map is safe, choose economy.
Watch the battlefield rather than blindly following the tier list. If enemies arrive in a narrow group, area damage jumps in value. If they arrive as scattered fast units, mobile Horde forces and a hero response become more important. If the fight reaches your rooms, stop upgrading and repair the defensive line first. A theoretically stronger weapon is worthless when the production chain behind it is already burning.
Players looking for performance advice should also remember that Dungeons 4 is often CPU-limited during large battles. Lowering shadows and effects can help, but reducing the number of active units, avoiding unnecessary pathing loops, and keeping the camera away from unneeded combat can make the experience feel smoother. Our Dragonkin performance settings guide explains the same practical approach to frame pacing, while the Dungeons 4 DLC secrets guide is useful if you are also clearing optional content.
Final ranking: Horde frontline upgrades and Demon area damage are the closest thing Double Trouble has to S-Tier weapons. Undead sustain, control effects, and layered traps make the best A-Tier equipment package. Economy and single-target burst remain valuable, but only after the dungeon can survive its next attack. Build around those priorities and you will get the power fantasy a weapon tier list promises, without wasting resources searching for an inventory system Dungeons 4 simply does not use.