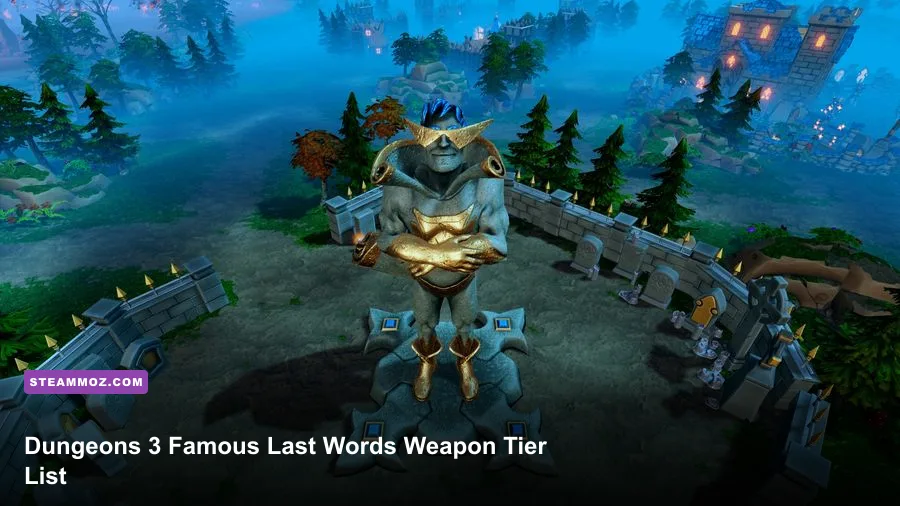
There is one crucial correction before the rankings begin: Dungeons 3 – Famous Last Words has no conventional weapon or loot-equipment system. You won't find swords with attack values, armor drops, or a Diablo-style inventory. The best equipment ranking is really a ranking of the DLC's practical combat tools: creatures, traps, rooms, and Dungeon Lord spells. For most campaigns, Call to Arms, Cannon Trap, the Training Room, and a mixed Horde frontline form the strongest all-round package, while flashy damage options become much better once you can protect them.
That distinction matters because upgrading the wrong thing can wreck your economy. Dungeons 3 is an RTS about production chains, creature roles, research, and map control. Famous Last Words doesn't suddenly turn it into an action RPG. The DLC's scenarios still ask you to dig efficiently, defend a vulnerable dungeon heart, and send a controlled army onto the surface. This tier list ranks the tools that consistently win those exchanges, not imaginary weapon stats the game never displays.
For the DLC's official store listing, check the Famous Last Words page on Steam. If you're returning after a long break, our guide to Dungeons 3: Clash of Gods tips is also useful because the same research and army fundamentals carry across the campaigns.
The real Dungeons 3 equipment tier list
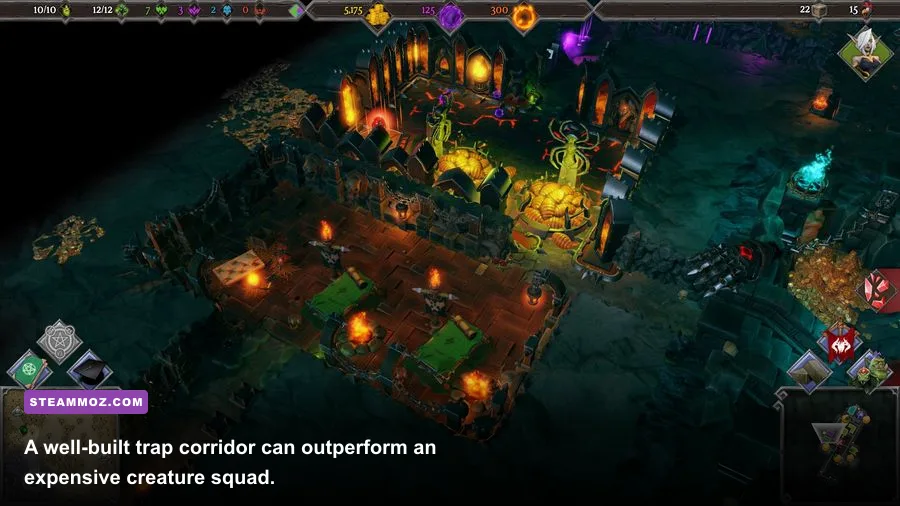
Think of the table below as a priority list for research and construction. It ranks how much each tool changes a typical Famous Last Words mission, factoring in cost, flexibility, survivability, and how early it becomes useful. The exact damage values for many traps and spells aren't presented as clean numerical tooltips, so ranking them by reliable battlefield function is more useful than pretending the game has a hidden RPG spreadsheet.
| Rank | Tool or loadout | Why it ranks here | Best use |
|---|---|---|---|
| S-Tier | Call to Arms | Instantly concentrates your army around a chosen point | Dungeon-heart defense and controlled surface pushes |
| S-Tier | Cannon Trap | Reliable ranged damage that punishes predictable corridors | Chokepoints behind doors and corners |
| S-Tier | Training Room | Turns spare gold and time into permanently stronger creatures | Every sustained campaign |
| S-Tier | Mixed Horde frontline | Orcs absorb punishment while Goblins add cheap pressure | Early and mid-game army growth |
| A-Tier | Lightning Trap | Excellent against clustered attackers and narrow entrances | Hero waves and packed corridors |
| A-Tier | Possession | Steals a dangerous enemy and creates temporary burst damage | Elite heroes and priority targets |
| A-Tier | Guard Room | Provides dependable defenders without constant micromanagement | Protecting gold and mana infrastructure |
| B-Tier | Fear Trap | Great control, but less decisive when enemies arrive in several lanes | Long corridors and retreat routes |
| B-Tier | Pure ranged creature group | High damage potential, but collapses when the frontline breaks | Protected firing positions |
| C-Tier | Unupgraded mixed creatures | Flexible on paper but inefficient without role separation | Only during the opening minutes |
🎮 Dungeons 3 - Famous Last Words
Looking to experience this game? Grab your digital key directly on our store for $2.24.
View on Steammoz Store →S-Tier picks and why they carry missions
Call to Arms is the best combat button
Call to Arms wins the top spot because it solves Dungeons 3's most common tactical mistake: letting individual creatures wander into a fight piecemeal. Place the banner where you want the engagement to happen, then let your army arrive together. That creates a frontline, keeps fragile units behind it, and stops a surface push from turning into a long retreat.
It is especially strong when your dungeon contains two or three entrances. Instead of permanently splitting the army, you can keep the bulk of your force near the heart and redirect it when the warning arrives. Use it after a trap has softened the wave, not before. The goal is to make heroes fight inside your damage zone while your creatures remain stacked around the banner.
Cannon Trap rewards boring dungeon architecture
Cannon Trap is less glamorous than a massive creature, but it delivers repeatable value. Put it around a bend rather than at the first visible tile of a corridor. Enemies should walk into its firing lane before they can attack it. Doors, corners, and one-tile approaches are ideal because they reduce the number of directions an enemy can use to bypass the shot.
Don't build a single isolated cannon and expect it to win a siege. Layer it with a frontline, a second defensive position, and a control effect. A trap buys time; it doesn't replace an army. That simple distinction is why experienced Dungeon Lords get more from a modest trap network than from an oversized early creature roster.
The Training Room is your best long-term investment
The Training Room belongs in S-Tier because creature levels compound over the length of a mission. Training your first durable frontline unit is usually more valuable than rushing an additional damage dealer. Higher-level creatures survive longer, keep enemies away from support units, and return to action with less disruption after a failed push.
Prioritize creatures you expect to use for several waves. Don't spend precious gold training a temporary garrison if the next objective forces you to abandon that area. Famous Last Words rewards a stable core army more than constant recruitment churn.
Horde, demons, and undead ranked by battlefield role

The creature factions aren't weapons in the literal sense, but they are the closest thing Dungeons 3 has to an equipment loadout. Build around jobs rather than collecting every available unit. A frontline, a damage layer, and one control option will outperform a visually impressive army with no formation discipline.
| Faction or creature focus | Tier | Strength | Weakness | Recommended pairing |
|---|---|---|---|---|
| Orcs | S-Tier | Durable frontline pressure and simple deployment | Can struggle against concentrated ranged damage | Goblins, Cannon Trap, Call to Arms |
| Goblins | A-Tier | Cheap numbers and useful early pressure | They need protection when elite enemies arrive | Orcs or Guard Room |
| Nagas | A-Tier | Strong support value when positioned behind a tank | Poor results when exposed at the front | Orcs and narrow corridors |
| Demons | A-Tier | Powerful specialist damage and aggressive pushes | Higher opportunity cost and less forgiving positioning | Call to Arms and control traps |
| Undead | B-Tier | Reliable bodies for stalling and holding territory | Less explosive when you need to break a fortified wave | Traps and a stronger damage backline |
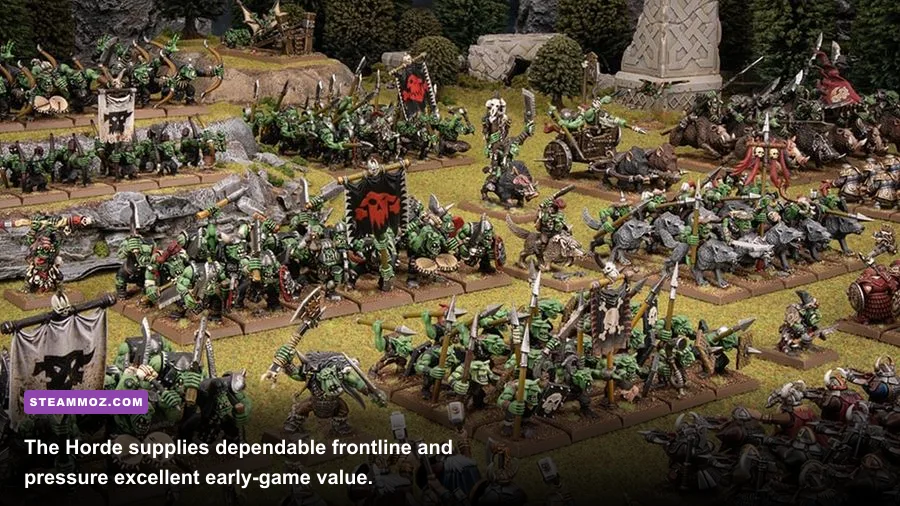
The practical winner is a Horde-centered army with support layered behind it. Orcs buy time, Goblins add bodies, and ranged or specialist units operate safely behind the line. Demons can overtake that setup in a late mission when you have the economy to sustain them, but they aren't automatically better. If the army reaches the enemy before your support is ready, expensive specialists die just as quickly as cheap ones.
A-Tier traps and spells that become S-Tier in the right room
Lightning Trap is the standout secondary defense. It shines when enemy heroes are forced to bunch together, especially near a door or a narrow turn. Use it to create a burst window for your creatures rather than scattering traps across the entire dungeon. A concentrated defense is easier to repair, easier to protect, and much more likely to trigger during a real attack.
Possession is the best answer to a dangerous individual target. Take control of the strongest enemy in the group, turn its damage against nearby allies, and use the confusion to collapse the wave. Save it for an elite or a unit with a disruptive ability. Casting it on the first disposable enemy feels satisfying, but usually wastes the spell's tactical value.
Fear Trap belongs in A or B depending on your map. It is terrific in a long corridor because displaced enemies spend more time walking while your other defenses recharge. It is far less impressive in a broad room where frightened units can simply spread out. Room shape matters more than the label on the research icon.
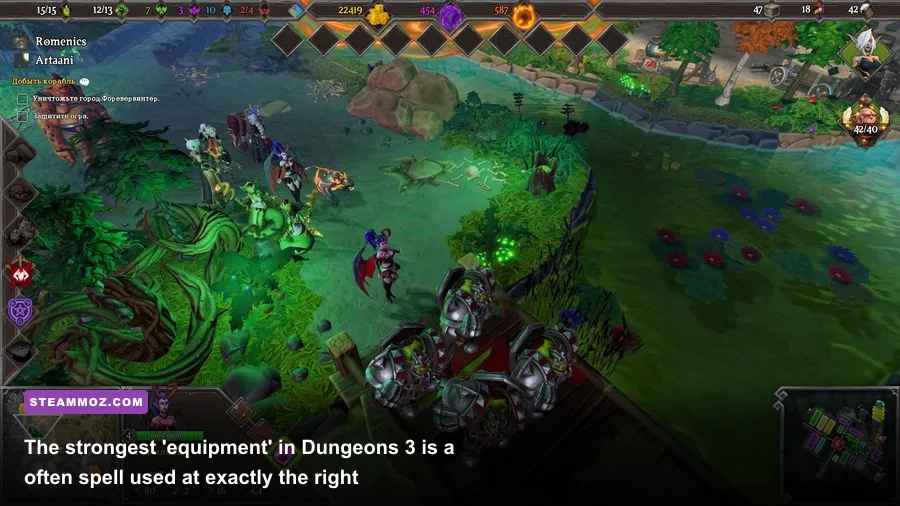
For spell timing, use direct damage only after enemies are committed to a space. Early casting often hits the first target while the rest of the wave walks around it. The strongest sequence is control first, concentration second, damage third: force enemies together, lock the route, then commit your army and Dungeon Lord abilities.
The best Famous Last Words setup from opening to finale
Opening phase
Start with economy and access, not an extravagant weapon room. Mine enough gold to keep construction moving, establish the rooms required by your research path, and recruit a small Horde core. Your first defensive objective is a predictable battle location. A compact corridor near the dungeon heart is better than a huge maze that drains gold and delays your army.
Middle phase
Once the first surface objectives open up, research toward the Training Room and improve your defensive line. Keep Call to Arms available for the next hero warning. Move your army as a group, and don't chase survivors across the map if a second wave is due. Famous Last Words can punish greed with a perfectly timed counterattack while your army is out of position.
Final phase
By the finale, your priority changes from expansion to layered defense. Put Cannon Trap and Lightning Trap where the enemy must pass, keep a Guard Room or durable creatures between the attackers and your infrastructure, and reserve Possession for the most threatening unit. If the dungeon heart is taking damage, stop mining and stop recruiting disposable units until the breach is closed.
| Situation | Best choice | Execution | Common mistake |
|---|---|---|---|
| First hero wave | Horde frontline plus one trap lane | Fight near the prepared corridor | Meeting heroes in open ground |
| Elite enemy arrives | Possession and Call to Arms | Steal the elite, then focus the remaining pack | Using Possession on a weak target |
| Multiple entrances | Central army with Guard Room coverage | Redirect with Call to Arms | Splitting the main army permanently |
| Low gold | Training existing frontline creatures | Buy survivability before new specialists | Recruiting a wide, underleveled roster |
| Dungeon breach | Traps plus concentrated army defense | Abandon optional objectives immediately | Continuing a surface push while the heart is exposed |
If your copy stutters during crowded fights, use our Famous Last Words crashing and low-FPS fixes before judging a build. A stable frame rate makes group selection and banner placement much easier. The same rule applies to any strategy game: clean input is part of the build.
For official background on the series, the Kalypso Media Dungeons 3 page is the safest reference, while the official Dungeons 3 Steam listing covers the base game and available add-ons. If you're moving to the newer entry, our breakdown of Dungeons 4 DLC secrets explains which modern systems are genuinely different.
Final verdict: the best Famous Last Words “equipment” is not a single damage item. Build a trained Horde frontline, funnel attackers through Cannon Trap and Lightning Trap, use Call to Arms to control the engagement, and save Possession for elites. That setup is affordable, flexible, and far more reliable than chasing a weapon system the DLC simply doesn't have.