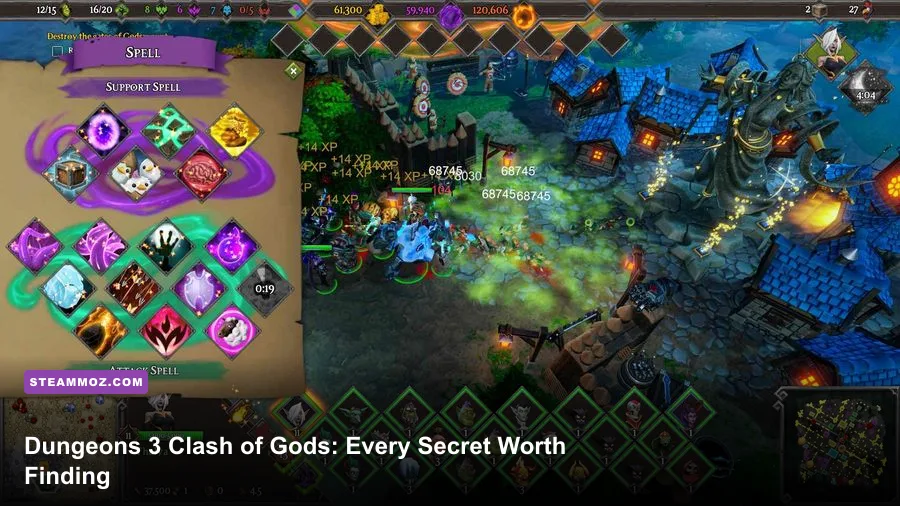
The hidden rewards in Dungeons 3: Clash of Gods are mostly tucked behind destructible scenery, side tunnels, optional hero camps, and corners the campaign camera never needs you to visit. Search those areas before completing each main objective and you'll pick up bonus gold, mana, experience, free creatures, and strategic shortcuts that make the later waves dramatically less painful. This guide follows the fixed campaign maps in order and explains exactly where to look, what unlocks each secret, and which rewards are worth delaying the story for.
There is an important distinction here: Clash of Gods doesn't present secrets as a separate collectible menu. Some are obvious treasure chests, while others are optional encounters or breakable objects that trigger a reward only after your units interact with them. A few rewards can also disappear when you advance the map's next scripted objective. Save before opening a sealed route or crossing a major bridge; that one habit prevents most missed rewards.
If you're coming straight from the main game, the advice in our Dungeons 3 beginner tips guide still applies, especially the recommendation to build a compact, defensible dungeon instead of spreading rooms across the entire underground layer. For the official release details and compatibility information, check the Clash of Gods Steam page.
How Clash of Gods secrets actually work
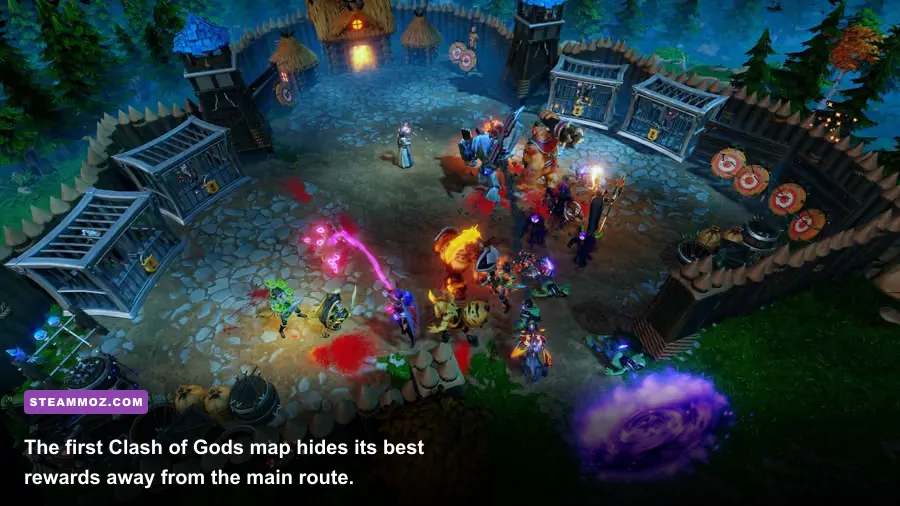
The DLC's maps use a simple visual language. Gold chests usually sit beside a dead-end wall or an isolated bridge. Mana rewards are more often placed near a shrine, a magical prop, or a surface structure surrounded by neutral heroes. Breakable scenery is the sneaky category: crates, graves, barrels, rock piles, and small groups of trees can hide a trigger or reveal a narrow passage.
Use the possession ability on a fast creature when scouting. A possessed Snots is cheap and disposable, but a possessed Bile Demon or Dark Elf is better when the route contains neutral units. Select the whole army, hold position at the nearest safe room, and send one scout ahead. If a secret spawns enemies, your main force can respond without abandoning the dungeon core.
Secrets are easiest to miss for three reasons:
- Fog of war: a reward can sit just outside the route revealed by your first worker party.
- Objective timing: destroying a marked target can open a new wave or close an optional encounter.
- Overenthusiastic digging: workers may remove the visual clue before you remember why the corner looked suspicious.
| Secret type | Visual clue | Typical reward | Best response |
|---|---|---|---|
| Buried chest | Dead-end pocket or isolated platform | Gold, mana, or experience | Reveal the full pocket before advancing |
| Breakable prop | Crates, graves, barrels, rock piles | Small resource bundle or event | Use a single scout to interact safely |
| Optional camp | Neutral heroes away from objective path | Creature, experience, or shortcut | Clear it before triggering the next wave |
| Side tunnel | One-tile gap, unlit corridor, odd wall shape | Permanent route advantage | Dig from the nearest claimed tile |

🎮 Dungeons 3: Clash of Gods
Looking to experience this game? Grab your digital key directly on our store for $4.49.
View on Steammoz Store →Mission one secrets and hidden rewards
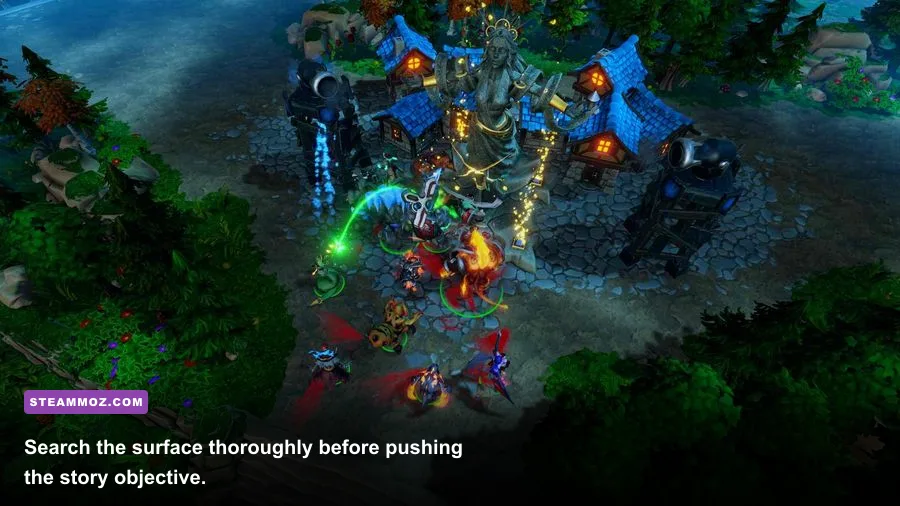
The opening map teaches the campaign's central trick: the safest-looking route is rarely the profitable one. Start by claiming the underground area around your Dungeon Heart, then place a Treasury and Lair before sending workers toward the surface. Don't rush the first marked objective. The initial reward is modest, but the extra gold lets you reach the first creature and trap upgrades before the map's pressure rises.
The western dead end
From the starting dungeon, dig west rather than following the obvious corridor toward the objective. The passage ends at a small pocket with breakable debris. Clear the debris completely, including the two side tiles that look like ordinary rock. The chest inside awards gold and a small amount of mana. It isn't a game-changing haul, but it pays for the first defensive trap and removes the need to sell an early room.
The northern surface camp
Once your Evil Hands reach the surface, keep one group near the starting portal and send another north along the outer edge of the map. The neutral hero camp near the northern boundary is optional and easy to walk past because the main road turns east. Defeat the camp before destroying the first objective structure. The reward is a burst of experience and a follow-up creature grant after the camp's final hero falls.
The camp's danger is not raw damage; it's the stun and focus fire from the hero group. Let your Orcs absorb the first engagement, then drop a healing spell behind them. Don't chase fleeing heroes into unexplored fog. Pull back, regenerate, and finish them where your army can reinforce. If the group includes ranged attackers, send a single durable unit around the side to interrupt them while your main force handles the front line.
The broken bridge pocket
Near the eastern surface route, you'll find a broken bridge and a narrow lower ledge. The campaign marker points across the bridge, but the ledge below is accessible from the southern rock face. Dig through that wall and interact with the isolated object at the end. This is the map's most useful secret because it grants a permanent shortcut between the surface approach and your original dungeon entrance. Claim it before the first large hero wave; otherwise, your army wastes valuable time walking around the long route.
| Location | When to visit | Reward | Risk |
|---|---|---|---|
| Western underground pocket | Before the first marked objective | Gold and mana bundle | Low |
| Northern surface camp | Before destroying the first objective | Experience and creature grant | Medium |
| Broken bridge lower ledge | Before the first major wave | Permanent movement shortcut | Low to medium |
Mission two secrets you should not skip

The second map is where the DLC starts punishing players who only follow the gold objective markers. Its underground layer is wider, its surface routes are more exposed, and several rewards are positioned behind neutral groups that become stronger after the next story trigger. Build first, explore second, and only then push the objective.
The southern treasury cache
After securing the starting underground chamber, dig south until you reach a room-shaped cavity separated from the main route by a thin wall. The cavity contains a chest and a small amount of destructible scenery. The chest pays out more gold than the first map's cache, but the real prize is the mana bundle hidden behind the debris. Use that mana on a healing spell or a creature upgrade rather than immediately unlocking another room. The map's early surface fight is much easier when your frontline can recover between engagements.
The eastern shrine route
On the surface, follow the eastern edge instead of cutting directly toward the central objective. A shrine-like structure sits beyond a group of neutral heroes. Clear the heroes, then interact with the shrine. It produces an experience reward and temporarily reveals nearby fog, exposing a side path and the next hidden cache. The reveal is easy to mistake for a normal scripted effect, but it only occurs after the optional group is defeated.
Use a control-heavy army here. Dark Elves can focus priority targets from the back, while Orcs hold the line. If you've unlocked a Naga, its ranged pressure is excellent against clustered heroes, but protect it from melee dives. The key is to fight on your side of the route, not beside the shrine. Pull the neutral group toward your army, retreat when health drops, heal, and repeat. There is no prize for winning the optional battle quickly.
The collapsed tunnel and free creature
The eastern shrine reveal points toward a collapsed tunnel on the upper side of the map. Dig around the collapse from the underground layer rather than trying to reach it from the surface. At the end is a small holding area with a free creature and a resource bundle. This reward is missable if you trigger the central objective first, because the next scripted assault can occupy the route and make the tunnel look like a combat zone.
Take the free creature immediately, but don't send it alone into the next fight. Put it in the Lair, let it recover, and then assign it to the group that will defend the most exposed entrance. The reward is more valuable as an extra body during the next wave than as a disposable scouting unit.
The western waterline
A final cache sits near the western waterline, behind a line of trees and a short wall that doesn't look diggable from the normal camera angle. Rotate the view and inspect the tiles around the shoreline. Once opened, the cache provides gold and mana. This is the best place to spend surplus gold on traps because the western lane is usually the first route enemies use after the main objective advances.
| Secret | Exact approach | Reward value | Recommended use |
|---|---|---|---|
| Southern treasury cache | Dig south from the starting underground room | High resource bundle | Healing and early upgrades |
| Eastern shrine | Defeat the optional hero group first | Experience plus map reveal | Unlock the side route safely |
| Collapsed tunnel | Reach it from below after the shrine reveal | Free creature and resources | Reinforce the exposed entrance |
| Western waterline cache | Rotate the camera and dig behind trees | Gold and mana | Build traps on the western lane |
Mission three's hidden routes and final rewards
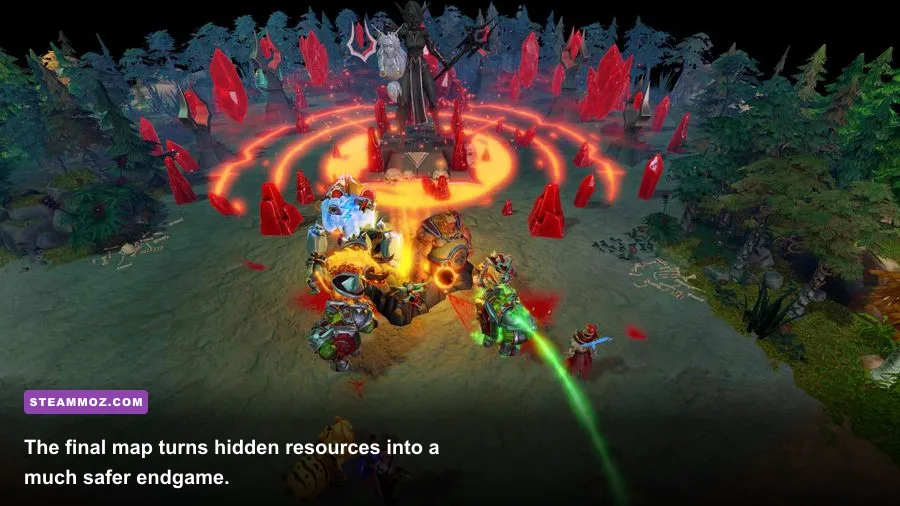
The final map is less generous with safe exploration. Its secrets still matter, but you need to secure the dungeon economy first. Build at least two Treasuries, keep the Dungeon Heart behind a short defended corridor, and leave enough workers available to repair rooms. A secret that costs you the heart isn't a reward.
The starting chamber's false wall
Before moving toward the surface, inspect the wall behind the starting chamber. One section forms a shallow, unnatural recess. Dig through it to uncover a compact room containing gold and a permanent mana supply. This should be your first detour. The resource arrives early enough to fund the room and trap expansion needed for the first assault, and the chamber is close enough that enemy units can't reach it before your defenses are ready.
The northwest hero route
On the surface, the main path bends toward the center. Instead, take the northwest route and look for a hero group guarding a narrow passage. The group is optional, but clearing it opens a flank route around the central defenses and awards a substantial experience payout. This is the campaign's most important tactical secret. The shortcut lets you attack from a second direction, forcing enemy units to split instead of stacking on your first choke point.
Do not trigger the central objective while fighting here. Keep your army on the edge of the route and pull individual heroes where possible. The flank path is valuable only if it remains open, so avoid dropping a room or trap directly on the interaction point. Once the group is defeated, send a single scout through the passage to reveal the route before moving the full army.
The southern wreckage
Near the lower surface boundary, destructible wreckage hides a chest. It contains gold, mana, and a short-lived combat advantage for the next encounter. Open it just before the large scripted fight rather than at the start of the map. The timing matters: the reward is effectively a preparation bundle, and taking it too early leaves the bonus resources sitting unused while your army marches through the map.
The final side tunnel
Before entering the final arena, search the underground wall beside the route leading to the objective. The side tunnel contains the last resource cache and a reinforcement point. Capture it before the final sequence begins. Once the arena encounter starts, enemy pressure can make the tunnel inaccessible, and the reinforcement point is particularly useful if your first army gets caught by area attacks.
| Final-map location | Reward | Why it matters | Missable condition |
|---|---|---|---|
| False wall behind starting chamber | Gold and mana | Funds early defense | Rarely missable, but easy to overlook |
| Northwest hero route | Experience and flank shortcut | Splits the final defense | Can be buried by the next objective phase |
| Southern wreckage | Gold, mana, combat bonus | Prepares the major fight | Best opened immediately before battle |
| Final side tunnel | Resource cache and reinforcement point | Supports the last arena | May become unsafe after the finale starts |
Best build order for collecting every reward
Secret hunting works best when it is folded into your normal economy rather than treated as a separate expedition. Start with a compact room layout: Lair close to the Dungeon Heart, Treasury behind it, and Workshop or training infrastructure near the first likely enemy route. Your first workers should reveal the underground pockets around the starting room before digging a huge central corridor.
On the surface, use one scouting group and one combat group. The scout should expose side routes, identify neutral camps, and retreat the instant a scripted group activates. The combat group stays close enough to respond. This split saves time without gambling the army, particularly on the second and third maps where a neutral camp can be stronger than the first marked objective.
| Phase | Priority | What to avoid | Reason |
|---|---|---|---|
| Opening | Secure Lair, Treasury, and nearby pockets | Long exposed corridors | Protects workers and preserves gold |
| First exploration | Send one scout to side routes | Moving the full army into fog | Prevents surprise ambushes |
| Before objective | Clear optional camps and open caches | Triggering marked structures early | Some rewards become harder to reach |
| Pre-finale | Capture shortcuts and reinforcement points | Spending all mana on minor fights | Keeps emergency healing available |
Common mistakes that lose hidden rewards
The biggest mistake is treating every breakable object as decoration. If a pocket has a suspiciously tidy row of barrels, a lone grave, or a dead-end wall that is one tile thicker than the rest, investigate it. You don't need to destroy every piece of scenery across the map; focus on objects placed away from the normal route.
The second mistake is completing the headline objective before reading the map. Clash of Gods loves to convert a quiet area into an active battlefield. Pause after each major objective, check the minimap, and revisit any newly revealed corner. If you see a route disappear under fog or a neutral group move, reload the previous autosave rather than trying to force the reward later.
Finally, don't spend every reward immediately. Gold is powerful, but the best use of a secret cache is often a timing purchase: a trap before the next wave, a healing upgrade before a hero camp, or a second room that shortens worker travel. The hidden rewards aren't just completionist trophies. They smooth the campaign's progression curve and let you choose when fights happen.
For more dungeon strategy, Steamoz's beginner build guide for Dungeons 2 is still useful for learning the series' economy-first rhythm, while our Dungeons 4 hidden rewards guide covers the same design philosophy in a newer game. You can also compare the official Realmforge Studios game page with the Kalypso Media listing for the DLC's broader campaign context.
Follow the routes above, save before each major objective, and Clash of Gods becomes much less about stumbling into rewards and much more about controlling the campaign's tempo. The first map teaches you to look, the second rewards patience, and the third turns every shortcut into a tactical advantage. That makes the secrets worth finding even after you've already beaten the story once.