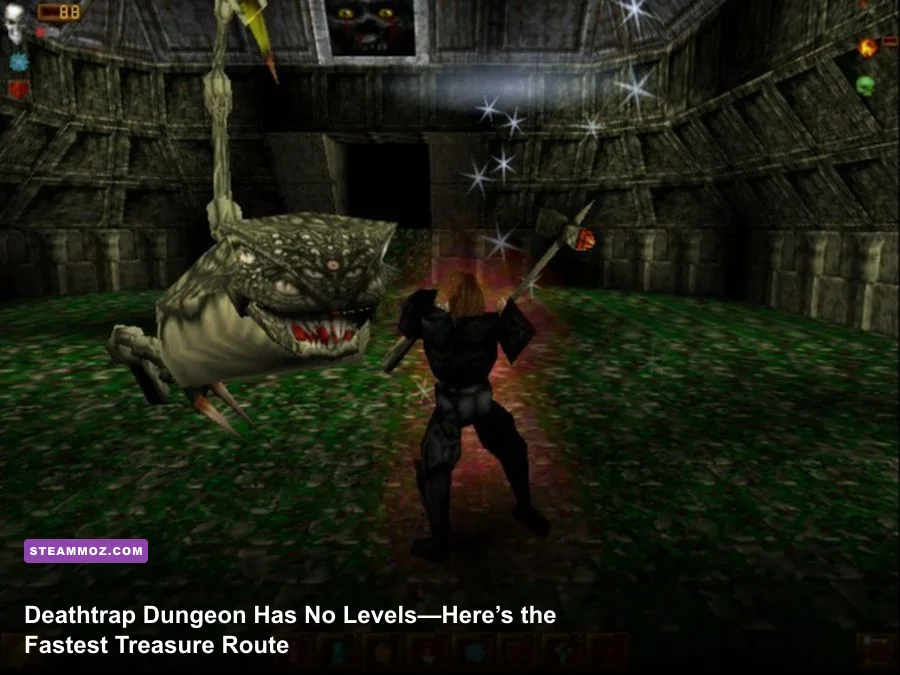
Deathtrap Dungeon has no character levels, XP bar, or spendable gold economy. The fastest way to “level” is therefore to stop grinding and run a clean treasure-and-survival route: choose Raven for her quicker movement, collect every visible treasure pickup, preserve lives, avoid unnecessary fights, and use the safest weapon range available. If you’re farming for a higher score or simply trying to reach Count Thraxx with resources intact, consistency beats repetition.
That distinction matters because plenty of modern search results describe Deathtrap Dungeon as if it were an action RPG. It isn’t. Eidos’ 1998 adaptation of Ian Livingstone’s Fighting Fantasy book is a linear 3D action game built around exploration, platforming, combat, traps, keys, treasure, and limited survivability. There’s no strength stat to raise, no vendor where gold buys better armor, and no experience threshold that unlocks a new skill.
This guide explains the real progression system, the most efficient treasure route philosophy, and the combat habits that make a fast run work on PC, PlayStation, or an emulated copy. For broader dungeon-game context, Steamoz’s Dungeon Siege retrospective is useful—but don’t confuse that game’s RPG structure with Deathtrap Dungeon’s arcade-style design.
Deathtrap Dungeon Fast Leveling Explained
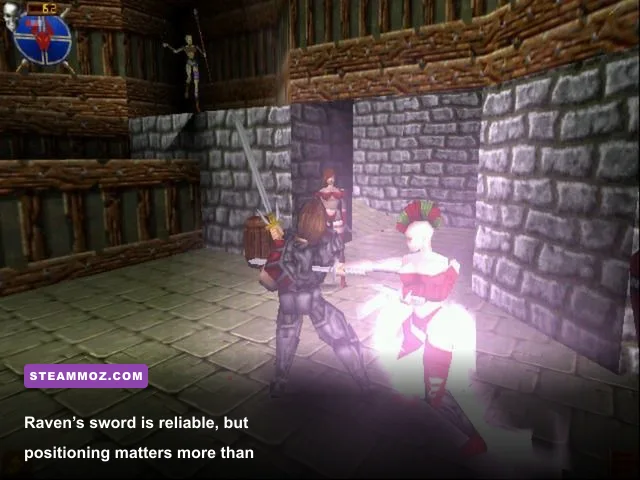
There is no conventional leveling system in Deathtrap Dungeon. The playable characters—Raven and Angus—do not earn XP, allocate attributes, unlock skill trees, or gain permanent combat bonuses after clearing a room. The game’s progression is physical rather than statistical: you advance through the dungeon, locate keys and exits, acquire temporary equipment or pickups, and try to finish with as many lives and points as possible.
Raven is generally the better choice for a fast route because her movement feels more agile and her smaller profile is easier to manage around hazards. Angus is a perfectly usable alternative if you prefer a heavier melee rhythm, but his slower-feeling movement makes missed jumps and trap mistakes more expensive. Neither character creates a hidden XP advantage, so choose based on control comfort rather than imagined class bonuses.
| System | What Deathtrap Dungeon Actually Uses | Best Fast-Run Strategy |
|---|---|---|
| Character levels | None | Improve route knowledge and movement consistency |
| Experience points | None | Do not replay enemies expecting XP gains |
| Gold currency | No normal spendable gold economy | Collect treasure for score and completion value |
| Permanent skills | None | Master attacks, jumps, blocking, and camera control |
| Progression | Stages, keys, pickups, lives, and score | Prioritize safe forward progress over full-clears |
The practical replacement for leveling is route improvement. Your first run should be an information run: learn where the camera hides ledges, which corridors contain pressure plates, and which fights can be bypassed. Your second run should collect treasure while testing shortcuts. Only after that should you chase speed.
Deathtrap Dungeon’s old-school design also means that “killing everything” is often a trap in itself. Enemies can be worth points, but trading health for a small score gain is a poor bargain when the same health is needed for a platforming section or boss encounter. The game rewards a clean finish far more than a reckless hallway massacre.

🎮 Deathtrap Dungeon
Looking to experience this game? Grab your digital key directly on our store for $0.97.
View on Steammoz Store →The Best Treasure and Gold-Farming Route
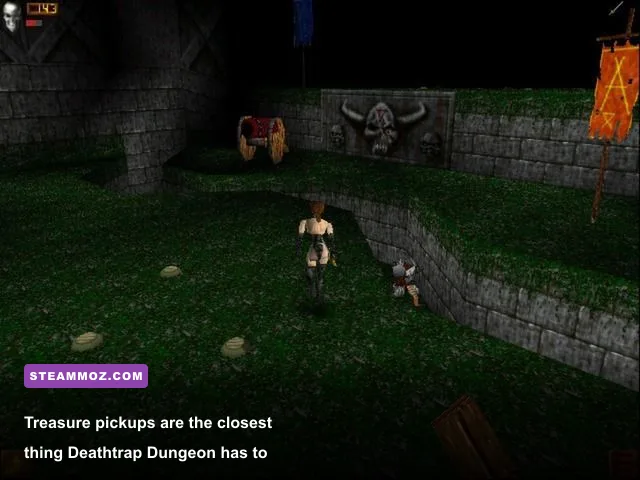
Because there is no bankable gold, the best Deathtrap Dungeon gold-farming method is really a treasure-farming loop. Start from a fresh stage, sweep each room once, collect visible treasure, open accessible chests, and restart only when a mistake costs more health than the route can justify. Repeating a completed section does not create an expanding economy; it simply lets you improve your score, timing, and familiarity.
Use a three-pass method. On pass one, stay alive and identify the critical path. On pass two, grab treasure that sits directly beside that path. On pass three, add detours only if they don’t require a risky jump, a blind drop, or a prolonged fight. This approach is faster than trying to memorize every collectible before you understand the room layout.
Pass one: map the safe line
Keep moving until you understand the stage’s major landmarks. Note locked doors, key locations, elevators, moving platforms, water hazards, spike floors, and corridors where the camera swings late. Don’t burn lives chasing a chest that requires an unfamiliar jump. A route that reaches the next checkpoint or stage exit is more valuable than a technically perfect opening room.
Pass two: collect low-risk treasure
On the next attempt, collect pickups that are visible from the main route or protected by a straightforward enemy encounter. Pause before opening a chest near a ledge. In Deathtrap Dungeon, the chest animation can leave you vulnerable, and older camera angles often hide a second enemy or a moving hazard. Clear the immediate space first, then collect.
Pass three: add profitable detours
Only chase side-room treasure after you know the return path. A good detour takes seconds and ends on stable ground. A bad detour sends you across a narrow platform, into a trap trigger, or through a room that drains more health than the pickup is worth. If you’re playing for score, record the result of each detour rather than trusting assumptions.
| Route Target | Priority | Why It Matters | Reset Rule |
|---|---|---|---|
| Keys and stage exits | S-Tier | They unlock real progression | Never abandon the route for optional loot |
| Visible treasure on safe ground | A-Tier | Improves score with little risk | Collect after nearby enemies are controlled |
| Chests beside traps | B-Tier | Potentially valuable but easy to mistime | Skip if health is already low |
| Deep side-room pickups | C-Tier | Usually costs time and survivability | Attempt only after route mastery |
| Extra enemy kills | Situational | Can add points but consumes health | Bypass when the exit is already open |
For a repeatable farming session, choose the earliest stage or room you can clear without taking damage, then compare score and completion time. Don’t expect a vendor payout or permanent currency; the value is improving your run. That makes Deathtrap Dungeon closer to an arcade score attack than to the loot loop in Empires of the Undergrowth, where resource accumulation directly changes future power.
Combat Builds That Actually Work
There are no builds in the RPG sense, but there are two practical combat styles: the aggressive melee route and the defensive spacing route. Raven suits both, while Angus feels better when you commit to deliberate attacks and avoid frantic corrections.
Raven’s fast-clear style
Use short attack strings, reposition immediately, and never stand in front of an enemy after the final swing. The goal isn’t to maximize theoretical damage; it’s to finish an encounter before another enemy enters the camera frame. Strike, step away, re-center the camera, then re-engage. This rhythm is especially useful against skeletons, goblin-like melee enemies, and creatures that punish button mashing with a counterattack.
Angus’ controlled melee style
Angus works best when you pull enemies into open floor rather than fighting beside stairs, ledges, or traps. His heavier feel can be an advantage in predictable spaces because you’re less likely to overcorrect during an attack. Don’t chase a retreating enemy into an unscouted corridor; the dungeon frequently makes the environment more dangerous than the opponent.
| Combat Situation | Recommended Response | Main Mistake | Best Character |
|---|---|---|---|
| Single melee enemy | Attack once or twice, then sidestep | Holding position for a full combo | Raven or Angus |
| Two enemies in a narrow hall | Back into open space before attacking | Fighting with the camera blocked | Raven |
| Enemy near spikes | Lure it away from the hazard | Rolling backward into the trap | Angus |
| Ranged or airborne threat | Move laterally and attack during recovery | Watching the enemy instead of the floor | Raven |
| Boss arena | Prioritize telegraphs and survival | Trading damage without an escape route | Comfort pick |
Against skeletons and other close-range enemies, the safest attack window is immediately after their swing or lunge has committed. Don’t mash through the animation. Old action games often make recovery frames feel longer than expected, and a missed hit can lock you in place long enough for a second enemy to connect.
When an enemy is positioned near a rolling boulder, flame, spikes, or a drop, treat the hazard as part of the fight. Lure enemies into danger only when the trigger is predictable. Environmental kills are efficient, but improvising beside a one-life mistake is not.
For more dungeon combat comparisons, Steamoz’s Dungeons 3 tips guide covers a much deeper strategy system. Deathtrap Dungeon is simpler, but its timing demands are often harsher because there are fewer ways to repair a bad decision.
Trap Timing, Camera Control, and Performance
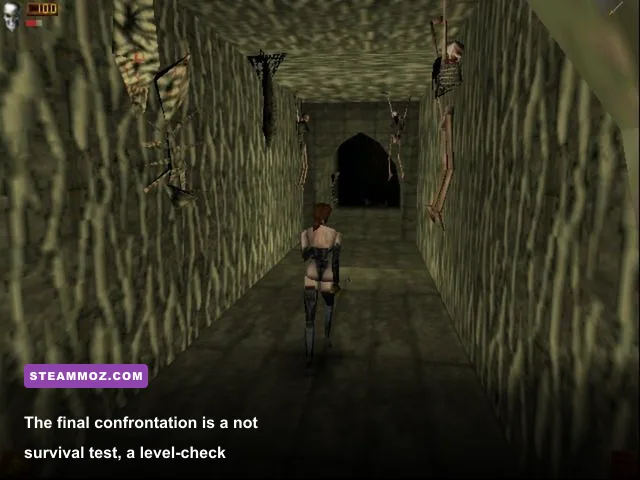
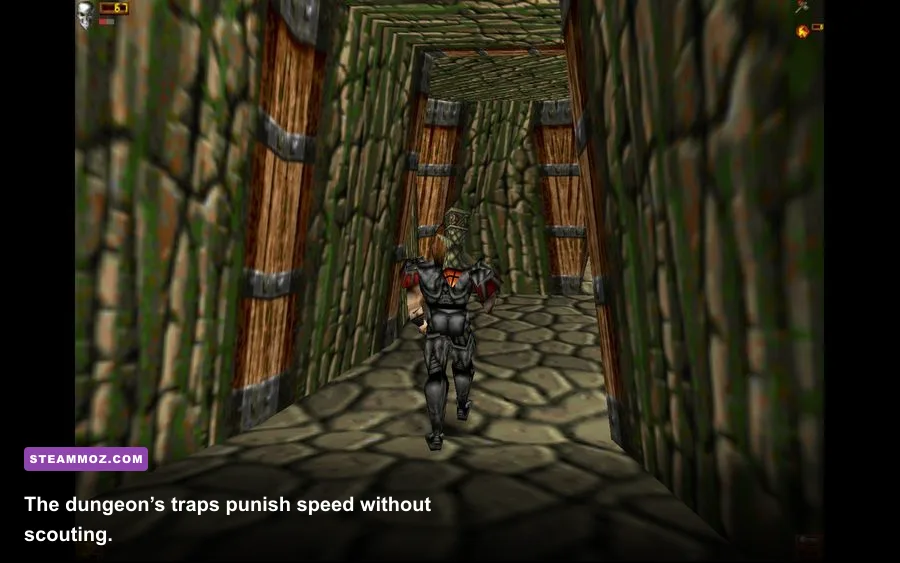
Most failed fast runs don’t die in combat. They die because the player sprints into a trap while the camera is still revealing the room. Slow down at every doorway, platform transition, and ledge. Tap movement rather than holding a direction when approaching a narrow landing. Once the camera settles, identify the next safe surface before committing.
Rolling boulders, spike floors, swinging hazards, collapsing platforms, and pressure-triggered obstacles each demand a different response. For moving hazards, wait for the cycle to start and follow it. For spikes, watch the pattern rather than reacting to the nearest tile. For platforms, aim for the center of the landing area; clipping an edge can send Raven or Angus into a recovery animation that lasts just long enough to miss the next platform.
Modern PC players should also treat frame pacing as part of the strategy. The original game was designed around late-1990s hardware and fixed console timing. Running it through an emulator or compatibility layer at an unstable frame rate can make jumps and camera movement feel inconsistent. A locked 30 frames per second is generally preferable to an uncapped presentation that fluctuates between 30 and 60.
| Setting or Condition | Recommended Value | Gameplay Impact | Why |
|---|---|---|---|
| Frame rate | Stable 30 FPS | Predictable movement | Reduces timing changes in jumps and traps |
| V-Sync | Enabled if tearing appears | Smoother camera pans | Helpful during narrow platform sections |
| Emulator speed | 100 percent | Preserves original timing | Avoids fast-motion trap cycles |
| Resolution scaling | Native or modest 2x | Sharper image, low risk | Extreme scaling can expose visual artifacts |
| Input latency | Lowest stable setting | Better dodge timing | Important when reacting to projectiles |
Don’t use a graphical upgrade as an excuse to remove every visual limitation. Higher resolution can make textures cleaner, but it won’t fix the game’s original camera logic. If an emulator offers widescreen hacks, test them carefully; stretching the view can alter how quickly hazards enter the frame and may make the game feel less readable rather than more modern.
If you’re troubleshooting an old PC release, Steamoz’s PC crash and FPS fixes provide useful general cleanup steps, although Deathtrap Dungeon’s requirements are far lighter than ELEX’s. The key priorities here are stable timing, responsive controls, and a camera that doesn’t fight your route.
Reaching Count Thraxx Without Wasting Lives
The final stretch should be treated as a resource check, not a victory lap. Count Thraxx is the endpoint of the dungeon’s escalating hazards, and reaching him with a nearly empty health reserve turns every mistake into a restart. Enter the final confrontation with the strongest available pickup state, at least one safe escape direction, and a clear idea of when the boss is committed to an attack.
During the encounter, watch the boss rather than the health bar. Large attacks usually have an obvious wind-up, and the correct response is to move out of the danger zone before trying to punish the recovery animation. Stay near the edge of the arena only when you know the boundary is safe; otherwise, keep enough central space to circle around attacks.
| Boss Phase or Threat | Telegraph | Counter Strategy | Priority |
|---|---|---|---|
| Close-range attack | Visible wind-up and forward commitment | Step sideways, then strike recovery | High |
| Area hazard | Danger zone appears before activation | Move to clear ground immediately | Critical |
| Summoned pressure | Additional enemies enter the arena | Create space before attacking | High |
| Recovery window | Boss pauses after a missed attack | Use a short attack string only | Medium |
| Low-health scramble | Reduced room for safe movement | Stop chasing damage and survive | Critical |
The biggest mistake is treating the boss like a damage race. Deathtrap Dungeon has no build-based scaling that lets you out-level the encounter, so patience is your damage multiplier. Attack during recovery, retreat before the next telegraph, and keep the camera centered enough that you can see both the boss and the floor.
For official background, compare the game’s listing through Steam’s Deathtrap Dungeon search, check Square Enix’s official game archive, and browse the official Fighting Fantasy site for the source material behind the dungeon’s deadly design.
So, the honest answer to the Deathtrap Dungeon fast leveling and gold farming question is simple: there is nothing to level and no traditional gold stash to build. Pick Raven for the quickest-feeling route, learn each trap cycle, collect safe treasure, skip low-value fights, lock your frame rate, and preserve lives for the final encounter. Once you approach it as a score-focused action game instead of an RPG, the dungeon becomes far more manageable—and your “farm” becomes a repeatable, efficient treasure run rather than a pointless grind.