
If you’re looking for a Death Stranding Director’s Cut upgrade fast leveling and gold farming method, focus on premium deliveries, ranked orders, road construction, and material-heavy MULE runs. Death Stranding has no traditional gold currency: Likes raise Sam’s Porter Grade, while Chiral Crystals, metals, ceramics, and special alloys pay for the infrastructure that makes every later delivery faster.
That distinction matters because many players waste time searching for a nonexistent gold loop. The real progression engine is a cycle: complete high-condition deliveries, build useful shared structures, recycle excess cargo, and spend materials on roads and roads-related facilities. The Director’s Cut makes that loop much stronger with the Cargo Catapult, Support Skeleton improvements, the Firing Range, ranked content, and the Fragile Circuit.
This guide assumes you’re playing the upgraded PC or console edition, not trying to exploit a save transfer. The official Steam page confirms the Director’s Cut content, while Kojima Productions’ official page remains the best reference for the game’s broader systems.
What Actually Levels Sam in Director’s Cut

Sam’s progression is not tied to killing enemies or collecting a single pile of cash. Every completed delivery generates Likes, and Likes improve five Porter Grade categories: Delivery Time, Cargo Condition, Cargo Volume, Miscellaneous, and Bridge Link. The first four are mostly earned through delivery performance. Bridge Link reflects your interaction with the Social Strand system, including likes exchanged with other players and use of shared structures.
For fast leveling, Delivery Time and Cargo Volume are the easiest categories to target. Premium deliveries award more Likes when you meet their tougher conditions, such as a strict time limit, a minimum cargo condition, or a required volume. Premium mode is selected at a terminal after it becomes available, and the difficulty generally makes it worthwhile only when you have a vehicle, a stable road, and enough container repair spray.
| Progression target | Best activity | Why it works | Main risk |
|---|---|---|---|
| Delivery Time | Premium timed orders | Large Like gains from fast completion | Timefall, BT zones, and bad terrain |
| Cargo Volume | Bulk material deliveries | Truck loads produce strong volume progress | Overloading reduces mobility |
| Cargo Condition | Fragile or long-distance orders | Rewards careful routes and container care | Falls, rain, and combat damage |
| Miscellaneous | Lost cargo, facilities, and unusual orders | Broad category that rises naturally | Slow if deliberately farmed |
| Bridge Link | Shared structures and ranked content | Uses the asynchronous multiplayer system | Depends partly on online activity |
Do not obsess over increasing every category at the same speed. The practical breakpoint is reaching enough Porter Grade to unlock better carrying capacity and equipment options, then using that stronger loadout to complete harder orders. A Speed Skeleton helps with urgent deliveries, while the Power Skeleton is better for heavy material work. The All-Terrain Skeleton is the safest choice for snowy routes around Mountain Knot City.
For a useful comparison with other progression-focused routes, Steamoz’s fast leveling and gold farming guide covers a more conventional economy. Death Stranding is different: your best investment is infrastructure, not hoarded currency.

🎮 Death Stranding Director’s Cut UPGRADE
Looking to experience this game? Grab your digital key directly on our store for $3.99.
View on Steammoz Store →The Best Early Farming Route Through the Central Region
Once you reach the Central Region, build your routine around the Distribution Center South of Lake Knot City, the Engineer, the Elder, the Craftsman, the Distribution Center North of Mountain Knot City, and the Timefall Farmer. These locations create a dense network of standard orders with short return legs and frequent material rewards.
Step 1: Empty the terminals before leaving
Check Orders for Sam, Standard Orders, and any available premium variants. Prioritize deliveries that either start or finish near roads. Do not accept five mountain deliveries just because they offer a large Like number; the terrain can erase that advantage through damaged cargo and slow movement.
Step 2: Use the right vehicle
The Reverse Trike is excellent for quick, light orders and rough ground. The Truck is the farming workhorse once roads are connected. It can carry a huge amount of cargo and materials, but it handles poorly away from stable roads and struggles on steep rocky slopes. Park it before a serious mountain climb rather than risking a rollover with a full load.
Step 3: Chain deliveries instead of returning empty
Take outbound cargo that ends at your next terminal, then accept a return delivery from that location. This sounds obvious, but it’s the difference between a profitable loop and a scenic drive with little progression. Carry Lost Cargo for nearby preppers only when it doesn’t compromise a premium order’s condition requirement.
Step 4: Recycle every unnecessary item
Recycling turns spare weapons, boots, tools, and cargo into useful materials. At a terminal, inspect the cargo menu and recycle damaged or redundant equipment rather than leaving it in a private locker. Keep Hematic Grenades, a Bola Gun, container repair spray, and at least one PCC. The rest should earn its weight.
The cleanest starter loop runs from the Distribution Center South of Lake Knot City to the Engineer and Craftsman, then toward the Timefall Farmer and Mountain Knot City when the road network is ready. Use the hidden rewards route philosophy from another Steamoz guide as a reminder: efficiency comes from linking objectives, not chasing isolated rewards.
Chiral Crystals and the Real Gold Farming Method

Chiral Crystals are the closest thing Death Stranding has to gold. You spend them on fabrication, vehicle repairs, PCC structures, and other conveniences. They appear as golden deposits across the landscape, but the fastest reliable supply comes from defeated BTs, abandoned cargo recovery, and deliveries that reward materials.
To harvest crystals safely, equip the cuffs and look for the hand-shaped crystal deposits scattered around facilities and major routes. You can also use the odradek to identify them in the field. Deposit crystals at a terminal when you’re near the weight limit; carrying too much material makes Sam slower and increases the chance that one fall destroys the run.
BT farming without wasting blood bags
For ordinary BT areas, carry Hematic Grenades and blood bags. A grenade consumes Sam’s blood, while a blood bag lets the grenade pouch recharge without draining your health as aggressively. Throw at a BT’s visible body, then reposition immediately. The golden cloud effect indicates a successful blood hit. Don’t spam throws into fog; wait for the BT to become readable through the odradek pulse and scanner reveal.
Against Catchers, stay mobile and use elevated ground when possible. The Giant BT boss encounter is not a good general farming route because it takes time and can burn through ammunition. Regular BT zones near established roads are better because you can extract quickly, repair cargo, and resume deliveries.
MULE camps for materials, not money
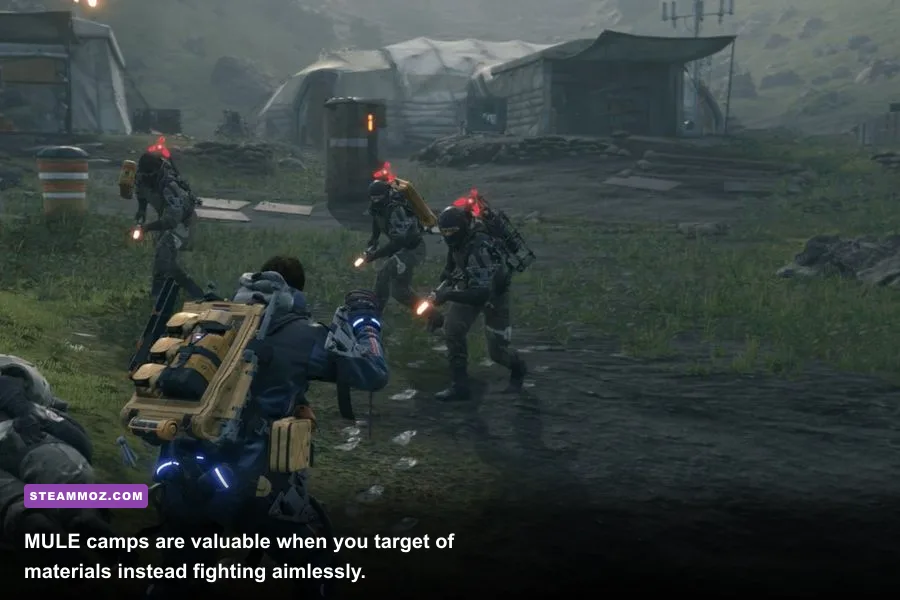
MULEs do not drop gold. Their value is in stolen materials and lost cargo. The Bola Gun is the safest non-lethal option: charge the shot, target the legs or torso, then bind the enemy. A bound MULE can be kicked to prevent an immediate recovery. If a camp escalates, use a truck to remove cargo after the area is quiet, or raid the postbox and terminals for stored materials.
Use lethal weapons only when you’re prepared to deal with the consequences. Killing a human creates a corpse that must be transported to an incinerator, and ignoring it can trigger a dangerous voidout. That turns a supposed farming trip into a long cleanup operation. Non-lethal takedowns are slower per enemy but much faster over a full play session.
| Farm target | Best tool | Reward | Efficient approach |
|---|---|---|---|
| Chiral deposits | Odradek and cuffs | Chiral Crystals | Harvest beside established delivery routes |
| BT territory | Hematic Grenades and blood bags | Crystals and safe passage | Clear short zones near roads |
| MULE camp | Bola Gun and Power Skeleton | Metals, ceramics, cargo | Disable enemies, loot terminals, leave quickly |
| Abandoned cargo | Truck or Floating Carrier | Materials and Likes | Combine recovery with an active order |
Roads Are Your Biggest Experience Multiplier
Road construction does not directly shower Sam with Likes, but it makes every future delivery faster, safer, and heavier. That makes roads the most powerful long-term leveling tool in the Director’s Cut. A completed road lets the Truck carry bulk cargo through areas where a normal hike would require multiple trips, and it sharply reduces damage from falls and rough terrain.
Use terminals and shared lockers to collect metals and ceramics, then deposit them at an Auto-Paver. The exact material requirement varies by road section and upgrade state, so inspect the paver before farming blindly. The first contribution activates the road project; later donations complete it. Other players may contribute through the Chiral Network, but never assume the final segment will finish itself.
For fast materials, raid the nearest MULE post after checking which resource the paver needs. A camp that stores metals is far more valuable when your target road requires metals. Recycle unwanted equipment at a distribution center, then withdraw the material from the shared or private locker closest to the paver. This cuts out several empty journeys.
| Road project need | Best source | Vehicle choice | Priority |
|---|---|---|---|
| Metals | MULE terminals and facility delivery rewards | Truck | Highest for early Central Region links |
| Ceramics | MULE camps and material orders | Truck | High when completing mountain approaches |
| Chiral Crystals | BT zones and open-world deposits | Floating Carrier | Use after basic metal and ceramic supply is stable |
| Time and cargo condition | Completed paved routes | Reverse Trike or Truck | Best long-term Like multiplier |
Don’t build every road segment immediately. Prioritize sections that connect two facilities or bypass a BT valley. A road to nowhere is a poor investment, while a short connection between Lake Knot City and a material source can pay for itself across dozens of orders. This is the same practical mindset behind Steamoz’s performance-focused settings guide: remove the bottleneck that affects everything, not the flashy upgrade that helps once.
Director’s Cut Content That Speeds Up the Grind
The Director’s Cut adds several tools that change the best farming routine. The Cargo Catapult is especially useful for long-distance deliveries. It can launch cargo over difficult terrain, reducing the time spent climbing or navigating around cliffs. It won’t replace a road or vehicle, but it’s excellent for sending fragile packages across a final mountain gap.
The Support Skeleton is another quiet upgrade. Its extra support options make hauling less punishing, particularly when you’re carrying materials alongside order cargo. The Firing Range unlocks training and ranked challenges, while the Fragile Circuit offers repeatable driving tests. These modes are not the top source of normal delivery Likes, but they’re worthwhile when you want a break from the same MULE camp.
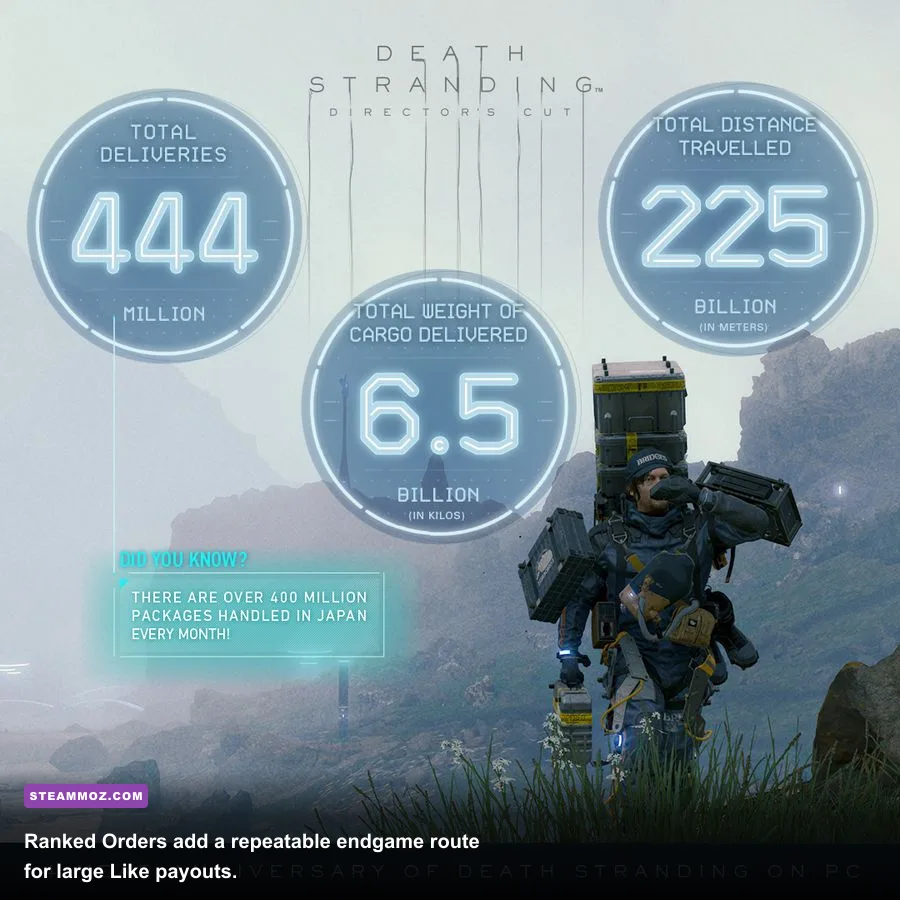
Ranked Orders are the serious endgame farming option. They’re timed challenges built around categories such as delivery speed, cargo condition, and combat performance. Pick the challenge that matches your equipment. A speed order on a completed road network is far more realistic than a precision cargo challenge through a BT zone with damaged containers.
Premium delivery difficulty also matters. If your container condition is likely to collapse below the requirement, standard mode can produce a better hourly result because failure wastes the entire trip. The best farmer is not the player who accepts the highest theoretical reward; it’s the player who finishes consistently.
| Director’s Cut feature | Best use | Farming value | Recommended setup |
|---|---|---|---|
| Cargo Catapult | Skipping cliffs and dangerous gaps | High for fragile deliveries | PCC, repair spray, light cargo |
| Support Skeleton | Heavy hauling and long routes | Medium to high | Power Skeleton for materials |
| Fragile Circuit | Driving practice and side challenges | Situational | Reverse Trike or Truck familiarity |
| Ranked Orders | Repeatable high-performance runs | High at endgame | Upgraded weapons, roads, and vehicles |
| Firing Range | Weapon practice and challenge content | Low for normal leveling | Use to learn aim and enemy timing |
For players comparing upgrade value across games, Steamoz’s PC fixes guide is useful background, but Death Stranding’s Director’s Cut upgrade is more than a texture pass. Its extra systems reduce friction, especially once your network of roads and shared structures is mature.
A Repeatable 30-Minute Farming Rotation
Here’s the rotation I recommend once the Central Region is connected. It’s deliberately boring. Boring is good when you’re farming.
Minutes 0–5: Prepare at a distribution center
Rest if Sam’s stamina is low, repair containers, fabricate a Truck or Reverse Trike, and equip a Power Skeleton for material-heavy work. Take one premium delivery with a destination along your route. Add a Bola Gun, Hematic Grenades, blood bags, container repair spray, and a PCC.
Minutes 5–15: Complete the delivery chain
Drive the paved route and avoid unnecessary combat. If a lost package is directly beside the road, pick it up only when it shares your destination. Keep cargo balanced, use the handbrake before sharp turns, and don’t jump the Truck over terrain just because the game allows it. One spectacular rollover can erase the Likes from an otherwise clean run.
Minutes 15–23: Hit a nearby MULE post
Choose the camp based on your current material shortage. Scan first, use the Bola Gun on isolated enemies, and loot the terminal. Take only what your vehicle can carry without burying the delivery cargo. If the camp’s materials don’t match your next road project, skip it and return to the terminal.
Minutes 23–30: Deposit, recycle, and repeat
Turn in the delivery, recycle damaged equipment, donate metals and ceramics to a nearby paver, and store excess crystals. Check for new premium orders, then repeat the closest profitable loop. Every few cycles, swap the Power Skeleton for the Speed Skeleton and run a timed order to balance Porter Grade categories.
| Rotation stage | Action | Loadout | Success condition |
|---|---|---|---|
| Preparation | Repair, fabricate, select premium order | Truck, Skeleton, PCC | No unnecessary cargo weight |
| Delivery | Follow roads and protect containers | Repair spray | Meet time and condition targets |
| Material run | Raid one relevant MULE camp | Bola Gun | Collect only needed resources |
| Reset | Turn in, recycle, donate, restock | Terminal access | Ready to leave within five minutes |
That loop beats wandering for random gold because every action feeds the next one. Deliveries generate Likes, MULE runs supply roads, roads improve delivery times, and improved times unlock more demanding premium orders. Once you reach the snowy west and have the All-Terrain Skeleton, repeat the same logic around Mountain Knot City and the distribution center north of it.
Common Farming Mistakes to Avoid
The biggest mistake is treating every large payout as worthwhile. A 30-minute premium order that fails because of a BT ambush is worse than a 10-minute standard order completed perfectly. Build a route you can repeat under pressure, then increase difficulty gradually.
Another mistake is hoarding materials in the wrong place. Materials sitting in a remote private locker are not helping the next road segment. Use shared lockers strategically, donate to pavers near your active route, and recycle gear at the closest facility. Remember that cargo and materials have weight; a full truck is only profitable if it reaches the terminal intact.
Don’t kill MULEs casually, either. A lethal weapon may clear a camp faster, but corpse disposal adds a second task and can create a voidout problem. The Bola Gun, Strand counter, and a well-timed kick are the better long-term tools. Stealth also matters: staying outside sensor towers and avoiding unnecessary alarms preserves both time and cargo condition.
Finally, don’t ignore the online layer. Build generators near roads, watchtowers near difficult routes, bridges over rivers, and safe houses where players actually travel. Structures that receive likes improve Bridge Link and can save you hours. If you want more progression-focused reading, Steamoz’s fast leveling route guide makes the same point in a different genre: the best grind is the one that improves your future runs.
So, the short version is simple: there is no literal gold farm in Death Stranding Director’s Cut. Farm Likes through premium delivery chains, farm Chiral Crystals from deposits and BT encounters, farm metals and ceramics from MULE camps, and spend those resources on roads. Once the infrastructure is in place, Sam levels faster almost automatically—and the upgrade’s extra tools make the whole process considerably less painful.
For official patch and platform information, check 505 Games’ Director’s Cut page and the official PlayStation game page.