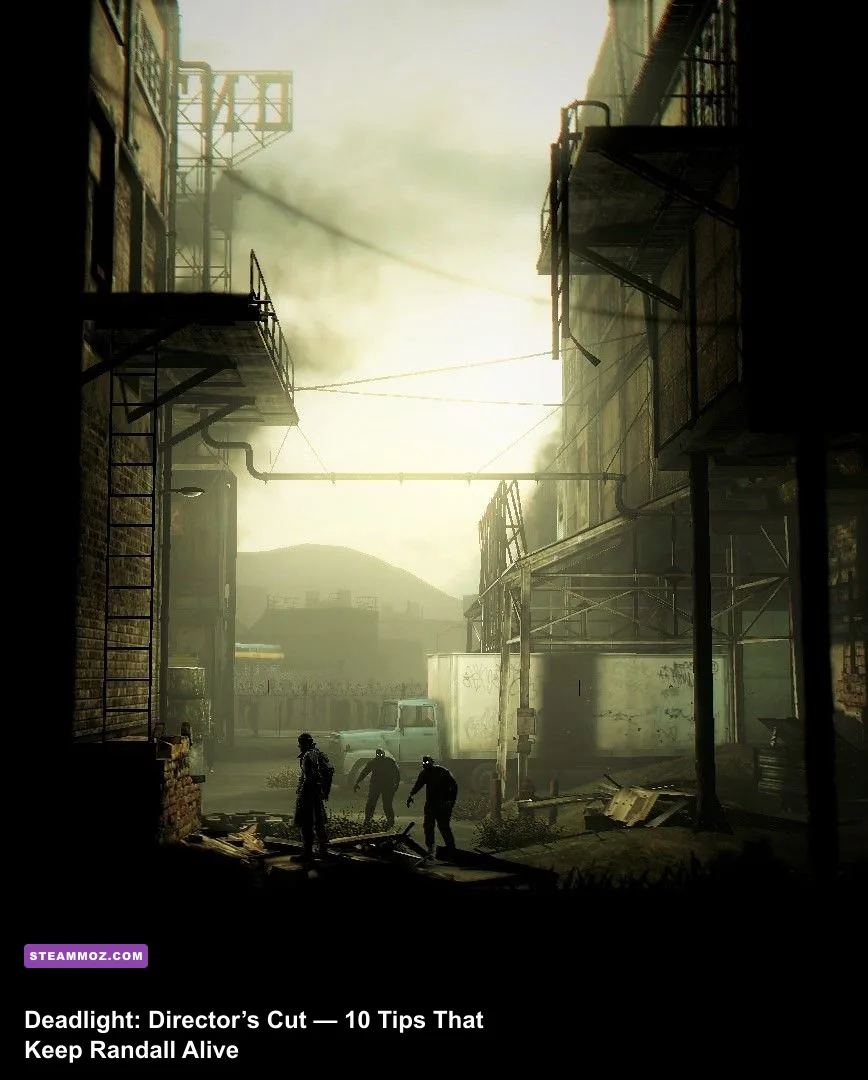
Deadlight: Director’s Cut becomes far easier once you stop treating it like a conventional zombie action game. Save stamina for movement, use the axe only when a kill is unavoidable, bait enemies into hazards, and inspect every alternate route before pushing forward. Randall Wayne is fragile, ammunition is limited, and the game’s best defense is usually a clean escape rather than a perfect fight.
Tequila Works’ side-scrolling survival adventure follows Randall through Seattle in 1986, where the infected Shadows are only one part of the danger. Falling, mistimed jumps, locked routes, explosive traps, and panic-spending stamina can end a run just as quickly. The Director’s Cut keeps the original campaign’s deliberately tense rhythm while adding visual improvements, a Nightmare difficulty option, and Survival Arena content. These ten tips will help new players understand what the game is actually asking them to do.
1. Learn the movement system before chasing kills

Deadlight’s movement is built around momentum, spacing, and commitment. Randall can run, jump, climb, roll, crouch, and perform contextual actions, but none of those actions should be mashed randomly. A running jump carries farther than a standing jump, while a late jump often sends Randall into a wall or directly into a waiting Shadow. Spend the opening sections learning how far a sprinting leap travels and how quickly Randall recovers after landing.
The most important habit is to look for the next safe surface before you move. A ledge, truck roof, ladder, or platform is usually your real destination; the enemy behind you is just the pressure forcing you to get there. If you jump first and decide where to land afterward, Deadlight will punish you with a gap that looked harmless a second earlier.
Use the dodge or roll as a positioning tool, not a panic button. Rolling through a dangerous space can create distance, but rolling blindly toward a drop is a common early death. Crouching also matters in several pursuit sequences because it lowers Randall’s profile and lets him move beneath hazards or through narrow routes. The game’s checkpoint system is generous enough that you should experiment, but repeated deaths in the same gap usually mean you’re taking the wrong approach rather than needing faster reactions.
🎮 Deadlight: Director's Cut
Looking to experience this game? Grab your digital key directly on our store for $1.79.
View on Steammoz Store →2. Treat stamina as your most valuable resource
Randall’s stamina bar controls far more than combat. Sprinting drains it, heavy axe attacks drain it, and exhausted movement leaves you unable to make the escape that the level expects. New players often empty the bar while running from a group, reach a ladder, and discover they no longer have enough energy to survive the climb or the next melee exchange.
Think of stamina in three stages. A full bar is a traversal resource: use it for a long sprint, a committed jump, or a chase sequence. A partly depleted bar is a combat reserve: you can still dodge, shove, or deliver a controlled axe strike. An empty bar is a warning to stop attacking and create space immediately. If there’s safe ground nearby, let the bar refill before opening a door or stepping into an arena.
That rhythm makes the axe much safer. A single heavy swing can stagger or kill a normal infected opponent, but chaining attacks into a crowd is a losing trade. Strike once, watch the result, and reposition. Against a lone enemy, the axe is efficient. Against several bodies in a narrow corridor, it’s often smarter to shove one aside, vault over the group, or use the environment.
| Situation | Best stamina decision | Why it works | Main mistake |
|---|---|---|---|
| Long pursuit | Sprint in short bursts | Preserves energy for the final jump or climb | Holding sprint until the bar is empty |
| One infected enemy | One controlled axe attack | Usually ends the threat without a combo | Following up before checking the stagger |
| Three or more enemies | Push, vault, or retreat | Prevents stamina loss in a crowded melee | Trying to clear the entire group |
| Before a puzzle | Regenerate fully | Leaves room for a sudden escape | Opening a route while exhausted |
For a broader look at surviving games where resource discipline matters, Steamoz’s Dead Rising 3 beginner build guide makes a useful companion read, even though its combat system is much more generous.
3. Know when the axe is worth using

The axe is Randall’s signature weapon and the answer to many close-range threats, but it isn’t a license to fight everything on screen. Its value comes from stopping a dangerous enemy quickly, not from turning each encounter into a brawl. Before swinging, ask one question: does this enemy block the route, or can I simply leave?
Normal Shadows and infected targets can often be handled with a well-timed strike, especially when you have room to retreat. Keep your back away from pits, walls, and locked doors. A successful hit may stagger the enemy, but the animation still commits Randall for long enough to make a second attacker lethal. Fight with an exit behind you.
Firearms change the equation. The pistol and shotgun are emergency tools for targets that cannot be safely approached, fast interruptions, or moments where the level gives you no room to maneuver. Ammunition is deliberately scarce, so don’t fire at a target you can evade. The shotgun is especially valuable at close range when a crowd is about to collapse on Randall, while the pistol is better reserved for precise interruptions or single targets at distance.
Reloading is not something to improvise during a chase. If a checkpoint gives you a quiet room, reload before advancing. The game’s limited inventory and fixed pickups reward players who remember where ammunition was found rather than spending every round as soon as it appears. A firearm can save a difficult sequence, but only if you still have ammunition when the sequence actually demands it.
| Tool | Best use | Do not use it for | Priority |
|---|---|---|---|
| Axe | Single target blocking a narrow route | Large groups in cramped spaces | High when escape is impossible |
| Pistol | Target interruption and controlled ranged damage | Enemies you can simply outrun | Save for scripted pressure |
| Shotgun | Close-range crowd emergency | Low-risk isolated targets | Very high |
| Environment | Fire, drops, traps, and forced hazards | Situations with a clean bypass | Usually the safest option |
4. Use the environment to kill what combat can’t
Deadlight’s levels are obstacle courses disguised as zombie encounters. Look for explosive barrels, hanging objects, fire, gaps, breakable surfaces, and routes that separate enemies from Randall. The intended solution is often environmental because the game wants you to preserve health, stamina, and ammunition for the next problem.
Enemy positioning is predictable enough to exploit. Let a group commit to a doorway or narrow platform, then trigger the hazard once the whole cluster is exposed. Don’t activate it too early: killing the first target may leave the rest alive and force you through the same danger again. When possible, stand just outside an enemy’s reach and make it walk toward the trap.
Hazards can hurt Randall too. Fire, falling debris, and explosive objects don’t recognize which side you’re on. After triggering a trap, wait for the animation and smoke to clear before sprinting through. Many deaths come from surviving the enemy wave and then running straight into the aftermath.
When a route appears blocked, scan vertically. Deadlight frequently hides its answer above the obvious path: a roof edge, a hanging line, a climbable wall, or a platform reached by moving a nearby object. If you’re stuck for more than a minute, stop attacking and inspect the scenery. The solution is usually a physical interaction rather than an undocumented combat trick.
5. Read enemy behavior instead of reacting to noise

The Shadows are threatening because they pressure your decisions, not because every encounter is mechanically complex. Watch their spacing and movement. A lone infected enemy gives you time to attack or pass; a cluster creates a collision problem where one target can pin Randall while another reaches him from behind.
Never backpedal without checking the ground. Deadlight places enemies near broken floors, ledges, and hazards specifically to make panic movement dangerous. Create lateral space whenever possible, then choose whether to fight or vault. If you’re trapped between an enemy and a drop, a shove or firearm interruption is usually safer than trying to squeeze past during an attack animation.
Large threats and set-piece enemies are less about memorizing a health bar and more about recognizing their tell. Wait for the attack to finish, move during recovery, and attack only when the animation leaves the target exposed. Don’t stand in front of a heavy enemy hoping to trade damage. Randall has neither the health nor the healing economy for that approach.
The same principle applies to pursuit scenes. You are not meant to defeat every pursuer. Run toward the next interaction, not away from the enemy in a random direction. If a chase fails repeatedly, identify the exact action that ends it—a ladder, door, jump, or lever—and begin preparing for that action before the enemy reaches you.
6. Make every jump from a deliberate run-up
Platforming is responsible for more early deaths than the undead. A successful jump depends on takeoff position, speed, and the shape of the landing surface. Start from the widest available area, build momentum, and jump as late as is safely possible. Jumping from the edge of a short platform often produces the distance you need, while jumping too early clips the far ledge.
Use the camera and foreground clutter carefully. Deadlight’s layered 2.5D presentation can hide the exact landing point behind scenery, so briefly pause before a leap and identify the surface Randall’s feet need to touch. If a gap looks barely reachable, there may be a movable object, lower route, or alternate approach nearby. The game rarely expects a blind pixel-perfect leap without visual setup.
During a chase, prioritize the next animation. A ladder or door generally matters more than the enemy currently on screen. Move into the interaction range, trigger it immediately, and don’t waste a swing unless the enemy physically prevents the action.
7. Search side paths before crossing checkpoints
Deadlight hides optional discoveries in rooms that look like dead ends. Secret areas, collectible cards, documents, and other memorabilia reward players who climb back, inspect upper ledges, and test suspicious doors. These items are not just decoration: they flesh out Randall’s world and make the ruined Seattle setting feel like a place rather than a sequence of hazard rooms.
The best search rule is simple: if you see a route that requires effort but doesn’t advance the story, investigate it before leaving the screen. Check above signs, behind foreground objects, and around parked vehicles. Some optional paths are easier to reach before you activate a chase or move a puzzle object.
Don’t turn collection hunting into a death spiral. If reaching a collectible costs multiple lives, push forward and return through chapter selection later. Progress, survival, and exploration are separate goals; forcing all three at once can make the campaign feel much harsher than it is.
8. Use checkpoints as practice rooms
Deadlight’s checkpoints are more than safety nets. They let you test a route, learn an enemy pattern, and retry without replaying the entire chapter. When a sequence kills you, change one variable on the next attempt. Try the upper route instead of the lower one, save the shotgun, or wait for the trap to catch more enemies. Repeating the same failed input only burns time.
Checkpoint placement also tells you what the designers consider a single challenge. If a save triggers before a room, restore stamina and ammunition awareness before entering. If it triggers after a set piece, the previous obstacle probably has a fixed solution worth learning rather than brute-forcing.
9. Pick the right difficulty for a first campaign
Normal is the best starting point for learning Deadlight’s movement and puzzle language. Nightmare is designed for players who already understand the campaign’s routes and can execute them with fewer mistakes. Starting on the harder setting can make a missed jump or one wasted bullet feel like a major progress loss, obscuring the game’s clever level design.
Once the campaign clicks, Nightmare becomes a strong second run because it makes resource decisions matter more. Survival Arena is a different test entirely: it focuses on endurance, enemy management, and efficient use of weapons rather than the campaign’s carefully paced exploration. Treat it as combat practice, not as a substitute for learning the story mode.
| Mode | Best for | What it teaches | Recommended approach |
|---|---|---|---|
| Normal | First-time players | Movement, puzzles, and enemy spacing | Explore and learn routes |
| Nightmare | Experienced players | Precision and resource discipline | Memorize before attempting |
| Survival Arena | Combat practice | Stamina, weapons, and crowd control | Use hazards and conserve shots |
For PC players, the official Steam listing has the current edition details, while Tequila Works’ official site provides developer information. If the game stutters or behaves oddly, don’t assume a harder difficulty is the problem; check your display mode, controller configuration, and frame pacing first. Steamoz’s PC stutter troubleshooting guide covers general fixes that can also help older remastered games.
10. Build a repeatable survival routine
The strongest new-player routine is almost boring: scan the room, locate the exit, identify the enemy count, refill stamina, then commit. If a firearm is available, remember it. If the path branches, search the optional route before crossing the obvious checkpoint. If combat starts, attack only the target that prevents escape.
That routine keeps Deadlight’s tension intact without turning every room into a gamble. Randall isn’t a power fantasy hero; he’s a survivor with just enough tools to make one more desperate push. The Director’s Cut rewards patience, clean movement, and environmental awareness far more than aggression.
When you eventually replay the campaign, you’ll notice how many encounters can be solved without spending a bullet or taking a hit. That’s the real trick behind Deadlight: learn the route, preserve your stamina, and make the world kill the Shadows for you.