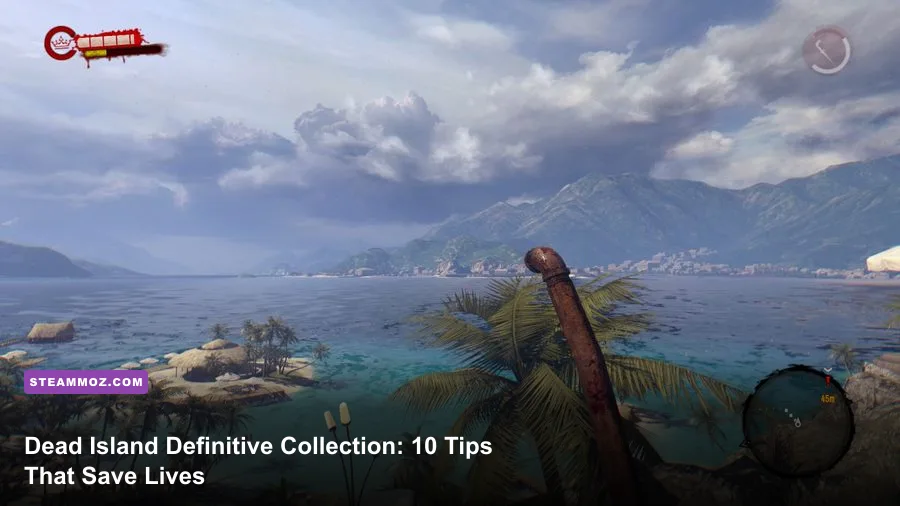
For new players, the smartest way to survive the Dead Island Definitive Collection is to treat every fight as a resource problem: control space with kicks, repair only your best weapons, craft elemental mods early, and spend Fury before a crowd surrounds you. Pick a character that suits your weapon habits, search every side room, and never sprint into an unexplored objective marker without an escape route.
The collection bundles the remastered versions of Dead Island and Dead Island Riptide, including their campaigns, playable survivors, and co-op support. They still play like first-person action RPGs rather than conventional shooters. Your level, skill tree, weapon condition, stamina, enemy positioning, and inventory choices all matter. These 10 tips will help you build momentum without wasting cash, blueprints, or your strongest gear.

🎮 Get Dead Island Definitive Collection
Ready to dive in? Grab your copy today for just $3.99.
Check Offer1. Pick the survivor who fits your combat habits

The four original survivors are not interchangeable. Each has a weapon identity, a Fury ability, and skill-tree bonuses that reward a particular rhythm. Logan Carter is the best all-rounder for players who like throwing knives, machetes, and other weapons from a safe distance. His Boomerang specialty can return thrown weapons, making him unusually efficient when you retrieve or recover good gear.
Sam B is the blunt-weapon bruiser. Hammers, baseball bats, and heavy impacts suit him, and his durability-focused skills let him stay in a brawl longer than the other characters. Xian Mei is the blade specialist, with fast attacks and strong damage potential but less forgiveness when surrounded. Purna is the firearms and support expert. Her skill tree makes guns more practical, and her Fury can turn a dangerous crowd into a shooting gallery.
| Character | Best weapons | Fury ability | Best for |
|---|---|---|---|
| Logan Carter | Thrown weapons, knives, machetes | High-impact weapon throws | Flexible solo players and ranged control |
| Sam B | Blunt weapons, hammers, bats | Powerful close-range strikes | Beginners who prefer durability |
| Xian Mei | Blades, knives, sharp weapons | Rapid blade attacks | Aggressive players who manage spacing |
| Purna Jackson | Pistols, rifles, firearms | Enhanced gun damage and ammunition | Players who like controlled ranged damage |
For a first campaign, Sam B is the safest recommendation because blunt weapons are common and his mistakes are less punishing. Logan is arguably the most versatile once you understand throwing angles. In co-op, a mixed group is stronger than four identical melee characters because Purna can handle ranged targets while Sam B anchors a doorway.
🎮 Dead Island Definitive Collection
Looking to experience this game? Grab your digital key directly on our store for $3.99.
View on Steammoz Store →2. Learn stamina, kicks, and analog combat
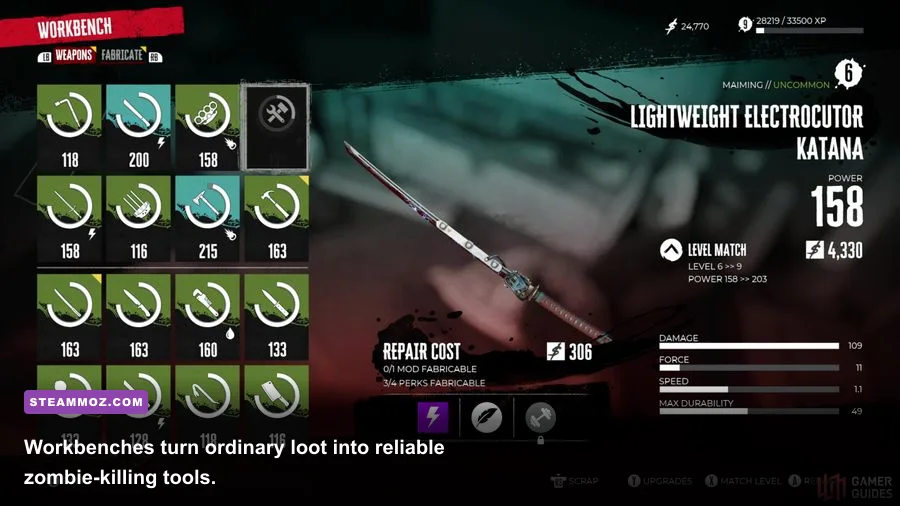
The biggest beginner mistake is treating the attack button like a panic button. Every swing consumes stamina, and an exhausted survivor cannot reliably sprint, kick, or create distance. Start encounters with a kick, not a heavy attack. A kick interrupts basic infected, staggers them, and buys time to line up a follow-up strike. Against a single walker, kick, aim for the head or limbs, then back away while your stamina returns.
Analog combat is worth learning even if you normally use the standard control scheme. Depending on your platform and control settings, analog attacks let you direct the swing rather than simply pressing a button. That precision matters when you want to chop an arm, hit a leg, or avoid wasting a weapon's durability on a body blow. Standard controls are easier at first, but analog attacks give experienced players better limb targeting.
Never stand directly in front of a thug. Thugs telegraph their wide punches with a noticeable wind-up, but their range is deceptive. Circle around them, bait the swing, and strike from the side or rear. Infected are faster and more dangerous in groups; use a kick to separate the front target, then retreat through a doorway. Walkers can be dismembered, but the animation is not instant, so don't stare at the damage numbers while another zombie closes in.
| Enemy type | Danger signal | Reliable response | Common mistake |
|---|---|---|---|
| Walker | Slow approach and raised arms | Kick, head strike, then reposition | Letting several walkers surround you |
| Infected | Screech, crouch, sudden sprint | Keep stamina for a retreat and use doorways | Chasing one into a larger group |
| Thug | Long punch wind-up | Circle behind the swing and attack from the flank | Trading hits face-to-face |
| Floater | Acid spit and close-range bile | Use a firearm or thrown weapon from distance | Trying to melee through the acid |
Kick damage itself is rarely your finishing tool. Its real value is tempo. Think of it as a free reset that keeps the enemy from dictating the fight. If you enjoy precision combat, Steam's official Dead Island Definitive Edition page lists the control features and system information for the remaster.
3. Stop carrying junk and repair strategically
Inventory space fills quickly, especially during the Resort chapter. Don't keep five nearly broken knives because they have slightly different damage values. Carry one primary weapon, one backup, a blunt option for armored targets, and a firearm or throwable for emergencies. Sell low-level duplicates after checking their damage, durability, and special effects.
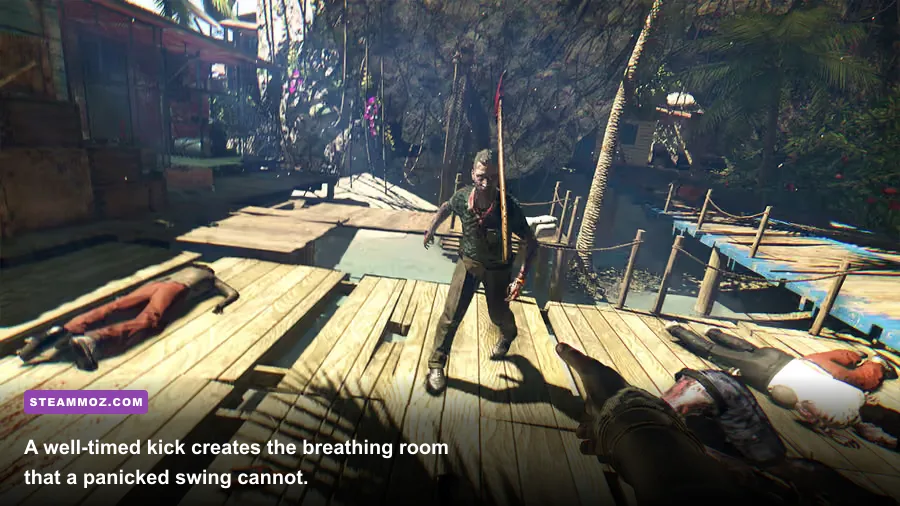
Weapons lose condition with use, and broken weapons become useless until repaired. Repair costs rise with weapon quality and level, so repairing everything is a fast way to burn cash. Prioritize a favorite purple or orange weapon, then keep one dependable common weapon as a backup. A low-level weapon with excellent condition can still be useful early, but replace it when enemies begin taking several hits.
Workbenches are more than decorative stations. They let you repair weapons and apply blueprints, while merchants provide another repair and selling point. Before starting a story mission, make a loop through nearby workbenches, vendors, and fast-travel locations. This prevents the classic mistake of reaching a boss with a damaged weapon and no cash.
| Inventory slot | Recommended role | What to prioritize | When to replace it |
|---|---|---|---|
| Primary | Main damage weapon | High damage, useful elemental effect, good condition | When enemies outscale its damage |
| Backup | Fast emergency weapon | High durability and quick swing speed | When repair costs exceed its value |
| Heavy or blunt | Thugs and armored enemies | Impact damage and stamina-friendly attacks | When a stronger equivalent drops |
| Ranged or throwable | Special enemies and crowd control | Ammo availability and safe distance | When supplies become scarce |
Money is tight in the opening hours, but it becomes less restrictive once you sell surplus loot consistently. Don't hoard every weapon for a hypothetical build. The game showers you with alternatives, and a clean inventory makes the useful drops much easier to spot.
4. Craft elemental weapons as soon as blueprints appear
Weapon crafting is where the collection's RPG systems begin to click. Blueprints unlock modifications such as Shock, Molotov, and Nail'd weapons, and these effects can change an average item into a fight-ending tool. Search quest rewards, merchants, and named locations for blueprints rather than relying only on random drops.
Shock weapons are especially useful against groups near water or tight indoor spaces. A shocked zombie can briefly stun nearby targets, giving you a chance to reposition. Fire weapons apply damage over time and are excellent against slow enemies, but they can be awkward in cramped areas and may ignite hazards around you. Bleed-style modifications are strong against high-health targets because the damage continues while you retreat.
Crafting consumes components, so use a modification on a weapon you expect to keep for several levels. Applying a rare blueprint to a low-damage gray pipe is a poor trade. Look for weapons with solid base damage, good durability, and a level close to your character. Elemental effects don't replace fundamentals: a fire weapon with terrible reach is still dangerous to use against a mob.
Keep an eye on environmental opportunities. Fuel cans, propane tanks, electrical panels, and puddles can save weapon durability. Throw a weapon or activate a hazard before committing to melee. You can also lure infected into a narrow route, trigger the hazard, and finish survivors while they stagger. This approach is slower than charging in, but it pays off during side quests and higher-level areas.
5. Spend skill points with a plan, not evenly
Each survivor has three skill trees built around combat, survival, and a character specialty. Spreading points across every branch makes your character mediocre at everything. Pick a primary tree for the first several levels, then use the other trees to patch weaknesses. Sam B benefits from early combat and durability investment; Logan wants throwing and critical-hit improvements; Xian Mei should amplify blade damage and mobility; Purna gets more value from firearm and support skills.
Don't ignore survival skills entirely. Inventory capacity, stamina, healing, and durability bonuses often produce more practical value than a tiny damage increase. A character who can carry extra medkits and maintain weapons longer will finish more quests with less downtime. The best early skill is the one that improves every encounter, not the flashy upgrade you activate once per mission.
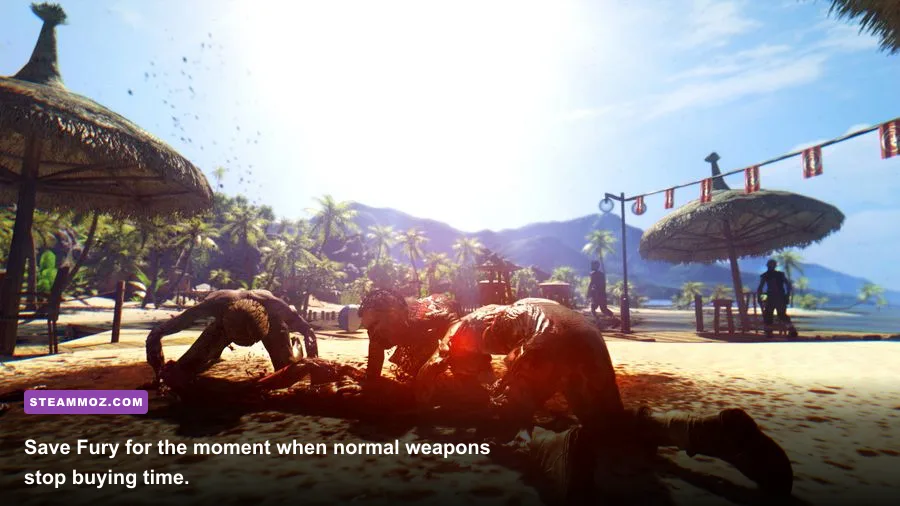
Fury deserves special attention. Its meter builds through combat, and the ability is strongest when used before the fight becomes desperate. Activate it against a dense group, a named thug, or a mission defense sequence. Waiting until you have one hit left usually means the screen is already too chaotic to use it effectively. In co-op, call out Fury activations so teammates can exploit the opening rather than wasting their own meters simultaneously.
| Build direction | Early priority | Combat payoff | Who benefits most |
|---|---|---|---|
| Bruiser | Blunt damage, stamina, toughness | Reliable stagger chains and safer close combat | Sam B |
| Blade attacker | Sharp damage, speed, critical effects | Fast kills before groups close in | Xian Mei |
| Thrower | Thrown damage, retrieval, critical bonuses | Ranged pressure without spending ammunition | Logan |
| Gunslinger | Firearm damage, ammo efficiency, support | Strong answers to special infected | Purna |
For more build-focused RPG habits, Steamoz's beginner build guide for Clair Obscur: Expedition 33 covers the same useful principle: specialize early, then fill gaps instead of scattering upgrades randomly.
6. Explore side quests before rushing the story
Side quests are not filler in Dead Island. They provide experience, cash, blueprints, named weapons, and access to characters who unlock useful services. Completing them also raises your level naturally, which keeps the next story zone from feeling like a wall of bullet sponges. The Resort's lifeguard station, the church, the lighthouse, and Moresby all reward players who search beyond the yellow objective marker.
Use your minimap and listen for survivors calling for help. Locked doors often conceal quest routes, weapon boxes, or crafting materials. Search balconies, roofs, bathrooms, garages, and the backs of trucks. The collection's best gear is frequently placed just outside the obvious path, and many quest areas become more dangerous after objectives change.
Fast travel is another reason to complete optional content. Once stations and safe locations are available, you can move between areas, sell loot, repair weapons, and restock without crossing the entire map. In Riptide, Palanai adds more flooded routes and defense sequences, so establishing travel and supply habits becomes even more valuable.
7. Treat firearms and ammo as specialist tools
Guns are powerful but expensive to use early. Ammunition is limited, reloads interrupt your rhythm, and a missed shot gives you no value. Save pistols and rifles for Thugs, Floaters, distant targets, and moments when melee would force you into environmental hazards. Purna can justify a more firearm-heavy loadout, while other characters should usually treat guns as emergency equipment.
Headshots are valuable, but don't stand still chasing perfect accuracy. A body shot that staggers a special infected is often better than waiting for a clean head angle while it charges. Loot every firearm-related container and check merchants after major story transitions. Weapon levels and availability improve as the campaign advances, so don't waste all your cash trying to preserve an early pistol.
8. Use the environment instead of fighting fair
The island is packed with improvised weapons. Kick enemies into fire, lure them toward electrical hazards, throw propane tanks before shooting them, and use vehicles as temporary barriers. Environmental kills conserve durability and work particularly well when a quest spawns several infected at once.
Learn the difference between a useful escape route and a dead end. Before interacting with a quest object, glance behind you and identify a doorway, staircase, or open road. During defense missions, place yourself near a route that lets you rotate around the objective. Standing in the middle of a courtyard feels heroic for about five seconds, then every approach becomes a blind spot.
9. Prepare differently for bosses and defense missions
Named enemies are usually tests of positioning rather than damage output. A Thug's punch can stun-lock you if you keep trading blows, while a Floater punishes careless melee with acid. Enter these encounters with full health, a repaired primary weapon, several medkits, and a charged Fury meter. If the game gives you a nearby workbench, use it before triggering the objective.
Defense missions in both campaigns are easier when you control the spawn lanes. Don't chase every zombie into the distance. Stay close enough to protect the objective, use chokepoints, and prioritize Infected because their speed lets them bypass your frontline. In Riptide, the fortress-defense structure makes traps, firearms, and team positioning especially important. Repair, reload, and restock between waves rather than waiting until the final attack.
10. Tune the Definitive Collection for smooth performance
The remasters generally run well on modern hardware, but smooth frame pacing matters more than chasing maximum texture quality. On PC, start with 1080p, enable V-Sync if you see tearing, and cap the frame rate to a stable value your system can hold. A locked 60 fps feels much better during crowd fights than a fluctuating 90-to-45 fps presentation.
| Setting | Recommended starting value | Performance impact | Visual trade-off |
|---|---|---|---|
| Resolution | Native 1080p or 1440p | High at higher resolutions | Lower resolution is softer |
| Texture quality | High if VRAM allows | Moderate VRAM use | Lower settings reduce surface detail |
| Shadow quality | Medium to High | Moderate to high GPU load | Lower settings make lighting flatter |
| Anti-aliasing | Highest stable option | Moderate GPU impact | Lower values produce jagged edges |
| Frame-rate cap | Stable 60 fps target | Can reduce spikes | Higher caps feel smoother only if sustained |
On older PCs, reduce shadows before textures, then lower anti-aliasing if needed. Close overlays and update your graphics driver if the game stutters unexpectedly. Steamoz's PC fixes for the F.E.A.R. Collection explain the same sensible troubleshooting order: check drivers, overlays, frame caps, and configuration files before blaming the game.
For the official reference point, check the Dead Island Definitive Edition Steam listing and the Dead Island Riptide Definitive Edition page. Techland's official website is also worth checking for developer news and support links.
Finally, don't underestimate co-op. Reviving a teammate, sharing ammunition, and staggering a special infected together can turn a messy fight into a controlled execution. The collection is at its best when four survivors create overlapping strengths: one player draws attention, another lands precision damage, a third handles ranged threats, and the fourth keeps the group moving. Explore, repair selectively, and fight on your terms. Banoi and Palanai are much less frightening once every encounter starts with a plan.
If you're looking for more games where exploration pays off, Steamoz's guides to hidden rewards in Fated Souls and secret locations in Ghostrunner: Project_Hel are good follow-ups. The lesson carries over perfectly: the obvious route gets you through, but the curious route usually gets you stronger.