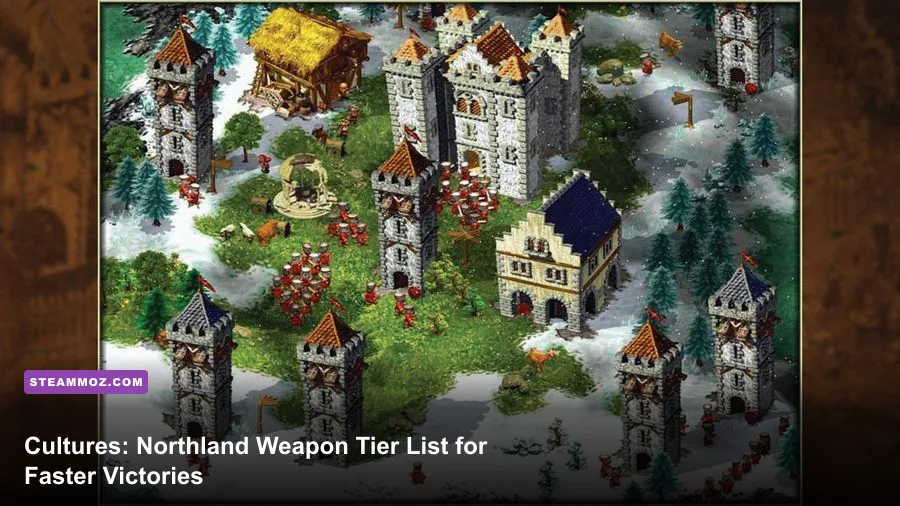
The best Cultures: Northland equipment setup is a mixed army: swords for the main line, axes for concentrated melee damage, bows for protected backline pressure, and shields or armor for whichever fighters are absorbing the most attention. There is no modern spreadsheet-style damage panel in Northland, so the tier list below ranks weapon families by battlefield performance, production cost, safety, and how consistently they perform across the campaign rather than pretending the game exposes hidden attack numbers.
That distinction matters. Cultures: Northland is an older real-time strategy game built around settlement logistics as much as combat. A weapon is only “best” when your village can produce it without starving construction, food, tools, or worker upgrades. A high-quality axe in the hands of a poorly supported army is less useful than a basic sword line that reaches the fight on time.
This ranking assumes standard campaign play, normal resource pressure, and units controlled manually rather than left to wander into enemy camps. If you are returning to the game through the Steam version of Cultures: Northland, these priorities will help you avoid one of the campaign’s most common traps: overproducing weapons before your settlement can replace casualties.
The Northland weapon tier list at a glance

| Tier | Equipment or weapon | Best role | Main weakness |
|---|---|---|---|
| S-Tier | Sword and shield | General frontline, escorts, holding chokepoints | Lower burst damage than dedicated axe fighters |
| S-Tier | Bow | Focus fire, camp defense, weakening melee groups | Needs distance and frontline protection |
| A-Tier | Axe | Breaking isolated targets and winning committed melee fights | Less forgiving when surrounded or caught moving |
| A-Tier | Upgraded armor | Protecting heroes and first-contact warriors | Consumes production time and slows army expansion |
| B-Tier | Basic melee weapon without shield | Early defense and emergency recruitment | High casualty risk against organized enemies |
| B-Tier | Mixed low-quality equipment | Temporary garrison or scouting force | Inconsistent performance and difficult control |
S-Tier does not mean “equip every unit with this immediately.” Sword-and-shield troops rank first because they solve the widest range of problems. They can guard a weaponsmith, screen archers, pin an enemy group, or hold a narrow entrance while workers finish a critical building. The bow also reaches S-Tier because ranged damage is disproportionately valuable when you control focus fire instead of allowing every unit to choose its own target.
Axes sit just below that universal level. They are excellent when you already have a stable frontline, but an axe-heavy army can collapse quickly if the first contact happens in open ground and the enemy surrounds your damage dealers. Basic weapons remain useful during the opening phase, yet they should be treated as a bridge to a proper equipment economy, not as a final army composition.

🎮 Cultures: Northland
Looking to experience this game? Grab your digital key directly on our store for $0.54.
View on Steammoz Store →Why swords and shields are Northland’s safest investment
S-Tier: sword-and-shield frontline
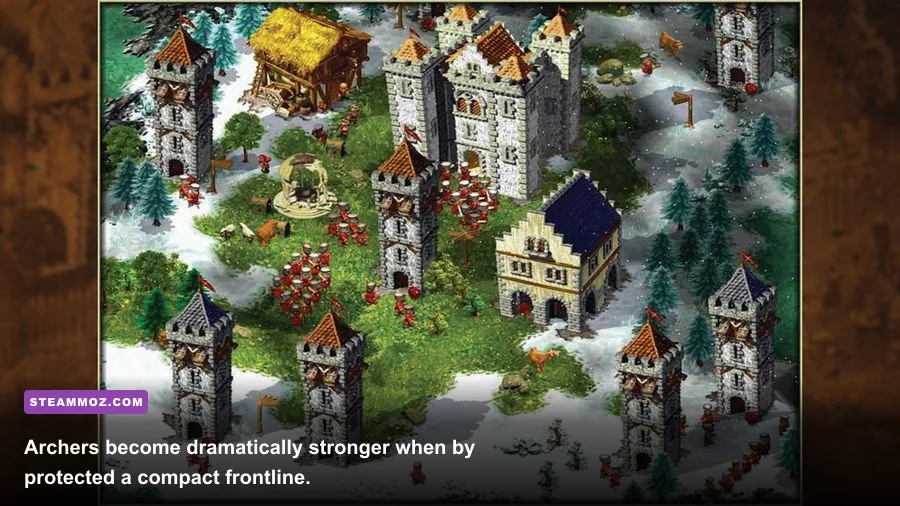
The sword fighter is Northland’s most dependable combat appointment because the unit does not need a perfect engagement to contribute. Put these troops in front, keep them grouped, and they create the time your archers, heroes, and workers need. Their value is especially obvious during enemy raids, where a fragile damage build can lose a fight before you have time to react.
Use a two-line formation whenever the terrain allows it. The first line should take contact, while the second line stays close enough to replace units that fall but far enough back that the entire group does not get surrounded at once. This is more reliable than sending every fighter forward in one large blob, particularly near trees, buildings, or narrow settlement entrances.
The shield is not just a defensive luxury. It changes how aggressively you can use the unit. A shielded swordsman can stand on a resource route, block access to a healer or archer, and buy seconds during a retreat. Those seconds are often worth more than the additional damage you would gain by giving every fighter a heavier weapon.
| Frontline situation | Recommended equipment | Command priority | Why it works |
|---|---|---|---|
| Enemy rush near your settlement | Sword and shield | Hold position beside production buildings | Protects workers and prevents a fast breakthrough |
| Enemy camp approach | Sword and shield plus bows | Let infantry make first contact | Creates safe firing time for ranged units |
| Open-field chase | Sword and shield with a small axe group | Do not outrun the main body | Stable line prevents isolated losses |
| Chokepoint defense | Best available armor and shields | Rotate damaged units backward | Turns narrow terrain into a casualty advantage |
Do not chase fleeing enemies with your entire sword line. Northland punishes stretched formations: the lead units reach the target first, the rear units path around obstacles, and the army arrives in fragments. Select the enemy group, move a short distance, then stop and let the formation close before issuing the next order.
This is the same kind of patience that makes defensive strategy work in other classic PC games. Our Dungeon Siege review looks at a similarly old-school combat rhythm, while the Desperados III strategy breakdown covers why positioning often beats raw damage.
Bow versus axe: the real damage decision
S-Tier: bow units behind a screen
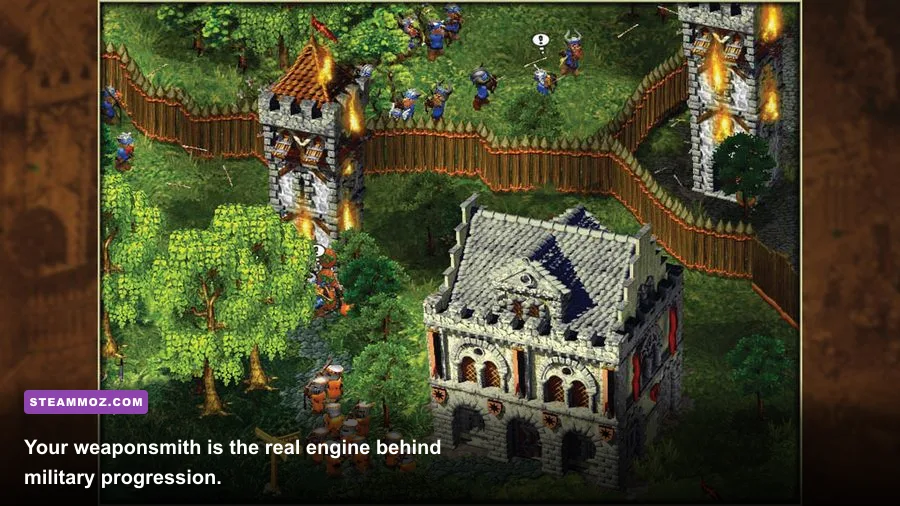
Bow users are the best answer when you can control distance. Their job is not to wander around looking for individual targets. Their job is to concentrate fire on one enemy at a time while sword fighters prevent the opposing force from reaching them. Select the entire ranged group, click one target, and immediately reposition if the frontline shifts.
Focus fire is where bows move from merely useful to excellent. Six archers shooting six different enemies produce scattered pressure. Six archers shooting the same target remove that unit quickly, reducing the number of attacks coming back at your line. Start with enemy ranged units, healers, or whichever melee fighter has already committed to a damaged frontline warrior.
Keep archers behind the second row, not directly behind the first. If they stand on the same tile cluster, a single enemy movement order can crash through both groups. A short gap also makes retreat commands cleaner. When the frontline gives ground, move archers first, then pull the swords back through them rather than turning the whole army around simultaneously.
A-Tier: axe fighters for decisive melee
Axe units are the payoff for good positioning. They are at their best when the enemy is pinned by swords, trapped against terrain, or already damaged by bows. Send them into the side or rear of a committed enemy group, then withdraw them before they become the new focus of every hostile unit.
An axe-heavy opening looks attractive because it promises faster kills, but it creates a brittle army. Axes do not replace the control that shields provide. If the opponent reaches your archers first, the extra melee damage will not save the formation. Build a core of swords, then add axes once your settlement has enough food, workers, and production capacity to support a second combat role.
| Weapon | Damage profile | Control requirement | Best target |
|---|---|---|---|
| Bow | Safe repeated damage from range | High; requires target selection and spacing | Ranged units, healers, exposed melee fighters |
| Sword | Reliable sustained frontline pressure | Low to medium | Any enemy trying to reach your backline |
| Axe | Strong committed melee pressure | Medium to high | Pinned, isolated, or already weakened targets |
| Unshielded weapon | Emergency damage only | High because losses come quickly | Early defense before proper equipment arrives |
The simple rule is brutal and effective: bows choose the target, swords choose the location, and axes choose the moment. If one of those jobs is missing, the army usually performs worse than its equipment list suggests.
Armor ranking and the equipment progression curve
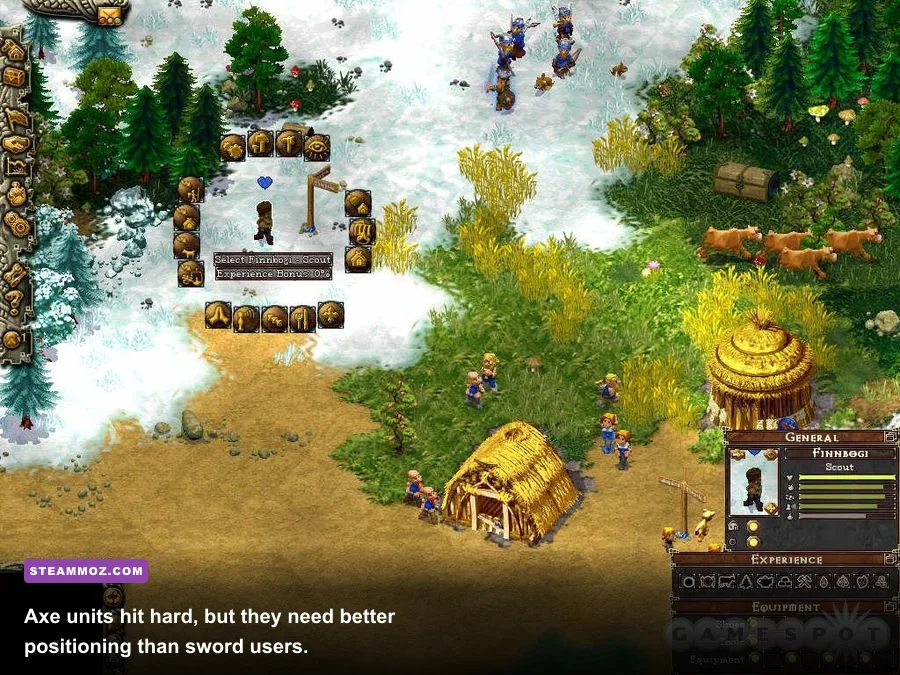
Armor deserves its own ranking because it affects every fight, not just the units carrying the most expensive weapon. The first armor upgrades should go to the troops that make contact earliest. That usually means the front rank, a durable hero, or a small group assigned to guard vulnerable workers.
S-Tier: best armor on the first-contact line
Upgraded armor is S-Tier when it keeps a unit alive long enough for a second wave of attacks. A surviving frontline fighter continues blocking movement, protecting archers, and maintaining formation. A dead fighter contributes nothing, even if the weapon they carried was technically stronger.
Do not spread your best armor evenly across every unit. Concentrating protection on the front rank produces a more stable engagement than giving mediocre protection to the entire army. Once the first line is equipped, improve the second line and then your most exposed ranged units. Archers should not be armored as if they are frontline infantry, but they still need protection if the map forces close fighting.
A-Tier: balanced upgrades for a mixed army
A balanced equipment curve is usually better than rushing the highest available item. Northland’s production chain asks you to keep multiple systems moving: food, tools, construction, housing, and military goods. If your weaponsmith consumes all available labor while your settlement falls behind, the army upgrade is a false victory.
| Campaign phase | Equipment priority | Army target | Production warning |
|---|---|---|---|
| Opening defense | Basic swords, shields, a few bows | Enough units to protect workers and buildings | Do not pause food and tool production for weapons |
| First expansion | Improve frontline armor, then add axes | Stable mixed force with a clear tank line | Keep a reserve of workers for construction |
| Enemy camp phase | Best available swords, bows, and selective armor | Focused army capable of retreating intact | Replace casualties before launching the next attack |
| Late campaign pressure | Upgrade the units that see the most combat | Veteran core supported by fresh replacements | Do not sacrifice the settlement economy for one push |
Think of the weaponsmith as part of a loop, not a standalone building. More weapons create more combat power, but only if your population can carry the work. If construction stalls because every skilled worker is assigned to military production, your army may win one battle and lose the campaign’s momentum.
That economy-first mindset also applies to games without traditional leveling. See our guide to progressing efficiently without leveling systems and the resource-focused Din’s Curse town survival tips for useful parallels.
Best equipment by mission type and enemy behavior
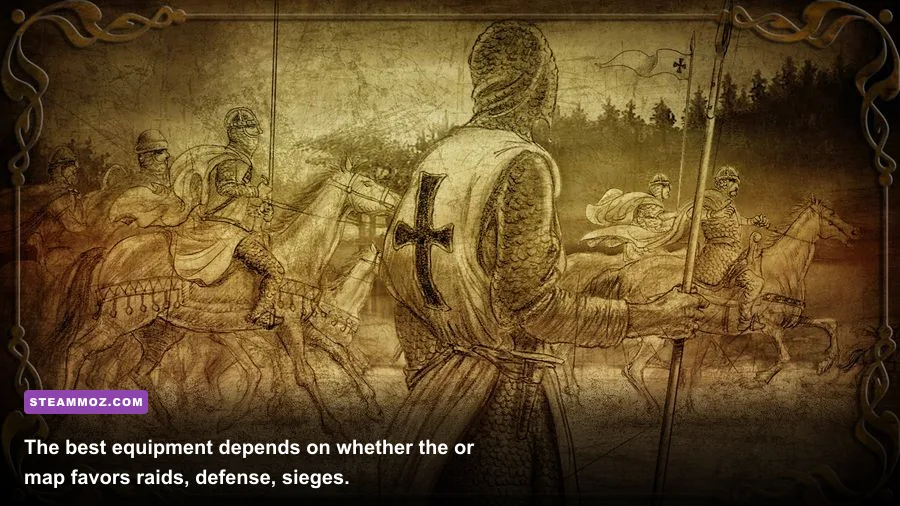
Raids and surprise attacks
Use swords and shields first. Keep bows close enough to fire but not so close that the opening enemy charge reaches them. Axes should remain behind the main line until the enemy has committed. This setup is forgiving when a raid appears beside a farm, quarry, or production building and you have only seconds to respond.
Enemy camps and defensive positions
Bring a larger bow group than you would for an open-field battle. Camps often compress movement, which makes focus fire stronger but also makes a failed attack more dangerous. Let the frontline touch the first enemy units, pause the advance, and remove targets one by one. If the enemy turns toward your archers, retreat in short steps rather than issuing one long move command.
Open terrain and pursuit battles
Favor swords with a smaller axe detachment. Open ground reduces the protection offered by buildings and chokepoints, so your frontline must survive without relying on terrain. Do not allow axes or archers to outrun the sword group. The army’s speed is determined by its slowest useful formation, not by the fastest individual unit.
Hero-led engagements
Heroes should act as anchors, not solo assassins. Place the hero where enemy movement is easiest to read, then let ordinary fighters establish contact before committing to a deeper push. Give priority armor to the hero if losing that character would disrupt the campaign’s momentum, but never assume a hero can replace a full formation.
| Mission type | Recommended composition | Opening move | Common mistake |
|---|---|---|---|
| Settlement raid | 60% swords, 25% bows, 15% axes | Block access to workers and production | Chasing raiders away from the settlement |
| Enemy camp assault | 45% swords, 35% bows, 20% axes | Use bows to focus exposed targets | Charging the whole army into the camp |
| Open-field battle | 55% swords, 25% bows, 20% axes | Advance as one controlled formation | Sending axes ahead of the shield line |
| Chokepoint hold | 70% armored swords, 20% bows, 10% axes | Anchor the entrance and rotate damaged units | Leaving archers directly on the frontline tile |
Those percentages are practical army templates, not hard-coded game requirements. Northland’s maps vary, and the right answer changes when terrain, enemy composition, or available production changes. Still, they give you a strong starting point instead of the usual “build whatever is available” advice.
The best Northland loadout for a reliable campaign
For most missions, build toward a compact mixed army rather than a single-weapon death ball. Start with sword-and-shield fighters because they protect the economy that produces everything else. Add bows as soon as you can support them safely. Introduce axes after your frontline can hold position without constant emergency replacements. Upgrade armor in the same order that units receive enemy attention.
Your practical priority list should look like this:
- Protect food and tool production. A stalled settlement cannot replace military losses.
- Build the first sword-and-shield core. Use it to guard workers and establish safe territory.
- Add bows for focus fire. Keep them behind the frontline and assign targets manually.
- Upgrade first-contact armor. Concentrated survivability is better than shallow upgrades everywhere.
- Add axes as a finishing group. Use them against pinned or isolated enemies, not as a replacement for shields.
- Replace casualties before the next major attack. A damaged veteran core is valuable, but it still needs fresh bodies.
The biggest hidden advantage is consistency. A sword-and-bow army may not produce the flashiest opening damage, but it wins more fights because it keeps its formation. Axes then turn that control into decisive kills. If you remember only one ranking from this guide, remember this one: sword and shield first, bow second, axe third, and armor wherever the enemy is actually making contact.
For official background and compatibility details, check the official Steam store listing and the Funatics developer site. If you enjoy comparing older strategy systems, Steamoz’s Dungeons 2 weapon tier list is another useful stop.
Northland does not reward the player who buys the fanciest weapon first. It rewards the player who makes every weapon perform its correct job. Hold the line with shields, remove priority targets with bows, punish trapped enemies with axes, and keep the settlement working behind the army. That is the equipment path that turns difficult campaign fights into controlled victories.