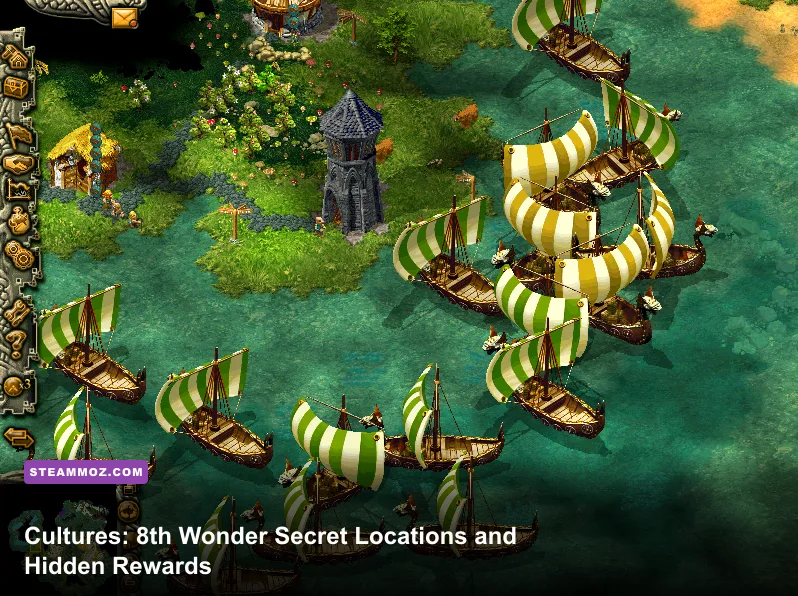
The fastest way to find every secret in Cultures: 8th Wonder of the World is to stop treating the campaign objectives as the whole map. Hidden rewards sit beyond the obvious road, usually behind a neutral camp, a one-tile gap, a cave entrance, or a landmark that looks decorative. Scout with a cheap unit first, reveal the fog before committing villagers, and keep a manual save before every major story trigger. The rewards are small individually, but the extra tools, resources, experience, and optional objectives can completely change the difficulty of later missions.
This guide covers the reliable secret-hunting route across the campaign’s Viking, desert, jungle, and final fortress scenarios. It also explains what each reward is useful for, when to collect it, and which discoveries are genuinely worth delaying your economy for. If you’re returning to the game through Steam, check the official Steam store for the current release details, while the Funatics website remains the best developer reference.
How secret rewards actually work
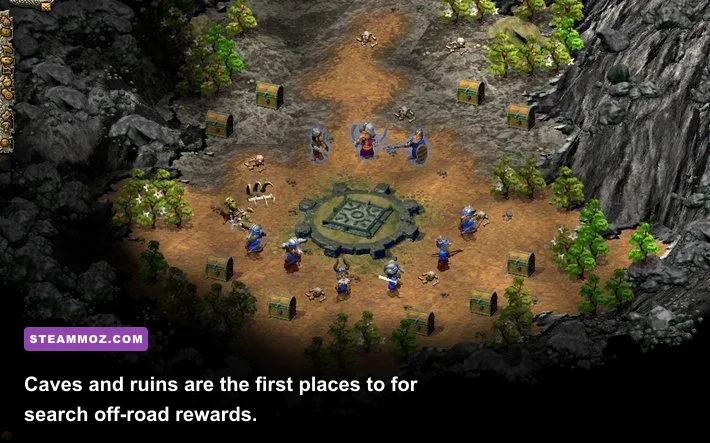
Most hidden rewards in Cultures are not random loot drops. They are fixed map events activated when a hero, scout, or worker reaches a particular object. Look for cracked stone, isolated chests, strange standing stones, abandoned camps, and narrow paths that disappear into the fog. A normal villager can often trigger a chest, but hero-linked events may require the campaign leader or a combat unit.
There are three rules that prevent most missed discoveries. First, reveal the perimeter before expanding: the game’s fog hides more side paths than you might expect. Second, never destroy a neutral camp until you have checked the ground behind it. Some rewards become inaccessible after a scripted encounter changes ownership or blocks the route. Third, collect resource caches after the settlement is stable, not during the opening rush. A chest containing food is useful early, but losing your only builder while chasing it is a terrible trade.
| Secret type | Usual trigger | Typical reward | Best collector |
|---|---|---|---|
| Buried cache | Unit reaches a marked ground object | Food, wood, stone, or tools | Scout or worker |
| Ruined shrine | Hero enters the landmark | Experience or campaign item | Hero |
| Abandoned camp | Neutral guards are defeated | Supplies and equipment | Warrior group |
| Story detour | Optional character is rescued | New objective or permanent benefit | Hero with escort |

🎮 Cultures: 8th Wonder of the World
Looking to experience this game? Grab your digital key directly on our store for $0.54.
View on Steammoz Store →Viking maps: search the edges before the center
The Viking chapters are the most generous with hidden supplies, but they also teach the game’s meanest habit: the obvious road is rarely the complete route. At the first settlement, send your quickest available unit along the western shoreline before you build a large military force. The beach curves behind the initial tree line, and the fog conceals a small supply cache near the rocks. Collect it with a worker only after the opening food chain is running; the cache is a boost, not a substitute for hunters and fishermen.
Next, inspect the northern cliff line. A narrow passage beside the darker rock texture leads to an abandoned camp. The camp is guarded by a small neutral group, so don’t send a lone scout through it. Two basic melee units are enough on normal difficulty, and the reward usually arrives as a mixture of tools and raw materials. Tools matter more than the wood here because they accelerate the early production chain, especially if your settlement is short on metalworkers.
The most commonly missed Viking secret sits behind the first major bridge objective. Before crossing, pan the camera to the southeast and reveal the dead-end path behind the fir trees. You’ll find a stone marker and a hero-triggered interaction. Activate it before completing the bridge event. If you advance the story first, the new enemies can make the detour needlessly expensive.
On the larger Viking battle map, keep one scout permanently assigned to the southern boundary. The map rewards curiosity with a second cache close to the shoreline and a ruin tucked behind a neutral camp. The ruin is more valuable than the ordinary supplies because the experience can push a hero toward the next skill threshold before the final assault. That extra combat efficiency is especially noticeable when fighting clustered defenders rather than isolated patrols.
Viking collection order
- Reveal the western beach and collect the first cache.
- Build a two-unit escort before clearing the northern abandoned camp.
- Activate the southeastern stone marker before crossing the story bridge.
- Search the southern shoreline and ruin after your food income is positive.
- Make a final fog check around cliffs, trees, and the map corners before the final objective.
For a broader look at older PC strategy performance, our PC hardware guide for Brothers in Arms is useful context. Cultures is much lighter, but modern compatibility issues can still come from resolution scaling, old video renderers, and unstable wrappers rather than raw GPU power.
Desert missions: the oasis and temple route
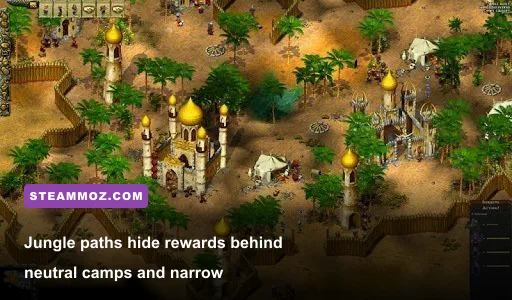
Desert maps are designed to punish blind expansion. Food production is slower, travel lanes are exposed, and every detour risks running into a patrol. Establish the first oasis economy before hunting secrets: secure water, place storage close to production, and keep a small reserve of food. Once your workers are no longer walking across the entire map, send a scout around the outside of the playable desert rather than down the central road.
The first hidden reward is on the far side of the starting oasis, behind a low ridge that blends into the sand. The ridge creates a visual dead end, but the unit can walk around its southern tip. This cache is safe to collect early and is usually the best opening secret in the desert chapter because it helps bridge the awkward gap before your second production building is active.
The second location is a ruined temple near the map’s eastern side. Do not confuse it with the story temple used by the main objective. The optional ruin sits off the road, guarded by a small camp and separated from the main route by a strip of impassable-looking sand. Reveal both sides before attacking. A melee unit can draw the guards while your hero reaches the landmark, which avoids wasting the hero’s health on a fight that grants no tactical advantage.
The temple event is worth prioritising because it generally provides experience or a useful campaign benefit rather than another pile of basic resources. If your hero has a choice between direct damage and survivability, take the option that helps with sustained fights. Desert enemies tend to arrive in waves, and a hero who survives long enough to draw aggro is more valuable than one who produces a slightly larger opening hit.
| Desert location | When to visit | Main danger | Why it matters |
|---|---|---|---|
| Starting oasis ridge | After food production begins | Long worker travel | Early supplies accelerate the second building |
| Eastern ruined temple | With hero and two melee units | Neutral camp ambush | Experience or campaign utility reward |
| Outer southern dunes | Mid-game | Enemy patrols | Extra cache and fog-clear route |
| Story temple perimeter | Before final trigger | Scripted reinforcements | Last chance to collect side rewards |
Jungle chapters: bridges, ruins, and blocked paths

The jungle is where most completionists lose secrets because the terrain hides unit movement. A path can look blocked by vegetation while still being walkable, and a narrow bridge may be visible only after the nearest fog tile disappears. Keep your camera low and use repeated movement commands around rock formations. If a unit briefly walks in the wrong direction, that often indicates a hidden route rather than bad pathfinding.
From the first jungle base, scout the western edge before following the main road east. A short passage behind the trees leads to a broken bridge. The bridge itself is not the reward; the important interaction is on the opposite bank, where a ruined camp contains supplies. You’ll need to approach from the side because the front path is usually blocked by neutral defenders. Pull one enemy group away, retreat, heal, and then send the hero through once the area is safe.
Another secret sits north of the first large river crossing. The route is easy to miss because it runs parallel to the river and reconnects with the map near a stone ruin. This detour can provide a meaningful experience injection, but it is not worth attempting before your settlement can replace casualties. Jungle patrols are more dangerous when they surround a unit, so fight in open clearings and avoid chasing wounded enemies into unexplored fog.
The final jungle discovery is connected to an optional rescue event. Search behind the southern neutral camp before completing the adjacent story objective. The rescue can produce a new task and a reward that improves your campaign position, but the trigger is easy to lose if the scripted battle begins first. Save, clear the camp, walk the hero through the hidden opening, and only then advance the main objective.
That cautious rhythm also applies to other exploration-heavy games. Our Disciples: Liberation secret-location guide covers the same essential habit: reveal optional routes before story flags rewrite the map.
Final campaign map: collect rewards before the fortress
The final map is the least forgiving place to improvise. Enemy pressure rises, the roads become more crowded, and the fortress objective can trigger a long sequence of attacks. The safe approach is to treat the map as three zones: your starting economy, the side-route rewards, and the fortress approach. Don’t send your hero toward the fortress until the first two zones are finished.
Search the western boundary first. A narrow lane behind the trees leads to a supply cache, but it is close enough to an enemy patrol that you should use a scout to reveal the patrol’s movement before sending a worker. The northern side contains a ruined structure with a hero interaction. Take it before clearing the central road, because the central battle can cause reinforcements to appear in nearby areas.
There is also a final optional camp south of the fortress. Its reward is modest compared with the temple or ruin events, yet clearing it gives your army a safer approach and removes a potential flanking force. Attack from open ground, keep ranged units behind melee units, and don’t let the hero chase fleeing enemies beyond your sight line. The fortress fight is much easier when every side camp has already been neutralised.
| Phase | Key danger | Counter strategy | Optimal tool |
|---|---|---|---|
| Western cache | Patrol intercepts worker | Scout first, then collect quickly | Fast scout |
| Northern ruin | Story battle changes nearby spawns | Trigger before central road fight | Hero escort |
| Southern camp | Flanking attack during fortress push | Clear it before the main assault | Melee front line |
| Fortress approach | Reinforcement waves | Bring reserves and heal between pushes | Full army |
Rewards worth chasing and rewards worth skipping
Not every hidden pickup deserves an immediate detour. Basic food is excellent during a slow opening but loses value once your farms, hunters, or fishermen are established. Wood and tools are strongest when they arrive before your second production chain. Experience rewards remain useful throughout the campaign because they improve the hero’s ability to hold a line, survive focus fire, and clear neutral camps without constant replacement.
Use this priority order: hero-triggered ruins first, early tools second, safe food caches third, and dangerous late-game resource piles last. If a reward requires crossing an unexplored corner while your settlement is short on food, wait. The map will usually remain available, and a dead hero can cost far more time than the reward saves.
| Reward value | Chase immediately? | Best use | Common mistake |
|---|---|---|---|
| Hero experience | Yes, if route is safe | Reach combat thresholds early | Entering alone |
| Tools | Usually | Speed up production chains | Collecting before food is stable |
| Food | Only early | Bridge the first expansion | Walking workers too far |
| Late resource cache | Usually no | Emergency reserve | Delaying the main objective |
Keep a second save before every major objective, and use a disposable scout to test suspicious routes. That single habit catches nearly every missable event in the game. For more old-school systems advice, see Steamoz’s Construction Simulator secret hunt breakdown and our Din’s Curse survival tips.
A clean completionist route
For a no-miss run, reveal the starting settlement’s outer ring, collect only safe early caches, and leave the hero-triggered ruins marked on the map. Before crossing every story bridge, sweep the opposite shoreline and the dead-end behind the nearest trees. In desert missions, circle the oasis and outer dunes before approaching the main temple. In jungle missions, inspect both riverbanks and test apparently blocked vegetation with a scout. On the final map, clear the western, northern, and southern side routes before touching the fortress objective.
The game never rewards rushing past the fog. Its best secrets are built around patience, map reading, and knowing when a detour is economically sensible. Play that way and the campaign becomes less about stumbling into hidden rewards and more about deliberately taking control of every route the map tries to hide.
For the latest platform information, consult the official Steam search listing. Then load an old save, send out one scout, and start checking those suspicious corners. Cultures has been quietly rewarding that kind of curiosity for years.