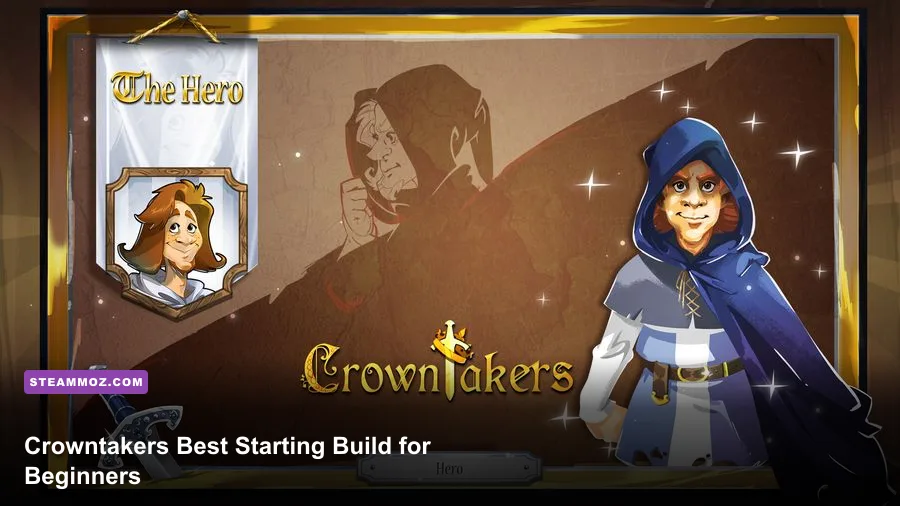
The best beginner build in Crowntakers is a durable Fighter-led party built around reliable melee damage, one ranged attacker, and a support companion. Start by investing in survivability and consistent weapon damage, spend your first gold on food and usable gear, and treat every battle as a positioning puzzle rather than a damage race. This setup is forgiving enough to survive bad map rolls while still hitting hard during the opening regions.
Crowntakers on Steam is a compact roguelike RPG, but it punishes careless decisions quickly. The overworld is randomly generated, resources are limited, and an injured party can turn an easy encounter into a run-ending disaster. The build below is designed for a first clear, not for flashy speedruns.
Choose the Fighter for your first Crowntakers run
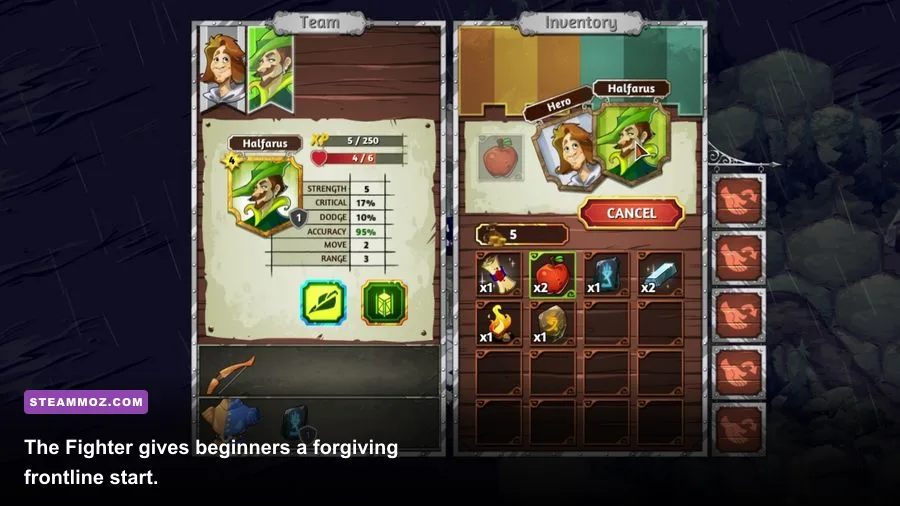
The Fighter is the safest opening choice because melee characters can convert good positioning into dependable damage without needing a perfect weapon drop. You can also afford to make a small tactical mistake and recover, which is exactly what a beginner needs while learning enemy movement and action-point economy.
Crowntakers combat is turn-based and action-point driven. Most ordinary attacks consume one action point, while movement, skills, and special attacks compete for the same limited turn budget. That creates a simple rule: never walk into range just because you can. Move only far enough to attack, claim cover, or block an enemy path. A Fighter who ends a turn in the open is much less valuable than one who forces enemies to approach through a narrow route.
Opening stat priority
Prioritize the Fighter's health and physical damage first, then improve accuracy or defensive utility when those upgrades appear. Early damage is useful, but a weapon that kills an enemy one turn sooner is not worth much if your character is too fragile to survive the next encounter. Avoid spreading upgrades evenly across every available option. A focused frontline character makes combat predictable.
| Priority | What to take | Why it matters |
|---|---|---|
| S-Tier | Maximum health and melee damage | Improves both mistake tolerance and kill speed |
| A-Tier | Accuracy, armor, defensive skills | Makes ordinary encounters much more reliable |
| B-Tier | Extra movement or situational effects | Helpful, but weaker than raw consistency early |
| Skip early | Highly conditional bonuses | They rarely pay off before your core party is stable |
For equipment, use the strongest one-handed weapon available if it lets you keep a defensive option or shield. Two-handed damage looks tempting, but beginners often lose runs because they underestimate incoming attacks. A shield-bearing Fighter can hold a doorway, protect a wounded companion, and still finish weakened targets.

🎮 Crowntakers
Looking to experience this game? Grab your digital key directly on our store for $0.99.
View on Steammoz Store →Build the party around three combat jobs

Your starting Fighter should not be asked to do everything. The strongest beginner party uses three clearly separated jobs: a frontline anchor, a ranged damage dealer, and a support or control character. Crowntakers gives you opportunities to recruit different companions, so don't force a weak recruit into the party just because their class looks interesting.
The Ranger is the ideal second member. Ranged attacks let you punish enemies while they cross the battlefield, and the Ranger benefits enormously from the Fighter occupying the closest target. Keep at least two or three tiles between the Ranger and the nearest threat whenever the map allows it. If a ranged character gets surrounded, their damage advantage disappears immediately.
Your third slot should go to a Wizard or Alchemist-style support character when available. The Wizard offers strong area damage and control, while an Alchemist is more valuable when the run has produced healing or utility items. Pick the recruit with the most dependable current skill, not the highest theoretical ceiling. In a procedural game, a functional companion now is better than a perfect class you may never find gear for.
| Party slot | Recommended role | Gear focus | Combat job |
|---|---|---|---|
| 1 | Fighter | Health, melee damage, armor | Hold the front and finish exposed targets |
| 2 | Ranger | Bow damage, accuracy, mobility | Focus priority targets from safety |
| 3 | Wizard or Alchemist | Area damage, healing, utility | Control clusters and repair bad trades |
| Flexible | Extra melee or specialist | Match the current region's threats | Cover the party's weakest matchup |
The most important party rule is target focus. Don't split damage across four enemies unless an area attack makes that unavoidable. Two enemies at half health still take two turns to remove; one dead enemy takes none. Your Fighter should pin or threaten the closest attacker while the Ranger and caster concentrate on the same target.
For more strategy-focused recommendations, Steamoz's guide to Badlands Crew survival tips covers the same kind of resource discipline that makes Crowntakers runs more consistent.
Use this combat rotation every battle
Begin each fight by checking enemy reach, ranged threats, and the nearest safe tile. If the battle starts at distance, let enemies spend their first turn moving toward you. This is free value: they give up attacks while your Ranger and Wizard prepare a focused volley. If the enemy begins close, move the Fighter into a chokepoint instead of charging into the middle of the pack.
The beginner rotation
- Fighter: move to the edge of enemy range, attack the most immediate threat, and keep one action point available when a defensive skill or retreat is more valuable than a second hit.
- Ranger: shoot the target already engaged by the Fighter. Do not waste the opening turn on a distant enemy if the frontline target can be removed now.
- Wizard or Alchemist: use area damage only when it hits multiple enemies. Otherwise, apply control, healing, or direct damage to the focused target.
- End the turn defensively: check whether a companion can be reached by a melee attack before committing to movement.
When you have two actions left, avoid the classic beginner trap of taking a second attack automatically. That extra hit can be correct, but only if it changes the number of turns needed to kill the target. If it doesn't, use movement to create distance or place the Fighter between the enemy and your backline.
| Situation | Best response | Common mistake | Reason |
|---|---|---|---|
| Enemy approaches from far away | Hold position and fire first | Charging into their formation | You surrender the advantage of distance |
| Several melee enemies cluster | Block a narrow route with the Fighter | Surrounding your own frontline | Enemies gain multiple attack angles |
| Ranged enemy appears | Focus it immediately or break line of sight | Ignoring it while farming weak targets | Repeated ranged hits drain healing resources |
| Fighter is badly injured | Retreat and let ranged allies finish | Staying forward for one more attack | A single greedy turn can end the run |
Pay attention to telegraphs rather than waiting for complicated boss patterns. Wolves and melee raiders want access to your weakest unit; ranged enemies punish exposed squares; tougher armored enemies are best handled after you have removed their escorts. The threat is usually the enemy's position, not its health bar.
Spend food, gold, and loot without ruining the run

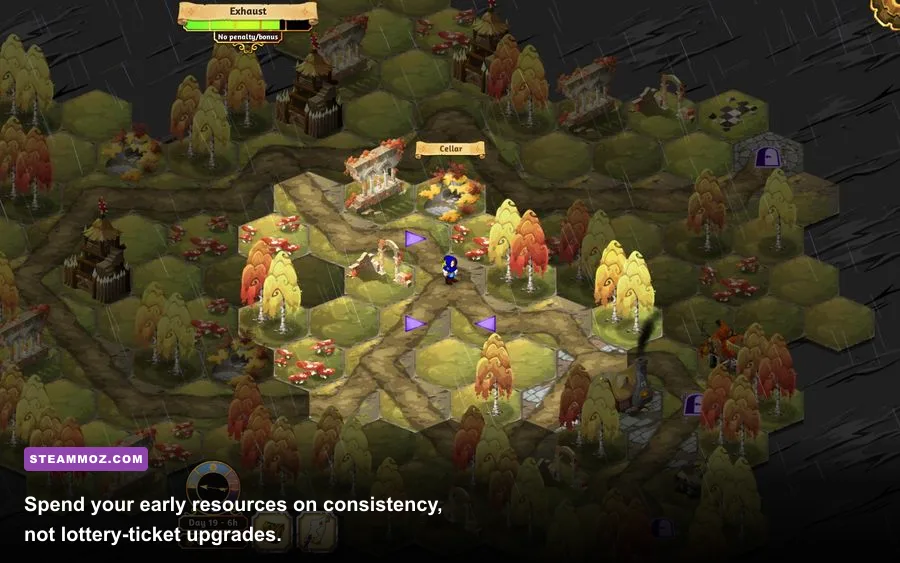
Food is a timer, not ordinary currency. A detour that costs several food units must produce something meaningful: a recruit, a strong weapon, healing, or a route advantage. Don't clear every visible tile simply because it is there. Crowntakers rewards reaching the next useful location with enough supplies to fight, heal, and react to an unlucky encounter.
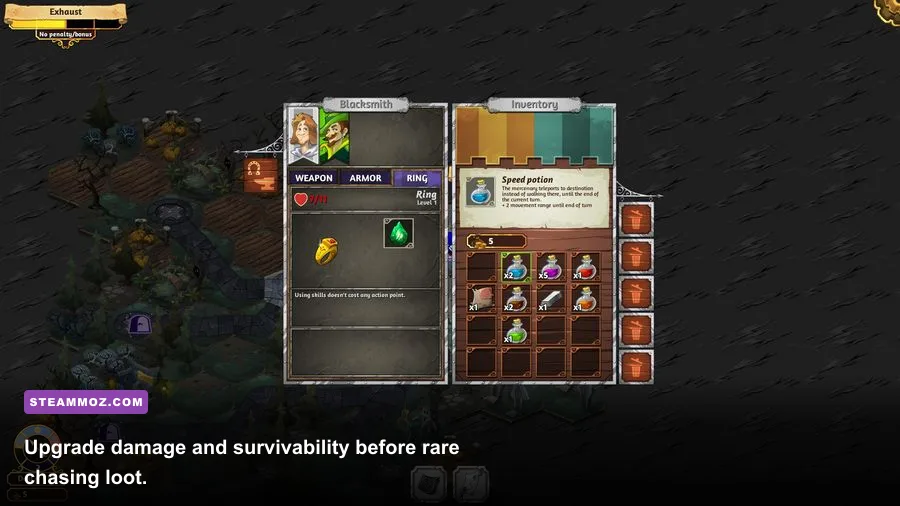
Gold should first stabilize the party. Buy a weapon upgrade for the Fighter, then improve the Ranger's damage or accuracy, and only after that chase luxury equipment. A slightly stronger sword purchased early can contribute across every following fight, while a rare item that sits unused in the inventory contributes nothing.
Loot decisions should follow a simple test: does this item improve damage now, prevent a likely death, or solve a weakness in the next region? If not, keep moving. Healing consumables deserve special respect. Spending one to restore a lightly damaged character is wasteful; spending one before a dangerous fight can prevent multiple turns of lost damage and save the entire run.
Map choices matter just as much as combat choices. Prefer routes with a camp, merchant, or recruit when your party is unstable. If everyone is healthy and your weapons are current, a shorter route may be better than a dangerous treasure detour. This is similar to the low-risk planning discussed in Steamoz's A Year of Rain strategy and performance guide: consistency beats a theoretical best case.
Region-by-region progression checklist
During the opening region, your goal is not to assemble the rarest party. It is to establish a functioning damage loop. Recruit the first useful ranged companion, replace weak starting equipment, and avoid entering a major encounter with a wounded Fighter. If the opening map offers healing, take it before gambling on another fight.
In the middle of the run, upgrade the backline. Enemies become harder to delete with one attack, so the Ranger needs enough damage to finish targets already softened by the Fighter. Your caster should also gain a way to answer groups. Area effects are valuable here because clustered enemies can otherwise consume your entire turn economy.
Before the final stretch, stop replacing equipment for tiny statistical gains. Keep your best healing, preserve defensive items, and enter each battle with every character ready to act. The final encounters are less forgiving of scattered damage because elite enemies survive long enough to punish poor positioning.
| Progression point | Fighter goal | Party goal | Resource rule |
|---|---|---|---|
| First encounters | Health and dependable melee weapon | Add Ranger or ranged equivalent | Spend food only on useful stops |
| Middle regions | Armor and stronger physical damage | Add healing, control, or area damage | Buy upgrades that work every fight |
| Final regions | Survive focus fire and hold chokepoints | Enter with full health and focused roles | Save healing and defensive tools |
Don't restart just because the first recruit isn't your dream companion. Restart when the run has a structural problem: no ranged damage, no healing or control, badly outdated weapons, or too little food to reach a safe location. Otherwise, adapt. Crowntakers is built around imperfect runs, and learning to win with a merely good party is a bigger skill than memorizing one supposedly perfect team.
If you enjoy experimenting with compact tactical systems, you may also like Steamoz's recommendations for games like 10 Second Ninja X and games like F.E.A.R. 2. They scratch different itches, but both reward deliberate movement and quick decision-making.
The build in one quick reference
For a first successful Crowntakers run, keep the plan brutally simple: Fighter in front, Ranger behind, support in reserve, and one target at a time. Upgrade health and damage before chasing clever bonuses. Use the map to protect your resources, let enemies walk into your attacks, and retreat whenever a second strike would expose a wounded character.
This approach won't produce the flashiest combat screenshots, but it gives you the most valuable beginner advantage: room to make decisions. Once you understand action-point costs, enemy reach, and route pressure, you can branch into riskier two-handed builds, caster-heavy parties, and speed-focused runs. Start with the stable build, learn why it works, and then break it on purpose.
For official background on the game and its current PC release, visit the official Steam listing and the Bulwark Studios website. If performance problems appear while playing other strategy titles, Steamoz's crash and low-FPS troubleshooting guide is a useful companion read.