
Crimzon Clover WORLD EXplosion has no character levels, equipment shops, or gold currency to farm. The fast-progression strategy is really a score-and-survival strategy: pick a ship you can control, preserve your chain, collect score items, trigger Break mode at profitable moments, and use practice tools to push farther through the stages. If you're searching for an RPG-style leveling loop, the game won't provide one; if you're trying to improve quickly, its scoring system gives you a very clear route.
That distinction matters because plenty of guides use “gold farming” as shorthand for repeatable currency runs. Crimzon Clover is an arcade shoot-'em-up, not a loot-driven RPG. Your run starts with the same core tools every time. There are no permanent attack upgrades, no stat points, and no gold drops waiting behind Stage 3. Progress is measured through higher scores, better routes, stronger survival consistency, online ranking improvement, and a growing understanding of each boss pattern.
The official Steam listing for Crimzon Clover WORLD EXplosion is the best place to confirm the PC version's mode and feature set. For readers coming from RPG guides, our Death Howl farming guide covers the kind of genuine leveling economy Crimzon Clover simply doesn't have.
What You Actually Farm in Crimzon Clover
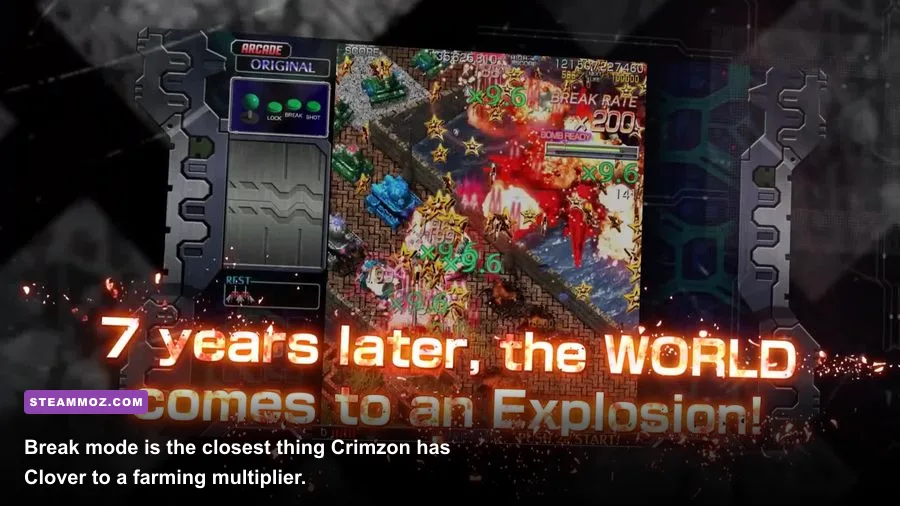
The resources that matter are your score chain, Break gauge, lives, bombs, and knowledge. They interact constantly. Destroying enemies quickly and collecting the resulting items keeps your scoring flow alive, while missed enemies, careless movement, or an unnecessary death can collapse the run's value even if you technically reach the next stage.
The game's star and item collection is therefore your practical “gold farming” substitute. You aren't banking currency between attempts. You're converting clean play into a larger score during the current credit. Break mode amplifies that conversion, but activating it at random is a common beginner mistake. The strongest players create a route where a Break begins before dense enemy waves, large popcorn formations, or a boss sequence that can be safely milked.
Crimzon Clover's core loop rewards three habits:
- Stay aggressive: destroy targets before they spread bullets and keep the chain moving.
- Collect deliberately: move toward valuable items only when the lane is safe; a missed star is cheaper than a death.
- Spend resources with purpose: bombs and Break activation should solve dangerous sections or create a profitable scoring window, not merely provide visual fireworks.
| Resource | How You Gain It | Best Use | Common Mistake |
|---|---|---|---|
| Score chain | Continuous enemy destruction and item collection | Maintain it through stage transitions and boss attacks | Chasing one item into a bullet lane |
| Break gauge | Successful play and score-item collection | Activate before dense formations or safe boss damage windows | Using it immediately after filling it |
| Bombs | Run-based stock and pickups | Emergency clearing or preserving a valuable run | Saving every bomb and dying with a full stock |
| Lives | Arcade progression and extra-life thresholds | Learning later-stage patterns | Practicing only the opening stage |
| Gold | Not present as a persistent currency | None; chase score instead | Repeating stages for nonexistent payouts |
If a menu, video, or search result promises a gold route, check whether it is actually discussing another game. Crimzon Clover's reward is performance. That may sound austere next to a modern progression system, but it also means every improvement is immediately useful: learning one laser pattern can beat any imaginary stat bonus.

🎮 Crimzon Clover World EXplosion
Looking to experience this game? Grab your digital key directly on our store for $9.99.
View on Steammoz Store →Best Ship Choice for Fast Improvement
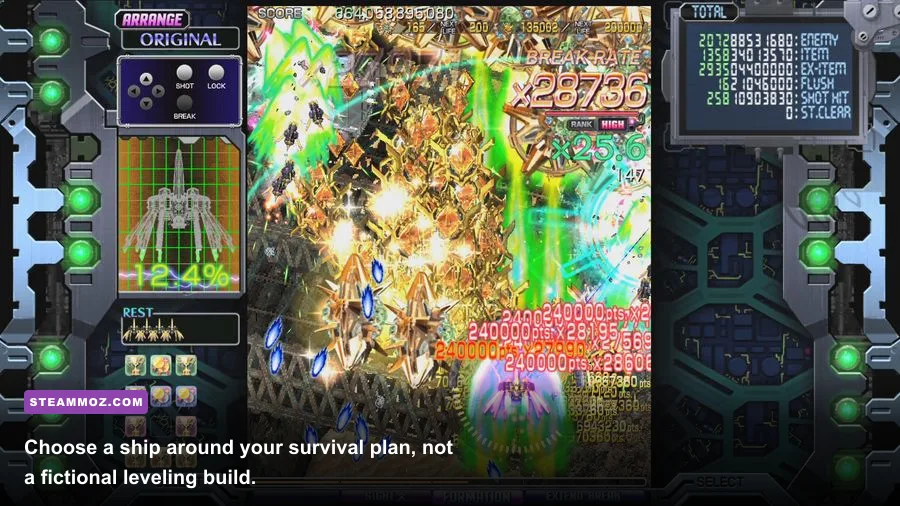
Crimzon Clover's three main ship types are not RPG classes, but they do create different learning curves. Type I is the safest general recommendation because its shot profile is forgiving and its damage feels balanced across normal stage enemies. Type II favors a more focused attack pattern, making it attractive when you already know enemy spawn points and want to delete priority targets quickly. Type III introduces a more specialized lock-on-oriented approach, which can be powerful but demands more attention and cleaner positioning.
Don't choose a ship because a tier list says it has the highest theoretical score. Choose the one that lets you survive long enough to reach the sections where scoring matters. A dead high-damage run earns nothing. Type I is excellent for mapping routes, learning boss telegraphs, and discovering where Break mode can safely begin. Once the stage layout is familiar, Type II or Type III can become more attractive for targeted damage and optimized chains.
| Ship | Strength | Weakness | Best Farming Role |
|---|---|---|---|
| Type I | Balanced coverage and approachable control | Less specialized damage output | First clears, route learning, survival scoring |
| Type II | Focused damage against priority targets | Less forgiving when enemies arrive from multiple lanes | Boss practice and deliberate high-value kills |
| Type III | Specialized lock-on-style pressure | Higher execution and positioning demands | Advanced routing and planned multi-target chains |
For a new player, run Type I in Original mode until you can reach the later stages without panic bombs. Then test Type II in the first stage and compare how quickly you can remove dangerous enemies. Type III is worth learning when you understand spawn timing, because its value comes from planning targets before the screen becomes crowded.
This is the same principle behind our Deltazeal starting-build advice: early consistency beats theoretical optimization. A route that gives you 80 percent of the possible score every attempt is far more useful than a “perfect” route you can execute once every ten credits.
Break Mode Is Your Real Farming Multiplier
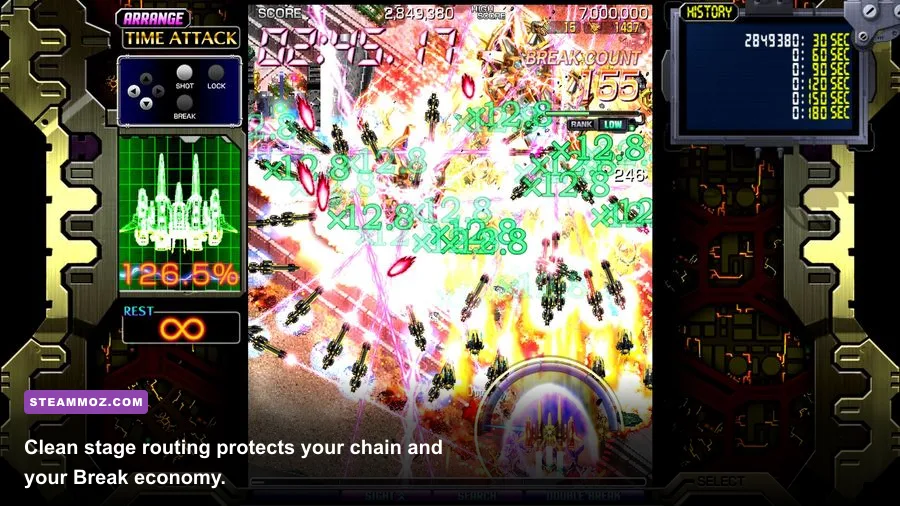
Break mode is the engine behind serious score growth. Fill the Break gauge through active play, then activate it when the screen offers enough targets and collectible value to justify the timing. The exact payoff depends on your mode, chain state, enemy density, and how cleanly you maintain the sequence, so simply pressing the button whenever the gauge fills is rarely optimal.
Use the opening stage to mark three things: the first large enemy formation, the safest point to collect items, and the moment a boss becomes vulnerable without forcing you into a dangerous corner. Your first planned Break should overlap a formation rather than a quiet stretch of the stage. You want multiple targets arriving close together, because a Break spent on empty space is effectively wasted score potential.
Boost mode is useful for players who want a more aggressive scoring rhythm, while Unlimited mode dramatically raises the pressure and is better treated as an advanced challenge than a farming shortcut. Arrange mode changes the feel of the run enough that you should build a separate route instead of blindly copying Original-mode timing. The publisher's official game pages and the official Degica video channel are useful references when checking version-specific presentation and mode information.
| Situation | Break Decision | Why It Works | Fallback |
|---|---|---|---|
| Large pre-boss formation | Activate just before enemies fill the screen | Maximizes targets and item collection | Bomb if the entry pattern becomes unsafe |
| Quiet stage corridor | Hold the gauge | Preserves multiplier value for the next wave | Use only if a dangerous transition is imminent |
| Boss opening pattern | Activate when damage and movement are both stable | Combines scoring with controlled damage | Save the gauge for the next dense attack |
| Low-life learning run | Use defensively | Reaching the next checkpoint teaches more than dying | Prioritize survival over score |
Remember that Break mode isn't an excuse to stand still and spray. Bullet density still wins fights. Keep your ship moving in small, intentional adjustments, stay near the center when you need reaction time, and shift toward an edge only when the pattern clearly demands it. Large panic movements are how a profitable Break turns into a restart.
A Fast Score Route for Every Practice Run
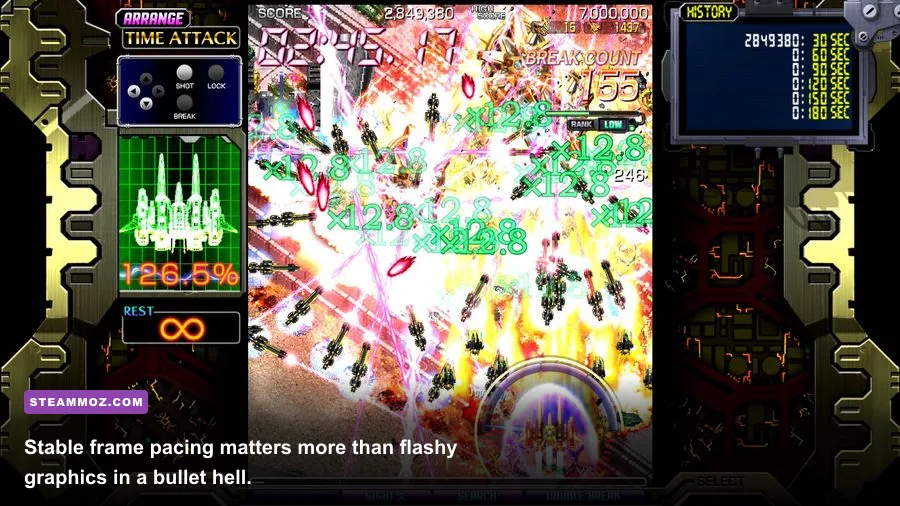
Start each credit with a specific objective instead of vaguely trying to “farm.” On the first attempt, map survival. On the second, test a Break timing. On the third, refine the dangerous transition. This approach produces faster improvement than restarting whenever Stage 1 isn't perfect.
Step 1: Clear the opening without breaking your rhythm
Destroy enemies in the order they appear, but don't cross the entire screen for a single pickup. Learn which formations can be handled from the center and which spawn behind you. Your goal is a stable chain and enough gauge progress to create a meaningful first Break window.
Step 2: Convert large formations into score
Large enemies and dense popcorn waves are your best early farming targets. Position before they arrive, fire through the first threat, then collect the item stream while keeping an escape lane open. If your route forces you into a corner, it isn't a farming route yet; it's a survival gamble.
Step 3: Treat bosses as pattern tests
Don't measure a boss attempt only by damage. Record which attack kills you, where the safe lane appears, and whether your ship is entering the pattern too high or too low. A boss route becomes profitable once you can maintain control while attacking, not when you barely scrape through with bombs.
Step 4: Review the run, then change one variable
Change only one thing per attempt: ship type, Break timing, movement position, or bomb usage. If you alter everything at once, you won't know what improved the result. This method also works beautifully alongside our frame-performance guide, because stable input response is part of execution.
| Practice Goal | Target Result | What to Track | When to Move On |
|---|---|---|---|
| Stage 1 survival | Reach the boss with bombs available | Deaths, panic movements, missed pickups | Three stable clears in a row |
| First Break route | Overlap a dense formation | Gauge timing and chain loss | Break survives the formation consistently |
| Boss learning | Identify every lethal pattern | Attack name or visual cue, safe lane | Clear without emergency bombing every pattern |
| Score optimization | Improve score without reducing survival | Items collected, chain breaks, route variance | Higher score across several credits |
PC Settings That Protect Your Score
There isn't a conventional graphics grind here, but performance still affects your “farming” efficiency. Bullet hell games punish inconsistent frame pacing. Play fullscreen or borderless fullscreen at your monitor's native resolution, disable overlays that cause stutter, and keep input latency low. Crimzon Clover is visually dense, yet it doesn't need expensive modern effects to look sharp.
| Setting | Recommended Value | Performance Impact | Competitive Note |
|---|---|---|---|
| Display mode | Fullscreen or stable borderless | Low | Use whichever gives steadier input |
| Resolution | Native monitor resolution | Low to moderate | Prioritize a clean view of bullets |
| V-Sync | Test on and off | Can affect latency | Keep the option with consistent frame pacing |
| Background overlays | Disable unnecessary overlays | Low but variable | Reduces stutter during recording or ranking runs |
| Refresh rate | Highest stable supported rate | None on capable hardware | Consistency matters more than headline Hz |
Finally, stop looking for a nonexistent gold route. The fastest path through Crimzon Clover WORLD EXplosion is a repeatable practice loop: select Type I, learn Original mode, preserve your chain, bank Break activations for dense formations, and turn every death into one concrete route adjustment. Once you can clear consistently, move to a more specialized ship or tougher mode and optimize the run. That's the game's real leveling system—and unlike gold, it stays with you.