If you're starting Chivalry 2 through the King's Edition, use the Guardian Knight with Sword and Shield, Banner, and a defensive playstyle. Knight's 175 health lets you survive mistakes, the shield blocks arrows and heavy swings, and Banner rewards you for fighting around objectives instead of chasing kills. The Royal Zweihänder is a great cosmetic bonus and a powerful reach weapon later, but Sword and Shield teaches the game's core timing much faster.
King's Edition doesn't create a pay-to-win shortcut. Its useful appeal is access to extra medieval customization, including the Royal Zweihänder and themed cosmetic content, while every important combat class and weapon can be earned through normal play. Your first hours should focus on movement, stamina, counters, and objective positioning. Once those habits click, Chivalry 2 becomes far less random and much more readable.
Build the Guardian Knight for survival first
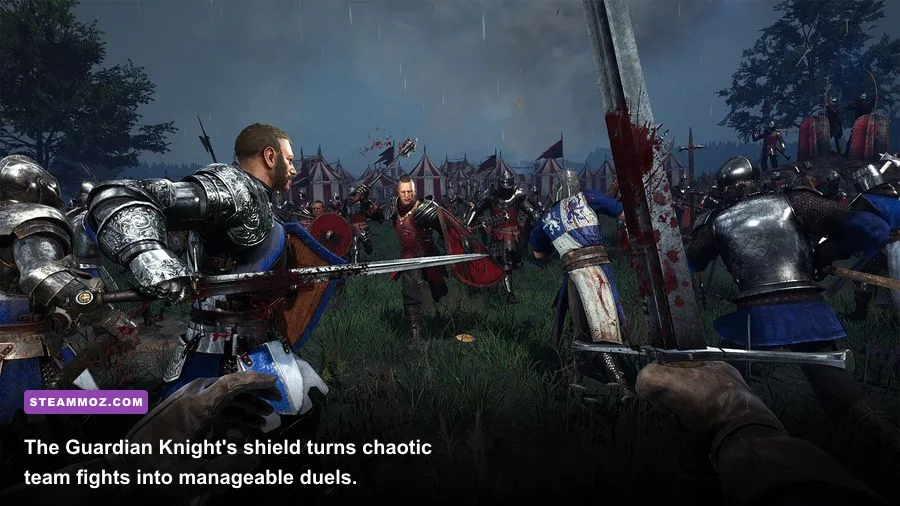
The Guardian is Chivalry 2's best beginner class because it gives you room to learn. Knights have 175 health, the highest standard health pool, but only 80 movement speed and 80 stamina. That slow profile matters: you won't outrun a Vanguard, so winning comes from holding space, managing your guard, and forcing opponents to attack into your timing.
Choose Sword and Shield as your primary setup. The Sword has a fast release, dependable slash, and excellent stab for punishing an opponent who keeps backing away. The shield covers your biggest beginner weakness: forgetting to defend against incoming projectiles or losing track of a second enemy. Use the shield to close distance, then attack from the side rather than standing directly in front of a crowd.
Take Banner as your special. It creates a healing zone for nearby allies and charges through combat, with objective actions giving you another reliable route to activation. Place it just behind the active frontline, beside a capture point, gate, ram, or siege engine. Don't drop it in the open where an enemy can destroy it immediately. A banner is strongest when teammates naturally fight within its radius.
Your shield slot is the real build choice. The Heater Shield is the easiest starting option because it gives a clean, compact defensive profile without making your attacks feel cumbersome. The Tower Shield offers more coverage, especially against archers, but its larger profile and slower feel can encourage passive play. Start with Heater Shield, then test Tower Shield once you understand when to release block and counter.
| Build Element | Recommendation | Why It Works | Beginner Priority |
|---|---|---|---|
| Class | Knight | 175 health forgives missed reads | Essential |
| Subclass | Guardian | Shield access and Banner healing | Essential |
| Primary | Sword | Fast attacks, strong stab, simple spacing | Essential |
| Shield | Heater Shield | Reliable coverage without excessive weight | Recommended |
| Special | Banner | Team healing around objectives | Essential |
| Secondary | Short Sword or Mace | Backup option when your primary is dropped | Useful |
What to unlock first
Keep using the Sword until its attack rhythm feels natural, then unlock the Falchion if you want wider slashes or the Morning Star if you prefer blunt damage and a heavier tempo. Don't immediately jump between every weapon in the armory. Chivalry 2's muscle memory is weapon-specific: the distance, release speed, and recovery after each swing all change.
For your first ten levels, prioritize Guardian and Knight weapon unlocks over cosmetic spending. King's Edition cosmetics are fun, but they won't improve a mistimed counter. Save gold until you know whether you prefer fast swords, blunt weapons, or long-reach options like the Royal Zweihänder.
🎮 Chivalry 2 - King's Edition Content (Steam)
Looking to experience this game? Grab your digital key directly on our store for $1.99.
View on Steammoz Store →Use this combat rotation in every duel
The basic Guardian rotation is simple: close with block, counter the first committed strike, drag your riposte toward the next target, then reset your guard. Holding block forever is a trap. Blocking drains stamina, and a shield does not make you invincible. If your stamina reaches zero, your guard breaks and the opponent gets a free hit.
The five actions that matter
1. Read the attack. Slash is the common horizontal swing and catches groups. Overhead attacks come from above and are excellent against crouching or shielded players. Stabs travel straight forward and are harder to avoid in a narrow corridor. Watch the weapon arm, not the character's face.
2. Counter the incoming direction. Start the same attack type as the enemy during the wind-up, then aim your crosshair into the strike. A successful counter costs less stamina than simply blocking and immediately protects you from the incoming hit. Against beginners, countering is safer than gambling on a perfect parry.
3. Riposte with purpose. After a block or counter, your riposte is the moment to take initiative. Use a slash when two enemies are close, a stab when one target is retreating, and an overhead when the opponent is crouching or fighting beside a low obstacle. Turn your camera during the swing to carry the attack into a second enemy.
4. Add a jab and kick. A jab interrupts an opponent who is winding up too close to you. A kick breaks a blocking enemy, but it only works at point-blank range and can be punished if you throw it randomly. The clean sequence is kick, then immediate slash or stab. Don't kick a player who is already attacking; you'll usually eat the hit.
5. Dodge instead of panic-blocking. A short dodge can avoid a heavy overhead or create an angle around a shield. Don't spam it. Dodge consumes stamina and leaves you vulnerable if you slide into a wall, fire, or another enemy. With the Knight's 80 movement and stamina, every dodge should have a reason.
| Enemy Tell | Best Response | Follow-Up | Common Mistake |
|---|---|---|---|
| Wide horizontal slash | Counter slash or step around it | Riposte toward nearby enemies | Blocking without watching stamina |
| Overhead wind-up | Counter overhead or dodge sideways | Stab the recovery | Crouching too early |
| Forward stab | Counter stab or sidestep | Slash after the miss | Backing straight into teammates |
| Enemy holding block | Kick at close range | Fast slash or overhead | Kicking from too far away |
| Archer aiming | Raise shield and advance diagonally | Throw a weapon or engage | Running in a straight line |
Practice these timings in Chivalry 2 on Steam's Training Grounds before jumping into 64-player Team Objective. You don't need perfect parries on day one. A stable counter, sensible stamina use, and a willingness to disengage will beat flashy players who swing until their guard collapses.
Turn Banner and the shield into objective power
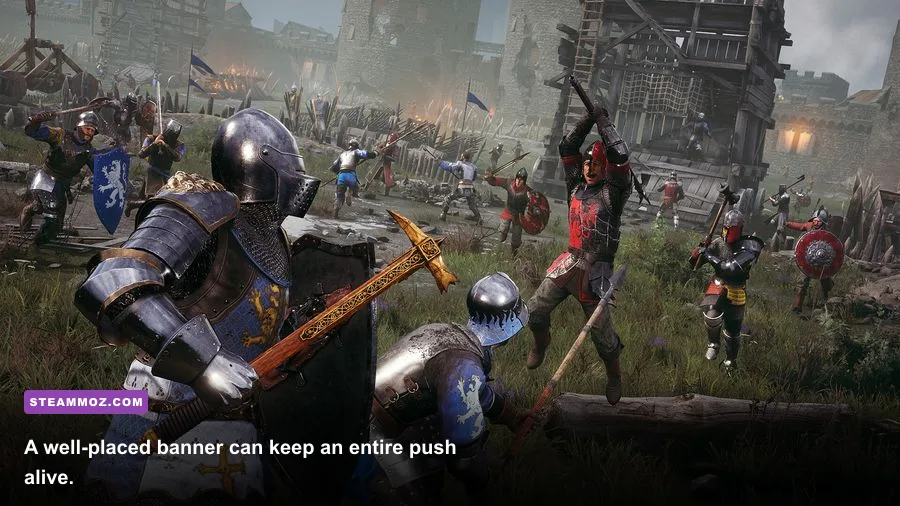
Guardian is not a frontline tank in the MMO sense. You still die quickly when three players surround you. Your job is to make the space around the objective expensive to enter. Stand slightly ahead of your team, absorb the first attack, and give allies a safe target to hit while your shield controls the angle.
Place Banner when at least two teammates are already contesting the area. On maps such as Darkforest and Lionspire, the best spots are usually just behind the current push rather than directly on the objective. That keeps the healing zone active while avoiding obvious enemy swings, fire pots, and siege damage. If your team is retreating, place it at the next defensible corner instead of wasting it on a lost point.
Shield users are especially valuable against archers. Face the ranged threat, hold your shield only long enough to cross the dangerous gap, and move diagonally so a second archer can't lead your path easily. Once you're close, lower the shield and attack. Shield-bashing an archer into a wall is satisfying, but don't chase one away from the objective if your team is losing the frontline.
Map awareness matters more than your kill count. Push the ram on Coxwell, protect siege equipment on Rudhelm, or escort the prisoner on Escape from Falmire. The scoreboard rewards kills, but the match is won by completing stages. If you're holding a capture zone with four allies, your Banner can be worth more than another solo kill attempt.
For broader multiplayer habits, the same discipline applies to other team-focused games covered in our new-player multiplayer tips and combat decision-making guide.
When the King's Edition weapons are worth using
The Royal Zweihänder is the King's Edition item most likely to tempt a new player away from the starter build. It has the reach and damage profile of a large two-handed weapon, making it excellent for controlling a doorway or punishing enemies who tunnel vision on your teammate. It also exposes the weaknesses you are still learning: slower recovery, less defensive safety, and more demanding spacing.
Use it after you can reliably counter basic slashes and recognize when a fight is unwinnable. Its long reach lets you strike from behind a friendly frontline, but don't swing through allies without checking your arc. A missed heavy attack leaves you open to a fast stab, kick, or flank. The Royal Zweihänder is a strong second build, not the best first lesson.
Keep your visual settings clear enough to read animations. Chivalry 2 is playable on mid-range hardware, but unstable frame pacing makes counters feel late. Turn off motion blur, use a stable frame rate, and lower shadows before reducing texture quality. You want clean silhouettes and consistent input more than cinematic smoke.
| Setting | Beginner Recommendation | Performance Impact | Visual Reason |
|---|---|---|---|
| Motion Blur | Off | Minimal FPS change | Keeps swings and turnarounds readable |
| Shadows | Medium | Medium to high | Reduces heavy battlefield frame drops |
| Effects | Medium | Medium | Preserves clarity around fire and explosions |
| Textures | High if VRAM allows | Low to medium | Improves armor and weapon detail |
| View Distance | High | Medium | Helps spot archers and flankers |
| Frame Rate | Stable 60 FPS minimum | Hardware dependent | Consistency matters for counters |
If your PC struggles, compare your hardware with our PC performance checklist and low-FPS troubleshooting advice. The goal isn't maximum graphics. It is a steady image during a 64-player charge when dozens of animations overlap.
Your first ten matches should follow this plan
Spend your first match in Training Grounds learning slash, overhead, stab, kick, and jab. In match two, ignore the scoreboard and stay near the objective with your shield raised only when an attack is coming. By match three, practice countering one attack type at a time. Don't try to counter every animation while surrounded; survive first.
Matches four through six are for Banner discipline. Activate it after your first meaningful frontline engagement and place it where allies can use it. Matches seven through ten are where you can test the Royal Zweihänder or another weapon. Keep the Guardian Sword and Shield build as your fallback whenever the battlefield becomes too chaotic.
Most importantly, stop chasing wounded enemies across the map. Chivalry 2 punishes tunnel vision with back attacks, environmental hazards, and sudden reinforcements. Fight near teammates, watch stamina, and retreat before your shield breaks. Follow Torn Banner Studios' official Chivalry 2 page for updates, and use the official Chivalry 2 site for current game information.
The winning beginner build is deliberately unglamorous: Guardian, Sword, Heater Shield, Banner, and objective-first positioning. It gives you the health to learn, the defense to survive, and the simplest route into Chivalry 2's timing-based combat. Once your counters stop feeling like guesses, the King's Edition's heavier weapons become exciting options instead of expensive-looking traps.