
The best Central Intelligence graphics settings for maximum FPS are 1080p, exclusive fullscreen, Medium overall quality, Low shadows, Medium textures, Low effects, and a frame cap just below your monitor’s refresh rate. That combination keeps the game responsive without turning every scene into a blurry mess. If you’re on integrated graphics or an older laptop, drop to 1600×900 before lowering textures; resolution and shadow quality are the fastest ways to recover performance.
Central Intelligence doesn’t need an expensive graphics card to run well, but its smoothness depends heavily on frame-time consistency. A system that reports 70 FPS can still feel worse than a locked 45 FPS if the camera stutters while loading a new area or presenting a busy scene. The profiles below are designed around stable frame delivery rather than a misleading peak number.
Use This Central Intelligence FPS Profile First
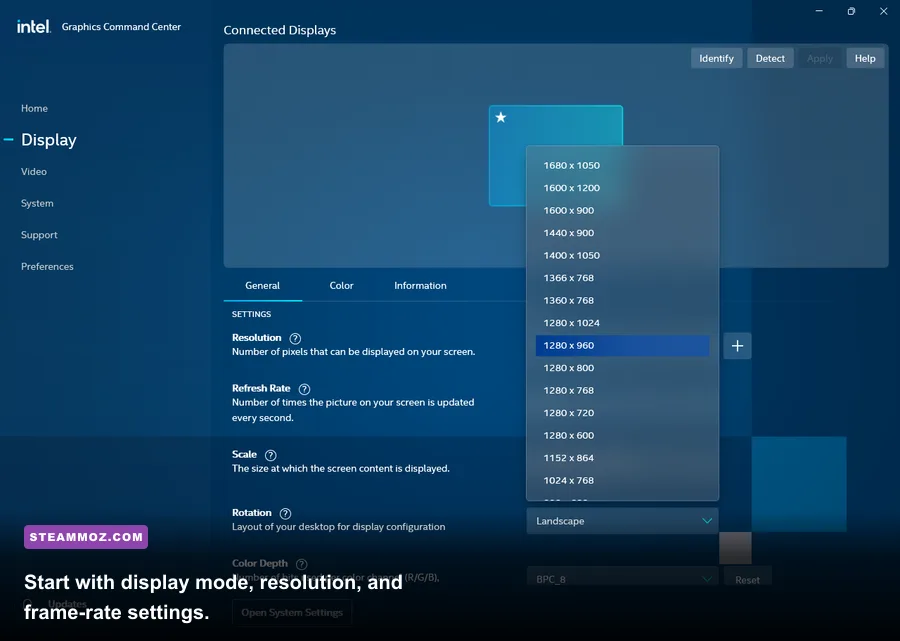
Before changing individual options, select the highest preset your PC can run, then adjust the expensive settings manually. Presets often raise shadows, effects, and view distance together, even though those features don’t contribute equally to image quality. The goal is to spend GPU power where you’ll actually notice it: resolution, textures, and readable scene detail.
For most players, the balanced profile is the right starting point. Set the game to 1920×1080 if your graphics card can maintain the target frame rate, choose fullscreen rather than borderless, and disable V-Sync while testing. Once performance is stable, use a frame limiter to prevent the GPU from running unnecessarily hot.
| Setting | Recommended Value | FPS Impact | Visual Result |
|---|---|---|---|
| Display Mode | Fullscreen | Low to medium | Usually offers the cleanest frame pacing and lowest desktop interference. |
| Resolution | 1920×1080 | Very high | Keep native resolution unless the GPU is the clear bottleneck. |
| Overall Quality | Medium | Medium | A useful baseline, but manually lower shadows and effects afterward. |
| Texture Quality | Medium or High | Low on most GPUs | Higher texture detail improves surfaces without heavily reducing FPS. |
| Shadow Quality | Low | High | Large performance gain with a relatively minor loss during movement. |
| Effects Quality | Low or Medium | Medium to high | Reduces costly particles, flashes, and heavy scene effects. |
| View Distance | Medium | Medium | Preserves nearby detail without overloading distant geometry. |
| Anti-Aliasing | Medium | Low to medium | Controls shimmer on edges; avoid dropping it completely at 1080p. |
| V-Sync | Off while testing | Variable | Removes the forced refresh-rate limit, though a cap may still be preferable. |
| Motion Blur | Off | Almost none | Sharper camera movement and clearer visual tracking. |
There’s one important exception: if your GPU has plenty of headroom but the game still feels uneven, don’t immediately lower every setting. That points toward a CPU, shader-compilation, background-process, or frame-pacing issue rather than raw rendering load. Lowering textures won’t fix a processor that is already maxed out.

🎮 Central Intelligence
Looking to experience this game? Grab your digital key directly on our store for $1.49.
View on Steammoz Store →The Settings That Actually Cost You Frames

Shadows are the first setting to reduce. Dynamic shadows force the game to render scene information again from one or more light sources. In a quiet room, the difference between Medium and Low may look subtle, but the performance cost can appear whenever several objects, lights, and characters occupy the same view. Low shadows are the best trade in Central Intelligence because they reduce GPU work without damaging texture clarity.
Effects quality is the next major lever. Explosions, volumetric-looking haze, screen effects, and particles can produce short GPU spikes that average-FPS counters hide. If the game feels smooth while walking but hitches during dramatic moments, lower Effects before lowering resolution. This improves the one-percent lows that determine whether aiming, turning, or quick camera movement feels responsive.
View distance deserves a more careful adjustment. Lowering it can reduce geometry and object processing, but setting it too low makes objects pop into view. Medium is the sensible value for a mid-range system. Only choose Low if your processor is struggling, your laptop is using integrated graphics, or your frame rate collapses in large open areas.
Textures usually aren’t an FPS setting until VRAM becomes a problem. If your graphics card has 6GB or more of VRAM, Medium or High textures should be safe at 1080p in most Central Intelligence scenarios. If you see hitching after moving between areas, texture streaming may be filling the VRAM budget. Drop textures one step and restart the game; changing the option without restarting may not immediately clear allocated memory.
| Hardware Situation | Resolution | Textures | Shadows and Effects | Target |
|---|---|---|---|---|
| Integrated graphics or older laptop | 1600×900 or 1280×720 | Low | Low / Low | 30–45 FPS, stable |
| Entry-level dedicated GPU | 1920×1080 | Medium | Low / Low | 45–60 FPS |
| Modern mid-range GPU | 1920×1080 | High | Low / Medium | 60–100 FPS |
| High-end GPU | 2560×1440 | High | Medium / High | 60 FPS or higher |
For more PC troubleshooting ideas, Steamoz’s A Year of Rain low-FPS settings guide and Bionic Dues performance guide cover the same useful principle: cut expensive lighting and effects before destroying image sharpness.
Best Profiles for Low-End, Mid-Range, and High-End PCs

There isn’t one perfect Central Intelligence configuration because a 60Hz laptop and a 144Hz desktop have different priorities. The laptop needs predictable frame pacing and lower heat. The fast desktop needs enough GPU workload to avoid wild swings while still protecting its refresh-rate target.
Low-end profile: stable 30 to 45 FPS
Use 1280×720 or 1600×900, Low overall quality, Low textures, Low shadows, Low effects, Low view distance, and Medium anti-aliasing. Turn off motion blur and depth-of-field effects if the menu exposes them. A stable 30 FPS is preferable to a pattern that jumps between 25 and 50 FPS, particularly on a 60Hz panel.
If the image looks too soft at 720p, try 1600×900 with a lower effects setting. That often produces a better-looking result than 1080p with every option set to Low, because the internal scene edges retain more detail. Keep the laptop plugged in and use its high-performance power mode; battery modes can quietly reduce CPU and GPU clocks.
Mid-range profile: the sweet spot at 60 FPS
Choose 1920×1080, Medium overall quality, Medium textures, Low shadows, Low effects, Medium view distance, and Medium anti-aliasing. This is the profile I’d recommend first for a mainstream gaming PC. If you have headroom, raise textures to High before touching shadows. Texture quality improves close-up surfaces, while shadow quality tends to cost more frames for a smaller visual reward.
High-end profile: sharper image without wasted frames
At 1440p, use High textures, Medium shadows, Medium or High effects, High view distance, and the game’s stronger anti-aliasing option. Don’t blindly select Ultra if the game offers it. Ultra shadows and effects can consume a surprising amount of GPU time for differences you’ll barely see while moving. Cap the game at 60, 90, 120, or 141 FPS depending on your monitor rather than leaving it uncapped.
| Profile | Best For | Core Settings | Frame Cap |
|---|---|---|---|
| Performance | Integrated graphics and older laptops | 900p, Low quality, Low shadows, Low effects | 30 or 45 FPS |
| Balanced | Mainstream 1080p gaming PCs | 1080p, Medium quality, Medium textures, Low shadows | 60 FPS |
| Competitive smoothness | High-refresh 1080p monitors | 1080p, Medium textures, Low effects, Medium AA | Refresh rate minus 3 |
| Quality | Modern 1440p systems | 1440p, High textures, Medium shadows, Medium effects | 60 or 90 FPS |
How to Fix Central Intelligence Stutter and Bad Frame Pacing
A high average FPS number doesn’t guarantee smooth gameplay. Use an overlay such as Steam’s in-game FPS counter, AMD Adrenalin, or NVIDIA’s performance overlay, then watch what happens during the exact moments that feel bad. Walk through a busy area, rotate the camera quickly, enter a new room, and trigger the most visually demanding scene you can repeat. A five-second menu test tells you almost nothing.
First, install Central Intelligence on an SSD if possible. An SSD won’t magically raise your average FPS, but it can reduce asset-streaming pauses and shorten the spikes caused by loading new areas. Keep at least 10 percent free space on the drive, because a nearly full SSD can behave poorly during temporary file operations.
Next, update your graphics driver from the official NVIDIA driver page or AMD support page. If the stutter began immediately after a driver update, a clean installation or rollback may be worth testing. Avoid installing several tuning utilities at once; overlays, hardware monitors, RGB software, and recording tools can all compete for hooks into the game.
Shader compilation is another common reason the first run feels worse than later sessions. After changing the driver or deleting shader caches, allow Central Intelligence to sit at the main menu for a few minutes before judging performance. The first traversal through an area may still be rough, but repeated movement should become more consistent if shader work was the cause.
V-Sync needs a little nuance. If you have a variable-refresh monitor, turn V-Sync on in the driver and off in-game, then cap FPS three frames below the panel’s maximum refresh rate. For a 60Hz screen, try 57 FPS; for 144Hz, try 141 FPS. This keeps the GPU from slamming into the refresh ceiling and usually gives better latency than an uncapped, constantly fluctuating frame rate.
For systems without variable refresh, test both V-Sync on and off. V-Sync on removes tearing but may introduce latency or stutter when the frame rate drops below the refresh target. V-Sync off feels more immediate but can tear during camera movement. There’s no universal winner here; the correct choice depends on whether you notice tearing or input delay more quickly.
Benchmark Central Intelligence the Right Way
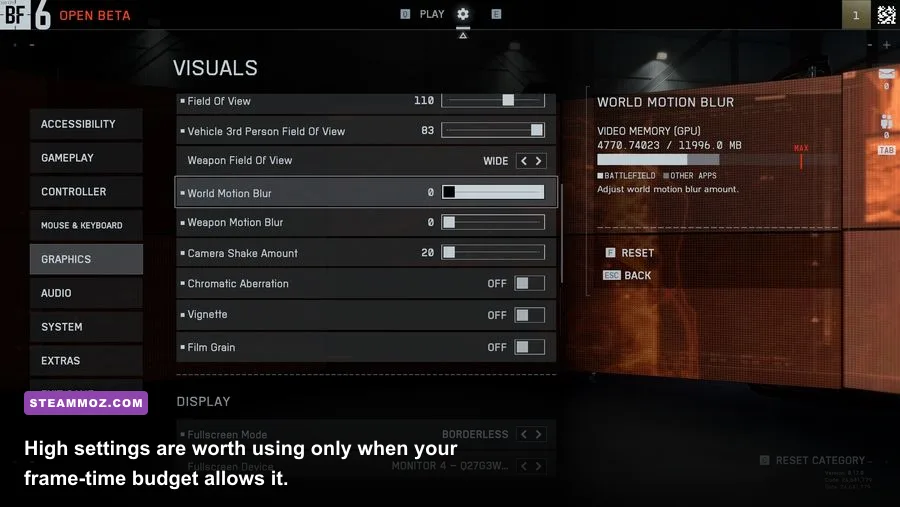
Change one setting at a time and record three numbers: average FPS, the one-percent low, and the worst repeatable frame-time spike. The average tells you how fast the game runs overall. The one-percent low reveals whether it feels consistent. The spike tells you whether a particular effect, loading event, or background process is causing the annoying hitch.
Start with the balanced profile and run the same route for two minutes. Then lower shadows, effects, and view distance individually. If lowering one option produces almost no improvement, restore it and spend that performance budget elsewhere. This is especially useful when the CPU is the bottleneck: GPU-heavy options may change nothing because the processor is already limiting the frame rate.
| Symptom | Likely Bottleneck | First Change | What Not to Lower First |
|---|---|---|---|
| GPU usage stays near 99 percent | Graphics card | Lower resolution, shadows, or effects | Textures, unless VRAM is full |
| GPU usage is low while FPS is poor | CPU, streaming, or background tasks | Lower view distance and close background apps | Resolution |
| Short hitches entering new areas | Storage or shader compilation | Use an SSD and let shaders settle | Anti-aliasing |
| Steady FPS but visible tearing | Sync configuration | Use VRR or enable V-Sync | Texture quality |
| Image looks blurry at 1080p | Weak anti-aliasing or scaling | Raise AA or render resolution | View distance |
Also check that Windows is using the dedicated GPU if you’re on a laptop. Add the game’s executable under Windows Graphics settings, select High performance, and restart the game. Plugged-in laptops may still throttle when temperatures climb, so clean blocked vents and avoid soft surfaces. Thermal throttling often looks like a graphics problem because FPS starts high and collapses after several minutes.
If you’re comparing settings with another PC release, Steamoz’s Architect Life crash and low-FPS fixes and Beacon Pines PC troubleshooting guide are useful references for separating game settings from operating-system problems.
My Final Central Intelligence Recommendation
For a normal 1080p gaming PC, run Central Intelligence in fullscreen at native resolution with Medium overall quality, Medium or High textures, Low shadows, Low effects, Medium view distance, Medium anti-aliasing, motion blur off, and a 60 FPS cap. That is the profile most likely to feel consistently smooth while preserving the game’s intended visual identity.
If performance still dips, lower effects and view distance before touching resolution. If the game remains slow while GPU usage is low, investigate CPU load, SSD performance, driver state, and laptop power limits instead of endlessly reducing visual quality. And if you’re chasing a high-refresh target, prioritize a locked cap over an unstable uncapped number. Central Intelligence feels best when every frame arrives on time—not when the counter briefly flashes its highest figure.
For the latest compatibility notes, patches, and player reports, monitor the game’s official Steam listing and its linked community discussions. Settings can shift after an engine update, but the hierarchy remains dependable: resolution has the biggest raw impact, shadows and effects are the best emergency cuts, textures are mostly a VRAM decision, and frame pacing matters more than a headline FPS average.