
Breathedge has no traditional XP bar and no gold currency, so the fastest route to “leveling” is unlocking blueprints quickly, while the best gold farm is a short, oxygen-efficient sweep through wreckage and resource clusters. Prioritize the Scrapper, oxygen upgrades, the Grabber, the Handy Scrapper, and a base station before chasing rare materials. Gold nuggets are useful crafting ingredients, not money, and farming them only pays off when you already know which recipe needs them.
That distinction matters. Breathedge looks like a survival RPG, but its progression is mostly controlled by story milestones, discovered blueprint fragments, and the equipment you build. You are not grinding enemies for experience. You are solving a logistics problem: how to travel farther, carry more, stay alive, and return with the exact materials needed for the next unlock.
How progression really works in Breathedge
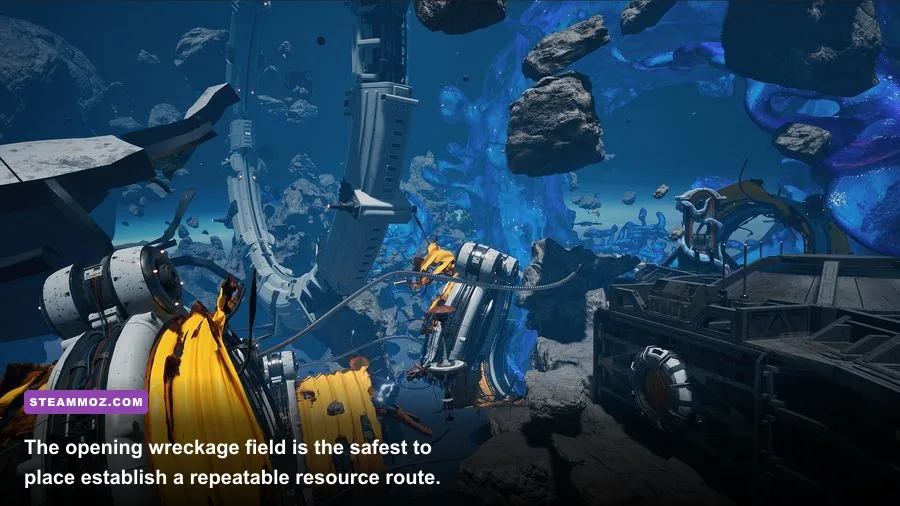
Breathedge replaces character levels with a blueprint loop. You explore a wreck, inspect an object, collect a resource, or advance the story, then use that new knowledge at the crafting station. The main character does not gain strength from killing enemies, and there is no vendor economy where gold can be converted into better gear.
Your practical “level” is therefore your survival range. At the beginning, you can only make short trips from the starting shuttle because oxygen runs out quickly. Once you build a basic oxygen station and improve your supply of food and water, the same trip becomes safer and more profitable. Later, the ZAZ-1 vehicle lets you cross dangerous areas far more efficiently than free-floating with a jet accelerator.
Blueprint discovery is also more important than random hoarding. Inspect every unusual object around the starting wreckage, including containers, ship components, and interactive debris. If the game highlights something as examinable, check it before moving on. Several useful recipes are gated by discovery rather than by collecting a fixed amount of titanium.
| Progression target | What it unlocks | Why it speeds you up | Priority |
|---|---|---|---|
| Scrapper | Basic wreckage harvesting | Turns nearby debris into usable materials | S-Tier |
| Oxygen station | Reliable refill point | Extends every farming loop | S-Tier |
| Grabber | Remote collection | Lets you gather without awkward contact positioning | A-Tier |
| Handy Scrapper | Improved harvesting | Makes repeated salvage runs less wasteful | A-Tier |
| ZAZ-1 | Vehicle travel | Reduces exposure during long-distance routes | S-Tier later |
For broader survival-game route planning, the resource-first approach also applies to our Death Howl fast-leveling guide. The games handle progression differently, but both punish players who farm without a clear upgrade target.

🎮 Breathedge
Looking to experience this game? Grab your digital key directly on our store for $6.24.
View on Steammoz Store →The fastest early-game leveling route
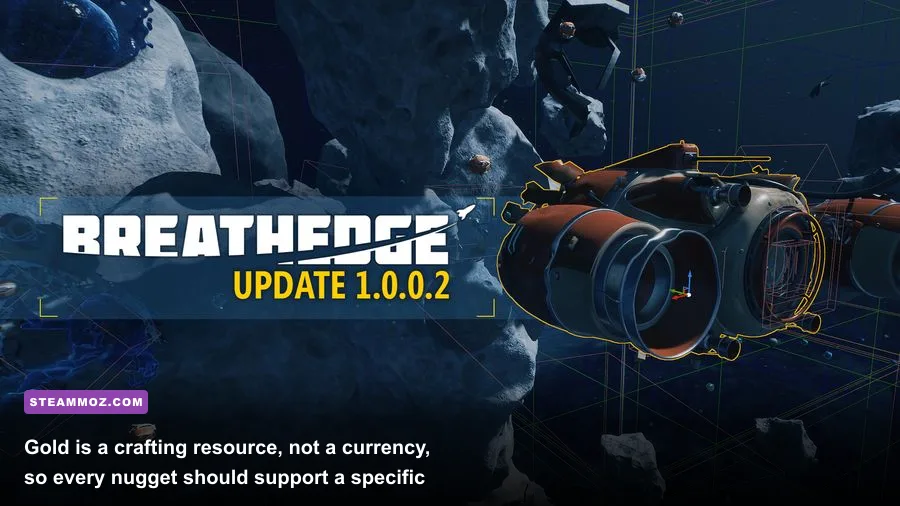
Start by treating the first wreckage field as a circuit, not a sightseeing tour. From the shuttle, collect the closest titanium, ice, food, and water resources first. These materials immediately support tools and life-support items, which means they provide more value than a risky detour for one rare nugget.
Step one: secure oxygen before expanding
Craft the basic tools needed to harvest nearby debris, then return to the shuttle before your oxygen becomes an emergency. A good rule is to begin your return when roughly one-third of your oxygen remains. That buffer covers accidental collisions, a bad turn around wreckage, and the time needed to dock or interact with a station.
Once you can build an oxygen station, place it along the edge of your normal working area rather than deep inside a confusing debris cluster. The station becomes a checkpoint: leave with full oxygen, gather in one direction, refill, then sweep the opposite side. This is faster than zigzagging randomly and dramatically lowers the chance of dying with a full inventory.
Step two: unlock tools before decorative crafting
Do not spend your first stockpile on optional furniture or cosmetic base pieces. The Scrapper and Grabber create a direct improvement to your gathering speed, while extra storage and life-support infrastructure reduce the number of return trips. If a blueprint does not improve oxygen range, harvesting, storage, or travel, it can usually wait.
Use the shuttle's storage as a sorting system. Keep a reserve of titanium, ice, food, water, and structural components at home. Deposit rare items after every trip instead of carrying them through unexplored areas. Breathedge's most expensive mistake is not missing a resource; it is losing a rare resource because you refused to turn around.
| Route stage | Collect first | Return trigger | Next upgrade goal |
|---|---|---|---|
| Opening shuttle field | Titanium, ice, food, water | One-third oxygen remaining | Scrapper and basic life support |
| Nearby wreckage | Aluminum, lead, resin, alkali | Inventory is nearly full | Oxygen station and storage |
| Outer debris line | Gold, electronics, rare components | Station is one safe segment away | Grabber and Handy Scrapper |
| Long-distance zone | Mission-specific materials | Vehicle or refill route is secured | ZAZ-1 and advanced stations |
This is the same kind of discipline that makes the Dins Curse survival tips useful despite its very different combat system: spend early resources on systems that prevent future downtime.
Where to farm gold without wasting oxygen
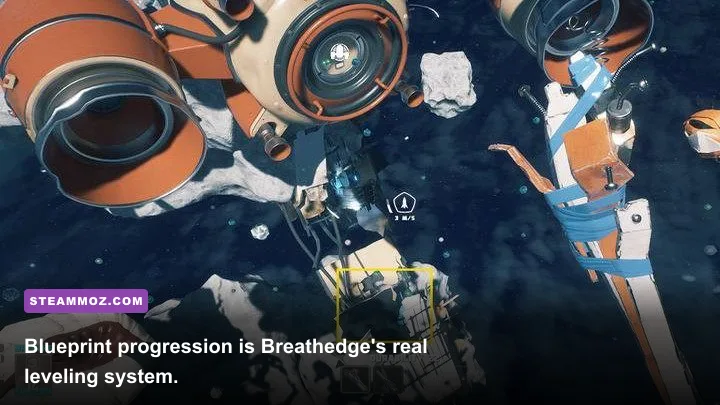
Gold appears around wreckage and resource-heavy debris fields, but it should be farmed opportunistically. A gold-only expedition is usually inefficient during the opening hours because the trip costs oxygen, food, water, and time. The strongest method is to attach gold collection to an existing salvage route.
When you leave the starting shuttle, clear the nearest debris first and scan the edges of the wreckage rather than flying straight through the center. Gold nodes can be visually easy to miss among metal fragments, especially when the background is crowded. Use the Grabber when positioning is awkward; it saves time and avoids repeated collisions while trying to line up a direct pickup.
Do not confuse a bright object with a guaranteed gold node. Breathedge's lighting makes ice, metal, and other materials appear similarly reflective. Confirm the resource label before spending oxygen to chase it. If a gold piece is far outside your safe radius and you have no nearby refill point, mark its location mentally and return after improving your travel tools.
Gold is best stored in a dedicated rare-material section of your base inventory. Avoid immediately converting every piece into a random recipe. Check the current blueprint requirements first, then farm only the shortfall. This prevents the classic survival-game trap of turning a scarce material into an item you do not yet need.
Gold-farming efficiency rules
- Farm gold during a titanium, aluminum, or electronics run instead of making a separate trip.
- Start from a full oxygen refill and keep the return path visible.
- Use the Grabber for distant or dangerous pickups.
- Leave low-value debris behind when your inventory is filling with rare components.
- Deposit gold immediately after returning so one later death cannot erase several runs.
There is no gold-per-minute figure worth chasing because the resource layout and your blueprint needs change as the story opens new regions. The meaningful metric is useful materials returned per oxygen cycle. A route that brings back two gold pieces plus the components for a new station beats a dangerous route that returns with five gold pieces but delays your next blueprint.
Best gear priorities for faster farming
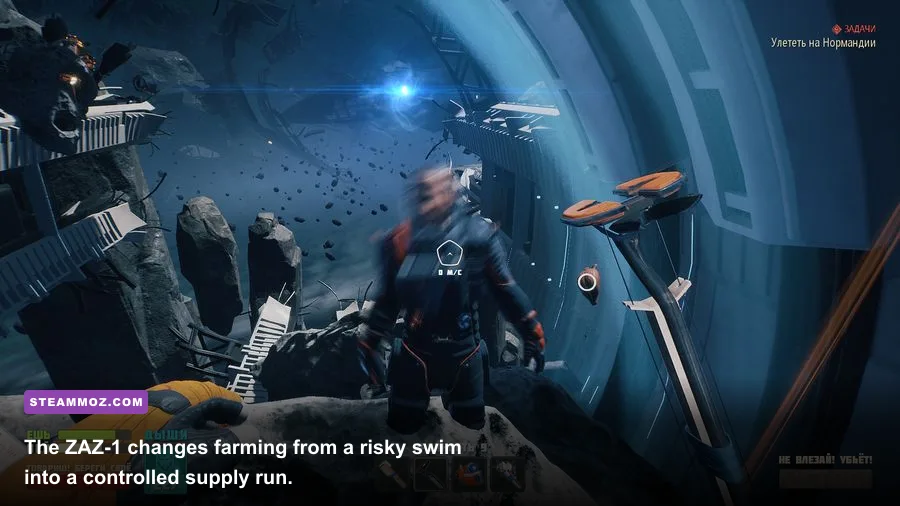
The best farming setup is not a damage build. Breathedge rewards mobility, oxygen control, and inventory management far more than combat specialization. Tools such as the Scrapper and Handy Scrapper matter because they reduce the number of interactions required to strip valuable material from wreckage. The Grabber matters because it turns difficult pickups into quick, controlled actions.
Build around a repeatable loop: refill oxygen, travel to one cluster, harvest high-value objects, return before the final oxygen warning, and sort everything immediately. Keep food and water available even when you are focused on crafting. Hunger and thirst are not just background meters; ignoring them can turn a route that was safe on paper into a death spiral.
The jet accelerator is useful for repositioning, but careless boosting can send you beyond the route you planned. Tap movement around large wreckage and avoid making dramatic turns while carrying rare materials. In open space, momentum is the enemy of precision. Your fastest run is the one that never needs a recovery maneuver.
| Equipment choice | Farming value | Main advantage | Common mistake |
|---|---|---|---|
| Scrapper | Very high | Harvests basic wreckage efficiently | Leaving without enough oxygen reserve |
| Grabber | Very high | Collects awkward or distant objects | Using it to chase low-value debris |
| Handy Scrapper | High | Improves repeated salvage work | Unlocking it before life support |
| Jet accelerator | Medium | Speeds repositioning across open space | Boosting into debris or losing the route |
| ZAZ-1 | Exceptional later | Safely covers long-distance areas | Entering hazards without a refill plan |
Players who enjoy tuning performance alongside progression should also see our Dragonkin graphics settings guide. Breathedge is generally manageable on modern PCs, but stable frame pacing still helps when you are navigating dense wreckage.
When to use the ZAZ-1 for resource runs
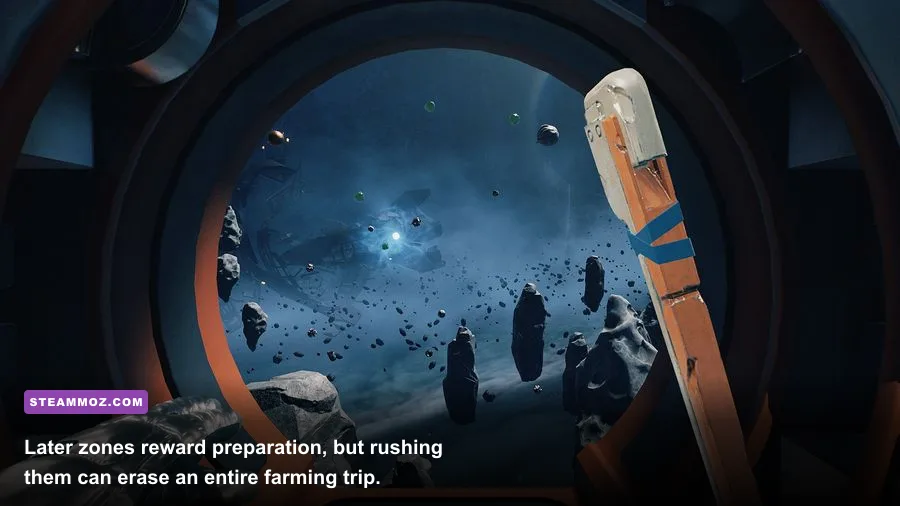
The ZAZ-1 is the major turning point for long-range farming. Before it, every expedition is an oxygen calculation. After it, your biggest risks become navigation, hazard exposure, and returning to the correct dock or safe zone. Do not treat the vehicle as permission to loot everything. Treat it as a way to make a planned route safer.
Before entering a new region, make sure you have already built the support infrastructure the area demands. Carry food and water, leave rare materials at home, and identify where you can refill or retreat. If the route crosses a dangerous environmental zone, do a reconnaissance pass first. A quick survey can reveal whether the gold and electronics available justify the fuel and repair cost.
Vehicle runs work best as loops with three stages. First, travel directly to the nearest known resource cluster. Second, collect only mission-relevant materials and rare components. Third, return by the same landmarks rather than improvising a shortcut. The ZAZ-1 reduces travel risk, but it does not remove the danger of becoming disoriented in a field of identical debris.
Keep a mental list of blueprint shortages before each trip. If you need gold for a station, titanium for structural construction, and electronics for a tool, write that priority into the route. Anything outside the list is optional. This simple habit keeps the inventory from filling with attractive but currently useless materials.
A practical Breathedge farming schedule
For a clean start, spend the first phase unlocking tools and stabilizing oxygen rather than hunting gold. In the second phase, combine gold collection with nearby wreckage harvesting and build storage so every return trip produces progress. In the third phase, use the ZAZ-1 to target rare materials only after a blueprint tells you exactly why you need them.
| Game phase | Primary objective | Farm route | Do not waste resources on |
|---|---|---|---|
| Early survival | Tools, oxygen, food, and water | Starting shuttle and nearest wreckage | Long gold detours |
| Early expansion | Stations and storage | Opening field plus adjacent debris | Decorative base pieces |
| Mid-game mobility | Handy Scrapper and travel upgrades | Outer wreckage line with refill points | Unplanned hazard zones |
| Vehicle phase | Blueprint-specific rare materials | ZAZ-1 loops through known clusters | Full-inventory exploration |
Use the official Breathedge Steam page for the current PC build and patch information, and check the official Breathedge website for developer and game details. The community-maintained Breathedge Wiki can help confirm recipe requirements when a blueprint is unclear, but the in-game route should always be based on your immediate crafting needs.
The short version is simple: Breathedge fast leveling means unlocking the right blueprint chain, not grinding XP, while gold farming means adding gold to efficient salvage loops instead of chasing isolated nodes. Build oxygen infrastructure, carry the right tools, return before your reserve collapses, and only stockpile rare materials when a blueprint gives them a job. That approach keeps every trip productive and turns the game's bleakest space debris into a reliable supply line.
If you like this kind of progression puzzle, Steamoz's Decay: The Mare progression guide covers another game where knowing what not to spend is just as important as finding the next upgrade.