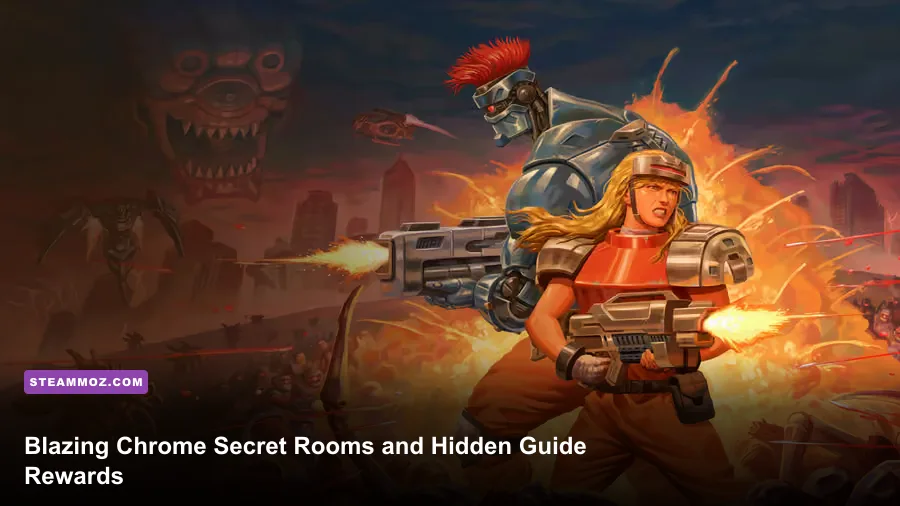
Blazing Chrome’s hidden rewards are concentrated in secret weapon rooms, concealed one-ups, and alternate pockets just off the main route. The reliable trick is to shoot suspicious walls, check every upper platform before scrolling forward, and never rush past a weapon capsule while the screen is still revealing terrain. This guide covers the secret spots across the campaign, what each room gives you, and the safest way to collect everything without throwing away a life.
One important clarification: Blazing Chrome does not use a conventional collectible checklist. There are no dozens of numbered tokens or lore pages to sweep up. Its secrets are practical rewards—weapon upgrades, spare lives, drones, and safer approach angles—and some are easy to mistake for ordinary background decoration. The locations below refer to the standard campaign layout in the current PC and console versions, not Survival or Boss Rush.
How Blazing Chrome’s secrets actually work
Most hidden rooms follow one of three rules. A wall may be destructible even though it has no obvious crack, an upper route may only be reachable by jumping from a moving platform, or the game may place a reward behind the point where the camera normally encourages you to run. If you see a blank metal panel, a dark jungle recess, or a platform that seems deliberately too high to matter, test it with gunfire before moving on.
Weapon pickups are especially valuable because Blazing Chrome uses a small but harsh power ladder. A weapon starts at level one, reaches level two after the next matching pickup, and reaches level three after another. Taking a hit drops the weapon by one level; losing a life resets your current weapon advantage. That makes a hidden level-two or level-three pickup worth more than its icon suggests, particularly before a boss.
| Reward | What it does | Why the secret version matters |
|---|---|---|
| Weapon pickup | Improves the currently equipped gun | Level-three firepower can cut a boss phase dramatically |
| Spread | Fires a broad multi-projectile pattern | Excellent for crowds, turrets, and layered targets |
| Grenade | Launches a heavy explosive projectile | Strong against armored enemies and fixed bosses |
| Machine Gun | Provides rapid straight-line damage | Safest general-purpose option for moving targets |
| One-up | Adds an extra life | Lets you take a risky route without ending a run |
| Drone | Adds temporary support or protection | Can cover blind spots while searching a room |
Before searching, set your expectations correctly. The game does not always give the same weapon in every hidden room if you approach with a different weapon state. In practice, the important rule is to collect the cache when it appears and avoid swapping away from a weapon you intend to carry. For a broader look at reading old-school level design, compare the route discipline in our Desperados III review.

🎮 Blazing Chrome
Looking to experience this game? Grab your digital key directly on our store for $4.24.
View on Steammoz Store →Jungle stage secret locations

The opening cliffside cache
After the first ground section, the jungle route rises toward a cliff with enemies entering from both sides. Don’t immediately jump onto the highest visible platform. Stop near the right-hand edge of the lower ledge and fire into the dark rock face. The apparently solid section opens into a shallow alcove containing an early weapon pickup.
This is the safest secret in the game because the surrounding enemies can be cleared before you test the wall. Machine Gun is the best prize here if it appears: its sustained damage makes the upcoming shielded soldiers less awkward than Spread, especially for Doyle players who prefer keeping distance. If the room gives you a weapon you already carry, take the upgrade before leaving rather than trying to force a swap.
The upper-platform one-up
Later, vines and staggered platforms lead toward the first large jungle set piece. The reward is above the normal running line, not behind it. Use the left platform to jump onto the middle ledge, then pause until the moving platform returns. From there, jump upward and shoot the foliage on the right. The one-up is tucked beyond the greenery.
Don’t jump blindly. The jungle’s flying creatures can knock Mavra or Doyle sideways, and a missed jump drops you into the lower enemy lane. Clear the airborne targets first, then use the platform’s return trip. This is a good place to spend a grenade if a turret blocks the landing area; losing a life to save ammunition is a terrible bargain.
What to save for the jungle boss
Try to leave the stage with at least a level-two weapon. Spread is comfortable during the boss’s add-heavy patterns because it can damage the main target while clipping enemies entering from the sides. Machine Gun is stronger when the boss exposes a narrow core. Grenade can produce the fastest burst, but only if you are confident about timing its slow projectile.
City stage secrets and rooftop rewards
The lower street weapon room
The city begins by pushing you toward the upper route, but the first hidden reward sits below the obvious path. After the opening traffic and street-level enemies, drop through the lower gap rather than jumping onto the first high platform. Fire at the far-right wall before the screen scrolls. A concealed room opens with a weapon capsule and enough space to collect it without fighting.
That room is easy to miss because dropping down looks like a mistake. It isn’t. The lower route reconnects immediately after the cache, so you don’t lose meaningful progress. Clear the small ground robots first, then enter while the area is quiet. If you’re playing co-op, have one player cover the doorway: reinforcements can arrive while the other player is inside.
The billboard ledge
During the vertical city climb, look for a large illuminated billboard with a narrow ledge running behind its lower edge. Jump toward the sign and fire at the panel beside it. The hidden pocket contains a support reward—usually a drone or a weapon pickup depending on the route state—and is the last convenient place to improve before the rooftop sequence.
The trick is not to chase the reward while the screen is scrolling. Move the camera only after the enemies are dead. Blazing Chrome can spawn threats just outside the visible boundary, and a forced jump near the billboard can send you into a projectile. Position at the ledge, shoot the panel, then collect the item from the safer side.
Rooftop survival tip
The rooftop section tests whether you kept your weapon rather than whether you found a magical shortcut. Flying units attack from the rear while armored soldiers occupy the landing platforms. Stay near the center, fire diagonally when possible, and avoid jumping onto a platform until the next one is visible. Spread controls the screen best; Machine Gun is better if you can hold a stable lane.
Factory stage hidden caches
The first conveyor-belt wall
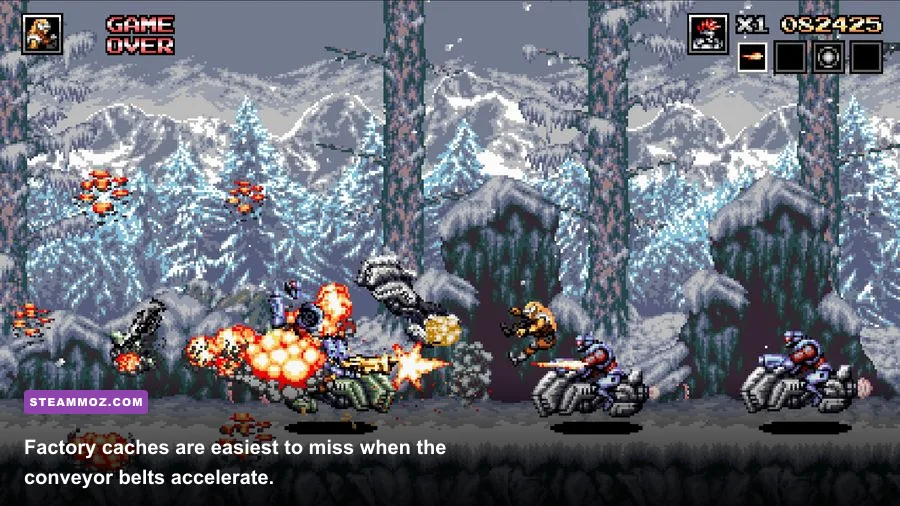
In the factory, the first conveyor belt makes the secret look like a timing challenge. It’s actually a wall check. Once the belt carries you past the first turret cluster, turn around briefly and shoot the dark panel on the left wall. The panel opens to a weapon cache.
Collect it before allowing the belt to push you into the next hazard. Jumping while firing is risky here because the belt changes your horizontal position even when you stop moving. Stand low, shoot the panel, and let the weapon capsule drift into reach. If the turret is still active, destroy its exposed core before entering the room.
The crusher-room one-up
Near the factory’s vertical crusher machinery, the normal route sends you across a series of moving platforms. The hidden one-up is below the second platform, inside a recess that appears to be a death drop. Wait for the crusher to retract, drop into the recess, and immediately jump toward the right wall. The opening is shallow; you’re not meant to fall all the way down.
There’s no reason to rush this pickup. The crusher cycles predictably, and the one-up remains available after you reach the recess. Watch the warning movement of the machinery, not the rhythm of the background. If the platform is descending, stay put until the hazard clears. A one-up is valuable, but it isn’t worth trading a life for a second attempt.
Factory weapon choice
Machine Gun is the most dependable factory carry because it deletes small robots before they reach the conveyor’s edge. Spread is better during the multi-lane ambush immediately before the boss. Grenade is a specialist tool: devastating against stationary armor, awkward against enemies above or behind you.
| Weapon | Best factory use | Main weakness | Recommended carry |
|---|---|---|---|
| Machine Gun | Conveyors and moving robots | Less forgiving against wide groups | Level two or three |
| Spread | Cross-lane enemy waves | Lower focused damage | Level two |
| Grenade | Turrets and armored targets | Slow projectile travel | Level one or two |
Space station secret route and final caches

The false corridor
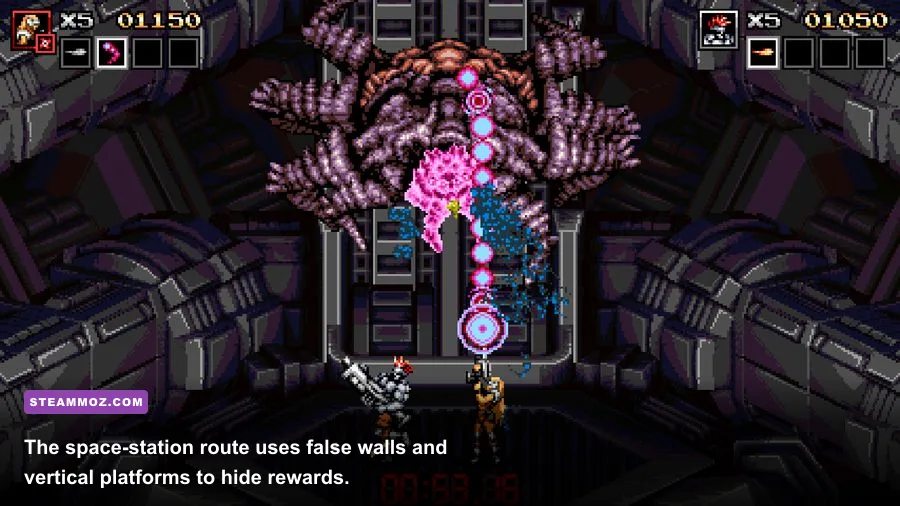
The space station’s first secret is hidden in a corridor that looks like background architecture. After the room with floor turrets, move to the far-right wall and shoot the narrow vertical panel before stepping onto the next platform. The wall opens into a short side passage containing a weapon upgrade.
Do this before activating the next scrolling trigger. Once the camera advances, the corridor becomes much harder to reach because the platform layout locks you into the forward route. The station is also less generous with safe floor space, so clear every turret before searching. A level-three Machine Gun here is excellent preparation for the final approach.
The upper airlock reward
In the airlock sequence, the obvious path sits along the lower platforms while the reward is above the first moving barrier. Ride the platform upward, shoot the ceiling panel, and jump through the opening as it returns. The hidden area contains a support item or extra weapon pickup.
Momentum is the real threat. Release the movement button as you reach the opening; holding forward can push you into the wall or into an enemy projectile. In co-op, only one player needs to enter. The second player can remain on the platform and keep the screen stable, making this secret much safer than attempting it independently.
The last pre-boss upgrade
Before the final boss approach, search the last quiet platforming section rather than sprinting into the arena. A suspicious blank panel near the upper-right edge hides the final practical cache. You want to enter the boss fight with your strongest weapon level intact, so don’t grab a different gun unless it clearly improves your matchup.
Boss arenas punish experimentation. If you’re carrying level-three Spread, keep it for add waves and exposed multi-part targets. If you have Machine Gun, use it for precision on moving cores. Grenade is strongest when the boss pauses, but its damage advantage disappears if you throw it during a movement phase.
Best route for a full hidden-reward run
A completion-minded run should prioritize survival over grabbing every item on the first attempt. Play the opening Jungle cache, upper one-up, City lower room, City billboard, Factory conveyor room, Factory crusher one-up, Space Station corridor, and airlock reward in that order. The rewards are useful, but the route itself is the real prize: you finish with more lives and a stronger weapon than a speedrun through the center lane.
| Stage | Secret to prioritize | Best approach | Risk level |
|---|---|---|---|
| Jungle | Cliffside cache | Clear enemies, shoot the dark rock wall | Low |
| Jungle | Upper one-up | Use the returning platform and clear flyers | Medium |
| City | Lower street room | Drop down and shoot the far wall | Low |
| Factory | Crusher one-up | Wait for the cycle, then enter the recess | Medium |
| Space Station | False corridor | Search before triggering the next scroll | Medium |
| Final approach | Upper pre-boss cache | Keep your current weapon unless the replacement is better | High |
Mavra is generally the easier character for searching because her movement and sustained firing feel forgiving, while Doyle rewards players who already know where they’re going and can exploit cleaner firing windows. Don’t assume the harder character needs every secret; a poorly timed jump still costs a life. If you’re learning the genre, our Dins’s Curse survival tips cover the same broader lesson: secure progress before chasing optional rewards.
Secret-hunting mistakes that waste lives
The biggest mistake is firing at every wall while enemies are active. Clear the screen first. The second is advancing the camera before checking the upper and rear edges of a room. Once the scroll begins, some pockets are technically still visible but practically unreachable. The third is treating weapon level as disposable. A hidden pickup doesn’t help if you lose it to a careless jump ten seconds later.
Use short searches: stop, clear threats, test the suspicious surface, collect the reward, then move. Don’t stand under a moving platform while looking for a wall opening, and don’t enter a secret alcove with an enemy behind you unless you have a co-op partner covering the exit. Blazing Chrome’s secrets are designed to reward attention, not reckless detours.
For official reference, check the Blazing Chrome Steam page, the JoyMasher official site, and The Arcade Crew. If you enjoy route planning across very different genres, Steamoz’s Disciples: Liberation secret locations guide is another useful comparison.
The short version is simple: search before every major camera scroll, shoot blank panels, inspect platforms above the running lane, and protect your weapon level. Once those habits click, the campaign stops feeling like a straight sprint and starts revealing a carefully staged network of extra chances. That’s where Blazing Chrome is at its best—fast, brutal, and generous only when you’ve earned the right to slow down.