
The fastest way to level in Bittersweet Birthday is to repeat compact combat rooms, collect every nearby gold drop, and reset before a risky detour costs your run. Prioritize movement and survivability upgrades first, use dash and parry to clear enemies without taking chip damage, and treat bosses as progression checks rather than farming targets. A clean 10-minute route is worth more than a flashy 25-minute run that ends in a death.
This guide focuses on the PC version of World Eater Games' action-heavy roguelite adventure. The game's terminology can vary slightly between patches and translations, with currency sometimes presented as gold or coins, but the farming logic stays the same: maximize cleared rooms per minute, keep your health intact, and spend currency only when an upgrade directly improves the next loop.
Start With a Fast, Safe Route
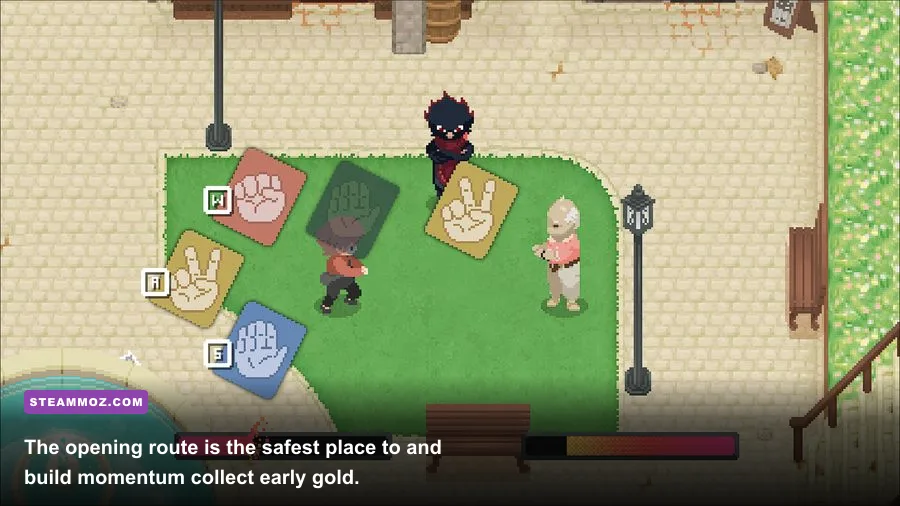
Your first objective isn't to hunt every enemy on the map. It's to learn which rooms can be cleared quickly without forcing you into a healing stop or a dangerous backtrack. The opening combat sections are ideal because enemy patterns are readable, rooms are compact, and the return distance to the upgrade point is short.
Run through the first available combat cluster, grab all visible gold, and clear enemies in an order that keeps you moving toward the exit. Ranged threats come first. Their projectiles limit your movement and can turn a clean melee clear into a slow damage exchange. After that, remove the quickest melee attacker, then finish the slower target. This order reduces the number of active attack timings you need to track.
Don't leave dropped gold sitting behind a living enemy. Collect it immediately after the room is safe, but don't cross the arena while a projectile pattern is still active. Gold is usually close enough to collect after a single dash, and that small pause is safer than sprinting through an undismissed attack.
| Route Segment | Target Time | Gold Priority | Reset Decision |
|---|---|---|---|
| Opening corridor | 1-2 minutes | Collect every visible drop | Continue unless health is already pressured |
| First combat cluster | 3-4 minutes | Clear ranged enemies first | Reset after a costly hit |
| Optional side room | 1-2 minutes | Take it only if enemies die quickly | Skip if it requires a long backtrack |
| Upgrade return | 2-3 minutes | Spend only on useful upgrades | Bank the run before a boss attempt |
The practical benchmark is 8 to 12 minutes per loop. If your route takes twice that long, the problem is usually not your damage. You're probably over-clearing, visiting low-value rooms, or taking avoidable hits that force cautious movement. Record one clean loop, then use it as your baseline rather than judging the route by a single lucky run.
For broader route-planning ideas, Steamoz's fastest leveling route guide covers the same gold-per-minute mindset in another progression-focused game.

🎮 Bittersweet Birthday
Looking to experience this game? Grab your digital key directly on our store for $8.99.
View on Steammoz Store →Build Movement Before Raw Damage

Bittersweet Birthday rewards players who can control space. Damage upgrades feel exciting, but movement upgrades increase both your damage uptime and your survival rate. A stronger attack does nothing while you're waiting for an enemy pattern to end; a better dash lets you cross the threat, stay close, and attack during recovery.
Your early priority should be dash reliability, stamina or cooldown efficiency, and maximum health. The exact upgrade names can change with the current build, so read each description rather than buying by icon alone. Select anything that reduces the downtime between evasive actions or gives you more room to survive a mistake. Once those foundations are in place, choose damage, attack speed, or ability cooldown upgrades according to your preferred range.
Use this simple combat rotation against ordinary enemies: approach at an angle, bait the attack, dash through the active hitbox, strike during recovery, then reposition before the next telegraph. The dash is not just an escape button. Used offensively, it puts you behind many attacks and prevents you from wasting seconds walking around an enemy's front guard.
| Upgrade Priority | Recommended Tier | Why It Matters | Best Farming Use |
|---|---|---|---|
| Dash consistency | S-Tier | Improves dodging, repositioning, and room speed | Every early combat loop |
| Maximum health | S-Tier | Protects accumulated gold from one mistake | Longer routes and first boss attempts |
| Cooldown or stamina | A-Tier | Keeps your defensive option available | Dense rooms with overlapping attacks |
| Attack damage | A-Tier | Shortens enemy recovery windows | Fast clears after movement is stable |
| Specialized damage | B-Tier | Can be powerful but depends on enemy matchups | Later loops and boss preparation |
Parry, where available, should be learned after you understand the dash timing. A missed parry often costs more than a late dash, especially in crowded rooms. Practice on a single enemy: watch the wind-up, wait for the attack to commit, then answer with the defensive input. Don't mash. The point is to turn a telegraph into a guaranteed opening.
Farm Gold by Clears Per Minute
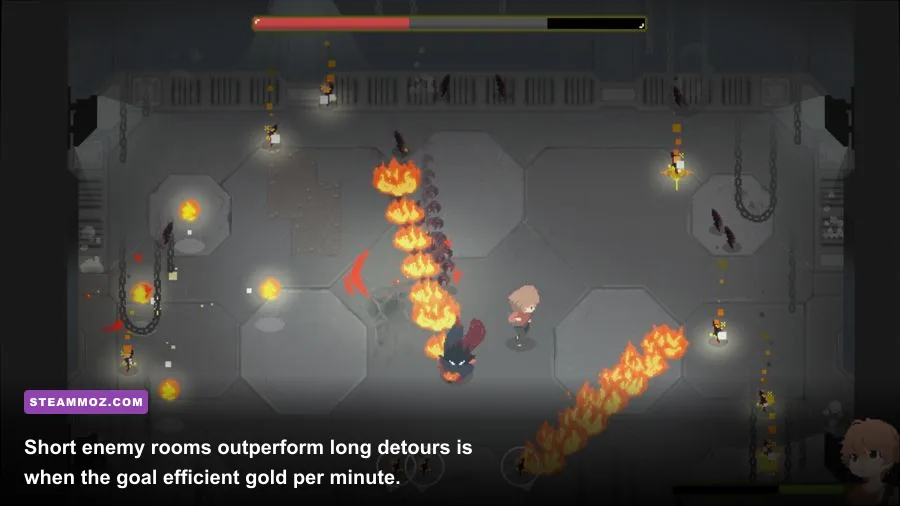
The most reliable gold farm is the shortest repeatable room set you can clear without healing. Long routes may display larger individual payouts, but the relevant number is gold per minute after travel, menu time, and failed attempts. A 10-minute loop producing 100 gold is better than a 20-minute route producing 150 if the longer route has a much higher death chance.
Kill every enemy in high-density rooms, but skip isolated targets that require a long detour. Prioritize rooms with enemies that have generous recovery windows. Fast, predictable opponents are more valuable than elite enemies whose health bars force you to stand in danger. If an encounter regularly costs half your health, it isn't a farm; it's a challenge room.
Collect gold in a consistent sweep. After the final enemy falls, circle the room once in a clockwise direction, then leave. This avoids the common mistake of zigzagging back through a room and losing 20 or 30 seconds per run. If gold disappears after a timer or room transition in your version, grab it before opening the exit or triggering the next encounter.
Resetting is part of the strategy. Bank your currency whenever you reach a safe upgrade point, especially after a clean loop. Continuing for one extra room only makes sense when that room is directly ahead and your health is high. Never gamble an entire run to recover a small amount of gold you could earn again in the next cycle.
The gold-per-minute test
Time three consecutive runs with a stopwatch. Add the currency earned, divide by total minutes, and ignore the best result. Your average is the route's real value. For example, three 10-minute runs earning 94, 101, and 97 gold produce roughly 9.7 gold per minute. That is a useful baseline for judging whether a new room is actually worth adding.
Steamoz's run-efficiency tips and guide to building progression from a small start are useful companions if you enjoy optimizing repeatable loops.
Use Combat Patterns to Protect Your Run

Fast leveling collapses when every room becomes a damage trade. Bittersweet Birthday's enemies telegraph their attacks clearly enough that you can plan around them. Watch the animation rather than the health bar. A wind-up, lunge, projectile flash, or audio cue tells you when to stop attacking and prepare your defensive action.
Against melee enemies, stand just outside their preferred range. Move in only after the swing begins, then dash past the active hitbox. Against ranged enemies, don't retreat in a straight line; diagonal movement makes projectile spacing easier and creates an approach angle. When several enemies are active, keep them on one side of the screen. Crossing between threats is how harmless rooms become failed runs.
Use walls and room edges carefully. They can limit an enemy's approach, but they also remove your escape space. Leave yourself one dash-length of open ground whenever possible. If two attacks overlap, prioritize the attack that covers your exit route and use the dash to break through the safer gap rather than attempting a greedy hit.
| Threat | Telegraph | Counter | Farming Mistake to Avoid |
|---|---|---|---|
| Fast melee attacker | Short forward wind-up | Dash through, then punish recovery | Backing into another enemy |
| Ranged projectile user | Flash or arm-raise animation | Strafe diagonally and close distance | Standing still to finish an attack |
| Heavy enemy | Long wind-up and ground cue | Wait, evade late, attack once or twice | Greedy extended combo |
| Mixed group | Overlapping attack cues | Separate targets and control one side | Fighting in the centre of the room |
Turn down visual effects only if they hide telegraphs. The safest performance profile is a locked frame rate, stable input latency, and readable attack flashes. A higher frame rate can help reaction timing, but uneven frame pacing is worse than a consistent cap. Close background applications, use fullscreen if borderless introduces hitching, and keep effects at the setting where projectile trails remain visible.
Spend Gold Before Boss Progression Checks
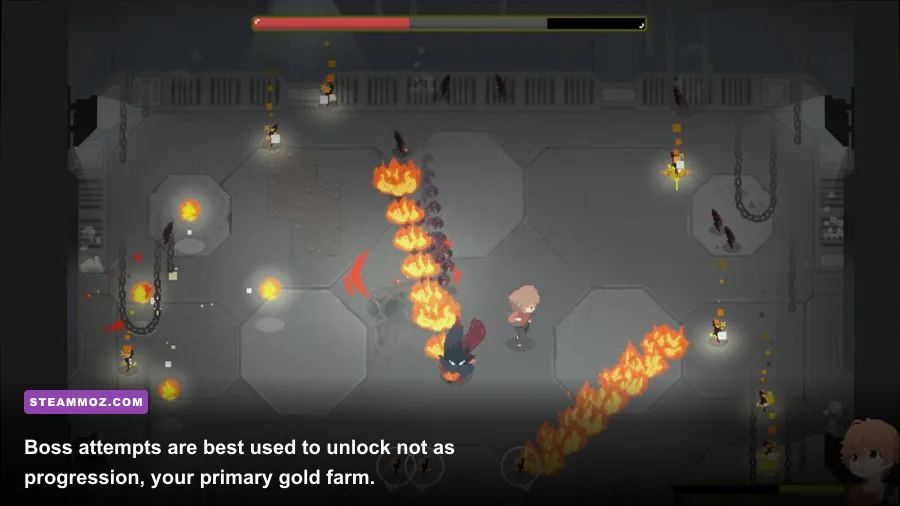
Don't enter a boss fight with an inventory full of unspent currency. A boss unlocks progression, but the money you carry is exposed to the risk of losing the attempt. Return to the upgrade point first, buy the strongest consistency upgrade available, and then make the trip with a clear objective: learn the phase pattern, not necessarily win on the first try.
During a boss attempt, count attacks rather than chasing damage. Most encounters become manageable once you identify the safe punish window after a lunge, area attack, or projectile sequence. Deal a short burst, disengage, and reset your position. If you get hit twice in the opening phase, stop trying to force the kill and use the attempt to learn the next telegraph.
A practical progression cycle looks like this: complete one safe farm loop, purchase movement or health, complete a second loop for damage, then attempt the next locked encounter. If the boss kills you before you understand its second pattern, return to farming rather than repeating the same attempt unchanged. Better preparation should improve your odds; repetition without a build adjustment is just an expensive loading screen.
| Progression Stage | Gold Spending Plan | Combat Goal | When to Push Forward |
|---|---|---|---|
| First loop | Dash, health, or defensive utility | Clear rooms without panic healing | When two consecutive clears are clean |
| Second loop | Damage or cooldown improvement | Shorten common enemy recovery windows | When the route averages 8-12 minutes |
| Boss preparation | Spend all available currency | Survive the opening phase and learn cues | When you can reach the boss at full health |
| Post-boss loop | Upgrade for the next enemy tier | Adapt to new patterns and room density | When the old farm no longer feels profitable |
For official patch information and the current control layout, check the Bittersweet Birthday Steam page and the World Eater Games website. Community discussions on the game's official Steam forums are also worth checking after balance patches, since room rewards and upgrade costs can shift.
The winning formula is pleasantly unglamorous: clear the shortest reliable rooms, keep your dash available, collect gold on one sweep, and bank before greed turns a good run into zero. Once your route consistently lands near the 10-minute mark, layer in damage upgrades and boss attempts. That approach levels faster than blind exploration and gives every piece of gold a clear job.