
The biggest secret in Battlevoid: Harbinger is that there aren’t fixed secret rooms or a permanent collectible checklist. The game’s hidden rewards come from procedural sector routes, optional distress encounters, derelict ships, risky side branches, and rewards that only appear when you explore instead of sprinting toward the exit. Because each run reshuffles the map, the reliable strategy is to recognize the encounter types, preserve enough fuel and hull to investigate them, and keep a flexible ship build ready for whatever the next jump reveals.
That distinction matters. Searching for a single coordinate copied from another player’s run will waste time. A system visible on your map may not exist in the same place during your next attempt, while a quiet-looking branch can contain a better weapon, a recruit, a repair opportunity, or an encounter that dramatically changes your run. This guide breaks down every repeatable secret-location pattern in Battlevoid: Harbinger, explains which rewards are worth the danger, and shows how to make exploration pay without throwing away a winning fleet.
How Battlevoid: Harbinger’s Hidden Map Rewards Work
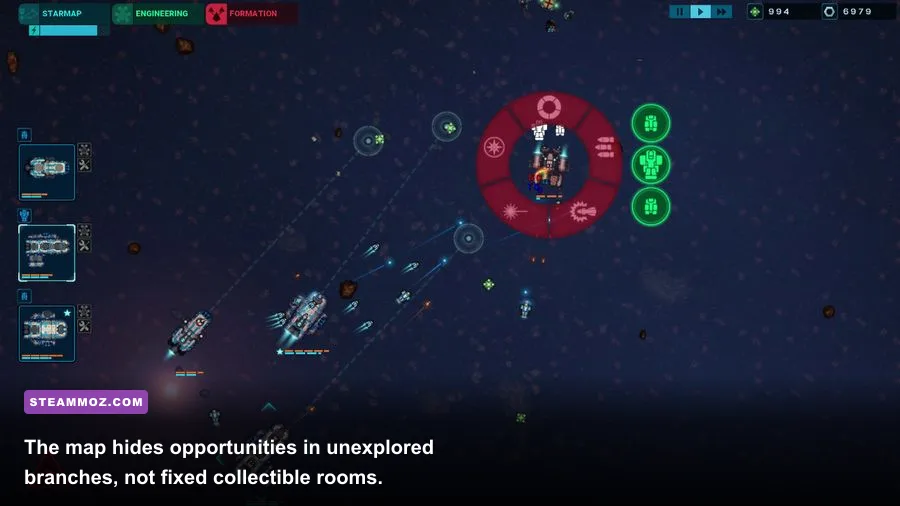
Battlevoid: Harbinger is built around runs rather than a static campaign map. You travel between connected systems, choose which encounters to investigate, fight hostile ships in real time with tactical pausing, and gradually improve your fleet through weapons, modules, crew, and captured opportunities. The important secret is the route itself: the game rewards players who spend a run’s limited resources on optional information and exploration.
There are three signs that a branch deserves attention. First, it takes you away from the shortest route to the sector exit. Second, it contains an encounter marker that isn’t a straightforward hostile fleet or ordinary station. Third, the route gives you a chance to leave after revealing information rather than forcing an immediate fight. Don’t treat every unexplored node as a guaranteed treasure chest. Some are traps, and the reward can be less valuable than the fuel and hull damage required to reach it.
Fuel is the hidden cost most new players ignore. A side route can look affordable until the return trip, a battle, and a final jump consume the reserve you needed to reach a station. Before investigating a suspicious branch, check four things: current hull, available fuel, ammunition or weapon cooldown needs, and whether your fleet can handle a second battle without repairs. A secret reward is worthless if the route leaves you stranded or forces a desperate fight with damaged engines.
| Map Sign | Likely Opportunity | Main Risk | Best Decision |
|---|---|---|---|
| Unexplored side branch | Optional encounter or extra station | Fuel and backtracking cost | Take it when your reserve supports two jumps |
| Distress or civilian marker | Reward, recruit, information, or rescue event | Ambush or follow-up combat | Investigate with shields and weapons ready |
| Derelict or abandoned signal | Equipment, salvage, or a tactical choice | Boarding-style danger or weak payout | Enter only if hull damage is manageable |
| Station branch | Repairs, purchases, and build correction | Delayed progression | Prioritize it after a hard fight |
| Shortest exit route | Fast sector completion | Missed upgrades and recruits | Use it only when the fleet is already strong |
For a useful comparison, Steamoz’s Everspace 2 secret-location guide covers a game with more traditional named discoveries. Harbinger is different: its secrets are systems and encounter rules, not a set of permanent coordinates.

🎮 Battlevoid: Harbinger
Looking to experience this game? Grab your digital key directly on our store for $1.99.
View on Steammoz Store →Every Secret Location Type Worth Investigating
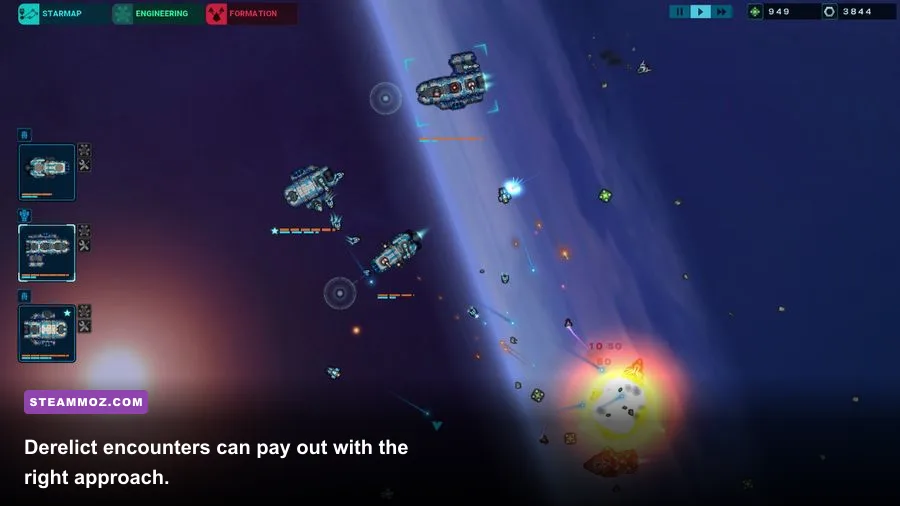
The following locations are the practical “secret spots” you should hunt during a run. Their exact positions are randomized, but their value can be evaluated consistently.
Distress signals
Distress signals are among the best optional encounters because they can offer value without demanding a full detour. They may lead to a rescue choice, a hostile ambush, a survivor, or a reward that improves your fleet’s next fight. Approach them when your main weapons are charged and your defensive systems are available. Entering while your fleet is already damaged turns a potentially profitable event into a coin flip.
The key tactic is to pause immediately after the encounter begins. Identify whether the danger is a direct fleet engagement or an event decision. If enemies appear, focus fire on the ship with the strongest long-range weapon first. A distress encounter is not a license to spread damage across every target. Removing one weapon platform quickly is usually worth more than softening three ships at once.
Derelict ships and abandoned signals
Derelicts are the closest thing Harbinger has to hidden treasure rooms. They’re attractive because they can provide salvage, equipment, or an unusual decision, but they’re also easy to overvalue. Check the opportunity cost before committing: if your fleet needs immediate repairs, a derelict that risks another battle may be worse than a nearby station.
Use derelicts to fill a build gap, not to chase a dream loadout. If your fleet lacks reliable shields, defensive modules or shield-support equipment should beat a flashy damage upgrade. If you already have strong defense, look for a weapon that complements your existing range and firing cycle. One high-damage gun won’t save a fleet whose ships can’t survive long enough to use it.
Remote stations and off-route shops
Stations aren’t secret in the traditional sense, but remote station branches are hidden rewards because they let you convert a lucky run into a stable one. Repairs are often more valuable than shopping. A weapon upgrade that increases theoretical damage means little if the fleet enters the next encounter with critical hull damage.
Shop deliberately. Compare the weapon’s range, damage profile, cooldown, and power requirements with the ship carrying it. A slow heavy weapon belongs on a platform protected by distance or shields; a fast-firing weapon is better at stripping weak defenses and interrupting fragile targets. Don’t buy a weapon simply because its damage number is higher. Harbinger’s real build check is whether the fleet can keep that weapon firing while under pressure.
Unmarked-looking branches
Procedural maps often make a safe route look more appealing than an exploratory one. That’s the trap. A branch with no obvious combat icon can still reveal a useful event, while the “safe” route may lead through several ordinary battles with no chance to recover. Scan the entire reachable map before committing. Route planning is itself a hidden mechanic: you’re choosing not just where to go, but how many fights you can afford before the next repair point.
| Location Type | Reward Potential | Risk Level | When to Visit |
|---|---|---|---|
| Distress signal | High: event rewards, survivors, equipment | Medium | When weapons and defenses are ready |
| Derelict ship | Medium to high: salvage or equipment | Medium to high | When you can absorb an unexpected fight |
| Remote station | High: repairs and build correction | Low to medium | After damage or before a difficult route |
| Unmarked side branch | Variable: information or optional encounter | Variable | When fuel and hull reserves are comfortable |
| Direct sector route | Low: fewer opportunities | Low initially | When escaping a failing run |
Hidden Rewards and How to Keep Them
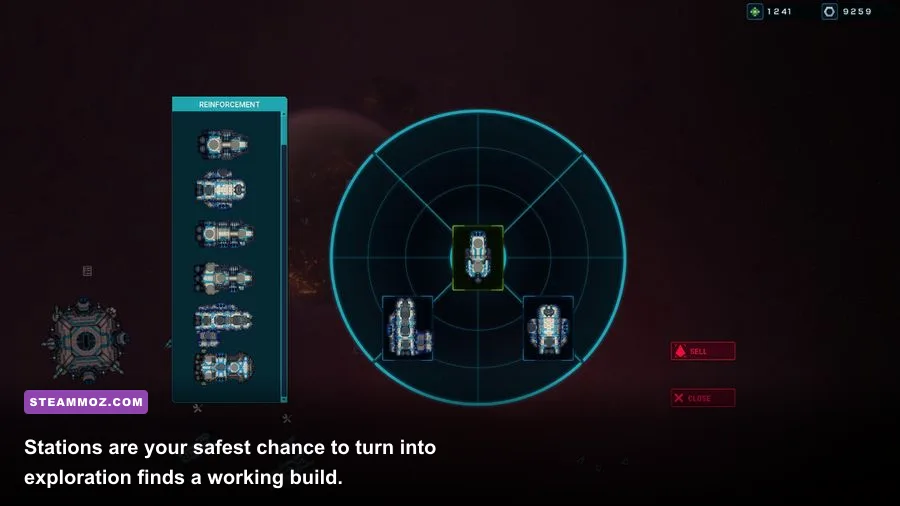
Finding a reward is only half the job. Harbinger’s progression can punish greedy routing because equipment does not exist in a vacuum. A new weapon may consume more power, demand a different range profile, or compete with a module that keeps your fleet alive. Treat every reward as a build decision.
Weapons
Weapon rewards fall into three practical jobs: shield pressure, hull damage, and target control. Early in a run, reliable damage is usually better than specialized burst because ordinary enemy groups punish downtime. Once your fleet has a dependable baseline, add a weapon that covers the weakness your current setup exposes. If shields collapse slowly, improve shield pressure. If enemies survive long enough to reach your formation, prioritize burst or control.
Weapon placement matters just as much as the item itself. Put longer-range weapons on ships that can remain behind the main line. Keep faster, shorter-range tools on durable ships that can draw attention. Pause after each engagement and inspect which weapon actually contributed. A gun that looks impressive in the shop but rarely fires because its carrier is constantly retreating is dead weight.
Modules and defensive upgrades
Defensive modules are hidden run multipliers. A module that prevents one catastrophic hull breach can be worth more than a small damage increase across several battles. Prioritize systems that protect the fleet’s weakest link: shields if your formation relies on sustained fighting, engines if repositioning is your survival tool, and power support if your best weapons frequently sit idle.
Crew and survivors
Optional events may provide crew or survivors, and these rewards are easy to undervalue because they don’t always produce an immediate explosion on the screen. A good crew assignment improves the ship’s role over many encounters. Put specialists where their effect is multiplied: defensive personnel on the ship absorbing fire, weapon-focused crew on the platform with your most important gun, and utility crew on a ship that spends the whole battle repositioning.
Information as a reward
Not every hidden reward is an item. Revealing a safer route, identifying a station, or learning that a branch leads toward a fight can save more resources than a low-tier weapon. Information lets you decide when to repair, when to shop, and when to stop exploring. Veteran runs often look “lucky” because they preserve fuel for the one branch that matters instead of spending it on every available marker.
| Reward | Take It When | Skip It When | Build Impact |
|---|---|---|---|
| High-damage weapon | Your fleet has power and protection | The carrier already struggles to stay alive | Raises burst but may increase downtime |
| Fast-firing weapon | You need dependable shield pressure | Your fleet lacks finishing damage | Improves consistency against light targets |
| Defensive module | A key ship is repeatedly taking critical damage | Your fleet already survives every encounter | Improves run stability |
| Crew or survivor | You have a clear role for the recruit | Adding them would weaken existing assignments | Scales through repeated encounters |
| Route information | Fuel or hull is limited | You have a fully healthy fleet and spare fuel | Reduces future risk rather than increasing damage |
The Best Exploration Build for Secret Hunting
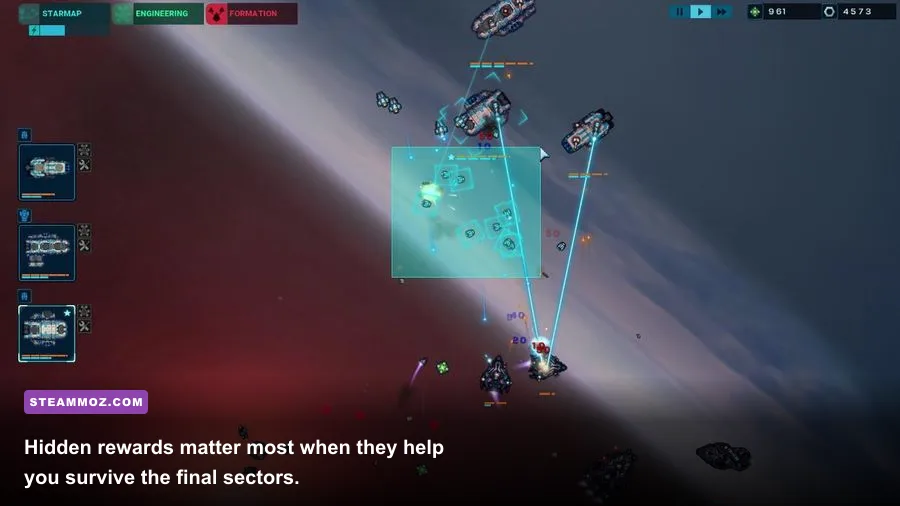
A secret-hunting fleet shouldn’t be built like a speedrun fleet. You need enough damage to win optional fights, enough defense to survive bad event rolls, and enough flexibility to use rewards without dismantling the entire setup. The safest early priority is a durable front-line ship backed by a ranged damage platform. Keep the fleet compact until the run gives you a clear reason to expand; more ships also mean more incoming fire, more equipment demands, and more chances to dilute your strongest upgrades.
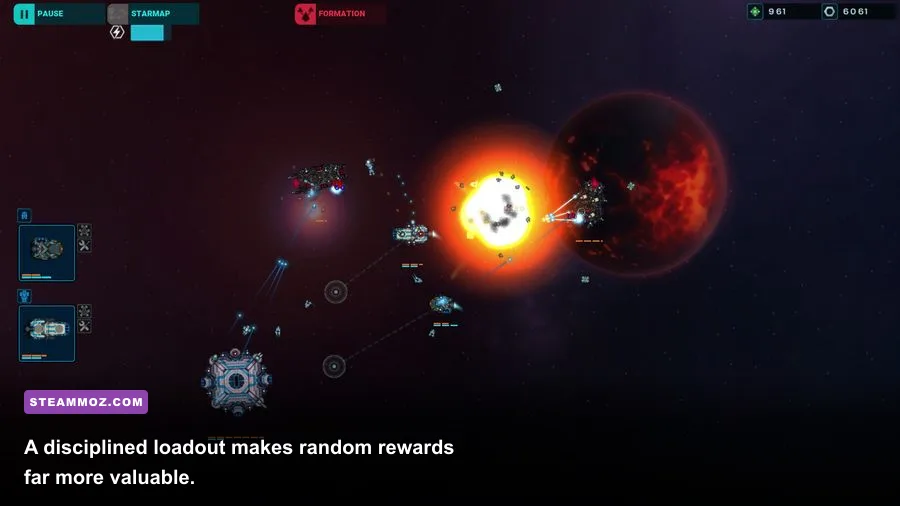
During combat, pause at the start and establish roles. The front ship should attract pressure without drifting so far forward that support weapons lose range. The rear ship should maintain firing distance and focus on the most dangerous enemy platform. If a target begins charging a powerful attack, reposition before the shot lands rather than trying to repair the damage afterward. Tactical pausing is not just a convenience here—it’s how you turn a random encounter into a controlled engagement.
Use a simple rotation: disable or destroy the enemy’s highest-impact weapon, stabilize your formation, then clean up the weakest target. Don’t chase a retreating enemy through the entire map if another hostile ship is firing freely. Optional encounters are resource tests. Winning with half your hull gone is often a strategic loss if the next node is a forced battle.
| Fleet Role | Priority | Recommended Behavior | Common Mistake |
|---|---|---|---|
| Front-line ship | Survivability and threat control | Hold the enemy’s attention while staying in support range | Overextending beyond allied weapons |
| Ranged damage ship | Weapon uptime and safe distance | Focus the most dangerous enemy platform | Changing targets too often |
| Utility ship | Repairs, support, or flexible weapons | Fill the weakness revealed by the route | Buying upgrades without a defined role |
| New recruit | Role specialization | Assign to the ship that multiplies the benefit | Replacing a proven specialist for a minor bonus |
For players who enjoy the broader genre, our Everspace 2 performance guide and Dungeon Siege retrospective offer useful contrasts: one focuses on modern space-action tuning, while the other shows how older RPG systems build tension through attrition and route choice.
Route Planning, Boss Preparation, and Common Traps
The best time to hunt a hidden location is before your fleet becomes desperate. At the start of a sector, explore more aggressively because you have room to absorb mistakes. In the middle, prioritize stations and rewards that solve a known weakness. Near the exit, stop gambling unless the branch offers a clear upgrade or repair. This three-stage rhythm prevents the classic Harbinger failure: winning several battles, then losing the run to one unnecessary detour.
Use a resource threshold
Set a personal cutoff before entering optional content. If the fleet is critically damaged, weapons are unreliable, or fuel is only sufficient for the visible route, take the safe path. If hull is healthy and you have enough fuel for the detour plus the next mandatory jump, investigate. The exact threshold changes with your build, but the principle doesn’t: never spend your escape route on a reward you haven’t confirmed.
Prepare for the final sectors
Late-sector enemies punish one-dimensional fleets. A setup built entirely around close-range damage may dominate early encounters but collapse when it can’t approach safely. Before the final stretch, keep at least one weapon capable of contributing from distance, maintain a defensive answer for sustained fire, and repair before shopping for luxury upgrades. The strongest hidden reward is often the one that makes your existing fleet consistent rather than spectacular.
Don’t trust copied coordinates
Community screenshots and old guides can still teach you what an encounter looks like, but their map positions should not be treated as universal. Procedural generation changes the route. If another player found a derelict three jumps above the starting node, that tells you the event is possible—not where it will spawn in your run. Learn the icon, evaluate the branch, and make the decision from your current resources.
| Run Stage | Exploration Goal | Resource Rule | Exit Condition |
|---|---|---|---|
| Early sector | Find equipment, crew, and route information | Spend fuel while hull is healthy | Leave with a defined fleet role |
| Mid sector | Repair weaknesses and secure a station | Avoid detours that require emergency repairs | Enter the next fight with stable weapons |
| Late sector | Protect the winning build | Skip low-value branches | Reach the exit with repair capacity intact |
| Pre-final approach | Confirm range, defense, and target focus | Spend currency on consistency first | Stop shopping when the fleet is battle-ready |
Before starting a new run, check the official Battlevoid: Harbinger Steam page for the current version and community updates. Bugbyte’s official developer site is also the right place to verify platform information rather than relying on an old forum post. For another secret-heavy guide built around changing routes, see Steamoz’s Disciples: Liberation hidden-location walkthrough.
The short version is simple: Harbinger’s secrets are discovered through curiosity backed by discipline. Investigate distress signals, derelicts, remote stations, and unexplored branches—but only when the fleet can pay the price. Take rewards that strengthen a clear role, pause early in every fight, and treat fuel as both travel currency and survival insurance. Once you stop searching for fixed coordinates and start reading the procedural map, the game’s hidden rewards become far more predictable—and your successful runs become much more repeatable.