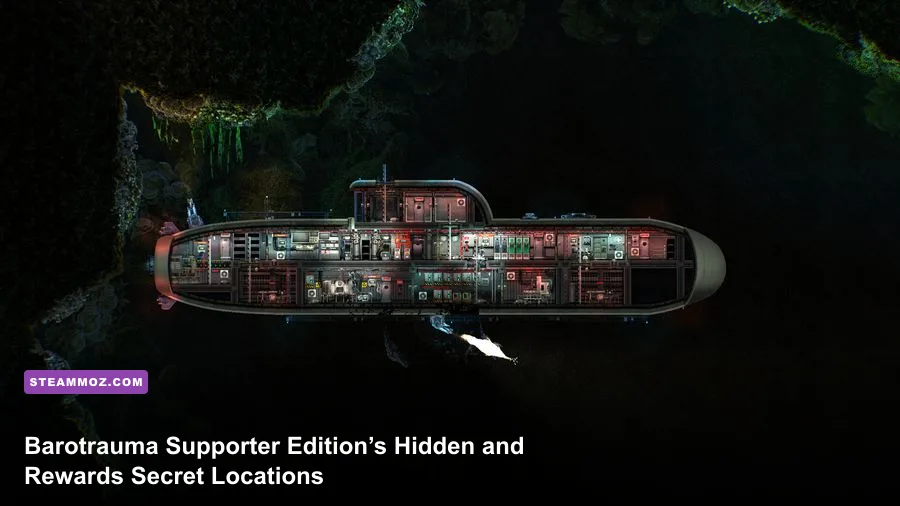
Barotrauma’s Supporter Edition does not add a fixed set of secret map coordinates or a separate treasure hunt. Its bonus is primarily supporter-only cosmetic content, the soundtrack, and the digital artbook; the genuinely valuable hidden rewards are found in procedural wrecks, abandoned outposts, beacon stations, alien ruins, and the Abyss. That distinction matters: there is no universal “room 12” location to visit, but there is a reliable method for finding every worthwhile secret spawn without throwing your crew into a needless death spiral.
This guide separates Supporter Edition rewards from Barotrauma’s real exploration secrets, explains where each reward category appears, and gives you a practical search route for campaign, multiplayer, and single-player runs. World generation changes the exact coordinates, but the structures, triggers, loot logic, and danger signs remain consistent.

What the Supporter Edition actually unlocks
The first secret is that there is no hidden Supporter Edition biome, mission, boss, or campaign branch. The official Steam listing for Barotrauma presents the Supporter Edition Upgrade as a package of bonus supporter items, the original soundtrack, and a digital artbook. It does not add a secret station chain or exclusive alien ruin.
After installing the upgrade, launch the game once while connected to Steam, then check the character wardrobe and campaign inventory screens. If the supporter items do not appear immediately, fully restart the client and make sure the DLC is checked under Barotrauma’s Steam properties. In multiplayer, the player who owns the DLC should host or join normally; the upgrade isn’t a map key that has to be inserted into a submarine.
Supporter cosmetics are not stronger than standard equipment. They don’t increase Medical, Weapons, Mechanical, or Electrical skill, add armor value, improve diving speed, or alter reputation. A supporter outfit can help identify the owner in a crowded crew, but it won’t save you from a Mudraptor. Treat the DLC as a fan-support package, not a gameplay expansion.
| Supporter Edition feature | Gameplay effect | Where to access it | Important note |
|---|---|---|---|
| Supporter in-game items | Cosmetic only | Character customization and inventory | Names and visibility can vary with updates or localization |
| Original soundtrack | None | Steam DLC files | Does not change in-game music selection |
| Digital artbook | None | Steam DLC files | Concept material, not an in-game collectible |
| Secret locations | None added by the DLC | Procedurally generated campaign maps | Wrecks, ruins, stations, and outposts exist in the base game |
If you’re hunting for items you can actually sell, craft around, or use to unlock story progress, focus on the locations below. The official Barotrauma website and the game’s patch notes are also worth checking when a major update changes generation or loot behavior.
🎮 Barotrauma - Supporter Edition
Looking to experience this game? Grab your digital key directly on our store for $20.39.
View on Steammoz Store →How procedural secret locations work
Barotrauma’s campaign map is generated from connected locations rather than hand-authored as one fixed dungeon. That’s why a guide promising exact grid coordinates for every hidden reward is misleading. Your seed, selected difficulty, biome progression, game mode, and installed mods all influence what appears.
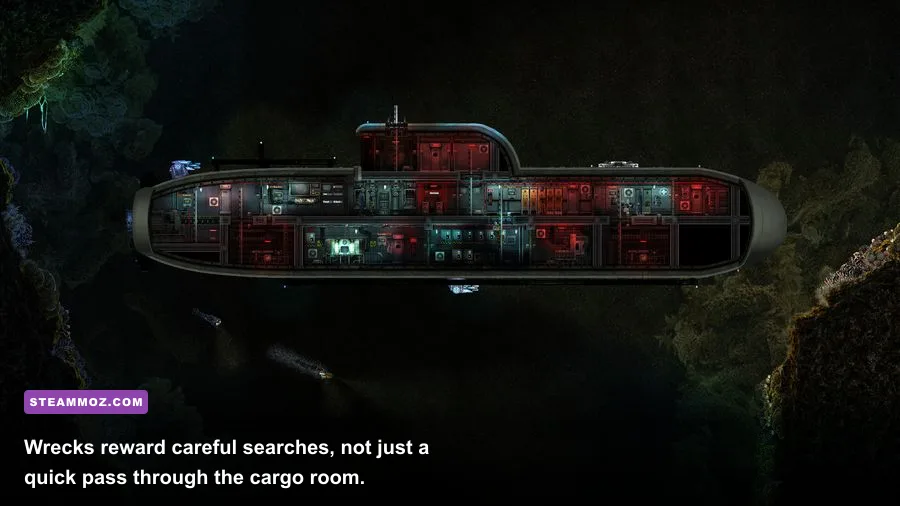
Instead of memorizing coordinates, learn the visual signals. A wreck is usually shown as a derelict submarine silhouette on the sonar, while an abandoned outpost appears as a station-shaped structure that doesn’t behave like a normal friendly port. Alien ruins have a distinctly irregular silhouette and dense internal geometry. Beacon stations are usually tied to a beacon repair or activation objective and can be revisited after the main task is complete.
Before stopping to investigate, slow the submarine and switch to active sonar only when you need a clearer outline. Active pings reveal your position to hostile creatures and can turn a quiet search into a swarm. Passive sonar is slower, but it lets you identify terrain and large structures while reducing unnecessary attention. Keep the reactor stable, park outside crushing terrain, and send a small search team rather than the entire crew.
The search team that actually works
A two-person expedition is the safest default: one diver with a loaded oxygen tank, scooter, and welding tool, plus one armed escort carrying a stun baton, revolver, or SMG. Bring a plasma cutter if you expect locked doors, but don’t strip your submarine’s only emergency tool for a side trip. A mechanic with decent Mechanical skill can repair doors and junction boxes faster, while an assistant with a toolbox can keep the team moving even before specialization.
Use a handheld sonar or secure the submarine’s navigation position before leaving. Mark the structure with a beacon or a dropped tool crate, because interior navigation becomes surprisingly confusing once flooding, darkness, and hostile fauna enter the picture. If the search team loses radio contact, the pilot should not immediately move the submarine. Most rescue deaths happen because the vessel drifts away while the diver is still inside the wreck.
| Location type | Best hidden reward | Main danger | Search priority |
|---|---|---|---|
| Wreck | Weapons, ammunition, medical items, materials, rare cabinets | Leaks, vents, Crawlers, Threshers | High early and mid-campaign |
| Abandoned outpost | Supplies, cabinets, crafting materials, documents, mission loot | Husks, infected civilians, electrical hazards | High when safely accessible |
| Beacon station | Mission rewards, equipment, repair materials, hidden storage | Flooding, creatures, power failures | High during beacon missions |
| Alien ruin | Alien artifacts and rare alien technology | Alien guardians, traps, extreme navigation difficulty | Very high after preparation |
| Abyss | Rare salvage opportunities and high-value kills | Endworm, Latcher, Charybdis, pressure | Low unless deliberately equipped |
Wrecks hide more than the obvious cargo room
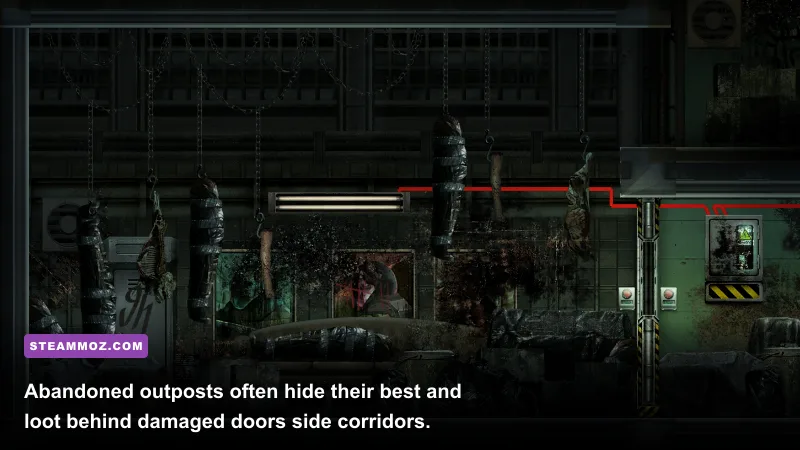
Wrecks are the best early source of hidden rewards because they’re dangerous without requiring an endgame submarine. Don’t stop at the first storage compartment. Search the entire hull, including ballast tanks, engine rooms, bunk areas, airlocks, and side corridors that look like dead ends. A wreck’s most valuable item may be inside a secure steel cabinet or a small room behind a damaged door.
Start by cutting or opening the safest external access point. If the wreck is already flooded, clear water from one compartment at a time instead of draining the entire interior. Flooding creates noise, reduces visibility, and makes a retreat much harder. Carry a plasma cutter for metal doors, but remember that cutting consumes fuel and can leave you without a way to solve a later access problem.
Loot containers systematically. Open crates, cabinets, lockers, and corpses, then check the floor beneath them. Small items can be hidden by darkness or wreck geometry, especially ammunition boxes and medical supplies. A handheld sonar helps locate the hull, but it won’t highlight every item. The flashlight beam is still your best tool for catching loose loot.
Wreck enemies and the silent alarm problem
Crawlers and Threshers can enter through damaged hull sections while you’re searching. If you hear rapid movement outside, don’t keep looting on the assumption that the sound is harmless. Park a guard at the access point, keep the exit clear, and use a stun baton to interrupt smaller creatures before they pin a diver against a wall.
Wrecks can also contain infected crew or husks. Watch for aggressive movement, unusual vocal cues, and characters who behave differently from normal corpses. A Husk Infection is a time-sensitive medical emergency. If you have Calyxanide, administer it according to the current medical interface immediately; waiting for symptoms to become obvious can turn a recoverable infection into a crew wipe.
The strongest wreck routine is simple: map the entrance, clear threats, secure medical items, check locked rooms, then take weapons and ammunition. Loose crafting materials are useful, but never risk a full submarine for a handful of Plastic or Sodium. For broader survival habits, Steamoz’s practical survival tips are surprisingly transferable to Barotrauma’s pressure-heavy exploration.
Abandoned outposts are puzzle rooms in disguise
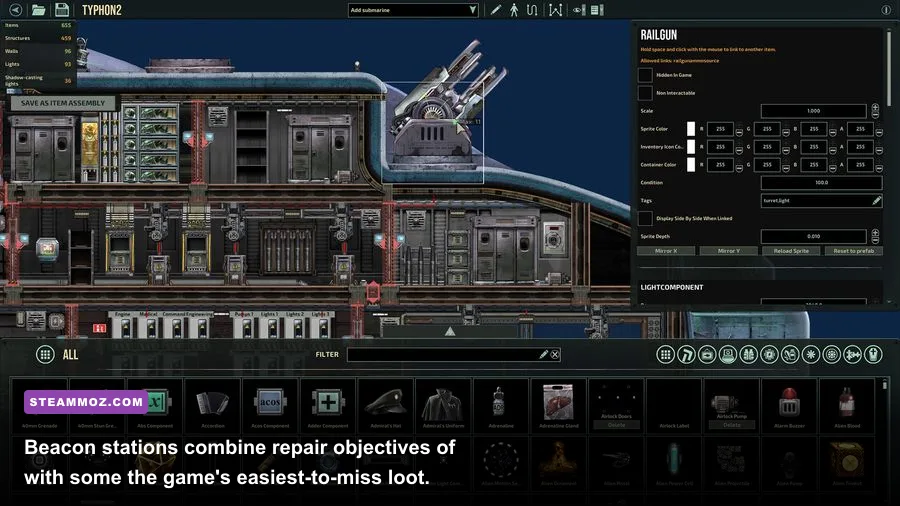
Abandoned outposts are more than hostile versions of normal stations. They often contain alternate routes, damaged electrical systems, blocked doors, and rooms that are easy to miss when the crew rushes toward the first enemy contact. Search vertically as well as horizontally: ladders, maintenance corridors, and lower storage areas frequently hold the useful supplies.
Bring a welding tool and a screwdriver. Damaged doors may need repairs before they open, while broken junction boxes can disable lighting or access systems. Don’t repair every device automatically. A power network that has been damaged in several places can overload when restored, causing fires or electrocution. Repair the route you need, check for live wires, and keep the team’s exit open.
Husk-infected survivors are the signature threat. They can look like ordinary station occupants until they attack, and cramped corridors make their melee pressure especially dangerous. Use doors as distance tools, not just barriers. Close one behind you, retreat to a wider room, and let the escort fire from a controlled angle. Shotguns are powerful at close range, but their spread makes them risky around crew members.
Search every accessible room after the combat is over. Abandoned outpost rewards commonly include medical supplies, ammunition, crafting ingredients, and equipment that can save a cash-strapped campaign. If reputation or mission progression is involved, check the station’s objective text before stripping it bare. Some missions require a specific item or surviving NPC, and indiscriminate explosives can destroy the thing you were sent to recover.
Beacon stations contain the most overlooked loot
Beacon stations are easy to ignore because their primary objective is usually obvious: repair, activate, or stabilize the station. Once the main task is complete, many crews immediately return to the submarine. That’s when they miss side rooms, storage cabinets, and lower maintenance spaces.
Approach with the beacon’s machinery in mind. Bring spare wire, a screwdriver, a wrench, and welding fuel. Mechanical repairs and electrical repairs are separate jobs, and a station can look “fixed” while a second broken component still prevents the objective from completing. A mechanic with a wrench and toolbox can make the job much quicker, but an assistant can handle basic repairs if the situation is calm.
After activation, wait for the station to stabilize before looting. Power changes can illuminate rooms, open doors, or reveal hazards. Check behind the control room, around the reactor or generator, and along the lowest accessible corridor. If the station contains a locked storage room, don’t spend your only explosive charge immediately. First inspect for an alternate entrance or a repairable door.
Beacon stations are also excellent emergency shelters. If a creature attacks while your divers are outside, retreat inside, close doors, and use the station’s geometry to break line of sight. Don’t fight in a flooded vertical shaft unless you have no choice; ladders and currents make it easy for a diver to become separated from the escort.
Alien ruins are the real hidden-reward jackpot
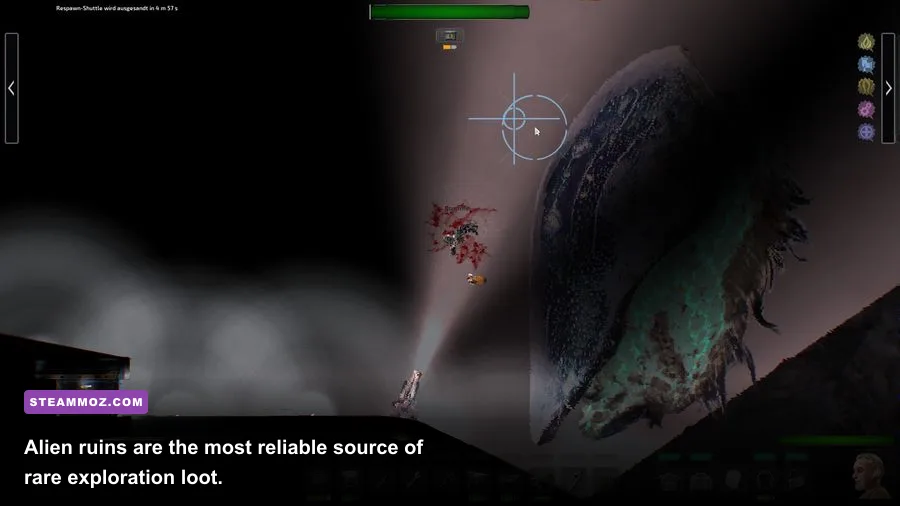
Alien ruins are where Barotrauma’s secret-hunting fantasy finally pays off. They are difficult to navigate, contain hostile alien life and environmental hazards, and reward crews with Alien Artifacts and related alien technology. These items can be sold for campaign money, used in research and mission chains, or handled as dangerous objects that create problems if brought carelessly aboard.
Prepare before you enter. A ruin expedition should have oxygen tanks, a scooter, welding fuel, a plasma cutter, spare batteries, a medical kit, and a weapon suited to tight corridors. Bring a container or secure storage method for artifacts. Carrying an alien artifact openly through a submarine can expose the crew to its effects, and leaving one beside a junction box or fuel tank is asking for an avoidable disaster.
Alien artifact behavior and extraction
Alien artifacts are not ordinary loot. Depending on the artifact type and current game version, they can produce harmful effects such as noise, light, heat, radiation, or other environmental disturbances. The safe approach is to identify the item, move it away from the expedition path, and keep the carrier protected by a buddy. Don’t let an inexperienced assistant pick it up while alone in a sealed room.
Ruins also use visual storytelling to disguise routes. Look for unusual wall openings, branching chambers, vents, and corridors that continue beyond the room containing the first artifact. Searchers often leave half the ruin unexplored because the first reward creates a false sense of completion. Mark cleared rooms with light sticks or dropped low-value objects, then return through the marked path rather than improvising.
Alien guardians punish panic more than slow movement. Keep the team together, avoid splitting around corners, and fire only when you have a clean angle. If the ruin starts filling with water, abandon low-value loot and retreat. The artifact is valuable; your best mechanic, medical supplies, and submarine are worth much more.
| Expedition phase | Key danger | Best counter | Reward decision |
|---|---|---|---|
| Approach | Sonar attraction and terrain collision | Use passive sonar, slow down, park safely | Leave only after confirming a retreat route |
| First room | Guardian ambush or flooding | Secure the entrance and place a light marker | Do not grab the first artifact immediately |
| Deep chambers | Disorientation and oxygen loss | Buddy system, scooters, spare tanks | Prioritize artifacts over ordinary materials |
| Extraction | Creature pursuit and artifact effects | Move in formation and store the artifact safely | Sell or deliver only after the submarine is secure |
When the Abyss is worth searching
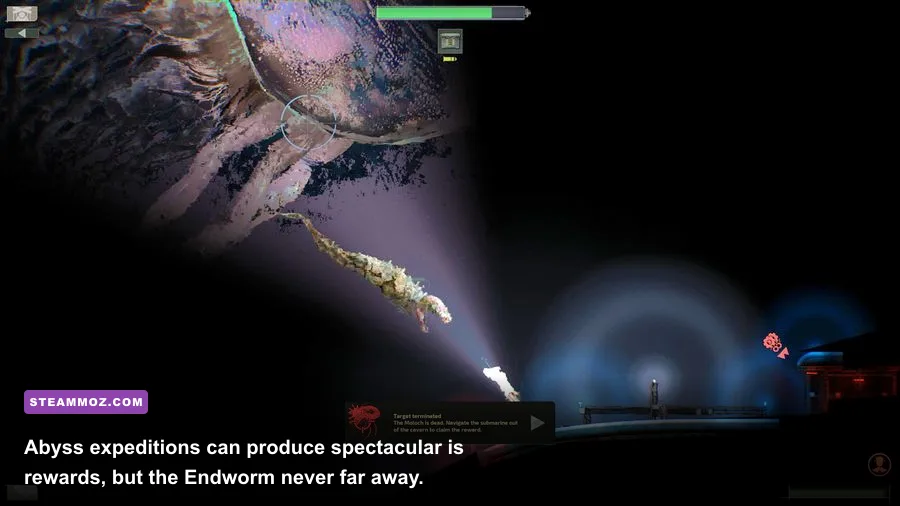
The Abyss is not a normal secret location. It’s an optional high-risk layer beyond the main route, and the rewards are tied more to salvage and monster encounters than to a guaranteed Supporter Edition collectible. Large creatures such as the Endworm, Latcher, and Charybdis can destroy an unprepared submarine in seconds.
Before descending, verify that the submarine has reinforced hull strength, functioning pumps, backup batteries, spare mechanical and electrical components, and enough ammunition to fight while repairing. A coilgun with appropriate ammunition is useful, but weapon damage alone won’t solve an Abyss encounter. You need coordinated repairs, controlled ballast movement, and a pilot who understands when to retreat.
The Endworm’s appearance is the telegraph. Its enormous body and aggressive movement leave little room for a stationary fight. Keep moving, avoid trapping the submarine against terrain, and focus weapons on the exposed sections you can hit consistently. Assign one crew member to navigation, one to repairs, one to weapons, and one to pumps or flooding control. Everyone trying to shoot is how the submarine sinks.
Search the Abyss only when the campaign reward justifies the risk or when your crew specifically wants the encounter. If you’re merely chasing hidden loot, alien ruins and wrecks offer a far better reward-to-danger ratio. Steamoz’s weapon-ranking approach is useful here, but Barotrauma’s most important “weapon” remains a crew that knows its repair assignments.
A complete secret-location sweep route
Use this order if you want to clear optional content without wrecking campaign momentum. First, identify nearby wrecks and abandoned outposts. They provide medical supplies, ammunition, and spare tools that make later expeditions safer. Second, complete beacon stations when they appear on your route, then search them after the objective is finished. Third, investigate alien ruins once the crew can afford proper oxygen, weapons, and artifact storage. Leave the Abyss for a deliberate expedition.
- Stop the submarine safely. Kill forward momentum, check the sonar, and avoid parking directly above a dangerous structure or in a current.
- Assign roles before opening the hatch. Name a pilot, diver, escort, and emergency repair contact. Everyone should know the return route.
- Secure the entrance. Place a light marker, close unnecessary doors, and keep one oxygen source available for the retreat.
- Search by zones. Clear the upper rooms, then maintenance and ballast areas, then locked or damaged side rooms.
- Prioritize unique loot. Take Alien Artifacts, mission objects, weapons, medicine, and rare equipment before common crafting materials.
- Leave at the first real warning. Low oxygen, missing escort, rising water, an approaching large creature, or a spreading fire is a valid extraction signal.
- Secure the haul aboard. Store artifacts away from sensitive machinery, unload weapons safely, and treat anyone exposed to infection or unknown effects.
Keep a campaign notebook with the seed, biome, location type, and reward found. That makes repeat runs far more efficient, even though the exact layout changes. If you’re running mods, record the mod list too; custom submarines and loot overhauls can alter storage, doors, encounter density, and reward tables.
The rewards worth risking your crew for
Not every hidden item deserves a rescue mission. Alien Artifacts and unique mission objects usually rank highest because they’re difficult to replace. Medical supplies and ammunition are extremely valuable early, when one missing Calyxanide or box of bullets can decide a whole route. Standard materials are useful, but they should be the last reason you stay inside a collapsing wreck.
| Reward category | Best source | Campaign value | Extraction rule |
|---|---|---|---|
| Alien Artifacts | Alien ruins | Very high | Carry with protection and secure storage |
| Mission-specific objects | Outposts, wrecks, beacon stations | Very high | Check the objective before selling or dismantling |
| Medicine | Wrecks and abandoned outposts | High | Prioritize Calyxanide, blood packs, and stabilizing drugs |
| Weapons and ammunition | Wrecks and hostile stations | High early | Unload and store safely before docking |
| Rare equipment | Ruins, wreck cabinets, difficult stations | High | Keep it if it fills a genuine crew role |
| Common crafting materials | Every location | Medium or low | Leave them when oxygen, hull, or enemies become critical |
Remember that the Supporter Edition’s own bonus items are not hidden in any of these places. You don’t need to defeat the Endworm, complete a ruin, or search every wreck to unlock them. If they’re missing, troubleshoot the Steam DLC installation rather than spending six hours scanning the Abyss.
For campaign economy and resource decisions, compare this approach with Steamoz’s fast-leveling and gold-farming breakdown. The games are different, but the principle holds: spend dangerous expedition time on rewards that meaningfully improve your next route.
Final verdict on Barotrauma’s “secret” rewards
The Supporter Edition is easy to misunderstand because its name sounds like it should include exclusive exploration content. It doesn’t. Its rewards are supporter cosmetics and digital extras, while Barotrauma’s real hidden treasures remain part of the base game’s procedural campaign.
For the best results, sweep wrecks and abandoned outposts early, finish every beacon station completely, approach alien ruins with a dedicated two-person team, and treat the Abyss as an optional boss expedition rather than a loot corridor. Search visually, mark your route, protect your oxygen supply, and leave common materials behind when the danger climbs.
That method will uncover the rewards that actually matter without chasing fake coordinates or risking your campaign for DLC items that were never placed on the map. The deep is full of secrets—but in Barotrauma, knowing when not to keep searching is the most valuable secret of all.
For official update information, consult the Barotrauma Steam news feed and the Undertow Games website. And if your campaign still feels too punishing, Steamoz’s guide to saving your first town has the same kind of practical, no-nonsense survival mindset.