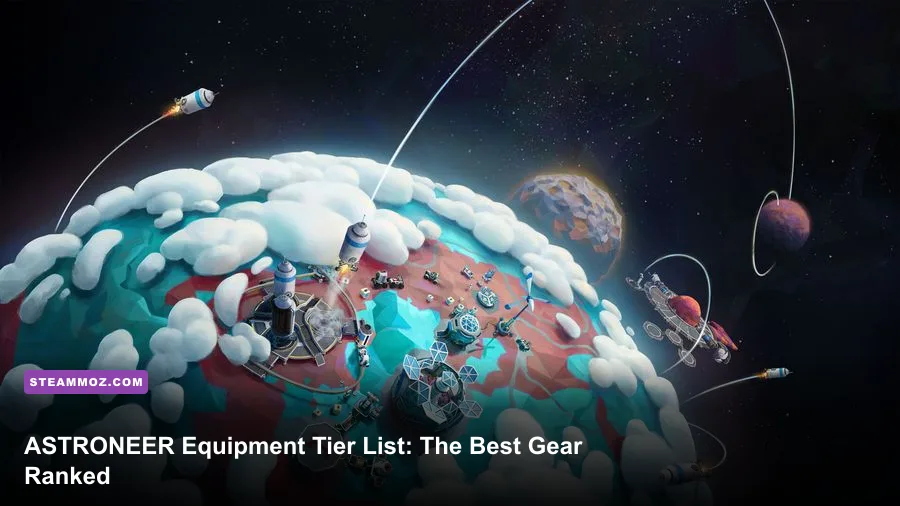
ASTRONEER has no traditional weapon roster, so the best equipment ranking is really about terrain control, mobility, survival, and hazard management. The S-Tier winners are the Terrain Tool with Drill Mod 3, the Hydrazine Jet Pack, the Portable Oxygenator, the Hoverboard, and the Paver. They solve the problems that actually kill runs: slow excavation, awkward cliffs, oxygen gaps, rough ground, and overloaded logistics. Treat this as an equipment tier list rather than a gun ranking, because ASTRONEER’s threats are environmental hazards and hostile plants—not enemy soldiers with health bars.
This distinction matters. You won’t find pistols, rifles, ammunition, damage perks, or combat skill trees in System Era’s sandbox. Your astronaut’s “loadout” is built from backpack modules, deployables, vehicles, power tools, and oxygen infrastructure. A Drill Mod 3 can feel more powerful than a weapon because it changes which terrain you can reach, while a Portable Oxygenator can quietly save an expedition that would otherwise end in a frantic sprint back to a shelter.
The ranking below focuses on Adventure Mode, normal resource availability, and practical solo play. Creative Mode changes the conversation because every blueprint is available, but progression and expedition pressure disappear. For the latest blueprint details and platform information, check the official ASTRONEER Steam page and the official community wiki.

ASTRONEER weapon tier list at a glance
Because ASTRONEER’s equipment serves different jobs, a single “power” score would be misleading. The Paver is not useful in a cave, the Drill Mod 3 doesn’t provide oxygen, and the Hoverboard is brilliant on open ground but awkward inside cramped tunnels. The table therefore weighs versatility, progression value, risk reduction, and how often an item stays in your backpack after you unlock it.
| Tier | Equipment | Primary role | Why it ranks here |
|---|---|---|---|
| S-Tier | Terrain Tool + Drill Mod 3 | Excavation and traversal | Fastest practical drilling and access to tougher terrain |
| S-Tier | Hydrazine Jet Pack | Vertical mobility | Excellent reach, emergency escape, and planet navigation |
| S-Tier | Portable Oxygenator | Oxygen independence | Turns long resource runs into manageable expeditions |
| S-Tier | Hoverboard | Ground mobility | Fast travel without consuming rover seats or fuel |
| A-Tier | Paver | Road building | Creates stable routes and makes vehicles dramatically safer |
| A-Tier | Winch | Recovery and hauling | Can rescue vehicles and manipulate heavy objects |
| A-Tier | Boost Mod + Wide Mod | Fast shaping | Great for flattening, ramping, and large construction jobs |
| B-Tier | Drill Mod 1 and Drill Mod 2 | Early drilling | Strong progression upgrades before Drill Mod 3 |
| B-Tier | Solid-Fuel Jump Jet | Early flight | Useful bursts of lift, but limited by solid fuel |
| B-Tier | Probe Scanner | Exploration | Very valuable for probes, but highly situational |
| C-Tier | Inhibitor Mod | Precision excavation | Helpful for delicate work, rarely essential on expeditions |
| C-Tier | Alignment Mod | Controlled terrain shaping | Excellent for builders, slower for general survival play |
That table also explains why calling every item a weapon creates bad advice. ASTRONEER rewards preparation more than burst damage. The strongest loadout is usually the one that keeps your oxygen line intact and gets you back to a shelter with a full backpack.
🎮 ASTRONEER
Looking to experience this game? Grab your digital key directly on our store for $8.99.
View on Steammoz Store →S-Tier equipment that changes the whole game
Terrain Tool with Drill Mod 3
The Terrain Tool is mandatory, but the Drill Mod 3 turns it from a basic shovel into a serious expedition tool. It increases drilling strength enough to handle the hardest common terrain, including the dense materials that make early-game tunnels painfully slow. It also works with the Terrain Tool’s normal shaping modes, letting you carve ramps, widen passages, and create clean platforms without swapping to another machine.
The hidden value is speed. Faster drilling means less time standing still, less power consumed by your backpack setup, and fewer oxygen emergencies. Pair Drill Mod 3 with Boost Mod when you need to carve a long passage, then use Inhibitor Mod or Alignment Mod for a cleaner finish. Don’t leave Drill Mod 3 permanently installed if you’re building a precise base: the faster response can make small corrections feel twitchy.
Drill Mod 1 and Drill Mod 2 deserve their B-Tier placement only because Drill Mod 3 eventually eclipses them. Before that point, they are some of the best bytes you can spend. Unlocking them early makes Sylva cave layers and resource deposits much less punishing, particularly when you’re hunting Laterite, Malachite, Wolframite, or Quartz.
Hydrazine Jet Pack
The Hydrazine Jet Pack is the closest thing ASTRONEER has to a “combat advantage,” because it lets you ignore terrain that would otherwise trap you. It provides sustained flight using Hydrazine, giving you a rapid escape from deep caves, steep ravines, and terrain damaged by an accidental fall. It is also superb for reaching elevated resources and scouting a route before committing a rover.
Use short taps rather than holding the thrust continuously. The jet pack is at its best when you combine brief lifts with controlled forward movement, preserving fuel and keeping your landing predictable. Carry a spare Hydrazine canister for serious interplanetary work, and never confuse flight with immortality: a bad landing, missing oxygen, or a hazardous plant can still end the trip.
Portable Oxygenator
The Portable Oxygenator consumes a Small Generator’s worth of power while generating oxygen from the backpack, and it requires a source of power to keep functioning. Its recipe and unlock cost make it a late progression target, but the payoff is enormous. You can explore away from tethers without dragging a long cable network behind you, provided your backpack has a dependable power supply.
It pairs especially well with the Hydrazine Jet Pack and Hoverboard. Those mobility tools encourage you to travel farther than tether lines allow, while the Oxygenator removes the most dangerous limitation of that freedom. Keep power items or a suitable generator in your backpack; an Oxygenator without energy is just dead weight at the exact moment you need it.
A-Tier gear for safer planets and better logistics
Paver
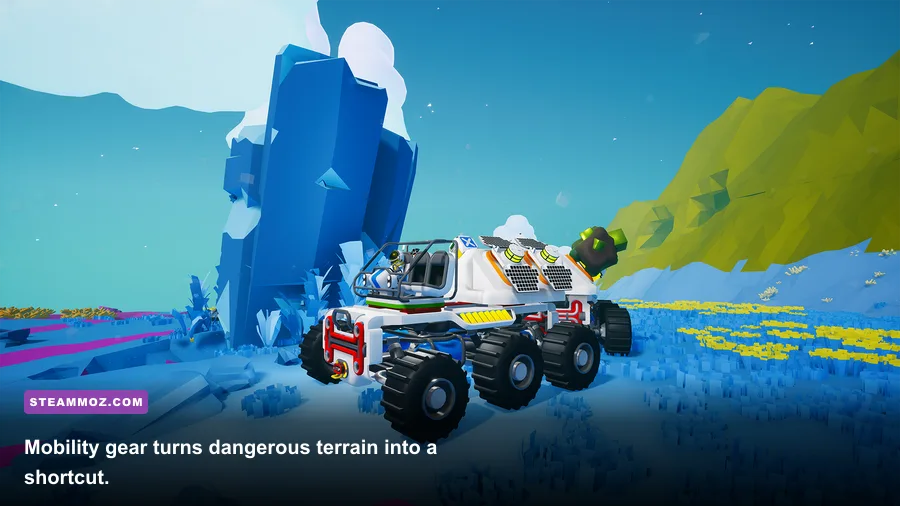
The Paver is one of the most underrated pieces of equipment in the game. Mounted on a rover, it uses soil to create a smooth road beneath the vehicle. That sounds cosmetic until a large rover drops into a jagged hole, catches on a cliff edge, or flips while carrying a full load of rare materials. A Paver makes routes predictable and reduces the amount of frantic Terrain Tool work needed to connect mines, shelters, and gateways.
Its limitation is soil consumption. You need a steady supply of soil, and the Paver can’t rescue a vehicle from every impossible angle. Still, on Glacio, Calidor, and Sylva’s rougher regions, the Paver pays for itself in time saved. Build a road first when you plan repeated trips to a remote site; don’t wait until the rover is already stuck.
Winch
The Winch is a recovery tool, not a damage tool. Attach it to a vehicle or heavy object, anchor the other end to suitable terrain, and use the tension to pull equipment out of pits or reposition awkward cargo. It can be clumsy when you expect physics to behave like a polished crane, but it has saved more expeditions than many “stronger” upgrades.
Carry one on multiplayer missions and long rover trips. A Winch is particularly useful when a large rover tumbles near a gateway or when a shuttle-adjacent vehicle lands at an ugly angle. Treat it as insurance: you won’t need it every hour, but the one time you do, nothing else in the backpack provides the same answer.
Boost Mod and Wide Mod
Boost Mod increases Terrain Tool shaping speed, while Wide Mod expands the size of the terrain brush. Together, they are fantastic for building ramps, flattening base areas, and opening broad vehicle routes. They don’t replace Drill Mod 3 for hard material, but they make soft terrain work dramatically faster.
For a construction-focused character, Boost Mod plus Wide Mod can outrank the jet pack in practical value. For a miner, the combination is less important than Drill Mod 2 or 3. This is a good example of why your personal tier list should follow the job you’re doing, not a universal damage-style ranking.
B-Tier upgrades that carry the early and mid game
| Equipment | Best unlock window | Best use | Main drawback |
|---|---|---|---|
| Drill Mod 1 | Early game | Faster cave excavation | Eventually replaced by stronger drill mods |
| Drill Mod 2 | Early to mid game | Opening dense underground routes | Still slower than Drill Mod 3 |
| Solid-Fuel Jump Jet | Early exploration | Crossing small gaps and climbing cliffs | Limited fuel and less control than Hydrazine Jet Pack |
| Probe Scanner | Mid to late game | Locating historical probes | Low value outside probe hunting |
| Inhibitor Mod | Base construction | Careful shaping near machines | Slower general excavation |
| Alignment Mod | Engineering projects | Cleaner slopes and surfaces | Requires practice to use efficiently |
The Solid-Fuel Jump Jet is the most fun B-Tier item. It gives you a burst of lift and makes early exploration less dependent on perfect ramps. The catch is that its fuel supply is finite, so it’s a movement trick rather than a permanent flight system. Use it to cross a dangerous gap or climb out of a shallow ravine, then switch back to normal terrain work.
The Probe Scanner has a narrower purpose but a legitimate one. If you’re hunting the historical probes scattered across planets, it turns a vague search into a focused expedition. Outside that objective, it occupies a backpack slot without improving ordinary mining, base building, or transportation.
Inhibitor Mod and Alignment Mod are specialist choices. Inhibitor Mod helps keep your Terrain Tool from accidentally disturbing nearby terrain, while Alignment Mod supports deliberate shaping. Builders will appreciate both; players racing to resources should spend bytes elsewhere first. ASTRONEER’s best equipment is often the equipment that matches the current project.
Hazards, plants, and the gear that actually keeps you alive
Since there are no conventional enemies, hazard knowledge is more important than any supposed weapon ranking. Harmful flora such as Bouncevine, Boomalloon, Attactus, and Popcoral can punish careless movement, especially in caves where visibility is poor. Their telegraphs are environmental rather than combat animations: a plant’s shape, location, and behavior tell you to keep your distance.
The Terrain Tool is your first counter. Clear hazardous plants before building a tether route, placing a shelter, or parking a rover. Don’t run directly through unknown flora while oxygen is low. That panic sprint is how a small hazard becomes a lost backpack and a long recovery trip.
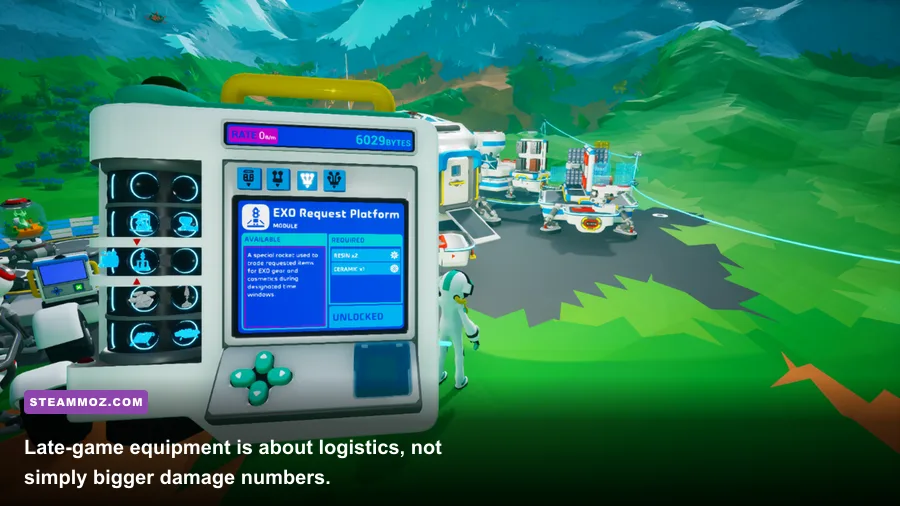
Oxygen gear is the real defensive stat. Tethers are cheap and reliable around a base, but they become awkward across ravines and uneven cave floors. A Small Oxygenator improves backpack oxygen capacity early, while the Portable Oxygenator is the major late-game upgrade. Vehicles provide oxygen when powered and occupied, making a rover with a connected oxygen system far safer than a fast but unprepared solo run.
Power also matters. A Portable Oxygenator, Terrain Tool, and mobility item can all compete for the resources that keep your backpack running. Carrying a Small Generator, Power Cells, or another appropriate source prevents the classic failure where your oxygen solution stops precisely because you ran out of energy. Before descending, check oxygen, power, soil, and an exit route—not just the resource you came to collect.
Best equipment loadouts for mining, building, and exploration

| Role | Recommended equipment | Core strategy | Swap when |
|---|---|---|---|
| Mining | Drill Mod 2 or 3, Boost Mod, Small Generator, oxygen solution | Drill efficient ramps and keep the return route obvious | Replace Boost Mod with Wide Mod for large excavation |
| Base building | Wide Mod, Alignment Mod, Inhibitor Mod, Paver | Shape clean platforms before placing machines | Use Drill Mod for hard terrain or tunnel work |
| Long exploration | Portable Oxygenator, Hydrazine Jet Pack, Hoverboard, power supply | Travel light, mark routes, and avoid unnecessary cave detours | Bring Probe Scanner for historical probe objectives |
| Rover expedition | Paver, Winch, Terrain Tool, oxygen and power supplies | Build a road and prepare recovery options before loading cargo | Remove Paver when soil is scarce and roads are complete |
| Gateway hunting | Jet Pack, Portable Oxygenator, power source, beacon | Prioritize mobility and navigation over extra terrain mods | Use Drill Mod if the gateway route crosses dense terrain |
For ordinary mining, start with the Terrain Tool, Drill Mod 1 or 2, and a reliable oxygen plan. Add Boost Mod when your route is long and mostly soft soil. Once Drill Mod 3 is available, it becomes the default pick for difficult resource runs, but don’t assume maximum drilling strength is always faster: a wide, controlled brush can complete a base project in fewer passes.
For building, the best setup is almost the opposite. Wide Mod handles broad surfaces, Alignment Mod helps create intentional slopes, and Inhibitor Mod protects the clean edges around platforms and machinery. Keep the Paver nearby if vehicles will use the area. Good roads are not just attractive—they prevent cargo losses and eliminate many annoying rover recoveries.
For exploration, the Portable Oxygenator and Hydrazine Jet Pack are the headline combination. Add a Hoverboard for quick surface movement, but remember that it works best on relatively open terrain. Bring a Beacon to mark important locations, especially on planets with visually repetitive terrain. If the expedition’s goal is historical probes, replace a general-purpose module with the Probe Scanner.
The smartest unlock order for a fresh save
Don’t rush the flashiest item immediately. Early bytes are better spent on tools that improve every minute of play. The Terrain Tool is your foundation, followed by oxygen infrastructure, storage, and the first Drill Mod. Research Chambers and Research Samples drive your byte income, while Research Items found across the planets can provide valuable bursts of progress when processed safely.
Once your base can support regular power and oxygen, aim for Drill Mod 2 and better storage. That combination expands your ability to gather Laterite, Malachite, Wolframite, and other materials without constantly returning home. Vehicles become more attractive when your supply runs grow longer, and the Paver should enter the plan as soon as rover travel becomes a routine rather than a novelty.
The Portable Oxygenator and Hydrazine Jet Pack are late-game goals because they dramatically loosen the rules of exploration. They’re worth pursuing, but only after your infrastructure can feed them. A jet pack with no Hydrazine is a short-lived luxury, and an Oxygenator with no power is not an oxygen strategy.
For more progression-focused reading, Steamoz’s guides on starting builds and survival-saving decisions offer useful reminders about planning around your current resources rather than your dream loadout. The same principle applies here: unlock the item that removes your biggest bottleneck.
ASTRONEER’s best equipment ranking ultimately comes down to freedom. Drill Mod 3 gives you access, the Portable Oxygenator gives you range, the Hydrazine Jet Pack gives you vertical control, and the Paver gives your vehicles dependable roads. There’s no rifle to dominate a battlefield—and that’s the point. The strongest astronaut is the one who understands the planet, prepares the route, and never lets a simple oxygen problem turn a successful expedition into a rescue mission.
For official development news, follow System Era Softworks and the game’s equipment module documentation. If you’re comparing this deliberately peaceful sandbox with more traditional action games, Steamoz’s weapon tier list coverage shows just how different a real combat ranking looks.