The best Assassin’s Creed Origins weapons are Hepzefa’s Sword, Smoke and Mirrors, Trophy Hunter, and a shield with Health on Parry. That combination gives Bayek reliable melee damage, lethal stealth openings, strong ranged pressure, and enough survivability for late-game forts. Here’s the full weapon tier list, including the perks that actually matter and the situations where each weapon type earns its place.
Origins uses level-scaled equipment, so a legendary weapon is not automatically superior forever. A level 20 sword can become obsolete beside a level 35 rare weapon if you never pay the blacksmith to upgrade it. Weapon perks also decide the ranking: Critical Hit Rate, Critical Hit Damage, Adrenaline on Hurt, Health on Kill, and Bleeding are usually more valuable than a flashy name.
Assassin’s Creed Origins weapon tier list

This ranking assumes you are playing on Hard or Nightmare, fighting enemies close to Bayek’s level, and using the standard combat system rather than relying entirely on stealth. Every entry can work, but the S-Tier weapons give you the most consistent results across camps, animal hunts, arena fights, and boss encounters.
| Tier | Weapon or Type | Why It Ranks Here | Best Use |
|---|---|---|---|
| S-Tier | Hepzefa’s Sword | Fast moveset, dependable damage, excellent perk potential | General melee and shielded enemies |
| S-Tier | Smoke and Mirrors | Predator-bow precision and stealth-focused perks | Opening shots and isolated targets |
| S-Tier | Trophy Hunter | Excellent critical pressure and ranged finishing power | Elites, captains, and boss weak points |
| S-Tier | Health on Parry shield | Turns perfect defense into recovery | Hard and Nightmare combat |
| A-Tier | Jackal’s Gaze | High-impact warrior-bow damage with strong close-range utility | Large groups and armored targets |
| A-Tier | Dual swords | Fast combos and excellent pressure after a dodge | Unshielded soldiers and animals |
| A-Tier | Heavy blades | Huge stagger and charged-hit damage | Brutes, elephants, and crowded arenas |
| B-Tier | Spears | Safe reach but slower recovery and awkward tight spaces | Keeping several enemies away |
| B-Tier | Heavy blunt weapons | Strong stun potential but sluggish neutral attacks | Breaking shields and stagger setups |
| C-Tier | Basic bows without perks | Useful early, quickly surpassed by specialized bows | Early wildlife and weak guards |
One important warning: Origins does not have a permanent best-in-slot weapon in the modern loot-game sense. Gear level controls raw damage, while perks control how a weapon behaves. Keep a favorite legendary in your inventory, but upgrade it whenever its damage falls noticeably behind the enemies in your current region.

🎮 Assassin's Creed Origins
Looking to experience this game? Grab your digital key directly on our store for $8.99.
View on Steammoz Store →Best swords, sickle swords, and melee weapons
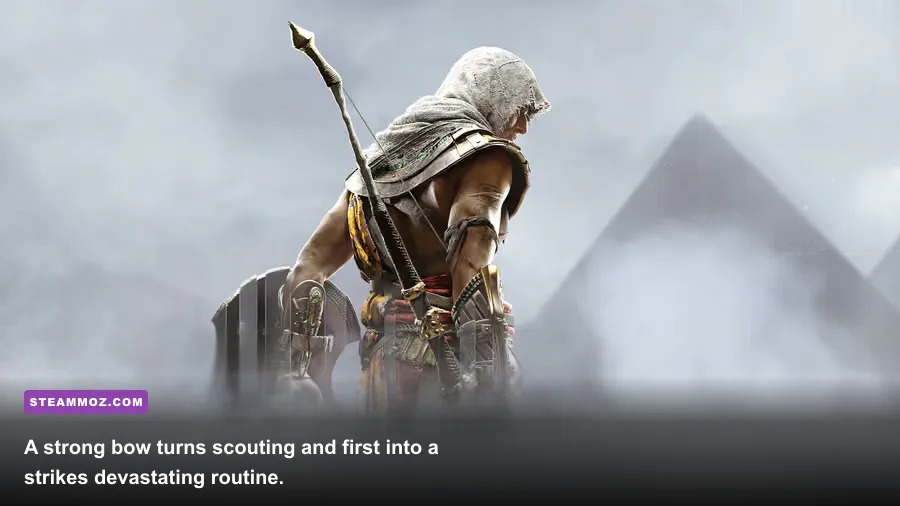
S-Tier: Hepzefa’s Sword and fast swords
Hepzefa’s Sword is the safest recommendation for a first playthrough because the standard sword moveset is fast, readable, and flexible. Bayek can cancel an attack into a dodge, circle shield users, and punish a missed heavy swing without getting trapped in a long animation. Look for Critical Hit Rate, Critical Hit Damage, or Health on Kill on your version of the weapon.
Bleeding is especially useful against captains and high-health animals because the damage continues while you reposition. It will not replace a critical-focused setup, but it gives ordinary hits more bite and rewards hit-and-run combat. The sword also pairs naturally with the Warrior skill tree, particularly Overpower Chain Throw and Shield Charge.
A-Tier: Dual swords and heavy blades
Dual swords are the aggressive alternative. They deliver rapid multi-hit strings and can shred exposed enemies after a successful dodge, but they are less forgiving when several guards attack at once. Their best window is immediately after a shield bash or a sidestep around a heavy enemy.
Heavy blades are slower, yet their charged attacks can stagger brutes and punish enemies who commit to a long animation. They are excellent against war elephants and arena opponents, where raw impact matters more than quick target switching. Don’t spam light attacks with them; hold the heavy input, release after the enemy’s attack whiffs, and use the stun window to swap targets.
Where spears and blunt weapons fit
Spears offer reach and a surprisingly useful forward thrust, but their recovery can leave Bayek exposed in narrow tombs or crowded forts. Heavy blunt weapons are better when you need to break through shields or create stagger opportunities, though their slow swings make them rough for players still learning enemy timing.
For a broader stealth-first approach, compare this combat philosophy with our Desperados III stealth guide. The games are very different, but the same rule applies: control the first engagement instead of trying to recover from a bad one.
Best bows for stealth, bosses, and open-world fights
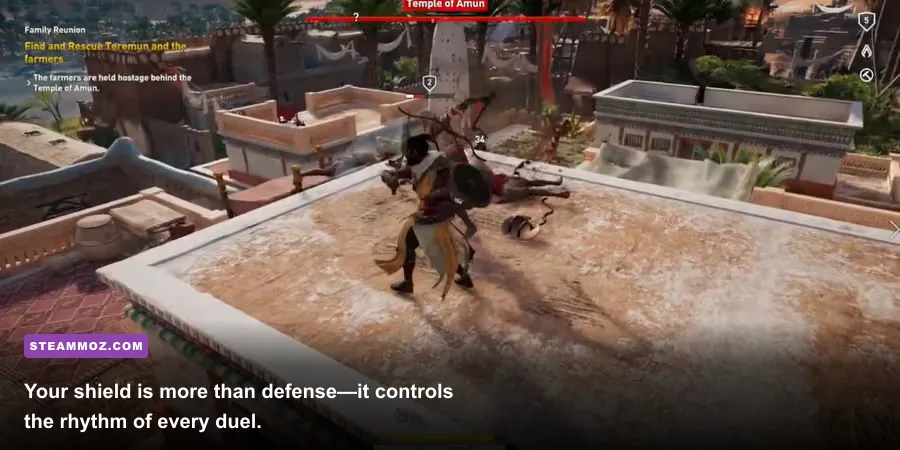
Bow choice changes how you approach an entire location. Predator bows are precision tools: they zoom in, travel quickly, and reward headshots. Hunter bows fire hard-hitting arrows with useful charge damage. Warrior bows spread several arrows at close range, while light bows unleash rapid shots and are ideal for finishing enemies during a scramble.
| Bow Type | Top Pick | Key Perks to Seek | Combat Role |
|---|---|---|---|
| Predator Bow | Smoke and Mirrors | Stealth Damage, Critical Hit Rate | Silent headshots and opening attacks |
| Hunter Bow | Trophy Hunter | Critical Hit Damage, Adrenaline on Hurt | Weak-point damage and elite targets |
| Warrior Bow | Jackal’s Gaze | Health on Hit, Critical Hit Rate | Close-range groups and animals |
| Light Bow | Any high-level legendary light bow | Health on Hit, Combo Multiplier | Rapid pressure and finishing blows |
Smoke and Mirrors is the best stealth pick because predator bows let you remove a captain or alarm ringleader before the camp understands what happened. Use Senu to mark targets, shoot the highest-ranking guard first, then relocate instead of firing a second arrow from the same rooftop.
Trophy Hunter shines when a target survives the opening shot. Its hunter-bow handling gives you a clean charged arrow against a weak point, and critical perks become more valuable against bosses with large health pools. For the fastest close-range cleanup, use a warrior bow after a dodge: fire the spread at the torso, roll through the retaliation, and finish with a sword combo.
Shields, tools, and the perks worth upgrading

Shields do not compete with weapons for raw damage, but the right one dramatically changes Bayek’s survivability. A shield with Health on Parry is the best all-around defensive choice. Perfect parries restore health while interrupting an enemy, giving you a reward for learning the timing instead of simply holding block.
Shields with Fire Resistance are useful against flaming weapons and some animal encounters, while ranged-damage resistance can help in heavily guarded forts. Still, Health on Parry wins most of the time because it remains relevant in every duel. Remember that a normal block is not a parry: wait for the enemy’s attack to commit, then tap the shield button as the strike lands.
Perk priority
For melee weapons, prioritize Critical Hit Rate, Critical Hit Damage, Bleeding, Health on Kill, and Adrenaline on Hurt. The ideal combination depends on your style. Critical perks accelerate kills; Health on Kill smooths out long camp fights; Adrenaline on Hurt helps you reach Overpower attacks sooner when Bayek is under pressure.
For bows, Critical Hit Rate and stealth damage are the premium choices. Hunter bows benefit greatly from Critical Hit Damage, while warrior and light bows appreciate Health on Hit because they operate inside enemy attack range. Don’t sacrifice ten weapon levels just to preserve a weaker perk combination—upgrade the item and reassess its damage after several missions.
Tools that quietly outperform weapons
Smoke Screens are one of the strongest tools in the game. Throw one when guards surround you, assassinate a priority target inside the cloud, and use the confusion to escape or chain another takedown. Poison Darts are excellent for isolated captains, while Fire Bombs can deny a doorway and split a group before the melee starts.
That resource-first mindset also helps in other RPGs, as shown in our Dins’s Curse survival tips. Spending consumables early is often cheaper than repairing a disastrous fight.
Best weapon setups for each playstyle
There is no reason to carry four weapons that solve the same problem. Build your loadout around the encounter you expect, then keep one flexible backup for surprises.
| Playstyle | Primary Weapon | Secondary Weapon | Skills and Rotation |
|---|---|---|---|
| Stealth Assassin | Smoke and Mirrors | Hepzefa’s Sword | Predator headshot, assassinate, Smoke Screen, confirm kill |
| Defensive Duelist | Hepzefa’s Sword | Health on Parry shield | Parry, light combo, dodge heavy attacks, Overpower finisher |
| Ranged Hunter | Trophy Hunter | Jackal’s Gaze | Charge weak-point shot, switch to warrior bow when rushed |
| Brute Breaker | Heavy blade | Health on Kill sword | Charge heavy attack, Shield Charge, stun, execute |
| Animal Slayer | Jackal’s Gaze | Dual swords | Maintain distance, punish lunges, attack during recovery |
The stealth setup is the most efficient for clearing forts because it reduces the number of active enemies before combat begins. The defensive setup is better for quests that force open fights, especially when enemies out-level you. For war elephants and arena champions, the brute-breaker loadout wins through stagger rather than finesse.
Skill selection matters just as much as equipment. In the Warrior tree, Shield Charge creates a reliable opening, while Overpower attacks consume adrenaline for huge damage. In the Seer tree, Smoke Screen and Dawn and Dusk support infiltration and recovery. The Hunter tree’s Enhanced Predator Bow makes precision shots easier to land, and Elite Ranger improves bow handling during prolonged ranged fights.
How to upgrade gear without wasting resources
Upgrade only the weapons you actively use. Blacksmith upgrades cost drachmas and materials, and the price rises as the item level climbs. A good rule is to upgrade your main sword when it falls roughly five levels behind Bayek, then refresh your bow before a major story boss or a high-level location such as the Desheret Desert.
Disassemble unused blue and purple weapons at a blacksmith for materials, but inspect every legendary item before selling it. Some weapons are valuable because their perks fit a specific build, even if their current damage is mediocre. The Hidden Ones expansion also raises the level curve, so a weapon that felt perfect in Alexandria may need replacing once enemies reach the upper 40s.
For PC players, stable performance helps more than chasing ultra settings. Origins’ parry and dodge windows feel far more consistent when frame pacing is steady. The official Assassin’s Creed Origins Steam page lists the PC version, while Ubisoft’s official Origins page covers the game’s core features and expansions. Check Ubisoft Support if the game stutters or fails to recognize your controller.
For more progression-focused reading, our guides to progressing quickly in Decay: The Mare and Dungeons 2 weapon rankings cover the same useful principle: build around repeatable advantages, not rare gear that looks impressive in the inventory.
Final verdict: start with Hepzefa’s Sword, a Health on Parry shield, Smoke and Mirrors for stealth, and Trophy Hunter for precision damage. Add Jackal’s Gaze when close-range groups or animals become a problem. That four-piece rotation covers nearly every combat scenario in Assassin’s Creed Origins and remains effective well beyond the opening hours.