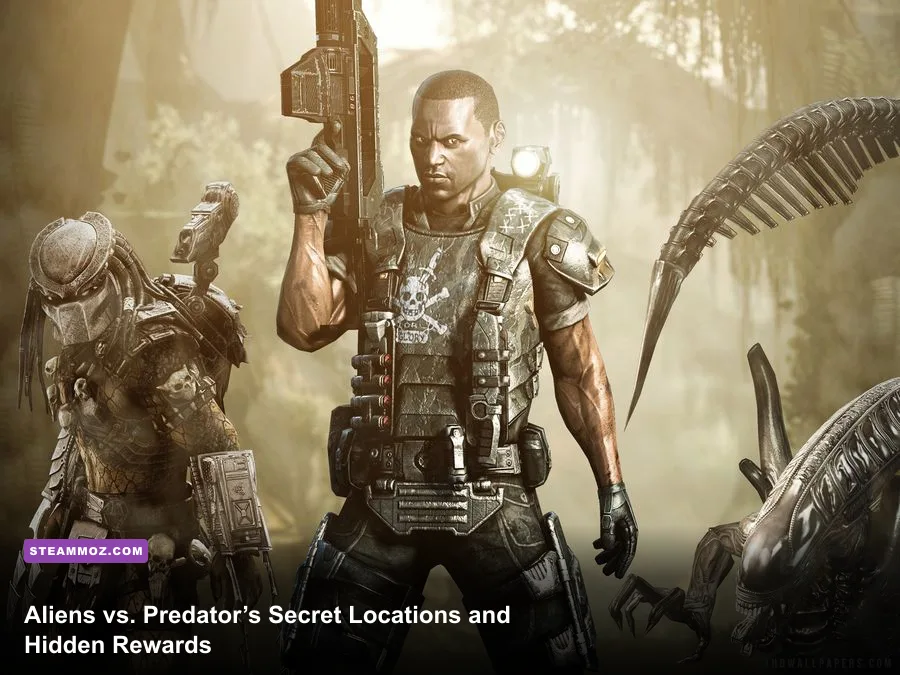
The fastest way to find every secret in Aliens vs. Predator (2010) is to treat each campaign’s collectible as a different kind of navigation puzzle: Marine missions hide audio logs and Royal Jelly in side rooms, Alien missions reward vent routes and alternate wall paths, while Predator missions conceal trophy pickups around elevated ruins and combat arenas. This guide breaks down the locations by campaign, explains the visual tells that reveal a secret route, and shows which rewards are worth chasing first.
Rebellion’s 2010 shooter still works best when you resist sprinting from objective marker to objective marker. The level design constantly places something valuable just outside the obvious route: a door behind a crate, a shaft above the firefight, or a crawlspace that only makes sense when viewed with the correct species’ abilities. Play on any difficulty you like, but remember that collectible progress is campaign-specific and mission replay is your friend.
Before starting, check the official Steam page for Aliens vs. Predator and make sure your save is updating correctly. If you enjoy methodical stealth games, our Desperados III review has similar advice about reading spaces before committing to a fight.
How the secret rewards actually work

Aliens vs. Predator does not present every secret as a glowing treasure chest. The collectibles blend into the environment and often appear immediately after a combat encounter, when the game expects you to keep moving. That is the trap. Once a checkpoint fires, it is easy to assume the room is finished and miss the side corridor behind you.
The Marine campaign is the most traditional scavenger hunt. Audio logs are usually found in offices, control rooms, medical areas, and maintenance spaces. Royal Jelly containers are smaller and more easily overlooked, especially when their amber color competes with warning lights and industrial clutter. As a Marine, use the motion tracker to clear the room first, then inspect every dead-end before activating the next objective.
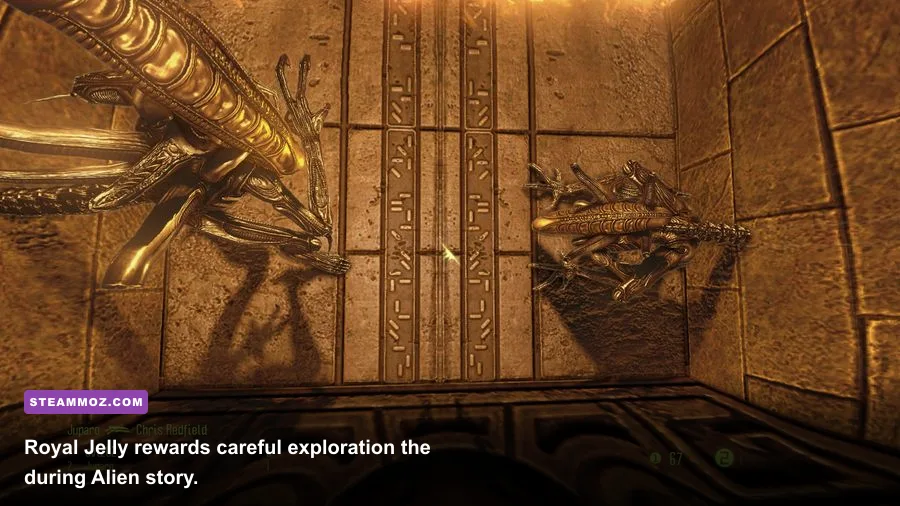
The Alien campaign changes the rules. You can climb walls and ceilings, squeeze through vents, and use Focus mode to highlight interactive routes. If a chamber seems suspiciously empty, look up. A black ventilation opening above a doorway or a ceiling route leading away from the mission marker is often the real path to a Royal Jelly container. Don’t leap blindly, though; some apparently accessible surfaces are decorative and will simply drop you into a fight.
The Predator campaign hides trophies in places that reward vertical thinking. Thermal vision helps identify routes through foliage and ruins, while Focus mode can reveal jump points and climbable structures. Before cloaking and pouncing on the next human squad, scan the arena perimeter. A trophy may sit behind the combat zone, on a ledge above it, or in a side chamber that becomes accessible after a scripted gate opens.
| Campaign | Main secret type | Best detection tool | Common mistake |
|---|---|---|---|
| Marine | Audio logs and Royal Jelly | Flashlight, motion tracker, room checks | Leaving after the objective updates |
| Alien | Royal Jelly and alternate routes | Focus mode, wall movement, vents | Checking only floor-level paths |
| Predator | Trophies and hidden ledges | Thermal vision, cloak scouting, Focus mode | Rushing the next hunt |
For a smoother first run, keep a simple mission checklist. Write down the chapter name, the number of items collected, and whether the post-mission statistics screen confirms your total. The game’s interface is not always generous about telling you what you missed, so your own notes are more reliable than memory.

🎮 Aliens vs. Predator
Looking to experience this game? Grab your digital key directly on our store for $3.74.
View on Steammoz Store →Marine campaign secret locations
Ruins and the first Weyland-Yutani facilities
The opening Marine missions teach you to search offices and research rooms. After the first major firefight, don’t immediately follow the squad through the marked doorway. Sweep the side rooms around the arena, especially spaces with desks, dead monitors, and wall-mounted equipment. Audio logs tend to sit on consoles or small tables rather than in the center of the path.
When the mission moves through exterior ruins, look for branching corridors created by collapsed masonry. The correct secret route often appears to be a dead end because the entrance is partially blocked by debris. Move close to the obstruction and check whether the path continues around the side. If you hear radio chatter or a nearby objective voice line, pause before advancing; those lines commonly trigger when you are standing close to a collectible.
The refinery and elevator sections
Industrial missions are where most Marine players lose progress. The orange lighting makes Royal Jelly difficult to spot, and the game repeatedly funnels you toward elevators. Before using an elevator, search the entire platform and the machinery room beside it. Once the elevator sequence begins, you may not be able to return.
In larger refinery rooms, move clockwise around the outer wall. This keeps your route consistent and prevents the central machinery from hiding a narrow side door. Check behind waist-high crates, beneath catwalk stairs, and in rooms that contain no enemies. A quiet room is often intentional: the level is giving you a breather before the next ambush and hiding a reward in that breathing space.
Research labs and the final approach
Laboratory levels use glass partitions and security doors to create visual distractions. Examine every unlocked office before interacting with a computer or keycard panel. If the objective says to restore power, search the room before touching the power console; the interaction can trigger a new wave and make backtracking more dangerous.
The late-game Marine route is especially hostile to completionists because xenomorph attacks can interrupt exploration. Clear the room with the shotgun or pulse rifle, reload, and then search. The pulse rifle is safer at medium range, while the shotgun is ideal for stopping a Drone that has already crossed the room. Don’t waste grenades on isolated enemies if you still need to inspect the area; explosions can obscure small objects and send you into panic movement.
| Marine area | Search before | Where to look | Recommended tactic |
|---|---|---|---|
| Ruins | Following squad markers | Collapsed side corridors and masonry gaps | Clear enemies, then sweep the perimeter |
| Refinery | Entering an elevator | Catwalk ends, machinery rooms, crate corners | Use a clockwise wall search |
| Labs | Using a keycard or console | Offices, glass-partition rooms, quiet corridors | Search before triggering the next wave |
| Final approach | Moving through scripted ambushes | Side rooms after each checkpoint | Reload and stabilize before exploring |
The Marine’s hidden rewards are less flashy than the Predator’s, but they matter for completion achievements and give the campaign a stronger sense of place. Audio logs also add context to the Weyland-Yutani disaster, so they’re worth collecting even if you aren’t chasing every achievement. For more progression-focused survival advice, compare the resource discipline in our Dins’s Curse tips.
Alien campaign Royal Jelly routes

Playing the Alien turns secret hunting into a movement challenge. You’re faster and more flexible than the other species, but that freedom can make you miss the intended route. Focus mode is your most important tool: use it whenever you enter a new chamber, not only when the story tells you to find a target. Focus highlights interactive surfaces and can expose a wall route that is almost invisible in normal vision.
Hive chambers and wall-level paths
In the early hive sections, inspect the upper corners of every chamber. Royal Jelly containers are often positioned away from the egg-filled floor, where the dark organic textures make them easier to overlook. Climb high, rotate the camera slowly, and check the ceiling before dropping into the next tunnel. If the room contains several vertical surfaces, assume at least one exists for exploration rather than combat.
Use vents as a deliberate grid, not a panic escape. When a vent branches, take the route that moves away from the objective marker first. That detour commonly leads to a small chamber or a ledge with the hidden reward. Once you collect it, return through the same vent and continue toward the mission objective. Marking the route mentally is important because the Alien’s speed can make every tunnel look identical.
Human facilities and alternate entrances
When the Alien enters human-built areas, contrast becomes your advantage. Bright metal rooms make black vents and ceiling gaps easier to identify than hive spaces do. Look above security doors, behind stacked containers, and along the underside of walkways. A normal doorway may be blocked while a ceiling entrance beside it remains open.
Don’t let combat drag you away from the search. Kill isolated Marines quickly with a heavy attack or stealth execution, then use vents to reposition. Against groups, cloak-like stealth movement and darkness are more valuable than a direct charge. The Alien’s health can disappear quickly under concentrated pulse-rifle fire, and dying after finding a collectible is particularly frustrating if the checkpoint was earlier.
Royal Jelly collection strategy
Collect each container as soon as you see it, then wait for the pickup confirmation before moving. If the game saves immediately after the pickup, you can safely use mission replay to target missing items later. If there’s no clear confirmation, check the post-mission statistics rather than assuming the item counted.
| Alien ability | Secret-hunting use | Risk | Best practice |
|---|---|---|---|
| Focus mode | Highlights interactive walls and routes | Can distract you during combat | Activate it immediately after entering a room |
| Wall movement | Reaches upper ledges and ceiling paths | Camera angles can hide exits | Perform a slow 360-degree scan |
| Vents | Bypass objectives and reach side chambers | Branching paths are easy to confuse | Take the route away from the marker first |
| Stealth | Lets you search without drawing squads | Gunfire quickly overwhelms you | Separate enemies before exploring |
The Alien campaign rewards patience more than aggression. If you’re already comfortable with route planning from games such as Decay: The Mare, use the same principle here: establish a repeatable sweep pattern instead of relying on instinct.
Predator trophy locations and hunting routes
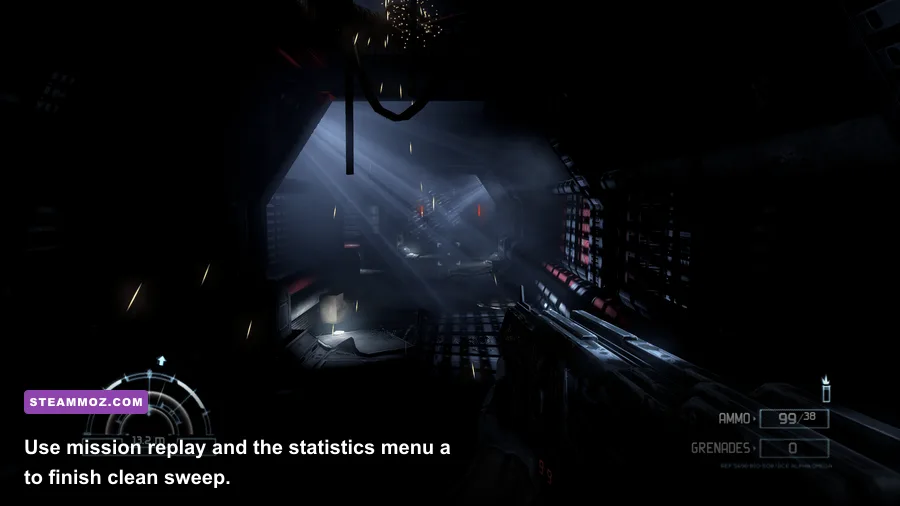
Predator secrets are built around arena control. Trophies rarely sit in the most obvious line between objectives. They’re placed where a hunter would naturally survey the battlefield: high ledges, ruins beyond the human patrol, and side platforms accessible through a jump or Focus-highlighted route.
Jungle arenas
At the start of a jungle encounter, don’t activate the next combat sequence immediately. Cloak, switch to thermal vision, and circle the arena from the outside. Look for climbable rocks, narrow branches, and stone platforms that sit above the main path. The trophy may be visible only from the edge of the arena, not from the central trail.
Predator vision can make secrets harder to read if you leave thermal mode active constantly. Use thermal vision to locate humans and detect movement, then return to the normal view when inspecting ruins. Trophy objects and environmental markings can blend together under heavy visual filters.
Ruins, temples, and human bases
In ruin sections, search behind pillars and above staircases. If a room contains a symmetrical pair of stairways, check both sides even when the objective clearly favors one route. The unused side frequently leads to a short balcony or an enclosed recess. Predator movement makes these detours quick, so there’s little reason to skip them.
Human bases create a different problem: the combat space is noisy, and Marines can reveal your position while you search. Use the shoulder cannon sparingly. A fully charged plasma shot is powerful, but it also announces your presence and may force you to abandon the trophy route. Instead, isolate patrols with the combi-stick or wrist blades, then explore while the arena is quiet.
Predator tools that save time
Focus mode is useful for checking jump routes, but it shouldn’t replace physical observation. If a ledge looks reachable, approach it from several angles. Some jump prompts appear only when you’re correctly aligned. Keep cloak energy available for the return trip; a trophy hunt that leaves you exposed in front of a full squad can turn a clean sweep into a reload.
| Predator tool | Use while hunting | When to avoid it | Efficient alternative |
|---|---|---|---|
| Thermal vision | Maps patrols and moving targets | When inspecting object details | Normal vision around ruins |
| Cloak | Scouts arenas and protects retreats | When energy is nearly empty | Move through foliage and shadows |
| Focus mode | Reveals traversal prompts | During close combat | Clear the arena first |
| Combi-stick | Silently removes isolated guards | Against groups with clear sightlines | Plasma caster or repositioning |
The Predator campaign’s rewards are also the easiest to miss during a first playthrough because its combat fantasy encourages you to hunt the biggest target immediately. Slow down. The trophy is usually more valuable than one extra kill, and the best hunter leaves no part of the arena unexplored.
Mission replay, achievement cleanup, and missed secrets
Once a campaign ends, use mission select to revisit chapters with incomplete statistics. Start by replaying the earliest mission with a missing item, because later collectibles can be easier to identify when you know exactly which chapter is incomplete. Avoid replaying on a harder difficulty just for cleanup; difficulty changes enemy pressure, not the location of the secret.
Keep the species’ movement rules in mind during cleanup. A Marine can’t imitate the Alien’s wall routes, and a Predator’s jump access doesn’t mean every ledge is a collectible route. If you find a tantalizing object that your current character cannot reach, it may belong to another campaign rather than being a bug.
Save management matters on PC. The game is old enough that modern overlays, cloud synchronization, and compatibility settings can occasionally complicate progress tracking. If a collectible refuses to register, close the game normally, confirm Steam Cloud has synchronized, and replay the full checkpoint segment instead of repeatedly reloading a mid-room save. The official Steam community discussions are useful for comparing campaign statistics with other players.
For a full completion run, use this order:
- Finish each campaign once without obsessing over a single missed item.
- Record incomplete mission totals from the results or statistics screen.
- Replay Marine chapters and search rooms before elevators, consoles, and objective doors.
- Replay Alien chapters using Focus mode and an upper-wall sweep in every chamber.
- Replay Predator chapters by circling each arena before triggering the next hunt.
- Confirm the achievement or campaign total after the final pickup.
That workflow is faster than restarting an entire campaign, and it keeps the game’s three movement systems from blending together in your memory. If you want another example of how much route knowledge can improve a replay, our Disciples: Liberation secret locations guide follows the same chapter-by-chapter cleanup approach.
One final warning: don’t confuse environmental props with collectibles. Aliens vs. Predator deliberately fills its rooms with medical containers, Weyland-Yutani terminals, ammunition, skulls, and hive structures. The real reward usually has a clear pickup prompt, but the prompt may not appear until you stand at the correct angle. If something looks deliberately placed, walk around it instead of dismissing it from a distance.
With that habit, the secrets stop feeling random. Marine rewards live in human workspaces and locked-down infrastructure, Alien rewards sit above or beyond the obvious route, and Predator trophies mark the edges of hunting grounds. Learn those patterns and you’ll clean up the hidden rewards without turning every chapter into a blind, exhausting search.
For additional background, visit Rebellion’s official Aliens vs. Predator page and the community-maintained AvP wiki. Always cross-check collectible totals against your own in-game statistics, since platform achievement displays can update later than the pickup itself.