The flamethrower is Alien: Isolation’s S-Tier survival tool, while the shotgun, revolver, bolt gun, and crafted devices fill narrower jobs. The Trauma Kit is not a weapon—there is no item officially named “Trauma weapon” in Isolation—but it belongs near the top of any equipment ranking because healing efficiently determines whether Amanda Ripley survives Sevastopol Station. This tier list ranks every major weapon and defensive tool by stopping power, resource cost, noise, usefulness against the Xenomorph, Working Joes, and humans, plus how valuable each item remains on Hard and Nightmare.
That distinction matters. Isolation is not a shooter with a stealth section bolted on. The Alien cannot be killed, ammunition is deliberately scarce, and firing a gun often creates a much bigger problem than the enemy you were trying to solve. For broader survival-horror perspective, Steamoz’s Dungeon Siege review is a very different kind of old-school combat discussion, but Isolation’s rule is simpler: use the smallest tool that solves the immediate threat.
Alien: Isolation weapon tier list at a glance
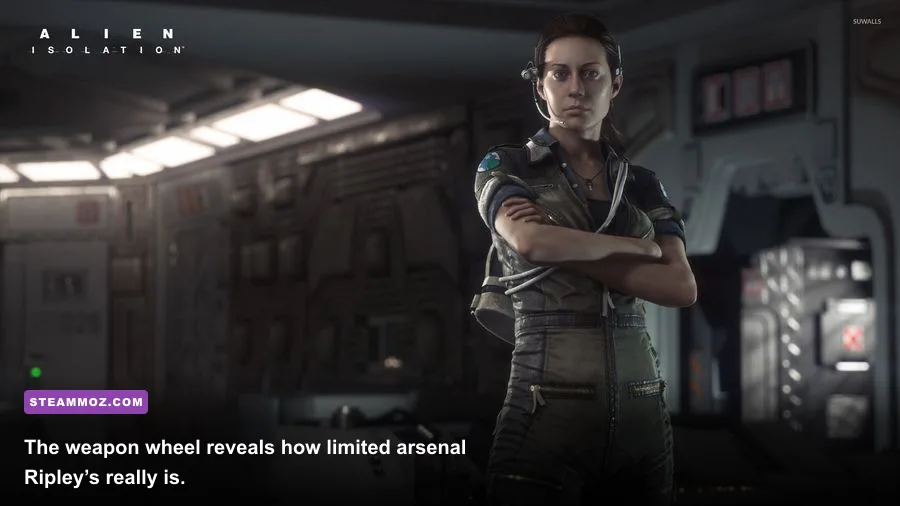
The rankings below judge equipment by practical survival value, not raw damage. A weapon that kills a human quickly can still rank below a tool that buys five seconds against the Alien. I’m also separating permanent weapons from consumables, because a Noisemaker or Molotov can be more useful than a full magazine when the creature is hunting.
| Tier | Weapon or equipment | Primary use | Why it ranks here |
|---|---|---|---|
| S-Tier | Flamethrower | Repel the Xenomorph | Creates dependable distance and controls encounters, though fuel is precious |
| S-Tier | Motion Tracker | Detection and route planning | Not a weapon, but the strongest survival item in the game |
| A-Tier | Shotgun | Humans and emergency Alien retreat | Excellent burst damage, but loud and ammunition-limited |
| A-Tier | Noisemaker | Distraction and redirection | Turns the Alien’s attention away without exposing Ripley |
| A-Tier | Molotov | Area denial | Strong panic tool against the Alien and effective around chokepoints |
| B-Tier | Revolver | Human enemies | Reliable, accurate, and available early, but terrible for prolonged Alien encounters |
| B-Tier | Bolt Gun | Quiet human takedowns | Powerful and stealth-friendly, but ammunition is scarce |
| B-Tier | EMP Mine | Working Joes and electronics | Exceptional in android encounters, nearly irrelevant against the Alien |
| C-Tier | Pipe Bomb | Emergency damage and area control | Useful, but loud, expensive to craft, and easy to waste |
| C-Tier | Flashbang | Human disruption | Good escape setup, with limited value against the Xenomorph |
| C-Tier | Stun Baton | Close-range android control | Can save ammunition, but demands dangerous proximity and battery charges |
Two pieces of equipment sit outside conventional weapon rankings. The Motion Tracker is your information advantage: use it in short glances, then put it away so you can hear vents, footsteps, and the Alien’s telltale hiss. The Trauma Kit is your best healing option, but it should not be treated as a free reset. Its crafting materials compete with Noisemakers, Medkits, and EMP devices, and healing in a bad hiding spot can still get Amanda killed.
🎮 Alien: Isolation Trauma
Looking to experience this game? Grab your digital key directly on our store for $3.99.
View on Steammoz Store →S-Tier equipment: the flamethrower, tracker, and Trauma Kit
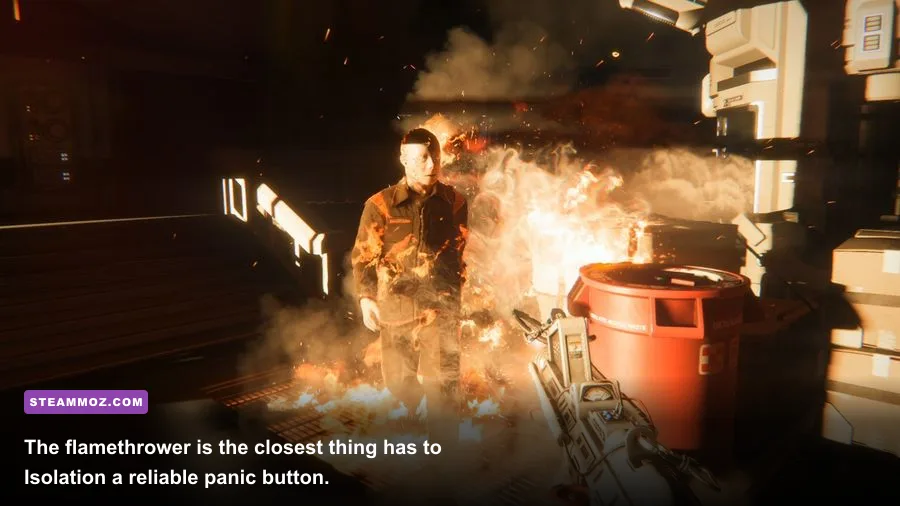
The flamethrower is the clear S-Tier weapon because it directly answers the Xenomorph’s most dangerous behavior: closing the distance after a search. A short burst usually makes it recoil or retreat, while holding the trigger wastes fuel and can leave you helpless later. The correct rhythm is tap, confirm the Alien backs away, then move. Don’t chase it. Your goal is to reopen a route to a locker, save station, elevator, or objective.
Fuel management becomes critical after the flamethrower enters your inventory. On Normal, players can afford more defensive mistakes; on Hard and Nightmare, every unnecessary burst damages the campaign’s future safety. Keep the weapon equipped when the Alien is actively nearby, but avoid firing at distant movement or using it to investigate a vent sound. A Noisemaker is often the better choice when you need to redirect the creature rather than force it away immediately.
The Motion Tracker deserves S-Tier placement even though it cannot hurt anything. Its green pulse tells you when the Alien is moving, but the display does not replace listening. A contact can be above, below, or behind a wall, and the tracker’s short range means a quiet screen does not guarantee safety. Check it, interpret the direction, and return your attention to the environment. That habit is more valuable than reflexively staring at the screen.
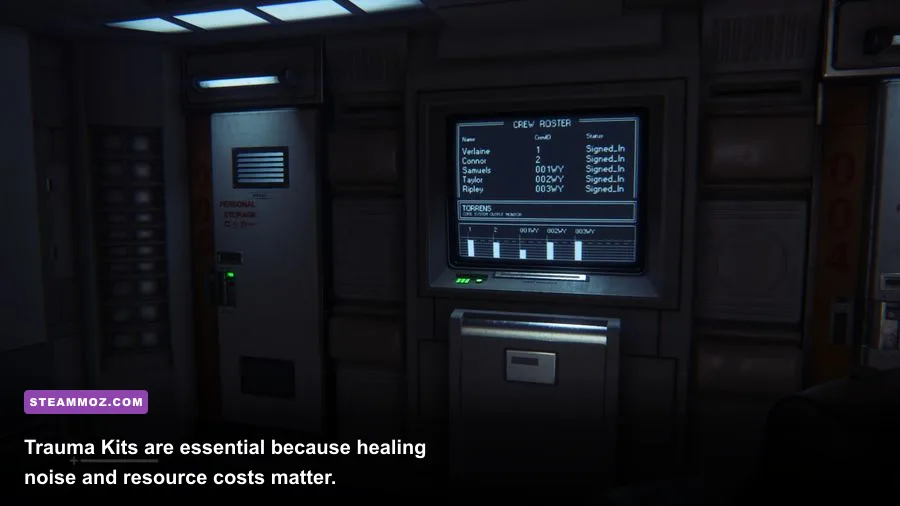
Trauma Kits rank just below the tracker in practical importance. The healing animation leaves Ripley vulnerable, so craft or use one only after breaking line of sight. Crawl into a locker, hide behind solid cover, or create distance with a flare or Noisemaker first. The Trauma Kit’s value rises sharply on Nightmare because a single human ambush, fire burst, or fall can leave you inside one-hit territory. Still, don’t craft one automatically whenever the recipe becomes available. If you have a safe health buffer, those same components may produce a distraction device that prevents damage altogether.
A-Tier weapons and the encounters they actually solve
The shotgun is the best conventional firearm. Against human survivors, it ends close-range fights quickly and can stagger targets behind aggressive pushes. Against the Alien, it is an emergency repellent rather than a killing weapon. The blast is extremely loud, so firing can summon the creature to your position or pull it from another part of the station. Use it when the alternative is being grabbed—not as routine patrol equipment.
The Noisemaker is arguably the smartest crafted weapon in the game. Its strength comes from placement: throw it away from your route, wait for the Alien to investigate, and move during the search. It can also create controlled chaos when humans and the Xenomorph occupy the same space. The danger is timing. Throwing one too close to yourself simply announces your location, and throwing one before you understand the objective route can send the Alien toward the next room you need.
Molotovs are superb around narrow corridors, stairwells, and doors because the fire creates a temporary boundary. They also work well when you need to stop the Alien from crossing a predictable approach. Their weakness is commitment: fire can block your own escape and generate noise that causes a fresh search. Think of a Molotov as a route-management tool, not a damage-over-time attack. Light the path you want the Alien to avoid, then leave before the search escalates.
| Tool | Alien value | Human value | Best tactical use | Main drawback |
|---|---|---|---|---|
| Flamethrower | Excellent | High | Force a retreat and escape | Fuel disappears quickly under panic fire |
| Shotgun | Emergency only | Excellent | Stop a close human attack | Very loud and ammunition is limited |
| Noisemaker | Excellent | Moderate | Pull the Alien away from an objective | Bad placement can redirect danger onto you |
| Molotov | Excellent | Moderate | Seal a corridor or punish a forced approach | Can trap Ripley and consumes valuable components |
| Bolt Gun | None | Excellent | Quietly remove a dangerous human | Rare ammunition and slow follow-up shots |
For more gear-focused reading, compare this resource discipline with Steamoz’s Everspace weapon recommendations. Isolation is less about buying the strongest item and more about refusing to spend the right item too early.
B-Tier firearms: revolver, bolt gun, and EMP Mine

The revolver is dependable from the moment Amanda acquires it. It is accurate enough for headshots against human enemies and useful when a hostile survivor refuses to disengage. Its problem is sound. Every shot risks converting a controlled human encounter into an Alien problem, especially in open areas such as Sevastopol’s maintenance corridors. Aim carefully, fire only when a kill is necessary, and reload during cover rather than in the middle of a doorway.
The bolt gun is more specialized but often better than the revolver. It rewards patience, landing a heavy, quiet hit that can remove a human threat before the rest of the group reacts. Ammunition is too uncommon for casual use, and missed bolts are painful losses. Save it for armored targets, isolated guards, or situations where a suppressed-feeling kill is worth more than preserving the shot.
EMP Mines are outstanding against Working Joes and synthetic enemies, particularly when an android blocks a narrow objective route. They disrupt electronics and create an opening without spending firearm ammunition. They do almost nothing for your Alien problem, however, so carrying one does not replace a Noisemaker or flame reserve. Against androids, combine an EMP effect with a quick reposition or a follow-up melee attack; standing nearby waiting for the machine to recover is how a good trap becomes wasted damage.
The Stun Baton has a similar specialist identity. It can disable a Working Joe at close range, but the distance requirement is dangerous and its battery charges are finite. It shines when you can isolate one android in a room and escape immediately. It is a poor choice against groups, the Alien, or any encounter where you cannot confirm a clean retreat.
C-Tier tools and the best equipment loadout
Pipe Bombs and Flashbangs are not bad items; they are simply less consistent. A Pipe Bomb can clear a human cluster, damage a pursuer, or create a dramatic area denial moment, but the crafting cost is high and the noise is brutal. Flashbangs buy a brief opening against human enemies and can help you cross an exposed section, yet they rarely solve the larger stealth problem. Keep both for scripted pressure or desperate escapes rather than testing them in ordinary corridors.
My recommended general loadout is the Motion Tracker, Flamethrower, Revolver, and a flexible crafted slot containing either a Noisemaker or EMP Mine. Add the Shotgun when the mission clearly signals armed human resistance. Carry a Trauma Kit whenever your health is low enough that one mistake would force a reload, but don’t drain every healing component at full health. Inventory space is not just convenience here; it’s a decision about which future mistake you’re prepared to survive.
| Situation | Preferred equipment | What to avoid | Reason |
|---|---|---|---|
| Alien searching nearby | Flamethrower, Motion Tracker, Noisemaker | Revolver or shotgun unless cornered | Noise expands the search and burns ammunition |
| Two or more armed humans | Shotgun, Molotov, Flashbang | Stun Baton | Close-range melee leaves too little escape time |
| Single Working Joe | EMP Mine or Stun Baton | Flamethrower | Specialized disruption saves fuel and reduces panic |
| Low health after a fight | Trauma Kit from solid cover | Healing in an open corridor | The animation is vulnerable and cannot stop a grab |
| Unknown route ahead | Motion Tracker and spare crafting materials | Premature explosives | Information prevents more damage than blind aggression |
How the rankings change on Hard and Nightmare
Difficulty changes the tier list because resource pressure changes the meaning of “best.” On Nightmare, the Flamethrower becomes even more important, but wasting fuel becomes more dangerous. Noisemakers rise in value because they solve encounters without direct damage. The revolver falls slightly because ammunition is harder to replace and every shot can trigger an unwanted hunt. The Bolt Gun becomes excellent only for players who can consistently land deliberate shots.
The biggest upgrade is behavioral, not mechanical. Save before risky objective transitions, check the Motion Tracker in short bursts, and use the environment’s hiding spots instead of trying to win open-floor chases. Sevastopol’s terminals, lockers, vents, and maintenance rooms are part of your equipment. If you route around those spaces, even a low-ammunition run stays manageable.
For official background, see the Alien: Isolation Steam page, Creative Assembly’s official game page, and the official Alien: Isolation website. If you’re tuning another demanding PC game, Steamoz’s Dragonkin settings guide takes the same practical, performance-first approach.
Final verdict: the Flamethrower is the best weapon, the Motion Tracker is the best piece of equipment, and the Trauma Kit is the best safety net. The Shotgun wins human firefights, the Noisemaker wins stealth routes, the EMP Mine wins android encounters, and the Revolver remains the dependable fallback. The winning strategy is not carrying everything—it’s matching one tool to one threat, then leaving before Sevastopol gives you a second problem.