
Short answer: the flamethrower is the clear S-Tier weapon in Alien: Isolation’s Crew Expendable DLC, while the motion tracker is the best piece of equipment overall. The revolver and shotgun sit in A-Tier because they can create a desperate opening but rarely solve the Alien problem. Stun batons, flares, and other distractions are B-Tier: useful in the right corridor, dangerous when treated like combat tools.
That ranking needs one important caveat. Crew Expendable is not a normal campaign chapter with a full crafting tree and a freely assembled inventory. You select one of the Nostromo crew, move through a compact recreation of the ship, restore access to the airlock, and coordinate with the remaining crew while the Alien hunts everyone. Equipment availability is tied to the scenario and character route, so the best loadout is the one that supports the next objective, not necessarily the weapon with the loudest damage effect.
The Crew Expendable weapon tier list

This is the practical ranking for Hard and Nightmare play, where ammunition is scarce, the Alien reacts aggressively to sound, and mistakes are usually fatal. “Power” here means control, survivability, and objective utility rather than raw damage. The Alien is not a conventional shooter enemy: firearms can stagger or repel it, but they don't turn it into a boss you can simply burn through.
| Tier | Weapon or equipment | Why it ranks here | Best use |
|---|---|---|---|
| S-Tier | Flamethrower | Most reliable Alien deterrent; creates immediate space | Breaking a pursuit or crossing an exposed corridor |
| S-Tier | Motion Tracker | Provides advance warning and prevents blind movement | Tracking patrols near the airlock route |
| A-Tier | Shotgun | Strong panic option, but loud and limited by ammunition | Stopping a close-range approach |
| A-Tier | Revolver | Flexible emergency firearm with manageable handling | Forcing a brief stagger or dealing with human threats |
| B-Tier | Stun baton | Powerful at point-blank range, but requires dangerous commitment | Disabling a human target or escaping a grab setup |
| B-Tier | Flares and distractions | Excellent for redirecting attention, ineffective as damage tools | Pulling the Alien away from a doorway |
Why the flamethrower takes S-Tier
The flamethrower is the only tool in this scenario that consistently changes the Alien's behavior on demand. A short burst can make it recoil, retreat into a vent, or abandon an approach long enough for you to reach cover. That is more valuable than theoretical damage. You aren't trying to empty a health bar; you're buying seconds.
Don't hold the trigger continuously. Controlled bursts conserve fuel and reduce the chance of wasting the weapon while the Alien is still outside effective range. Wait for the creature to commit to a charge or emerge from a nearby vent, then sweep the flame across its head and upper body. Once it recoils, stop firing and move. The flamethrower is a door-opener, not permission to stand in the hallway.
🎮 Alien: Isolation Crew Expendable
Looking to experience this game? Grab your digital key directly on our store for $1.99.
View on Steammoz Store →How each weapon actually performs
Flamethrower: Its value comes from the Alien's reaction animation. The creature can be pushed back without being killed, giving you a reliable escape window. That distinction matters because Crew Expendable funnels you through narrow maintenance passages where line of sight is limited. Fire too early and the Alien may simply circle, vanish, and return from a vent. Fire when it is already closing the distance and the same fuel becomes a life-saving reset.
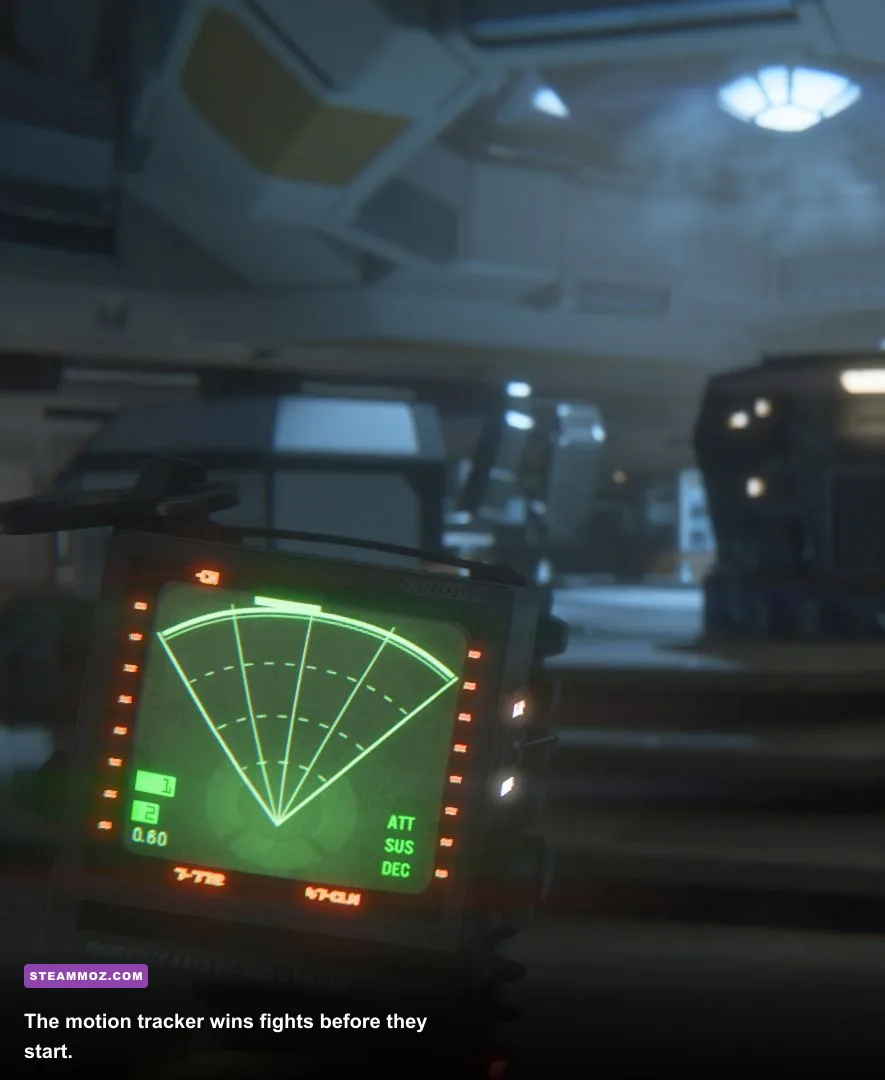
Motion tracker: This isn't technically a weapon, but it deserves the top ranking because it prevents bad decisions. The tracker shows movement as a pulsing contact and gives you a rough direction, not a perfect wallhack. It also makes noise when raised, so don't stare at it while standing in the middle of a corridor. Check it briefly, lower it, listen, and reposition. The strongest players use it as a rhythm: scan, move, hide, scan again.
Shotgun: The shotgun is the best panic button after the flamethrower. Its close-range blast can interrupt an Alien encounter, but its report travels through the Nostromo and can bring the creature back after it retreats. The weapon is more valuable when a human obstacle blocks a route than when you are trying to “fight” the Alien. Keep it ready near an objective interaction, not equipped for every step of the journey.
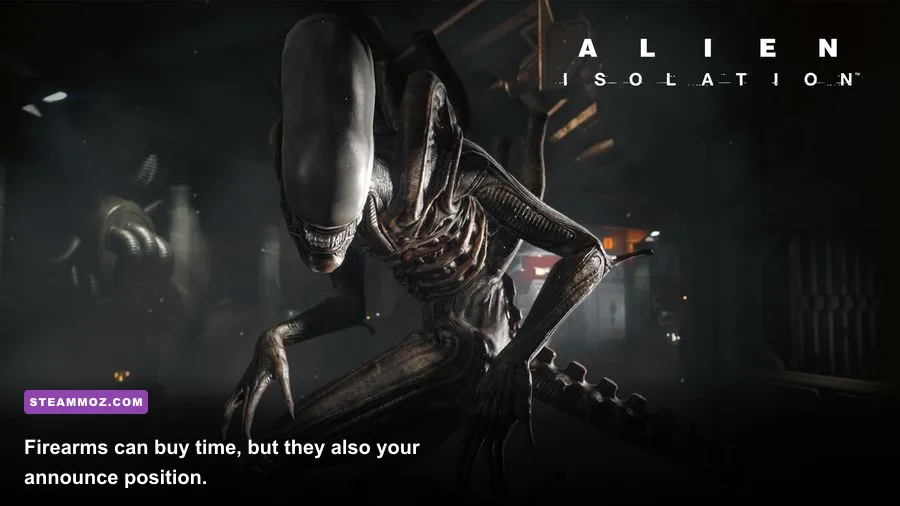
Revolver: The revolver is steadier and more generally useful than the shotgun, especially when the scenario puts human threats between you and the objective. Its six-round cylinder rewards deliberate shots, while missed rounds punish panic. Against the Alien, use it only to create a short stagger or interrupt a committed approach. Firing repeatedly is a classic mistake: the first shot may buy time, while the next shots mostly advertise your location.
Stun baton: This is a specialist tool, not a safer melee weapon. It requires close range, a clear target, and enough confidence to let danger enter your personal space. Use it against a human enemy when a silent takedown isn't possible, then immediately break line of sight. If the Alien is nearby, the baton is usually a terrible trade because the contact range leaves no room for the follow-up escape.
Character choice and equipment priority
Crew Expendable lets you step into the roles of Ellen Ripley, Dallas, Parker, or Lambert, with the scenario emphasizing different crew positions and routes. The choice affects how the mission feels more than it creates a traditional class build. Dallas is the natural fit for players who want to focus on the airlock objective, while Parker and Lambert make the same ship feel more vulnerable because their routes emphasize coordination and survival under pressure. Ripley is the most recognizable choice, but she isn't a cheat code.
Before moving, establish three priorities: information, deterrence, and escape. The motion tracker covers information. The flamethrower covers deterrence. Lockers, tables, vents, and side rooms cover escape. Firearms are secondary because the mission's objective is not to clear the Nostromo. This is closer to the stealth discipline discussed in our Desperados III stealth analysis than to a conventional action scenario.
| Priority | Equipment | Carry mindset | Common mistake |
|---|---|---|---|
| 1 | Motion Tracker | Check before every exposed move | Holding it up continuously and making noise |
| 2 | Flamethrower | Reserve for committed encounters | Burning fuel to test empty rooms |
| 3 | Shotgun | Keep for objective rooms and emergencies | Using it on the first Alien sighting |
| 4 | Revolver | Use precise shots against human threats | Firing repeatedly at a retreating Alien |
| 5 | Stun baton | Silent close-range contingency | Approaching an Alien with it equipped |
The crew's radio exchanges are also valuable information. When another character calls out movement, a door, or a control problem, don't sprint immediately toward the voice. The Alien can patrol between rooms, and a loud interaction can overlap with its return path. Treat every objective marker as a timing puzzle: identify a hiding spot, check the tracker, complete the interaction, then leave by the route with the most cover.
Best combat and stealth combinations
The strongest “build” is a sequence rather than a permanent loadout. Approach with the tracker down, pause at corners, and keep the flamethrower selected before entering a room that has vents or a long central aisle. If the tracker shows a fast contact approaching, don't wait to identify the exact direction. Move into cover first, then confirm the contact from safety.
The emergency Alien sequence
- Confirm the threat. Use the tracker for a quick pulse and listen for the hiss, footsteps, or ceiling movement that signals a nearby patrol.
- Break the approach. If the Alien has line of sight or begins charging, use a short flamethrower burst. The goal is recoil, not a kill.
- Move laterally. Don't run directly backward down the corridor. Cut into a side room, locker area, or low-cover route.
- Stop making noise. Lower the weapon, crouch, and let the creature complete its search cycle. Sprinting after a successful retreat often turns a win into a second encounter.
- Resume only after a tracker check. The Alien may leave the floor and re-enter through a vent, so never assume the first retreat is permanent.
Against human enemies, the order changes. A silent takedown or stun baton is preferable when you can isolate one target. The revolver is the dependable fallback, while the shotgun is best when two enemies collapse onto the same doorway. Once the shooting starts, relocate immediately. The Alien hears gunfire, and the mission's real danger is surviving the aftermath.
That sound relationship is why a noisemaker can sometimes outperform a firearm. Throw it away from your intended route, wait for the Alien to investigate, and use the distraction to cross a control room. Flares are weaker but cheaper as visual diversions. Never throw a distraction at your own feet: you want to bend the patrol path, not create a noisy meeting point.
Airlock route strategy and objective timing

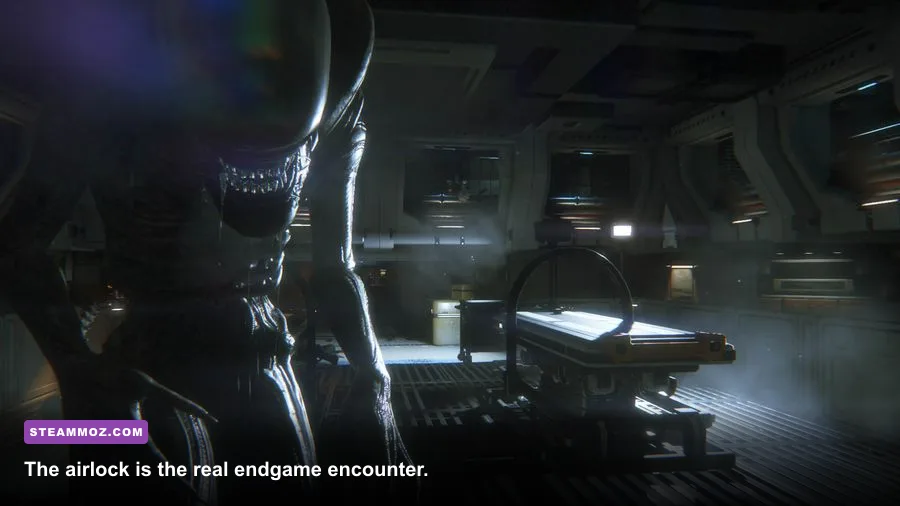
The final objective is where the tier list matters most. Restoring access and preparing the airlock creates predictable interaction windows, but the Alien doesn't politely wait outside. Before touching a terminal, locate the nearest hiding place and identify the door you will use after the animation ends. If you have flamethrower fuel, position yourself so one burst can cover the approach rather than the terminal itself.
Work through the sequence in small, controlled steps. Clear the immediate room without firing, check the tracker, interact with the console, and move into cover as soon as the prompt disappears. If the Alien appears during an interaction, cancel the action if possible and survive first. Progress is worthless if the next animation locks you in place while the creature walks through the doorway.
| Objective phase | Main danger | Best counter | Recommended tool |
|---|---|---|---|
| Approaching the control area | Alien patrol crossing the central route | Wait for movement to pass, then move under cover | Motion tracker |
| Terminal interaction | Locked-in animation and vent entry | Start only with a known escape room | Flamethrower ready |
| Returning through the corridor | Alien reacting to previous noise | Take a side route and avoid sprinting | Tracker plus flares |
| Airlock setup | Close-range approach during the final interaction | Hold the doorway and wait for a committed push | Flamethrower or shotgun |
On higher difficulties, patience beats speed. Nightmare removes much of the comfort that lower settings provide, so a single missed tracker pulse can put the Alien on top of you. If you're practicing, start on Hard rather than Easy: it preserves the pressure while giving you enough feedback to learn the ship's timing. Players who enjoy optimizing performance can also use the broader frame-pacing advice in our PC settings guide, although Alien: Isolation itself is far less demanding than modern action games.
Final ranking and the mistakes to avoid
The final ranking is simple: flamethrower and motion tracker in S-Tier, shotgun and revolver in A-Tier, then stun baton and distractions in B-Tier. The flamethrower is the best weapon because it forces the Alien to respect your space. The tracker is the best equipment because it keeps you from entering a bad space at all. Everything below them is situational.
Don't judge the shotgun by its damage, or the revolver by its ammunition count. Their real cost is noise. A weapon that saves you from one encounter can create another, especially in the compact halls around the airlock. Likewise, don't waste flamethrower fuel trying to scare the Alien from a distance. Let it come close enough for the reaction to matter, then escape before the patrol reorganizes.
The most reliable Crew Expendable run looks almost uneventful from the outside. You check the tracker, take cover, wait through a patrol, complete one interaction, and repeat. That restraint is the point. Alien: Isolation sells terror through uncertainty, but Crew Expendable gives you just enough equipment to replace panic with disciplined risk management.
For the official PC version, see the Alien: Isolation Steam page. Creative Assembly's official developer site provides studio information, while the official SEGA game page covers the wider release and franchise details. If you like comparing survival-game equipment, our weapon tier list coverage offers another useful contrast: not every top-tier tool wins through damage.