
The most important Agatha Knife secrets are not traditional collectibles: they are optional conversations, repeatable object inspections, and story-gated interactions that unlock extra scenes, inventory items, and achievement progress. Search the butcher shop before leaving it, inspect every suspicious object in town, revisit the church and cemetery after obtaining new quest items, and return to the Carnivorous Carnival at the end of each major chapter. This route catches the rewards most players miss without forcing you to replay the entire adventure.
Agatha Knife is a compact point-and-click adventure, so “hidden reward” has a very specific meaning here. You are not hunting dozens of coins or a secret weapon with higher damage. The real prizes are alternate jokes, strange lore, optional character reactions, puzzle shortcuts, and a handful of inventory objects that only appear after the right conversation. The game also loves changing locations after a major action, which means an item that was unavailable ten minutes ago can become the solution to an earlier-looking mystery.
This guide is written for a first playthrough and avoids broad plot spoilers where possible. If you want the cleanest experience, use the location order below, exhaust dialogue before combining items, and save before handing an unusual object to a character. Agatha Knife rarely punishes experimentation, but some optional conversations disappear once the story moves to its next major area.
How Agatha Knife’s hidden secrets actually work
There are three types of secrets in Agatha Knife. The first is a permanently missable interaction: an object or character can be examined only while a location is in its early state. The second is a delayed secret, where a character gives a new response after Agatha acquires a story item. The third is a repeat interaction, usually a deliberately silly description that becomes available after you have exhausted the obvious dialogue.
That structure makes the game feel more mysterious than it really is. If a puzzle seems blocked, the answer is often not hidden behind pixel-perfect clicking. Instead, leave the screen, speak to everyone again, and inspect the same object after your inventory changes. Agatha’s journal does not track every optional conversation, so use a simple three-step routine:
- Talk to every visible character until their dialogue loops.
- Inspect doors, signs, machinery, animals, containers, and wall decorations.
- After receiving a new item, revisit the previous screen before progressing.
Do not rush the butcher shop opening sequence. It is the safest place to learn the game’s interaction language, and several early inspections establish jokes and clues that return later. The official Agatha Knife Steam page also confirms the game’s core point-and-click structure, but it does not document these optional interactions.
| Secret type | What triggers it | Typical reward | Best habit |
|---|---|---|---|
| Missable inspection | Before leaving an early location | Extra description or achievement progress | Click every unusual object |
| Delayed dialogue | New item or story flag | Clue, joke, or alternate response | Revisit old characters |
| Repeat interaction | Inspecting the same object again | Hidden gag or lore detail | Click until dialogue repeats |
| Optional item exchange | Using a non-obvious inventory item | Shortcut or new inventory object | Save before combining items |

🎮 Agatha Knife
Looking to experience this game? Grab your digital key directly on our store for $5.99.
View on Steammoz Store →Butcher shop secrets and the first hidden rewards

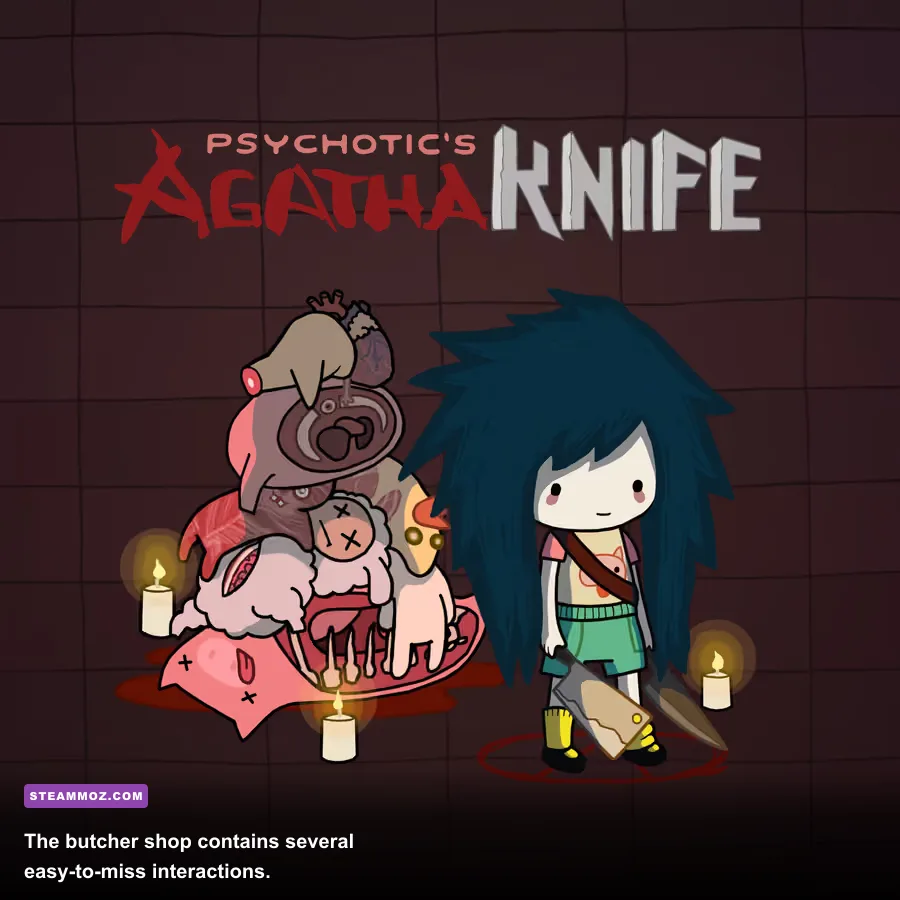
Your first sweep should happen entirely inside the butcher shop. Before following the obvious objective, inspect the cutting counter, the meat display, the cash register, the shop sign, and every visible storage area. Agatha’s comments here are more than throwaway comedy: several establish how the shop functions and provide callbacks for later scenes. The counter and display are especially easy to ignore because the game immediately points you toward the next conversation.
Speak with Agatha’s mother and exhaust every available dialogue branch before leaving the shop. After the conversation loops, inspect the same counter again. This second inspection is one of the game’s classic hidden beats: the object description changes after the introductory dialogue, and it helps establish the shop’s unsettling idea of meat as a normal household product. It is not a powerful item reward, but it is the kind of optional scene that completionists lose when they walk outside too quickly.
Next, check the back-room entrance and the shop’s less obvious corners. If an object produces a short description rather than an inventory prompt, click it again after speaking to the nearby character. Agatha Knife frequently uses a first click to identify an object and a second click to deliver the joke or reveal a clue. This is also the best place to practice dragging an item from the inventory onto a character rather than onto the environment.
Once the shop’s initial objective is complete, do not assume the location is exhausted. Return inside whenever the game opens a new town route. The mother’s dialogue, the counter descriptions, and the available shop interactions update as the story becomes more focused on Agatha’s relationship with meat and the Carnivorous Carnival. These returns are not always required for progression, but they can unlock extra lines and make later puzzle logic much clearer.
| Shop target | When to inspect | What you gain | Why it matters |
|---|---|---|---|
| Cutting counter | Before and after the first dialogue loop | Changed descriptions and lore | Easy-to-miss early scene |
| Meat display | Before leaving the shop | Optional commentary | Sets up the game’s central satire |
| Cash register | After speaking with the shopkeeper | Extra object inspection | Tests repeat-click logic |
| Back-room entrance | Whenever a new story item appears | Possible updated response | Location state changes over time |
Town streets, school, and the easy-to-miss conversations

Once Agatha can freely explore the town, clear each screen in a clockwise loop. Start with the street, then visit the school, the church route, and any open side building before returning to the butcher shop. This prevents the most common mistake: using a newly acquired item immediately and never checking whether an old character now has new dialogue.
On the main street, inspect signs, shopfronts, doors, benches, and anything that looks slightly out of place. The game’s visual style is deliberately busy, and the clickable hotspot can be smaller than the object’s artwork. Move the cursor slowly around edges rather than clicking only the center. If Agatha gives a unique line instead of saying she cannot use an item, record that object mentally; these lines often become callbacks after a chapter transition.
The school is particularly important because its characters react differently depending on what Agatha has already learned. Talk to the teacher and students before attempting item combinations. Exhausting their dialogue can expose a clue that turns an apparently random inventory object into a usable one. After the first school-related objective, leave the screen and come back. The updated responses are optional, but they add context and can provide an alternate route through the next puzzle.
Keep an eye on the inventory. Agatha Knife has a small item set, but objects are often used in intentionally absurd ways. Try an item on a person first if the story has made that person central to the current problem. If the game rejects the combination, it usually gives a humorous response rather than consuming anything. Still, save before testing unusual combinations when you are carrying a one-off quest object.
The best internal checkpoint is after every major conversation. Save, talk to the nearby cast again, inspect the scene, and only then move to another area. This takes less than a minute and catches far more secrets than random clicking.
Church and cemetery secrets worth revisiting

The church and cemetery are two of the most rewarding locations to revisit because their dialogue changes sharply as Agatha’s understanding of the meat cult develops. On your first visit, inspect the church entrance, religious objects, notices, and the surrounding path before speaking to the main character. The game often places the important optional description on the scenery, not the person delivering the obvious objective.
In the cemetery, inspect every visible grave rather than stopping at the one the story highlights. Grave descriptions are short, but they establish the game’s macabre comedy and can count toward optional exploration progress. Check the edges of the screen as well: the usable hotspot may sit beside a headstone or behind a foreground decoration. If Agatha says something different from the generic “nothing interesting” response, you have found a worthwhile interaction.
Return to both areas after obtaining a new clue connected to the carnival or the church’s beliefs. Speak to the priestly characters again before using the clue on the environment. This is one of the clearest examples of Agatha Knife’s delayed-secret design. The new dialogue can reveal a hint, but it can also disappear once you complete the next major objective and trigger the area’s new state.
There is no combat encounter to prepare for here, and no hidden stat check. The correct “build” is patience: dialogue first, environment second, item use third. That order matters because some lines only appear while the current objective is still active.
| Area | First-pass action | Return trigger | Reward type |
|---|---|---|---|
| Church entrance | Inspect notices and religious scenery | New cult-related clue | Lore and optional dialogue |
| Cemetery | Examine every visible grave | After a major story revelation | Exploration progress and jokes |
| Church interior | Exhaust character dialogue | After changing the current objective | Hints and alternate responses |
Carnivorous Carnival secrets and hidden rewards

The Carnivorous Carnival is the game’s biggest secret hub. It is tempting to follow the main objective straight through the attractions, but that leaves several optional interactions behind. Before advancing the carnival plot, walk through every accessible section and inspect the stalls, signs, props, and performers. Talk to each character twice: once before showing them an item and again after the conversation has looped.
The carnival’s fortune-teller-style interactions deserve special attention. Even when a character appears to offer only flavor dialogue, a new inventory item or completed objective can change the response. Return after every major town event and check the same performer again. The reward is usually an extra scene or a clue rather than currency, but those scenes are among the game’s funniest writing and can contribute to completion-based achievements.
Inspect the attraction machinery and locked-looking entrances before trying to solve the central carnival puzzle. Agatha’s comments can tell you whether an object is decorative, temporarily inaccessible, or connected to a later item exchange. If a performer asks for something that seems unrelated to meat, do not discard the request as a joke. The solution may require an item from the school, church, or butcher shop, and the game expects you to carry information between locations.
After the carnival’s major story transition, revisit every previously accessible stall. This is the single most valuable backtracking loop in the guide. Several character responses change, and a screen that previously offered only a description may now provide a new interaction. Complete this sweep before entering the final sequence so you do not lose the opportunity to see the optional material.
For reference, here is the safest carnival order:
- Inspect the entrance and every visible attraction.
- Speak to all performers until dialogue repeats.
- Return to town and gather the next story item.
- Revisit the carnival before using that item on the main objective.
- Finish the central puzzle, then sweep the carnival again.
Final cleanup route and completionist checklist
Before committing to the final story sequence, make one complete cleanup pass. Start at the butcher shop, move through the town street and school, visit the church and cemetery, and finish at the Carnivorous Carnival. At each stop, speak to every character, inspect every newly available hotspot, and test only the items that clearly relate to the current conversation. This route is faster than wandering because it follows the game’s natural state changes.
| Cleanup stop | Must-do check | Missable risk | Expected payoff |
|---|---|---|---|
| Butcher shop | Repeat counter and shopkeeper interactions | Early dialogue can vanish | Extra lore and callbacks |
| Town street | Inspect signs, doors, and side characters | Updated responses after objectives | Hints and optional comedy |
| School | Exhaust teacher and student dialogue | Clues change with inventory | Context for item solutions |
| Church and cemetery | Recheck graves and religious objects | Story-state dialogue expires | Lore and exploration progress |
| Carnival | Sweep attractions before and after transition | Best optional scenes are late-gated | Hidden scenes and achievement progress |
A few practical rules make the cleanup painless. Keep at least one manual save before every major transition. Never assume an object is finished after one click. If a character repeats a line, revisit them after your next inventory change. If a puzzle solution works, still inspect the surrounding area before leaving; Agatha Knife often lets the correct solution advance the story while leaving optional flavor behind.
For players who enjoy this kind of compact, secret-heavy adventure design, Steamoz’s Everspace 2 secret locations guide uses a similar backtracking mindset, while the Dungeons 4 hidden rewards guide shows how to track optional content without bloating a playthrough. Agatha Knife is much smaller, but its state-based interactions demand the same discipline.
If you want more background on the game’s unusual tone and production, check the developer’s official Mango Protocol website. The studio’s design is intentionally surreal, and that explains why many “rewards” are narrative payoffs rather than conventional loot. You are meant to click the weird thing because it is weird.
The short version is simple: clear every screen before progressing, revisit old locations after each major item, and give the Carnivorous Carnival a final full sweep before the ending. Do that, and you will see nearly all of Agatha Knife’s hidden conversations, optional descriptions, puzzle hints, and reward scenes in one playthrough.